How do you draw a windmill?
Short answer
Drawing a windmill involves constructing a sturdy, tapered tower topped with a rotating sail assembly. Begin by sketching a trapezoid for the main body, then add a roof and a central hub for the blades. Focus on geometric precision and perspective to create a balanced structure that looks grounded and functional.
On this page
How to draw a windmill for beginners
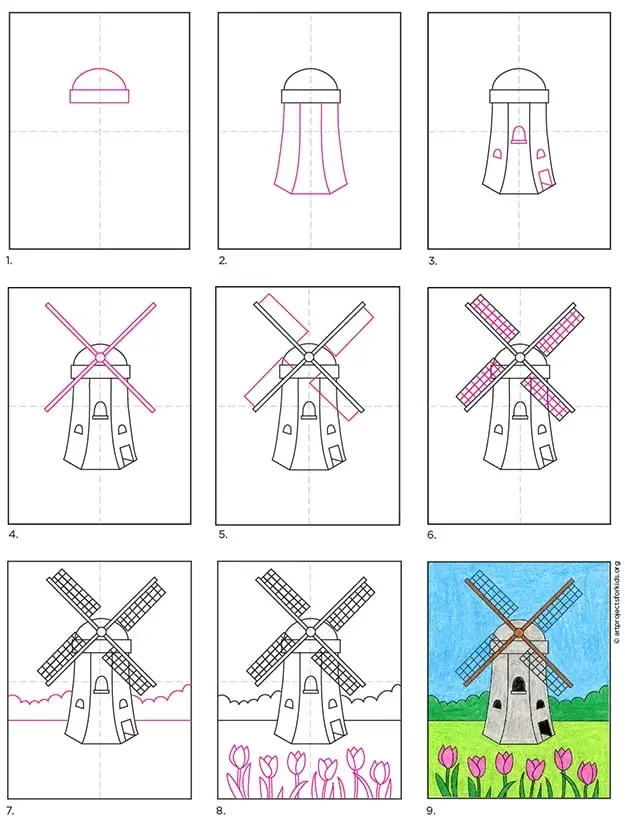
To draw a classic Dutch-style windmill, start by sketching a long trapezoid to represent the main tower. Ensure the base is wider than the top to give the structure a sense of stability and height. Add a smaller, slightly angled rectangle or a trapezoid on top to serve as the cap or roof, which traditionally houses the rotating mechanism.
Once the main structure is outlined, draw a small circle in the center of the upper portion of the tower. This circle serves as the hub where the four sails will attach. Use a ruler to draw two intersecting lines through the center of this circle to create a cross shape, which provides the framework for your blades. This foundational geometry ensures that your windmill remains symmetrical and proportional throughout the process.
What tools are best for drawing windmills
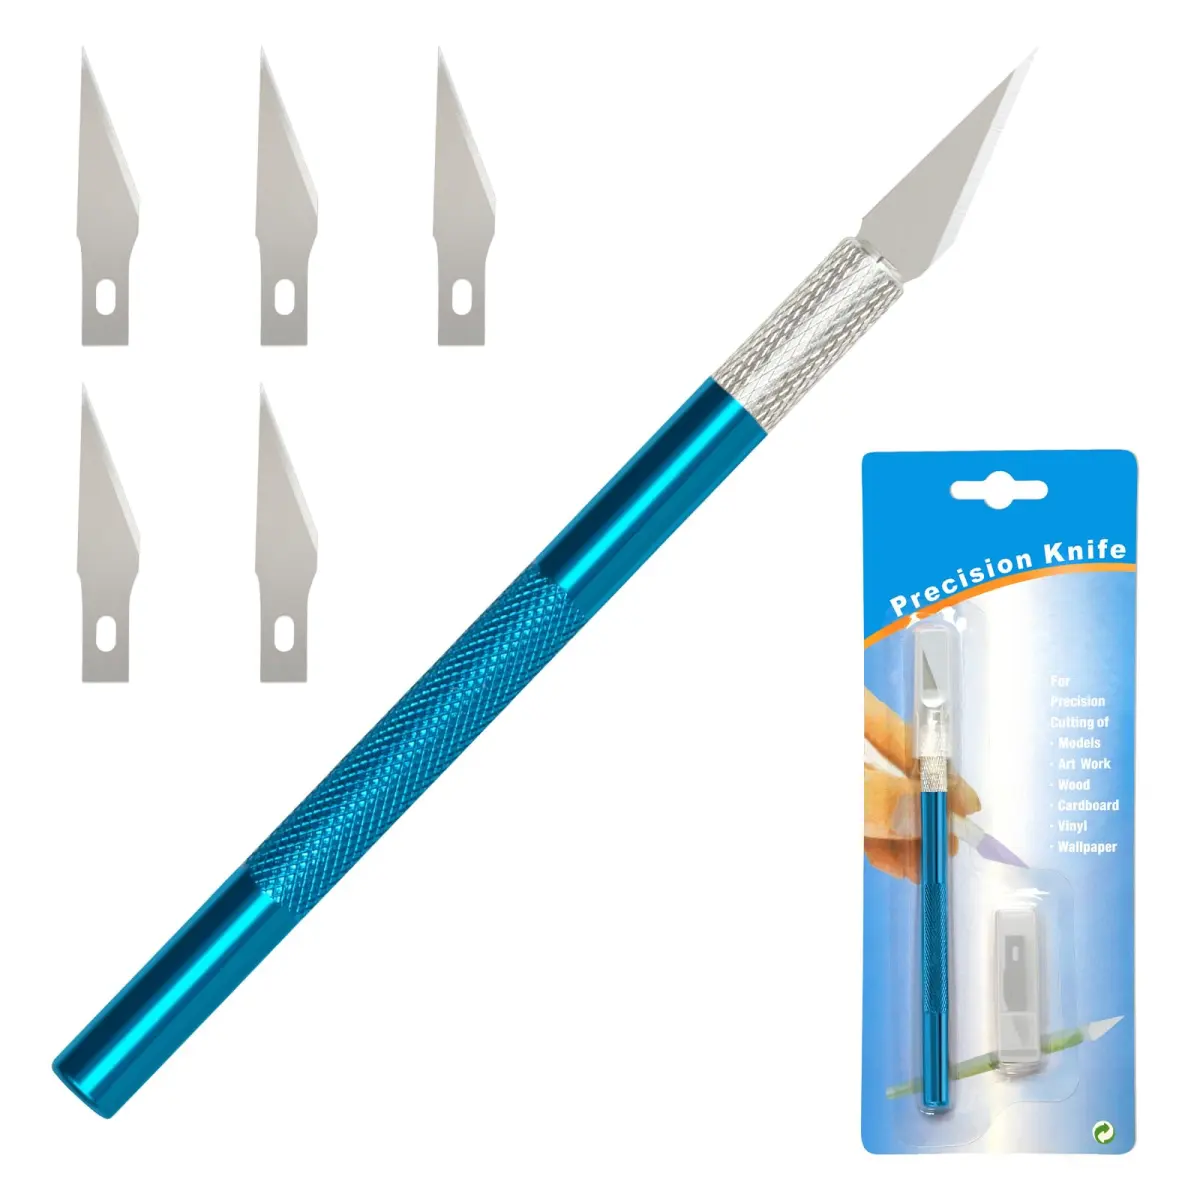
For the best results, use a variety of graphite pencils ranging from 2H for initial light sketches to 4B for adding depth and shadow. A fine-liner pen is excellent for defining the sharp edges of the blades and the texture of the tower walls once the pencil work is complete. Having a high-quality eraser is essential for cleaning up construction lines that are no longer needed.
- Use a 2H pencil to sketch the light, faint outlines of the tower and sail frame.
- Switch to an HB pencil to refine the edges and add architectural details like windows or doors.
- Use a 4B pencil to shade the side of the windmill opposite the light source to create volume.
- Apply a fine-liner pen over the final lines to ensure the structure looks crisp and professional.
How to draw windmill blades accurately
The blades, or sails, are the most iconic part of a windmill and require careful attention to perspective. Each blade consists of a central spar with a lattice of wooden slats attached to one side. Draw the blades as long, thin rectangles extending from the central hub, ensuring they are spaced equally around the circle to maintain balance.
When drawing the lattice, remember that the slats are usually angled slightly to catch the wind effectively. Keep your lines consistent in length and angle to avoid a lopsided appearance. If you are drawing the windmill in a three-quarter view, the blades closest to the viewer should be slightly wider and more detailed than those receding into the distance. This technique, known as foreshortening, adds a professional level of depth to your artwork.
Common mistakes when drawing windmills
A frequent error is failing to maintain the correct perspective of the tower, which can make the building look like it is leaning or collapsing. Always ensure that the vertical lines of the tower converge slightly toward the top, following the tapered shape of the structure. Another common mistake is drawing the blades as flat, two-dimensional shapes without considering the rotational plane of the hub.
- Drawing the tower perfectly straight like a cylinder instead of a tapered trapezoid.
- Making the sails too short, which ruins the iconic silhouette of the windmill.
- Neglecting to add a door or small windows, which makes the structure look like a toy rather than a building.
- Forgetting to shade the interior of the sails, which makes them appear as thin lines rather than solid, functional structures.
- Placing the hub off-center, which makes the rotation of the blades appear physically impossible.
Why windmill proportions matter
Proportions are critical because they dictate the realism and aesthetic appeal of your drawing. A windmill that is too tall and thin may look fragile, while one that is too squat may appear heavy and uninteresting. Aim for a height-to-width ratio that feels grounded, typically making the tower about three to four times the height of the door.
The scale of the sails relative to the tower is equally important for a balanced composition. In most traditional designs, the total diameter of the sail assembly is roughly equal to the total height of the tower. By adhering to these standard architectural ratios, you create a drawing that feels authentic and believable to the viewer. Consistent practice with these measurements will allow you to draw various styles of windmills, from small garden models to massive, historic industrial structures, with complete confidence and artistic accuracy.
Key facts
- Start by drawing a simple trapezoid or rectangle for the base to provide a stable foundation.
- Add a circular or tapered cylinder on top of the base to represent the main tower.
- Position the axle at the center of the tower's upper front face to serve as the pivot point for the blades.
- Draw four rectangular blades extending from the center, ensuring they are spaced evenly at 90-degree intervals.
- Use straight, parallel lines to add structural cross-bracing or lattice patterns to the blades for visual depth.
- Avoid making the blades too thin or too short, as they must look capable of catching the wind to rotate the mechanism.
The bottom line
Drawing a windmill requires balancing simple geometric shapes with functional mechanical details. By establishing a sturdy, tapered base and a clear focal point for the rotating blades, you create a recognizable structure. Remember to maintain consistent spacing between the blades and add structural lattice to enhance realism. With these fundamental steps, you can easily capture the iconic silhouette of this historic machine in your own artwork.
People also ask
What is the difference between a windmill and a wind turbine?
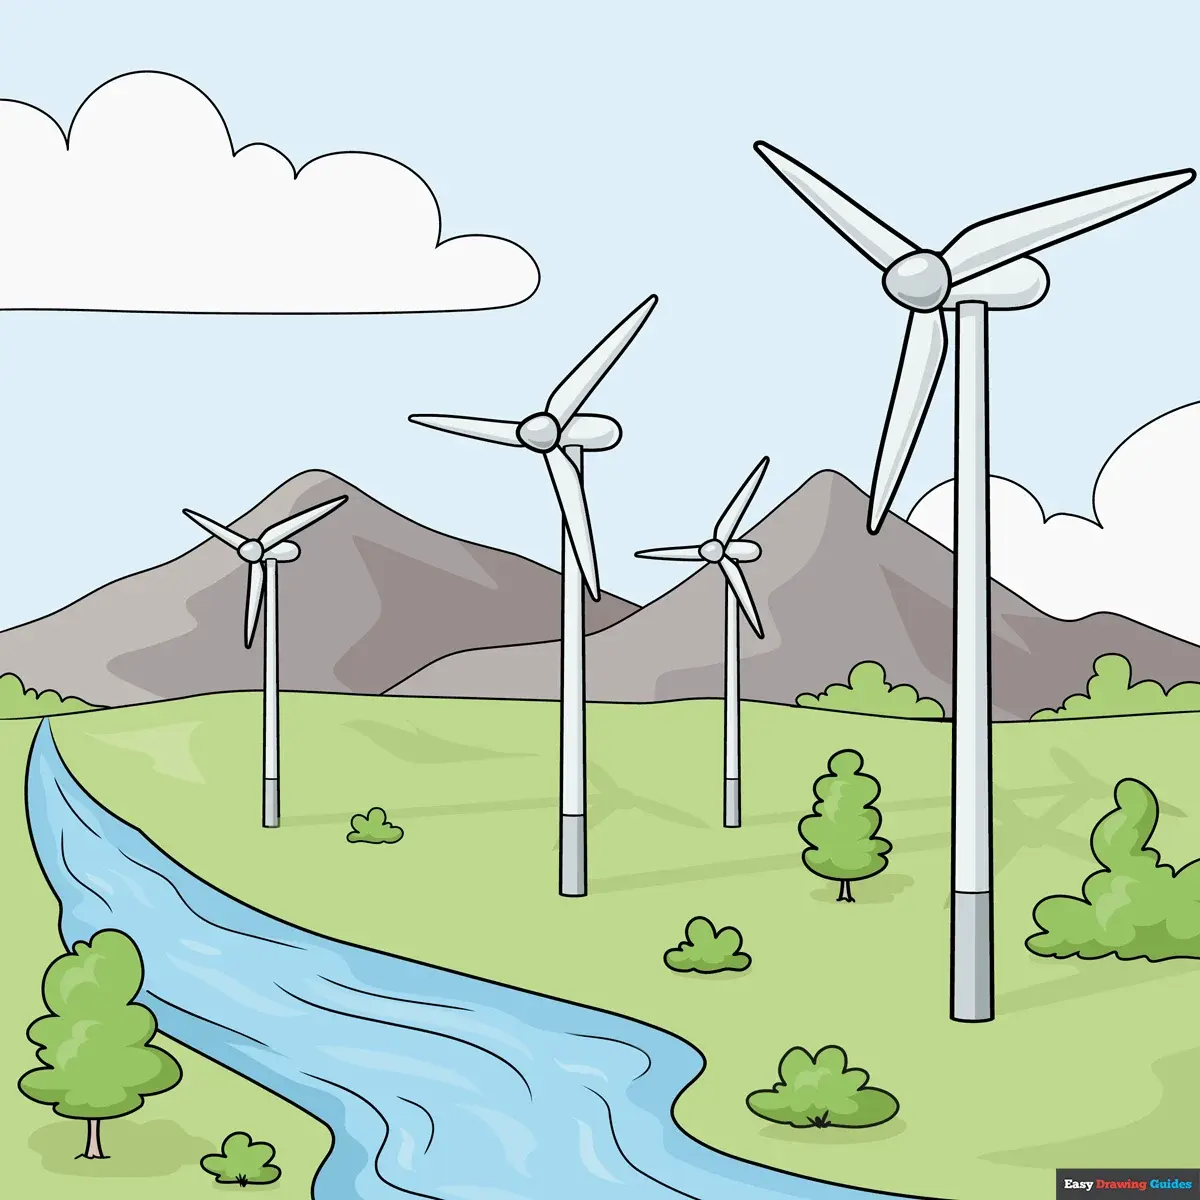
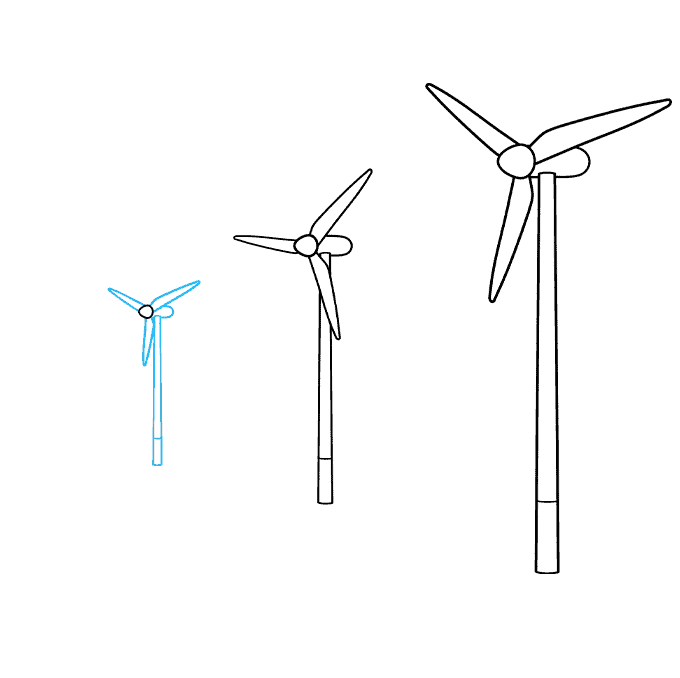
A windmill traditionally uses wind energy to grind grain or pump water through mechanical rotation. A wind turbine is a modern device designed specifically to convert kinetic wind energy into electricity.
How do you make the blades look like they are in motion?
You can create the illusion of motion by drawing faint, curved motion lines behind the blades. Alternatively, sketch the blades with slightly blurred edges or translucent overlapping shapes to suggest high-speed rotation.
Should the tower be perfectly straight or tapered?
Historically, many windmills feature a slight taper toward the top to improve structural stability and wind resistance. A slight inward slope on the side walls adds a more authentic, classic architectural look.
How many blades should a traditional windmill have?
Most classic European-style windmills are depicted with four blades. However, some designs, particularly those used for pumping water in the American Midwest, feature multi-bladed fans with dozens of small metal vanes.
What is the best way to draw the roof of a windmill?
Draw a cone or a dome shape that sits snugly on top of the tower. This cap often housed the gears and allowed the blades to rotate to face the wind direction.
How do I draw the windows and door?
Place a small, rectangular door at the base of the tower to show scale. Add tiny, square windows sporadically up the tower to suggest multiple internal floors used for storage or milling equipment.
This answer was created with the help of AI research tools and reference sources. Spotted an error? Let us know — we correct mistakes quickly. See our editorial policy.