How do you draw a cactus step by step?
Short answer
Drawing a cactus involves sketching basic geometric shapes like cylinders or ovals to establish the structure. You then refine these outlines, add characteristic spines, and apply shading to create depth. By layering vertical lines and varying the density of the needles, you can easily capture the distinct, textured appearance of desert succulents.
On this page
How to draw a cactus step by step
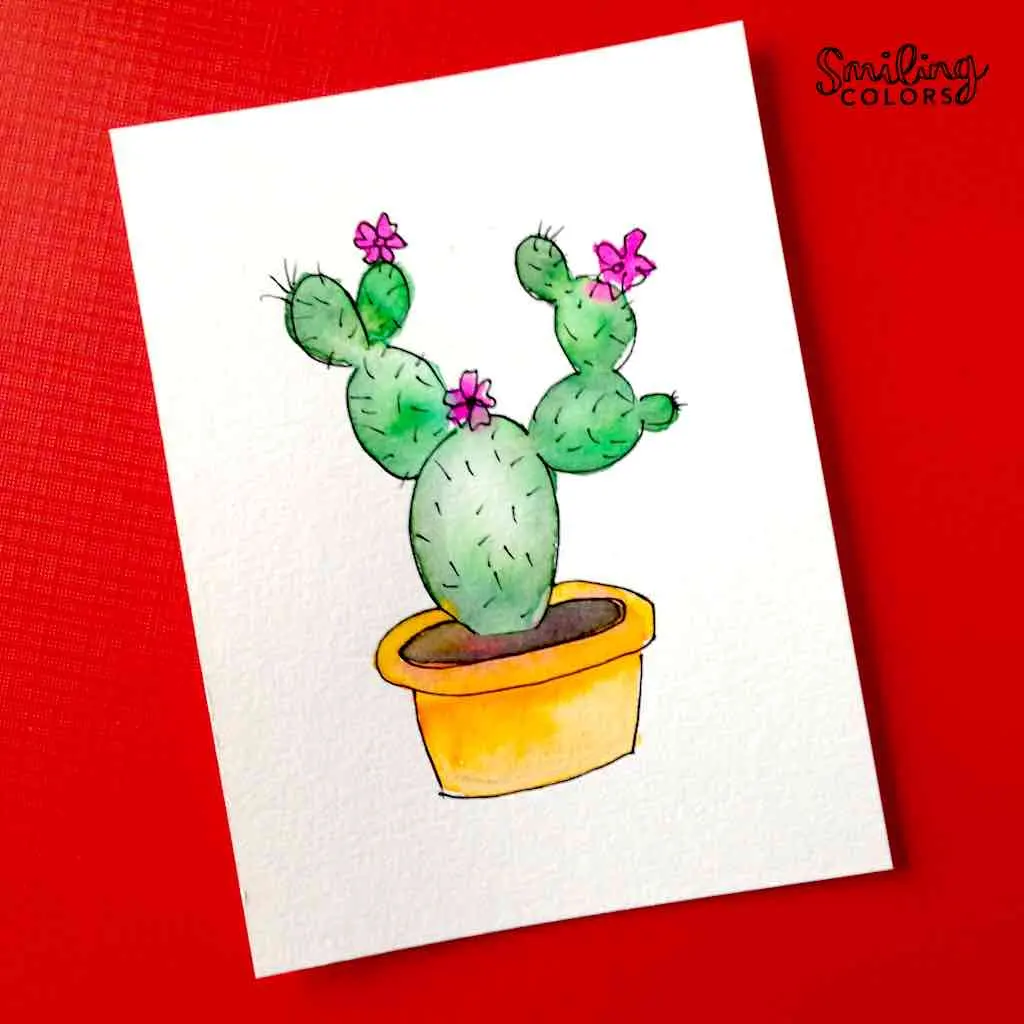
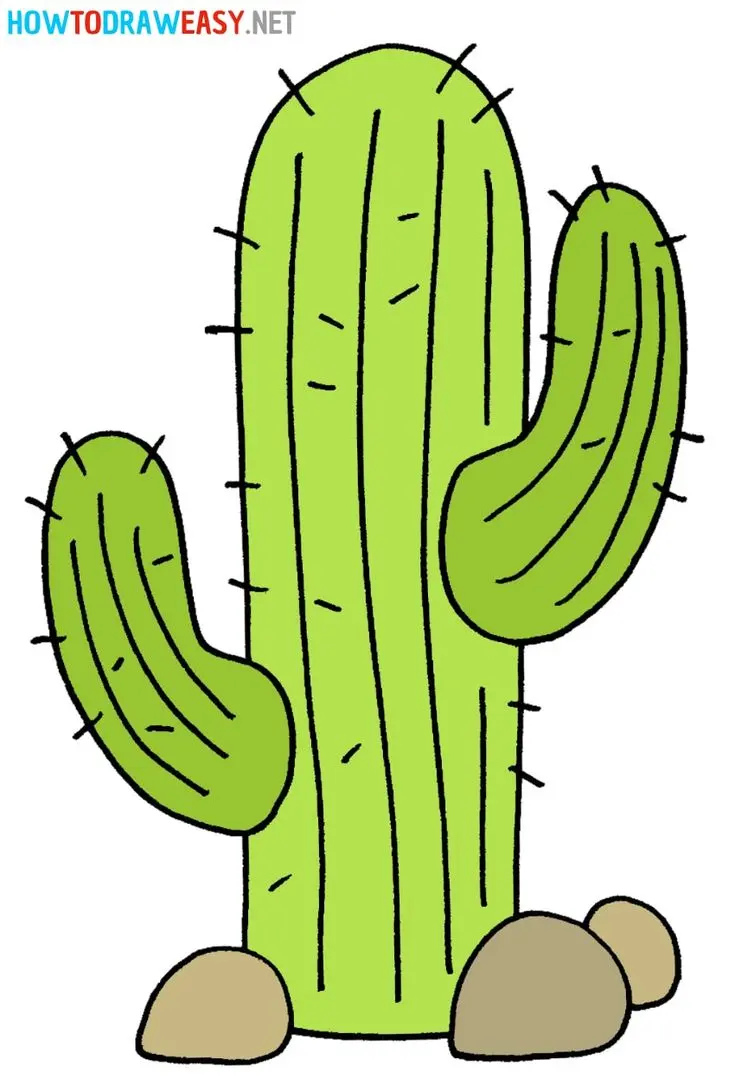
To begin your drawing, identify the specific type of cactus you wish to replicate, such as the tall, columnar Saguaro or the rounded Barrel cactus. Start by lightly sketching the primary silhouette using a graphite pencil. For a Saguaro, draw a long, vertical rectangle with rounded corners, then add two smaller arms branching out at slight angles. If you are drawing a prickly pear, sketch a series of overlapping flattened ovals. Keep your lines faint so you can easily erase or adjust the proportions as you build the form.
Once the basic shape is established, refine the edges to give the cactus a more organic, fleshy appearance. Cacti are rarely perfectly symmetrical, so introduce subtle bumps or slight curves along the outlines. Use a darker pencil to solidify the main contours, ensuring the connection points between the stem and the arms look seamless. This foundational structure is the most critical step, as it provides the canvas for the textures and details you will add later.
Best tools for drawing cacti
For beginners, a standard HB pencil is sufficient for the initial sketch, while a 2B or 4B pencil works best for adding depth and shadows. Use a kneaded eraser, which allows you to lift graphite gently without damaging the paper surface. If you intend to add ink, fine-liner pens with varying tip sizes, such as 0.1mm for spines and 0.5mm for outlines, provide excellent control. Smooth-surfaced drawing paper is recommended to prevent the texture of the grain from interfering with the fine, sharp lines required for needles.
When selecting your materials, consider the following checklist to ensure a professional finish:
- Graphite pencils ranging from H to 4B for varied shading intensity.
- A high-quality white vinyl eraser for clean, precise corrections.
- Pigment-based archival ink pens that will not bleed or fade over time.
- A blending stump or soft tissue to smooth out shadows along the rounded edges.
- A sharpener to maintain fine points, which are essential for drawing individual spines.
How to add texture and spines
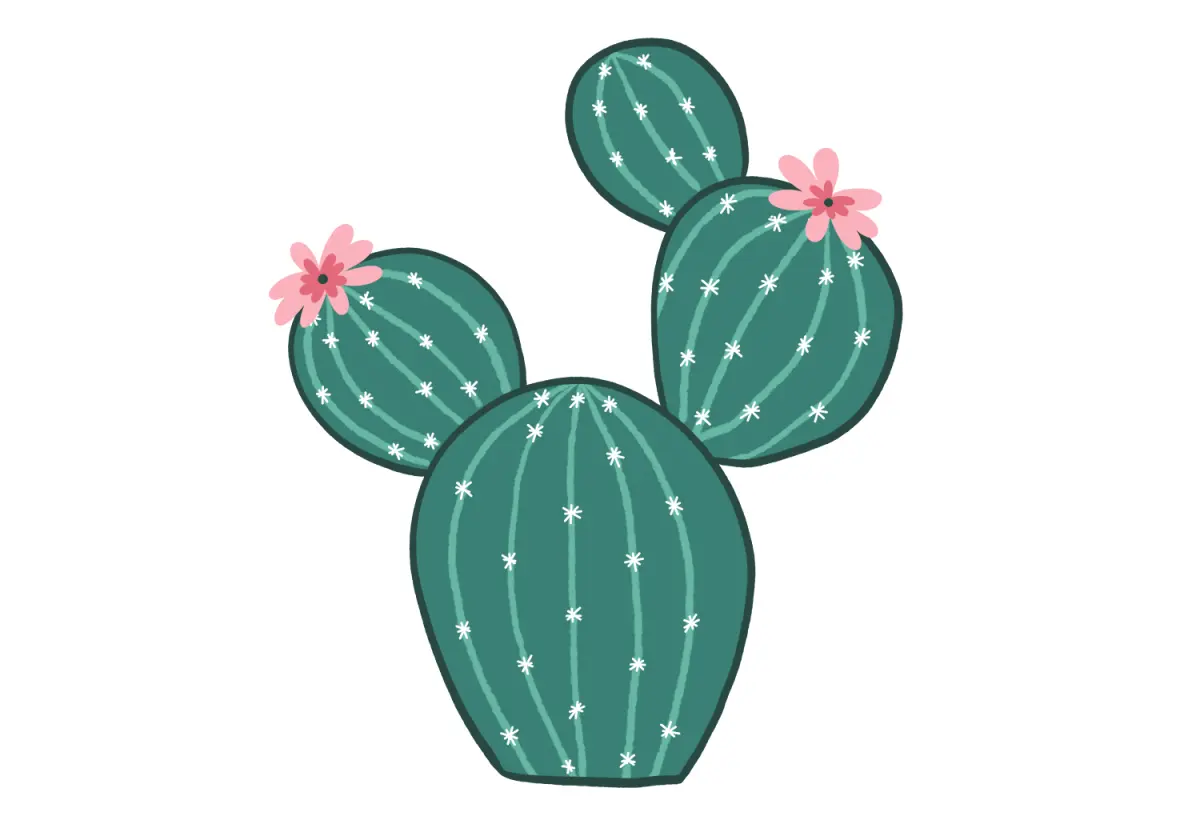
The defining characteristic of any cactus is its surface texture, which typically consists of vertical ribs and clusters of spines. Draw faint, vertical lines running the length of the cactus body to represent these ribs, curving them slightly to follow the volume of the plant. At the intersections of these ribs, mark small dots or "areoles" where the spines emerge. These areoles are usually spaced evenly, acting as the anchor points for the needles that give the cactus its iconic, dangerous look.
To draw the spines effectively, use short, quick, and flicking motions with your pen or pencil. Do not draw them all at the same length or angle; natural cacti have erratic, overlapping needles that catch the light differently. Group them in clusters of three to five, radiating outward from the areole. Varying the pressure of your stroke will make the spines look sharper at the tips and thicker at the base, creating a realistic sense of dimension and sharpness.
How to shade a cactus for depth
Shading is essential to transform a flat, two-dimensional shape into a three-dimensional object. Identify a consistent light source, such as the top right corner, and keep the opposite side of the cactus slightly darker. Use cross-hatching or smooth transitions of graphite to create a gradient across the surface. The rounded ribs should have a highlight on the side facing the light and a deep shadow in the recessed areas between the ribs, which emphasizes the plant's cylindrical volume.
Follow these steps to achieve a realistic shaded look:
- Apply a light base layer of shading to the entire side of the cactus opposite the light source.
- Darken the areas directly behind the ribs to create a strong contrast.
- Use a blending stump to soften the transition between the highlight and the shadow.
- Add a cast shadow on the ground beneath the cactus to anchor it firmly in the scene.
- Apply final, sharp highlights with an eraser to make the surface appear waxy or hydrated.
Common mistakes when drawing cacti
One frequent error is making the cactus appear too rigid or perfectly geometric, which strips away the natural, living quality of the plant. Avoid drawing perfectly straight lines; instead, embrace slight irregularities and wobbles that mimic growth patterns in nature. Another mistake is over-detailing the entire surface, which can make the drawing look cluttered. Focus your most intense detail on the areas closest to the viewer, while keeping the background or shadowed areas simpler to maintain a clear focal point.
Additionally, beginners often neglect the relationship between the light source and the placement of the spines. Ensure that the spines on the shaded side of the cactus are slightly less defined than those on the illuminated side, as high contrast can distract from the overall form. Finally, remember that cacti grow in specific environments; adding a simple horizon line or a few rocks at the base provides context. By balancing these technical details with an observant eye for natural variation, you can create a compelling and accurate botanical illustration.
Key facts
- Cacti are members of the Cactaceae family, characterized by areoles, which are small, cushion-like structures from which spines grow.
- Start your drawing with a vertical oval or a rounded cylinder to establish the primary stem structure.
- Add "arms" to your cactus by drawing smaller, curved cylinders branching off from the main trunk at an upward angle.
- Use a series of vertical, slightly wavy lines along the length of the stems to represent the ribs that allow the plant to expand as it stores water.
- Place small V-shapes or tiny dots along the ribs to represent the spines, ensuring they are clustered in groups to mimic natural areoles.
- Avoid drawing a perfectly straight, rigid line; cacti are organic forms that often feature slight bends, bumps, and asymmetrical growth patterns.
The bottom line
Drawing a cactus is an exercise in capturing organic, cylindrical forms while emphasizing texture through spines and ribs. By starting with simple geometric shapes and layering details like areoles and shading, you can create a convincing illustration. Remember that nature is rarely perfectly symmetrical, so embracing slight irregularities will make your drawing feel more authentic and alive, reflecting the resilient beauty of desert flora.
People also ask
Why do cacti have spines instead of leaves?
Spines are actually modified leaves that help reduce water loss and protect the plant from herbivores. They also provide a small amount of shade for the plant's surface, lowering its temperature in harsh desert environments.
How can I make my cactus drawing look more realistic?
Focus on adding shadows along one side of the ribs to create depth and volume. Using a light source from one direction will help you define the rounded shape of the succulent.
What is the best medium for drawing cacti?
Graphite pencils are excellent for beginners because they allow for easy erasing and shading. If you prefer color, colored pencils or markers work well to capture the vibrant green hues and desert tones of the plant.
Should I draw a pot for my cactus?
Adding a pot provides a sense of scale and grounds your drawing. A simple terracotta pot with a slightly wider rim at the top is a classic choice that complements the organic shape of the cactus.
How do I draw a flowering cactus?
Add a small, multi-petaled shape at the top or side of the cactus stem. Flowers on cacti are often bright pink, yellow, or white, providing a sharp contrast to the green body.
Is it better to draw from a photo or from life?
Drawing from life allows you to observe the complex textures and light reflections on the spines. If a live plant is unavailable, high-resolution photographs help you study the specific anatomy of different species like the Saguaro or Prickly Pear.
This answer was created with the help of AI research tools and reference sources. Spotted an error? Let us know — we correct mistakes quickly. See our editorial policy.