How do you draw a neck step by step?
Short answer
Drawing a neck requires understanding the underlying skeletal and muscular structure. By establishing the connection between the skull and the torso through the cervical spine and the sternocleidomastoid muscles, you can create a realistic form. Focus on the cylindrical nature of the neck and its slight forward tilt for natural anatomy.
On this page
How to draw a neck step by step
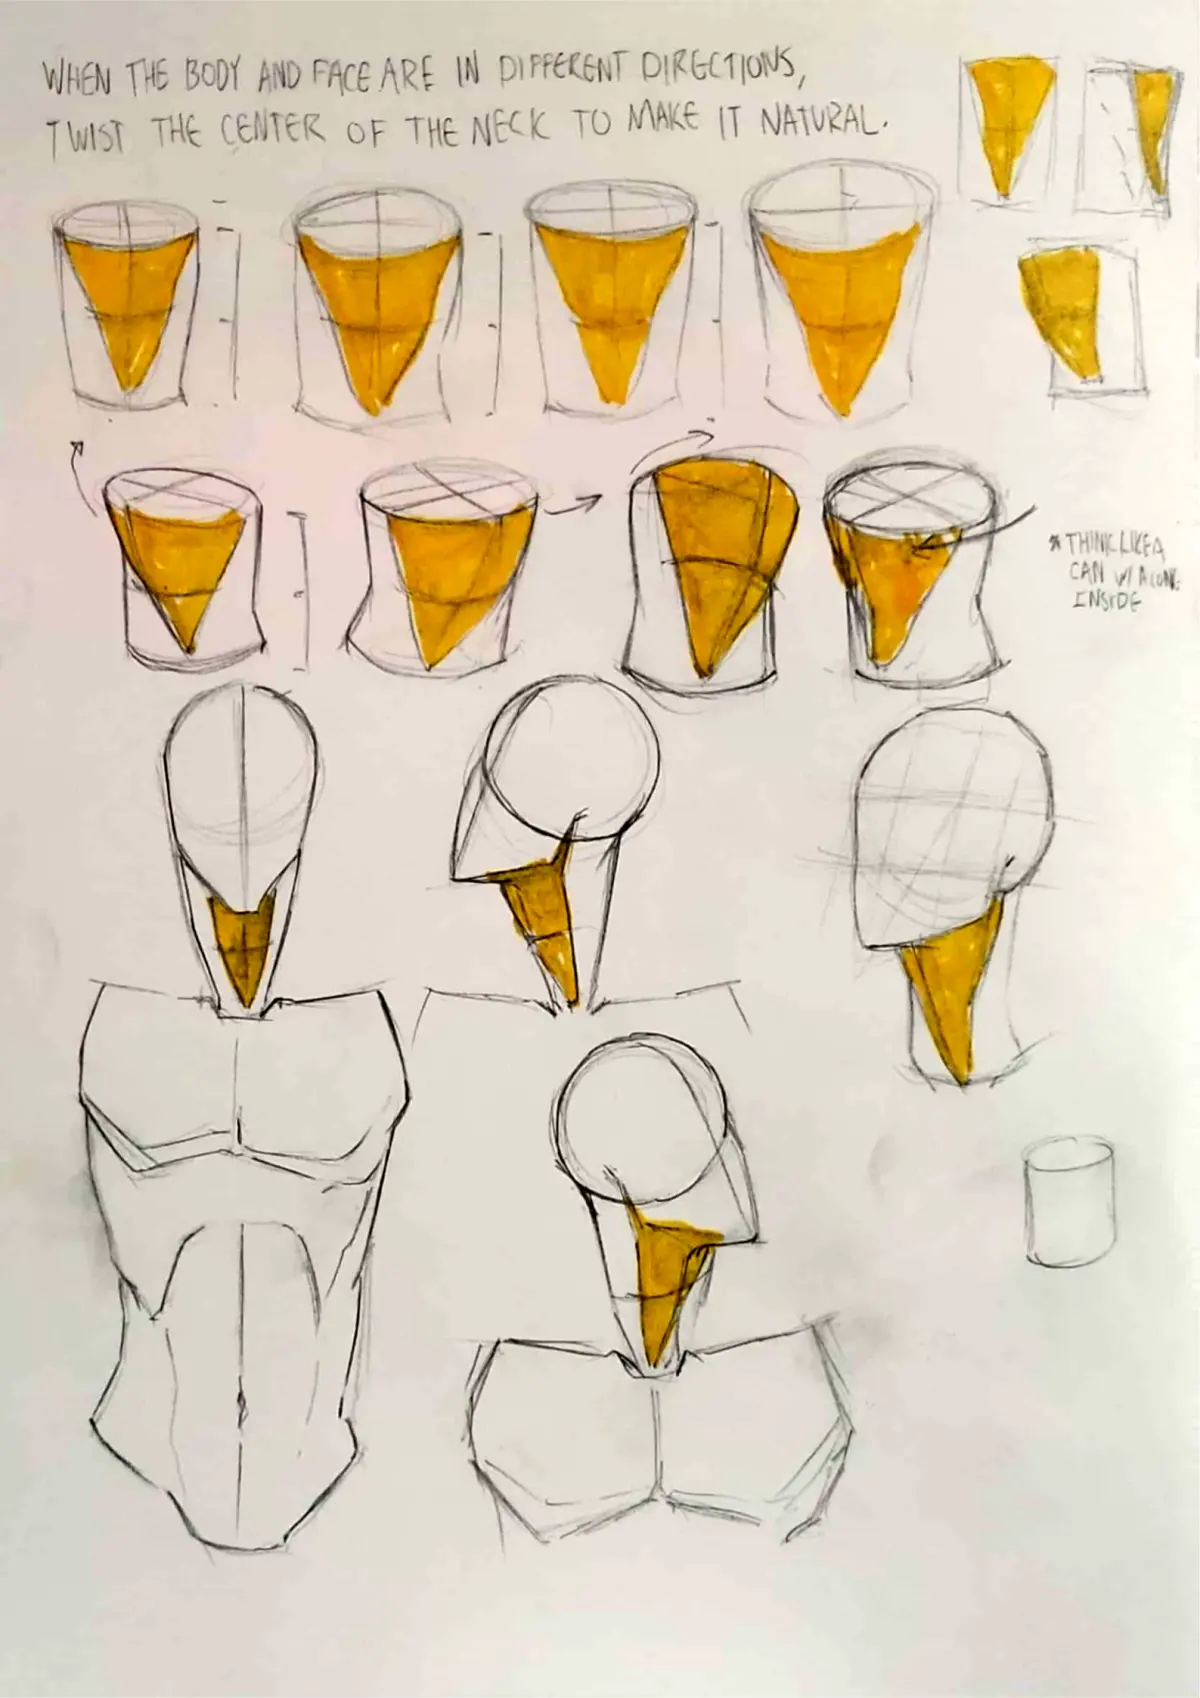
To draw a realistic neck, you must first establish the placement of the head and shoulders. Begin by drawing a vertical line that represents the cervical spine, which acts as the anchor for the neck's movement. Keep in mind that the neck is not a perfectly straight cylinder; it typically tilts slightly forward from the base of the skull toward the collarbones.
Follow these steps to construct the basic form:
- Sketch a small oval for the head and a larger, wider shape for the rib cage to establish your proportions.
- Draw two vertical lines descending from the back of the jaw to the clavicle to define the width.
- Add the sternocleidomastoid muscles, which are two prominent bands running from behind the ears to the center of the collarbone.
- Connect these muscles to the sternal notch, a small dip located at the base of the neck between the collarbones.
Why the neck looks stiff or unnatural
A common reason for a stiff-looking neck is failing to account for the tilt of the head. In a neutral standing position, the human neck is not perfectly vertical; it curves slightly forward to support the weight of the cranium. If you draw the neck as a straight, rigid pipe, the character will appear robotic or uncomfortable. Always ensure the neck connects to the torso at an angle rather than dropping straight down like a pillar.
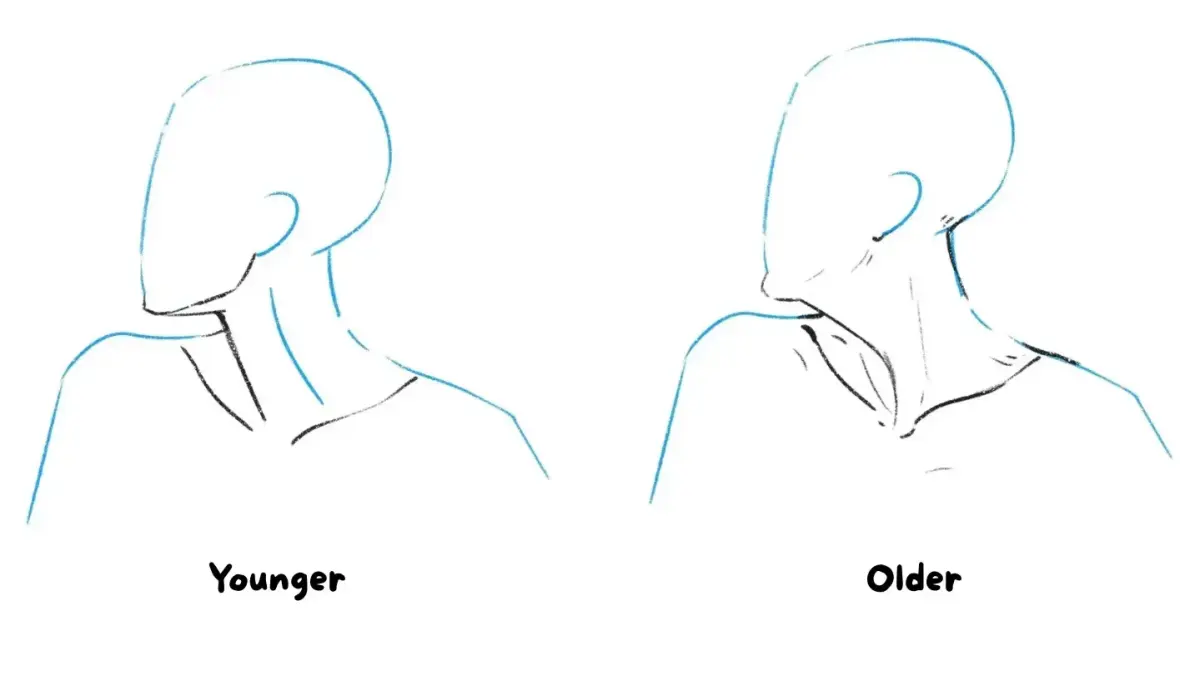
Another factor is the lack of secondary curves. The neck is not a uniform tube; it is thicker at the base where it meets the shoulders and narrower near the jawline. By tapering the neck slightly as it moves upward, you create a more organic silhouette. Observe how the skin folds differently depending on whether the head is turned, tilted, or looking straight ahead.
Common mistakes when drawing necks
Beginners often make the neck too thin, which can make the head appear disproportionately large or heavy. Conversely, drawing the neck too thick can make the figure look overly muscular or bulky. A good rule of thumb is to align the outer edges of the neck with the inner corners of the eyes or the edges of the mouth. If your neck lines extend wider than the jaw, the anatomy will likely look incorrect.
Avoid these frequent errors to improve your accuracy:
- Drawing the neck as a perfectly symmetrical shape, which ignores the complexity of the throat.
- Forgetting the Adam’s apple or the thyroid cartilage, which adds necessary anatomical depth.
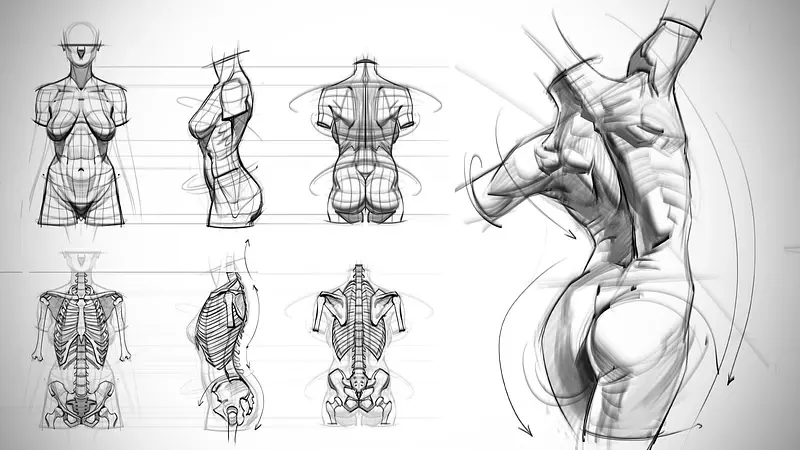
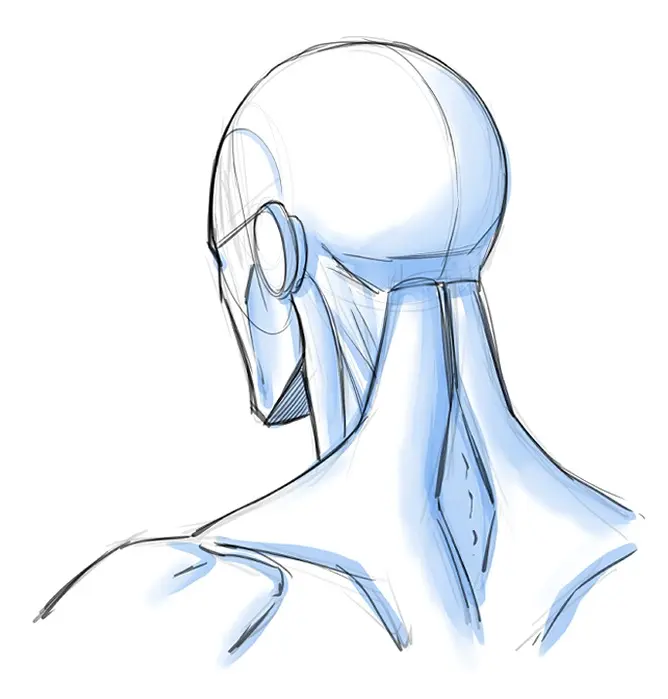
- Neglecting the trapezius muscles, which bridge the gap between the neck and the shoulders.
- Placing the neck too far forward on the torso, which ruins the balance of the spine.
Best tools for drawing anatomy
While you can draw a neck with any medium, using a graphite pencil with varying hardness levels is ideal for beginners. A 2H pencil is excellent for light, structural construction lines that can be easily erased, while a 2B or 4B pencil allows for darker shading to define the muscles. Using a kneaded eraser is also essential for lifting graphite to create highlights on the collarbones or the side of the neck.
If you prefer digital art, utilize layers to separate your structural guidelines from your final line work. This allows you to experiment with the neck's thickness and angle without ruining your initial sketch. Regardless of the medium, always keep your lines loose during the early stages. Focus on the gesture of the neck before committing to the detailed muscular definitions that finalize the drawing’s appearance.
How to shade a neck for depth
Shading is the final step that transforms a flat drawing into a three-dimensional form. Because the neck is cylindrical, it should have a gradient of light and shadow wrapping around its circumference. Identify your primary light source and apply darker values to the side of the neck furthest from the light. Use soft, blended strokes to suggest the roundness of the muscles rather than harsh, dark outlines.
Pay special attention to the cast shadows, particularly the shadow cast by the chin onto the upper neck. This shadow is often crescent-shaped and helps define the jawline's relationship to the throat. Additionally, the hollow space between the collarbones should be shaded to create a sense of depth. By carefully placing these shadows, you emphasize the structure of the sternocleidomastoid muscles and the overall volume of the neck, resulting in a professional and anatomically convincing final illustration.
Key facts
- The neck is essentially a cylinder connecting the head to the torso, anchored by the cervical spine.
- The sternocleidomastoid muscles create a distinct "V" shape connecting the mastoid process behind the ear to the sternum and clavicle.
- The Adam’s apple, or laryngeal prominence, is more pronounced in males and sits at the level of the fifth cervical vertebra.
- A common mistake is drawing the neck too thin; it should be roughly the width of the jawline at its widest point.
- The neck tilts forward slightly, rather than sitting perfectly vertical, to support the natural weight distribution of the human skull.
- Use soft, curved contour lines for the back of the neck to represent the trapezius muscle sloping down toward the shoulders.
The bottom line
Drawing a realistic neck requires moving beyond simple shapes to understand the underlying musculature and skeletal structure. By focusing on the sternocleidomastoid muscles, the slope of the trapezius, and the natural forward tilt of the cervical spine, you can create a lifelike connection between the head and body. Avoid overly thin proportions and prioritize the cylindrical volume to ensure your figure drawing remains anatomically convincing and balanced.
People also ask
Why does my neck drawing look like a floating head?
This happens when the connection point between the jaw and the shoulders is too narrow or lacks anatomical structure. Ensure the neck muscles overlap the jawline slightly to ground the head onto the torso.
How do I draw the neck from a side profile?
Focus on the S-curve created by the spine and the throat. The front of the neck curves inward toward the chin, while the back of the neck follows the slope of the trapezius muscle.
Should I draw the neck as a straight tube?
Avoid drawing the neck as a perfectly straight cylinder, as this looks rigid and unnatural. Always incorporate the slight forward tilt and the subtle muscular bulges of the sternocleidomastoid.
How much space should the neck take up on the shoulders?
The neck should originate from the center of the shoulder girdle, not the very back. It occupies the space between the two clavicles, which meet at the base of the throat.
Are there differences in neck anatomy between genders?
While the underlying skeletal structure is the same, male necks often feature more prominent laryngeal cartilage and thicker muscular definition. Female necks are typically depicted with smoother transitions and less pronounced muscular landmarks.
How do I shade a neck to make it look 3D?
Treat the neck as a cylindrical form and apply a gradient of light to shadow across its width. Keep the darkest shadows under the chin and along the side muscles to create depth.
This answer was created with the help of AI research tools and reference sources. Spotted an error? Let us know — we correct mistakes quickly. See our editorial policy.