How do you draw a pier step by step?
Short answer
Drawing a pier requires establishing a strong horizon line and using one-point perspective to create depth. By drawing converging lines toward a single vanishing point, you can accurately map the wooden planks and support pilings. This structural approach ensures the pier appears to recede realistically into the distance of your landscape.
On this page
How to set up perspective for a pier
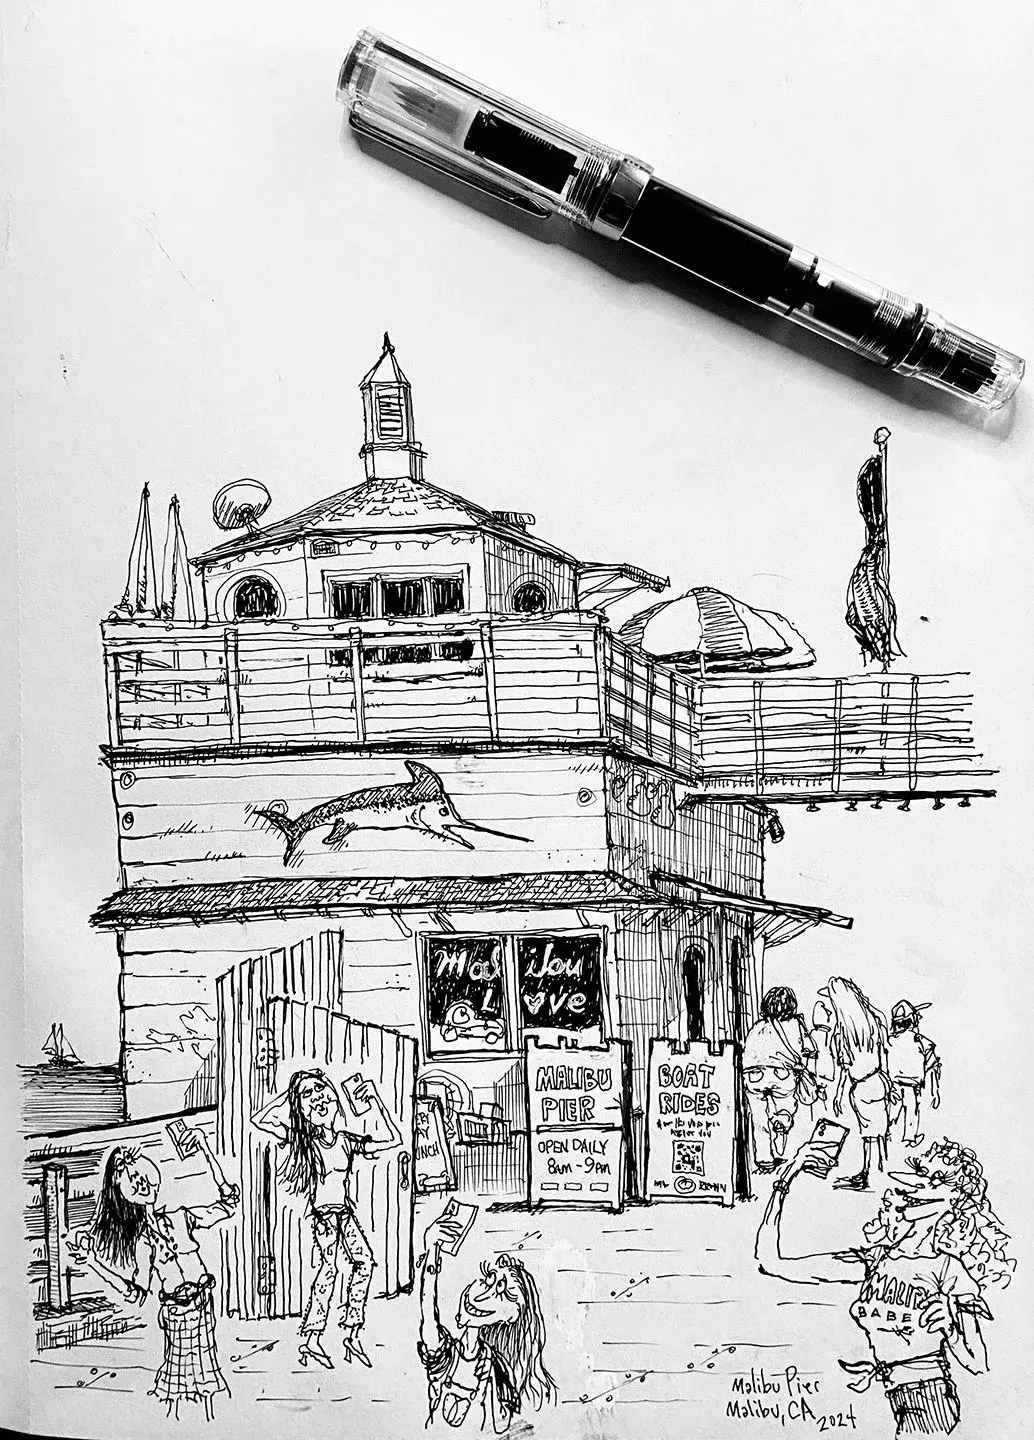
To draw a realistic pier, you must first establish a horizon line across your paper. This line represents the eye level of the viewer and determines where the sky meets the water. Place a single vanishing point somewhere along this horizon line, typically toward the center if you want the viewer to look straight down the length of the structure. All lines representing the sides of the pier must eventually converge at this specific point to create the illusion of depth.
Once the vanishing point is set, draw two light diagonal lines extending from the bottom corners of your page toward that point. These lines form the main edges of your pier. Keep these lines very faint, as they serve only as a guide for the structure. If you want the pier to appear wider, place your starting points further apart at the bottom of the page. This foundational framework is essential for maintaining consistent scale as the pier recedes into the background.
How to draw the wooden planks
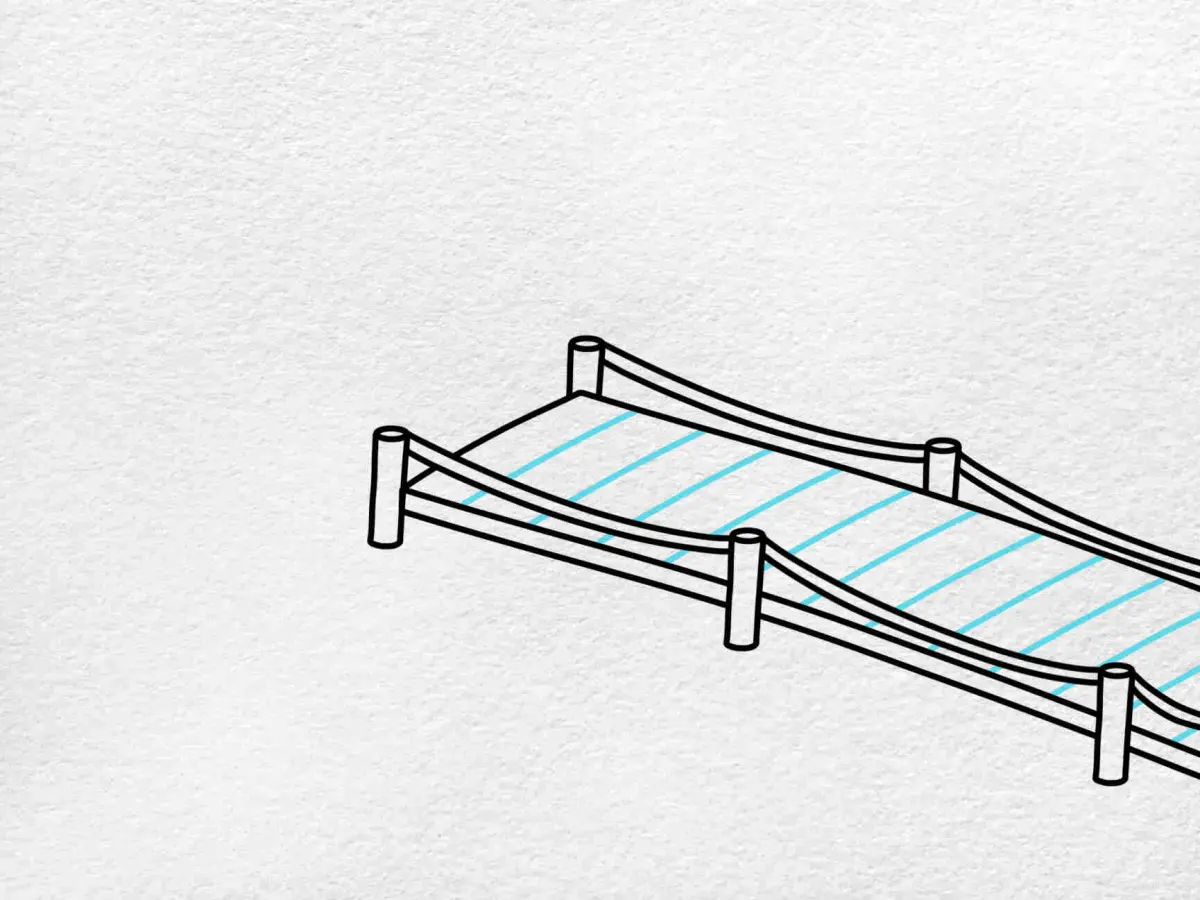
After establishing the structural edges, you can begin adding the surface details. Draw horizontal lines connecting the two converging side lines to represent the individual wooden planks. As you move closer to the vanishing point, these horizontal lines must be drawn closer together to simulate the compression of space. This technique, known as foreshortening, is critical for making the pier look like it is actually moving away from the viewer.
To add realism, vary the thickness of your horizontal lines slightly to suggest the gaps between planks. You can also add small vertical marks or knots on the wood grain to enhance the texture. Avoid making every plank perfectly uniform, as natural wood is rarely symmetrical. Follow these steps to complete the surface:
- Draw the first horizontal line at the very bottom of your pier outline.
- Place the next line slightly above it, ensuring the gap is narrower than the previous one.
- Continue this process, reducing the distance between lines as you approach the horizon.
- Erase the portions of the original diagonal guide lines that fall between the planks.
How to add pilings and support beams
A pier is not complete without the vertical pilings that support it above the water. Draw vertical lines descending from the edges of the pier at regular intervals. These pilings should be thicker and darker at the front of the pier, where they are closest to the viewer, and progressively thinner and lighter as they move toward the horizon. This variation in line weight helps create atmospheric depth in your drawing.
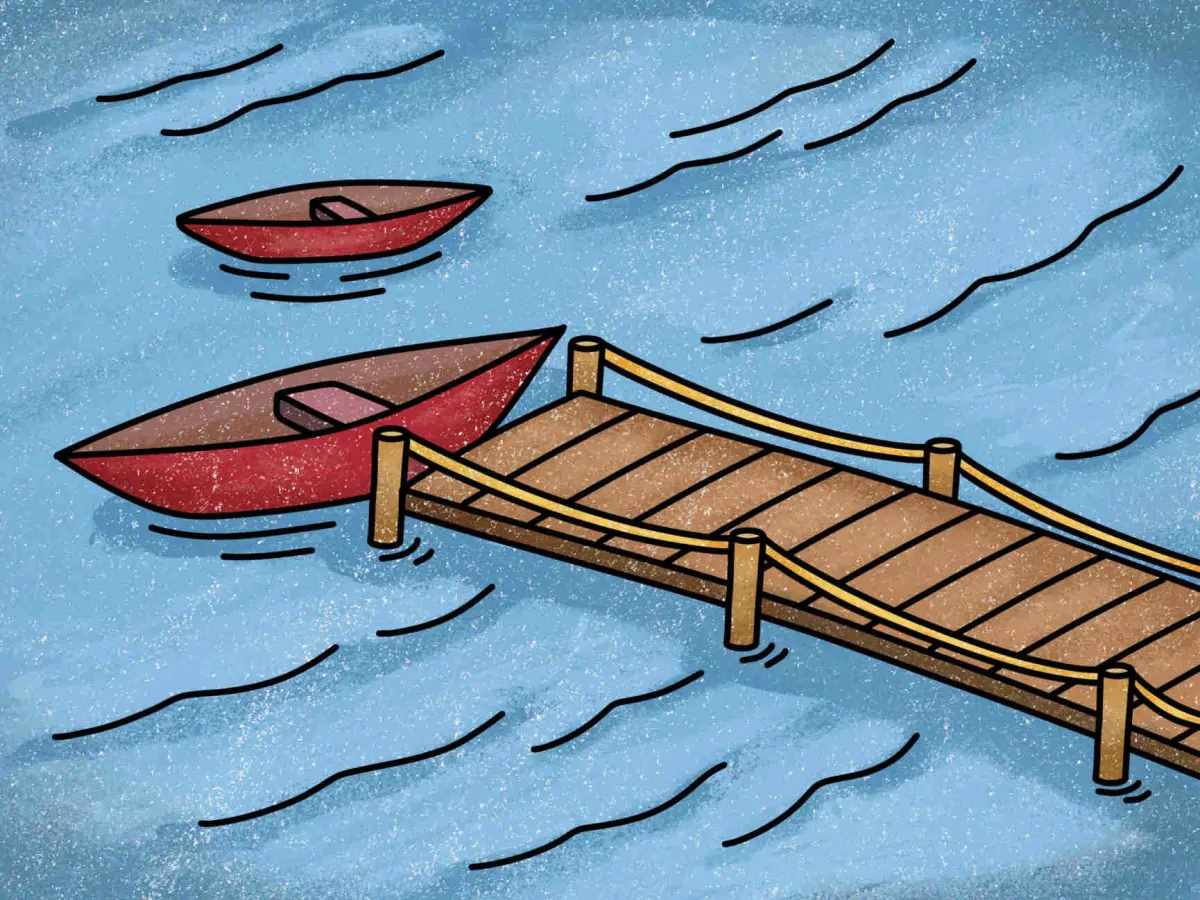
For the submerged portions of the pilings, draw short, slightly wavy horizontal lines at the water level to indicate ripples. If the water is calm, you can add a subtle reflection of the pilings directly beneath them. Ensure the reflections are slightly distorted or elongated to mimic the movement of the surface. Remember that the pilings should appear to be anchored firmly into the ground beneath the water, so ensure they extend far enough down to look structurally sound.
Common mistakes when drawing a pier
One of the most frequent errors is failing to align all receding lines with the vanishing point. If your diagonal lines do not meet exactly at the horizon, the pier will appear crooked or collapsed. Another common mistake is keeping the spacing between planks identical from the front to the back. Without proper foreshortening, the pier will look like a flat ladder rather than a three-dimensional structure extending into the distance.
Additionally, many beginners draw the pier edges as perfectly straight, rigid lines. In reality, wooden piers are often weathered and slightly irregular. You can improve your drawing by adding subtle imperfections, such as slightly uneven edges or small chips in the wood. Avoid drawing the pier too high on the page, as this can make the water look like a vertical wall. Keep the horizon line relatively low to give the viewer a natural perspective of looking across the water's surface.
Best tools for drawing landscapes
For beginners, a set of graphite pencils ranging from 2H to 6B provides the best versatility. Use the harder 2H pencils for the initial, faint perspective lines and the softer 6B pencils for adding dark, bold shadows and texture to the wood. A kneaded eraser is also essential, as it allows you to lift graphite gently without damaging the texture of the paper. This is particularly useful for creating highlights on the wet wood or the water's surface.
If you prefer working with ink, use fine-liner pens with varying tip sizes. A 0.1mm pen is excellent for the distant, thin lines near the vanishing point, while a 0.5mm pen works well for the foreground details. Always keep a ruler or a straightedge nearby to ensure your perspective lines remain accurate during the initial sketching phase. By combining these tools with a consistent focus on perspective, you can successfully render a pier that feels both solid and expansive within your landscape composition.
Key facts
- Use a vanishing point on the horizon line to ensure all perspective lines converge accurately.
- Draw a horizontal horizon line first to establish the eye level of your scene.
- Sketch the pier as a long, narrow trapezoid to represent the receding wooden planks.
- Add vertical pilings underneath the pier, ensuring they get shorter and closer together as they move toward the horizon.
- Use a ruler to maintain straight lines for the pier edges to prevent a distorted, wobbly appearance.
- Include cross-bracing (diagonal beams) between the pilings to add structural realism and visual interest.
The bottom line
Drawing a realistic pier relies entirely on mastering linear perspective. By establishing a clear horizon line and a single vanishing point, you create the necessary depth for the structure. Focus on the convergence of lines and the shortening of vertical pilings to guide the viewer’s eye. With these foundational techniques, you can effectively translate a complex three-dimensional scene onto a flat, two-dimensional surface with confidence.
People also ask
How do I make the pier look like it is going into the water?
Draw the base of the pilings where they meet the water line using horizontal, slightly wavy strokes. This creates the illusion of a reflection and anchors the structure to the surface.
Should I draw every single wooden plank on the pier?
Avoid drawing every plank, as this often makes the drawing look cluttered. Focus on the planks closest to the viewer and simplify them into thin horizontal lines as they recede into the distance.
What is the most common mistake when drawing a pier?
The most frequent error is failing to use a vanishing point, which causes the pier to look crooked or flat. Always connect your diagonal lines to a single point on the horizon.
How do I add depth to the wooden texture?
Use light, irregular vertical dashes on the surface of the pier to suggest wood grain. Keep these markings sparse toward the back to maintain the sense of distance.
How do I draw the water surrounding the pier?
Use long, horizontal strokes for the water surface and vertical, darker strokes directly beneath the pilings to simulate reflections. This contrast helps define the pier's height above the water.
Can I add objects like lanterns or railings to the pier?
Yes, but ensure these follow the same perspective rules as the pier itself. If you add a railing, its top and bottom edges must also converge toward your vanishing point.
This answer was created with the help of AI research tools and reference sources. Spotted an error? Let us know — we correct mistakes quickly. See our editorial policy.