How do you draw a spider step by step?
Short answer
Drawing a spider involves constructing two main body segments—the cephalothorax and the abdomen—followed by adding eight jointed legs. By focusing on the correct proportions and the arrangement of the eyes, you can create a realistic arachnid. Practice sketching basic ovals first to establish the spider's posture before refining the final details.
On this page
How to draw a spider step by step
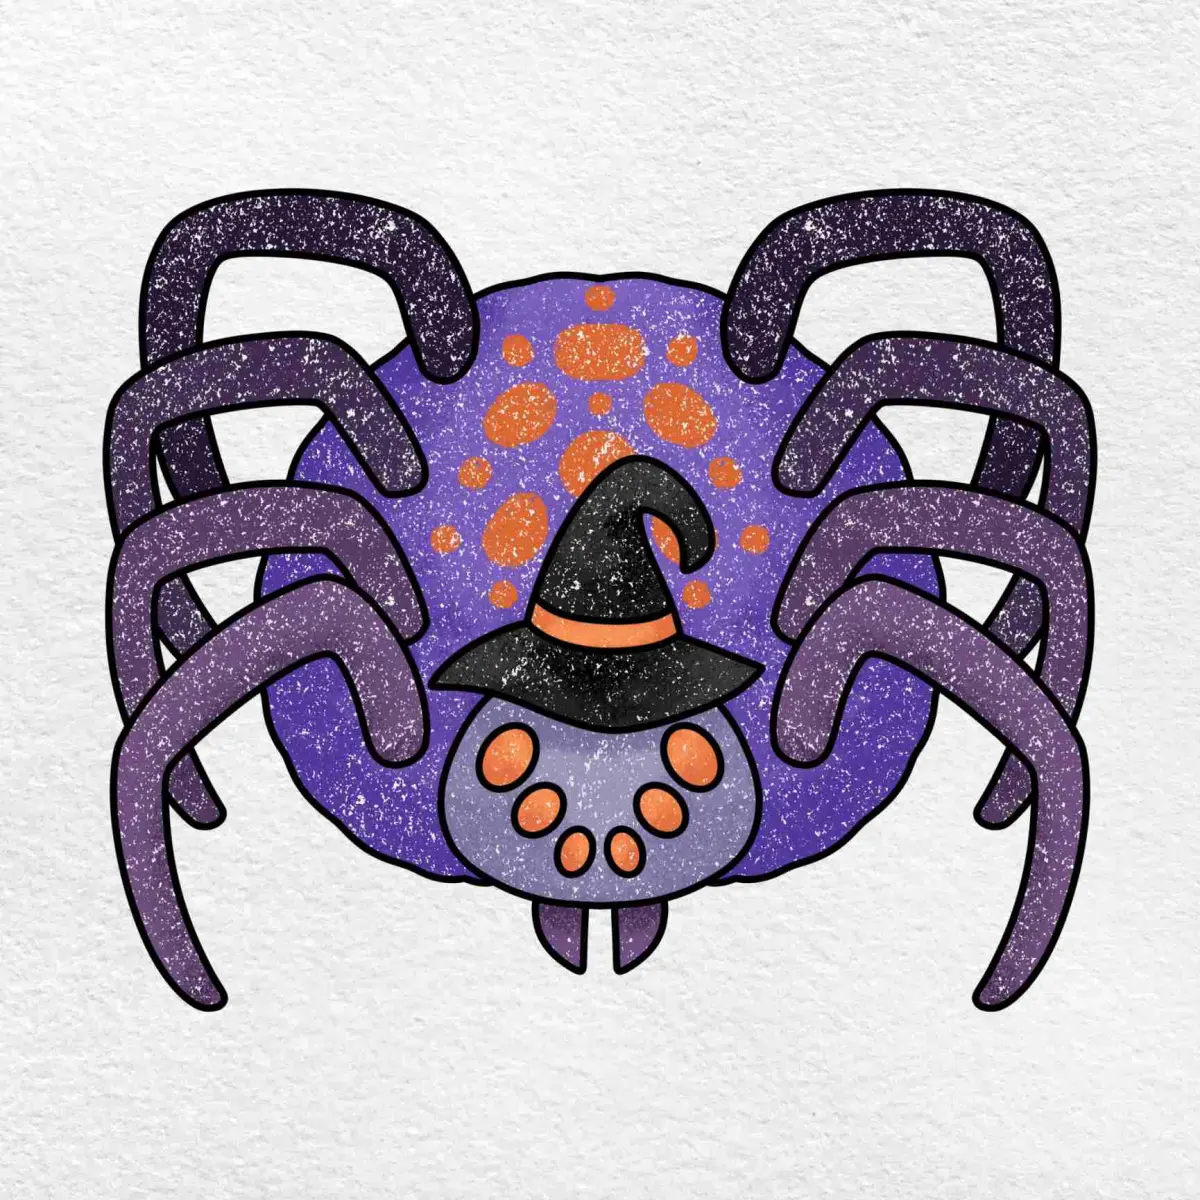
To draw a spider, begin by sketching a small circle for the cephalothorax and a larger, slightly oval shape attached behind it for the abdomen. These two segments form the core of the spider's body. Once the body is positioned, draw four lines extending from each side of the cephalothorax to represent the legs. Keep these lines light so you can easily adjust them later.
After establishing the basic framework, follow these steps to refine the anatomy:
- Thicken the leg lines by drawing a second parallel line along each, creating segments that taper toward the tips.
- Add small, rounded joints at the "knees" and ankles of each leg to mimic the natural articulation of an arachnid.
- Draw eight tiny dots on the front of the cephalothorax to represent the eyes, typically arranged in two or four rows depending on the species.
- Add small, downward-pointing fangs or pedipalps near the front of the head to complete the spider's distinct profile.
Best tools for drawing spiders
For beginners, a standard graphite pencil set ranging from HB to 4B is ideal for creating both structural guidelines and final shading. HB pencils are perfect for the initial, faint sketches, while 4B pencils allow for darker, bolder lines on the legs and body. Using a high-quality eraser is essential for cleaning up the construction lines once the final form is set.
If you prefer working with ink, use fine-liner pens with varying tip sizes. A 0.1mm pen is excellent for drawing the fine hairs or "setae" that cover a spider's body, while a 0.5mm pen works well for the main outline. Choose smooth, acid-free paper to ensure your lines remain crisp and do not bleed. A blending stump can also help smooth out the graphite shading on the abdomen, giving it a more realistic, rounded texture.
How to make a spider look realistic
Realism in spider drawings comes down to capturing the texture of the exoskeleton and the specific curvature of the legs. Spiders are covered in tiny sensory hairs, which can be represented by adding short, flicking strokes along the edges of the legs and body. Focus on the highlights and shadows; the cephalothorax and abdomen are often shiny, so leave a small white space to represent a light reflection.
The legs are the most complex part of the anatomy and often define the spider's movement. To achieve a natural look, vary the angles of the joints so that no two legs look identical. Some legs should be positioned higher, while others touch the ground, creating a sense of depth. Observing real spiders or high-resolution photographs will help you understand how the weight of the body rests on these delicate, jointed limbs.

Common mistakes when drawing spiders
One of the most frequent errors is drawing legs that are too thin or lack proper segmentation. Spiders have distinct joints, and failing to include these makes the legs look like simple, flexible wires. Another common mistake is miscounting the legs; always ensure there are exactly eight limbs, as six-legged drawings are biologically inaccurate for spiders.
- Forgetting the pedipalps, which are the two small appendages near the mouth, often makes the head look incomplete.
- Placing the legs too high on the abdomen instead of the cephalothorax, which is the anatomical center for limb attachment.
- Making the body segments perfectly round, which ignores the natural, slightly flattened, or varied shapes found in nature.
- Using uniform line thickness throughout the entire drawing, which flattens the image and removes the sense of three-dimensional volume.
Why spider anatomy matters for artists
Understanding spider biology allows you to move beyond simple cartoons and create illustrations that feel grounded in reality. The cephalothorax houses the brain and muscles, while the abdomen contains the digestive system and silk-producing spinnerets. Recognizing that the abdomen is usually much larger and softer than the cephalothorax helps artists place shadows correctly, as the abdomen often casts a slight shadow over the rear legs.
Studying different species, such as the orb-weaver or the jumping spider, reveals how varied these creatures truly are. Orb-weavers have long, graceful legs and bulbous abdomens, while jumping spiders are compact with shorter, sturdier legs and large, expressive eyes. By learning these structural differences, you can tailor your drawings to reflect specific species rather than a generic representation. This attention to detail transforms a simple sketch into a sophisticated study of arachnid form, showcasing the intricate beauty of these often-misunderstood creatures through precise and intentional artistic choices.
Key facts
- Spiders have two main body segments: the cephalothorax (head and thorax combined) and the abdomen.
- A spider’s legs always attach to the cephalothorax, not the abdomen.
- Most spiders have eight legs, which should be drawn as four pairs originating from the front body segment.
- Many spider species possess eight simple eyes, often arranged in two or three distinct rows on the front of the head.
- Use a light pencil sketch for the basic shapes before adding dark ink or final details to ensure correct proportions.
- Pedipalps are the two small, arm-like appendages near the mouth that help distinguish spiders from insects.
The bottom line
Drawing a spider requires focusing on its unique anatomy rather than just its legs. By correctly placing the cephalothorax and abdomen, and ensuring all eight legs originate from the front segment, you create a biologically accurate illustration. Avoid the common mistake of adding antennae, which spiders lack. With practice, layering these simple geometric shapes allows you to capture the distinct, predatory nature of these fascinating arachnids.
People also ask
How many segments should a spider's body have?
A spider’s body is composed of two primary segments. The front part is the cephalothorax, and the larger, rounded rear part is the abdomen.
Where do the legs connect on a spider?
All eight legs must connect to the cephalothorax. Connecting them to the abdomen is a common anatomical error that makes the drawing look like an insect.
Should I draw the legs with joints?
Yes, each spider leg typically has seven segments, giving them a bent, angular appearance. Drawing them as straight lines makes the spider appear stiff and unnatural.
How do I make the spider look realistic?
Add fine, hair-like bristles called setae to the legs and body. These sensory structures are a defining feature of many arachnids.
What is the best way to draw spider eyes?
Draw them as small, dark circles clustered on the front of the cephalothorax. Different species have different patterns, but a simple 2-4-2 arrangement is a standard representation.
Can I draw a web to go with the spider?
A web adds context, but remember that radial webs consist of anchor lines connected by a spiral. Keep the lines thin and geometric to contrast with the spider's solid body.
This answer was created with the help of AI research tools and reference sources. Spotted an error? Let us know — we correct mistakes quickly. See our editorial policy.