How do you draw a pony?
Short answer
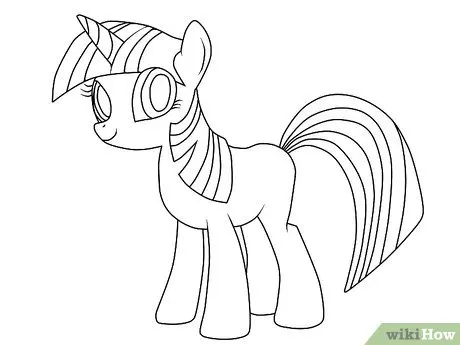
Drawing a pony involves breaking the animal’s anatomy into basic geometric shapes like circles and ovals. By sketching a large circle for the chest and a smaller one for the head, you establish proportions. Connect these with curved lines to form the back and belly, then add simple cylinders for legs.
On this page
How to sketch basic pony proportions
To draw a pony accurately, you must first understand its skeletal structure through simple shapes. Start by drawing two overlapping circles: a larger one for the ribcage and a slightly smaller one for the hindquarters. Place a smaller, oval-shaped circle near the chest to serve as the head. This foundational sketch acts as a skeletal guide, ensuring your pony does not look distorted or disproportionate.
Once the main body masses are placed, connect them with two smooth, sweeping lines to create the back and the underbelly. The neck should be a trapezoid shape connecting the head to the chest, angling slightly upward. Keep these initial lines very light, as they are merely placeholders for the final details. Using a hard graphite pencil, such as an H or 2H, allows you to erase these guidelines easily once you begin refining the silhouette.
How to draw pony legs and joints
Pony legs are often the most challenging part of the drawing because they involve complex joints. A pony’s leg is not a straight stick; it features distinct angles at the shoulder, knee, and fetlock. To simplify this, draw the legs as a series of connected cylinders. Remember that the front legs are generally straighter, while the hind legs have a more pronounced curve at the hock, which acts like a human heel.
Follow these steps to ensure the legs look natural and balanced:
- Mark the shoulder and hip joints with small dots to establish the top of each leg.
- Draw thin, light lines downward to indicate the length of the upper and lower leg segments.
- Add small circles at the joints to represent the knee and the fetlock.
- Finish by drawing the hoof as a small, rounded wedge shape at the base of each leg.
Always ensure the legs are long enough; a common error is making them too short, which makes the pony look like a cartoonish creature rather than a realistic animal.
Best drawing techniques for pony manes and tails
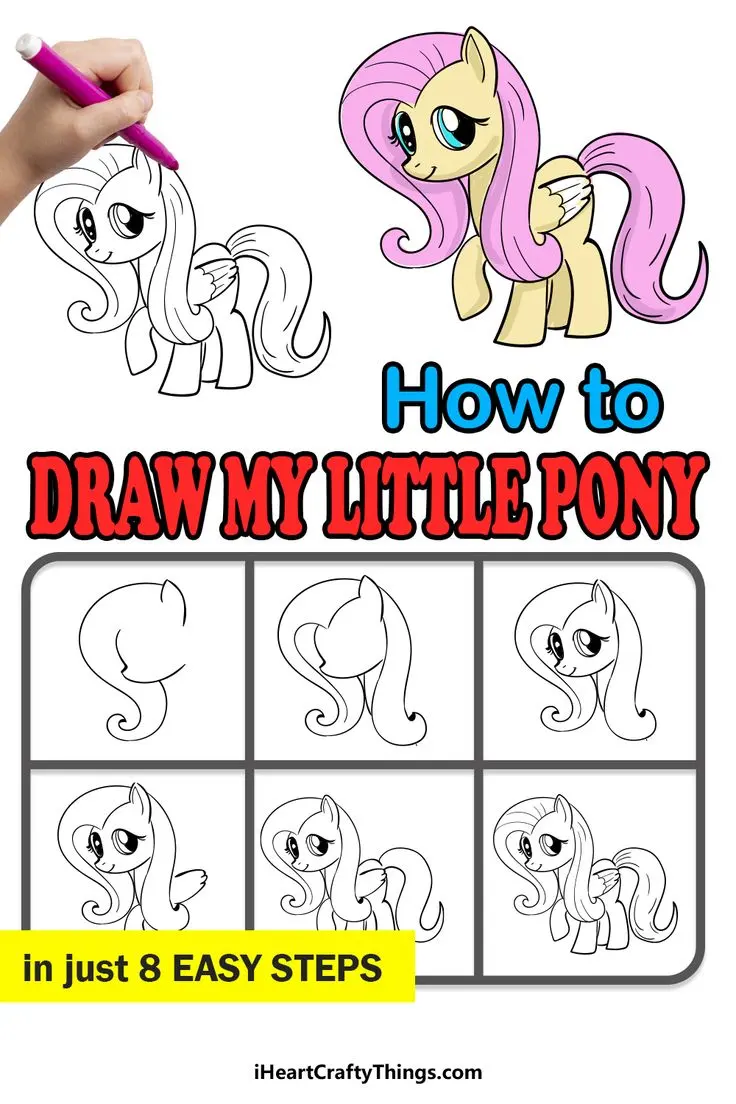
The mane and tail provide the pony with its distinct character and movement. Instead of drawing individual hairs, treat the mane as a single, flowing mass or a series of large ribbons. Start at the poll—the area between the ears—and let the mane drape over the neck following the curve of the body. Adding a few stray, thinner lines at the edges of these masses will suggest texture without cluttering the drawing.
When drawing the tail, consider the pony's posture. If the pony is standing still, the tail should hang straight down toward the ground. If the pony is running or turning, the tail should flow outward in the opposite direction of the movement to imply wind resistance. Use long, sweeping strokes to define the tail's shape. Focus on the volume and weight of the hair rather than trying to draw every single strand, as this maintains a clean, professional look.
Common mistakes when drawing pony faces
The face is where many artists struggle, often resulting in features that look too human or misplaced. A common error is placing the eyes too far forward on the head. In reality, a pony’s eyes are positioned on the sides of the head to provide a wide field of vision. Keep the eyes almond-shaped and relatively large, as this is a defining characteristic of the species. The nostrils should be wide and positioned near the bottom of the muzzle, while the ears should be small and expressive.
Avoid these frequent pitfalls to improve your facial accuracy:
- Drawing the mouth too high up, which makes the pony look like it is smiling unnaturally.
- Making the jawline too square; keep it soft and rounded to reflect the pony's gentle anatomy.
- Forgetting to add the bridge of the nose, which should be a gentle, slightly concave curve.
- Placing the ears too far apart, which can make the head appear unnaturally wide.
How to add shading and texture
Shading is the final step that transforms a flat outline into a three-dimensional form. Identify where your light source is coming from—for instance, if the sun is above and to the left, the right side of the pony’s body and the underside of its belly should be darker. Use cross-hatching or smooth blending to create gradual transitions between light and shadow. Focus on the curves of the muscles, particularly around the shoulders and thighs, to give the pony a sense of power and depth.
To add realistic texture, use short, directional pencil strokes to mimic the direction of hair growth. Keep the coat smooth by blending your pencil marks, but add slightly darker, rougher strokes near the hooves and the base of the mane. By varying the pressure of your pencil, you can create a range of tones that define the pony's musculature. Remember that less is often more; a few well-placed shadows will do more to define the form than heavy, dark outlines ever could.
Key facts
- Ponies are defined by a height of 14.2 hands (58 inches) or less at the withers.
- Use basic geometric shapes like circles for the head and chest to build your initial frame.
- A pony’s neck is typically shorter and thicker in proportion to its body compared to a horse.
- Keep the legs relatively short and sturdy to accurately reflect the pony's compact build.
- The ears of a pony are often set further apart on the head than those of a full-sized horse.
- Always sketch lightly with a pencil first so you can easily erase and adjust your proportions.
The bottom line
Drawing a pony requires balancing its compact, sturdy anatomy with accurate proportions. By starting with simple geometric shapes and focusing on the shorter, thicker neck and leg structure, you can capture the essence of the animal. Practice observing real ponies to understand how their muscles sit beneath the coat. With patience and light sketching, you will develop the skills to create a recognizable and charming illustration.
People also ask
How do I make the pony look proportional?
Focus on the "three-circle rule" where one circle represents the head, one the chest, and one the hindquarters. Ensure the distance between these shapes matches the length of the pony's legs.
Should I draw the mane before the neck?
No, always draw the neck structure first to establish the pony's posture. Adding the mane afterward ensures the hair flows naturally over the established muscle and bone.
What is the most common mistake when drawing pony legs?
Beginners often draw the legs too thin or too long. Remember that ponies are bred for sturdiness, so use thicker lines for the cannon bones and hooves.
How do I draw the eyes correctly?
Place the eye on the side of the head rather than the front, as prey animals have laterally placed eyes. A simple almond shape with a small highlight creates a lifelike appearance.
How do I show movement in my drawing?
Angle the body slightly and bend one of the legs at the joint to suggest a walking or trotting motion. This breaks the static look of a standing animal.
Do I need to use complex shading?
Start with simple light and shadow to define volume. Identify a single light source and shade the opposite side of the body to create a three-dimensional effect.
This answer was created with the help of AI research tools and reference sources. Spotted an error? Let us know — we correct mistakes quickly. See our editorial policy.