How do you draw an ant step by step?
Short answer
To draw an ant, focus on its three-part body structure: the head, thorax, and abdomen. Use simple ovals to map these segments, connecting them with thin lines for the waist and legs. By layering these basic shapes and adding six jointed legs and two antennae, you can easily capture the insect’s unique anatomy.
On this page
How to draw an ant step by step
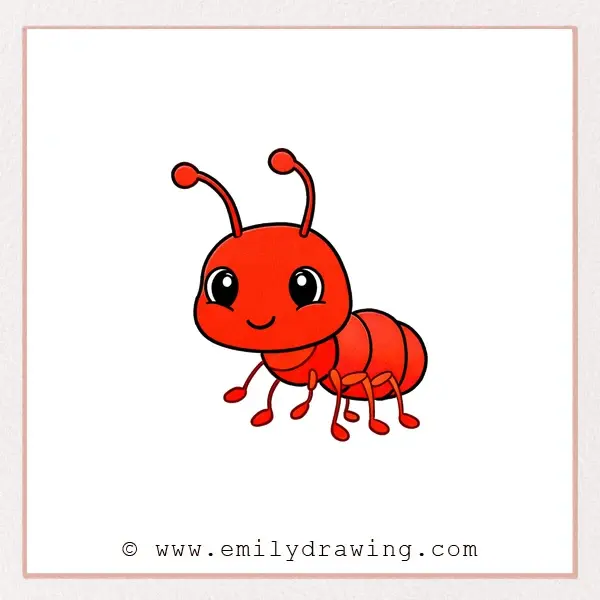
Drawing an ant begins with understanding its segmented body. Start by sketching three distinct shapes in a row: a small circle for the head, a slightly larger oval for the thorax, and a large, rounded abdomen at the back. Ensure the abdomen is the largest section, as this is where the ant stores its internal organs. Connect these segments with thin, curved lines to establish the body’s posture.
Once the main body is outlined, add the appendages. Ants have six legs that attach specifically to the middle section, or thorax. Draw the legs with multiple joints to give them a natural, angular appearance. Finally, add two long, elbowed antennae to the head. These sensory organs are crucial for the ant's communication and navigation. Refining these basic shapes into a cohesive form is the most efficient way to achieve an accurate scientific illustration.
Best tools for drawing insects for beginners
When starting out, use a hard graphite pencil, such as an HB or 2H, to sketch your initial guidelines. These pencils allow for light, erasable lines that won't smudge or damage the paper. A high-quality eraser is also essential for cleaning up the construction lines once your final form is established. For the final outlines, a fine-liner pen or a sharp 2B pencil provides the necessary contrast to make the drawing pop.
Using smooth, acid-free drawing paper helps prevent the graphite from catching on texture, allowing for finer detail work. Beginners often find that using a reference photograph of an ant species, such as the common black garden ant (Lasius niger), helps maintain anatomical accuracy.
- HB or 2H pencils for light sketching.
- Fine-liner pens for permanent outlines.
- Kneaded erasers for precision cleaning.
- Smooth-surface paper to improve line control.
- Reference photos for anatomical guidance.
Why ant anatomy matters for artists
Ants belong to the family Formicidae and are defined by their "wasp-waist," known as the petiole. This thin connection between the thorax and abdomen is a signature feature that distinguishes them from other insects. If you omit this narrow segment, your drawing will look more like a beetle or a generic bug rather than an ant. Paying attention to this specific junction creates a sense of realism and biological accuracy.
Furthermore, the legs of an ant are not simple sticks; they are complex, multi-segmented structures. Each leg consists of a coxa, trochanter, femur, tibia, and tarsus. While you do not need to label these parts, understanding that the legs bend at specific, sharp angles will prevent your drawing from looking stiff or cartoonish. Observing how the legs splay out from the thorax provides a sense of balance and movement, making the insect appear as if it is actively walking across the page.
Common mistakes when drawing ants
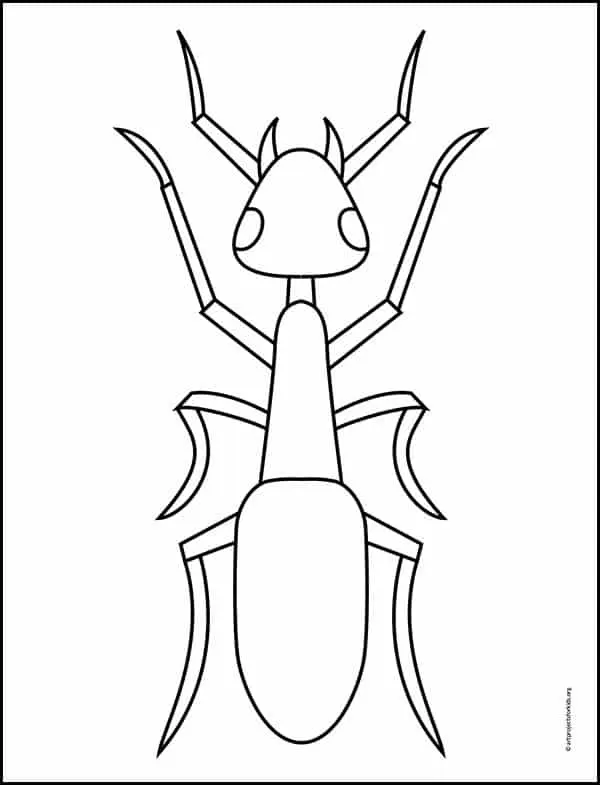
One of the most frequent errors is drawing the legs attached to the abdomen. In nature, all six legs are anchored to the thorax, which is the muscular center of the insect. Placing legs on the abdomen makes the ant look anatomically impossible and disrupts the flow of the drawing. Always double-check your anchor points before finalizing the leg details to ensure they emerge from the correct segment.
Another common mistake involves the antennae. Beginners often draw them as simple, straight lines coming out of the top of the head. However, ant antennae are elbowed, meaning they have a distinct bend near the base. They should also be attached near the mouthparts or the middle of the face, not the very top of the head. Avoid making the antennae too thick; they should be delicate and thin to reflect their function as sensitive tools for touch and smell.
How to add texture and detail to insects
Once the structural foundation is complete, you can add texture to give your ant a lifelike appearance. Ants have an exoskeleton made of chitin, which often has a slight sheen. Use light cross-hatching or stippling on the edges of the abdomen and thorax to suggest this hard, reflective surface. Keep the center of the body segments lighter to create a highlight, which simulates the way light hits a rounded, shiny object.
To finish the drawing, add fine hairs, known as setae, along the legs and body. Many ant species are covered in these tiny bristles, which act as sensory receptors. Use quick, short flicking motions with your pen or pencil to create these hairs, focusing on the joints and the underside of the body. Adding these subtle details elevates a simple sketch into a professional-looking biological study, capturing the essence of the insect while maintaining a clean and clear artistic style.
Key facts
- Ants belong to the family Formicidae and possess a distinct three-part body structure: head, thorax, and abdomen.
- Always draw the thorax as the largest central segment to maintain anatomical accuracy.
- Ants have six legs, all of which must be attached to the thorax, not the abdomen.
- Use thin, jointed lines for the legs to represent the three segments of an insect limb.
- Include two antennae attached to the head, which should be elbowed or "geniculate" in appearance.
- Avoid drawing a round, singular body; instead, focus on the narrow "waist" called the petiole that connects the thorax to the abdomen.
The bottom line
To draw an ant accurately, focus on its three-part segmented body and the characteristic narrow waist. Always attach all six legs to the central thorax and include elbowed antennae on the head. By prioritizing these anatomical details over complex shading, you create a clear representation of the insect. Remember that worker ants lack wings, so keeping the silhouette simple and segmented is the key to success.
People also ask
How many segments should an ant's body have?
An ant’s body is divided into three main segments: the head, the thorax, and the abdomen. These are connected by a narrow waist, which is a key identifying feature of the species.
Should I draw wings on my ant?
Only reproductive ants, known as alates, have wings. If you are drawing a worker ant, which is the most common type seen foraging, you should omit the wings entirely.
Where do the legs attach to the body?
All six legs must attach to the thorax, which is the middle section of the body. Beginners often mistakenly attach legs to the abdomen, which is anatomically incorrect for insects.
How do I make the antennae look realistic?
Ant antennae are typically elbowed, meaning they have a distinct bend in the middle. Drawing them as a single straight line will make the drawing look less like a real ant.
What is the best way to draw the mandibles?
Draw two small, pincer-like shapes extending from the front of the head. These mouthparts are essential for an ant to carry food and defend itself.
Are there different sizes of ants I should consider?
Yes, ants vary greatly in size depending on their caste and species. When drawing, ensure the head is proportional to the thorax to avoid making the ant look cartoonish.
This answer was created with the help of AI research tools and reference sources. Spotted an error? Let us know — we correct mistakes quickly. See our editorial policy.