How do you draw an axolotl step by step?
Short answer
Drawing an axolotl involves sketching a rounded, tadpole-like body with a wide, smiling head. Focus on the signature feathery external gills protruding from the sides of the head. Add small, stubby legs and a long, finned tail to complete the creature. Use soft, curved lines to capture its unique, youthful, salamander-like appearance.
On this page
How to sketch the basic axolotl shape
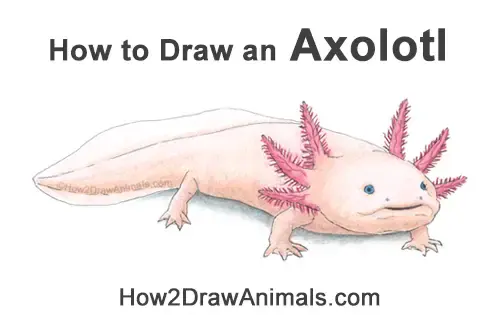
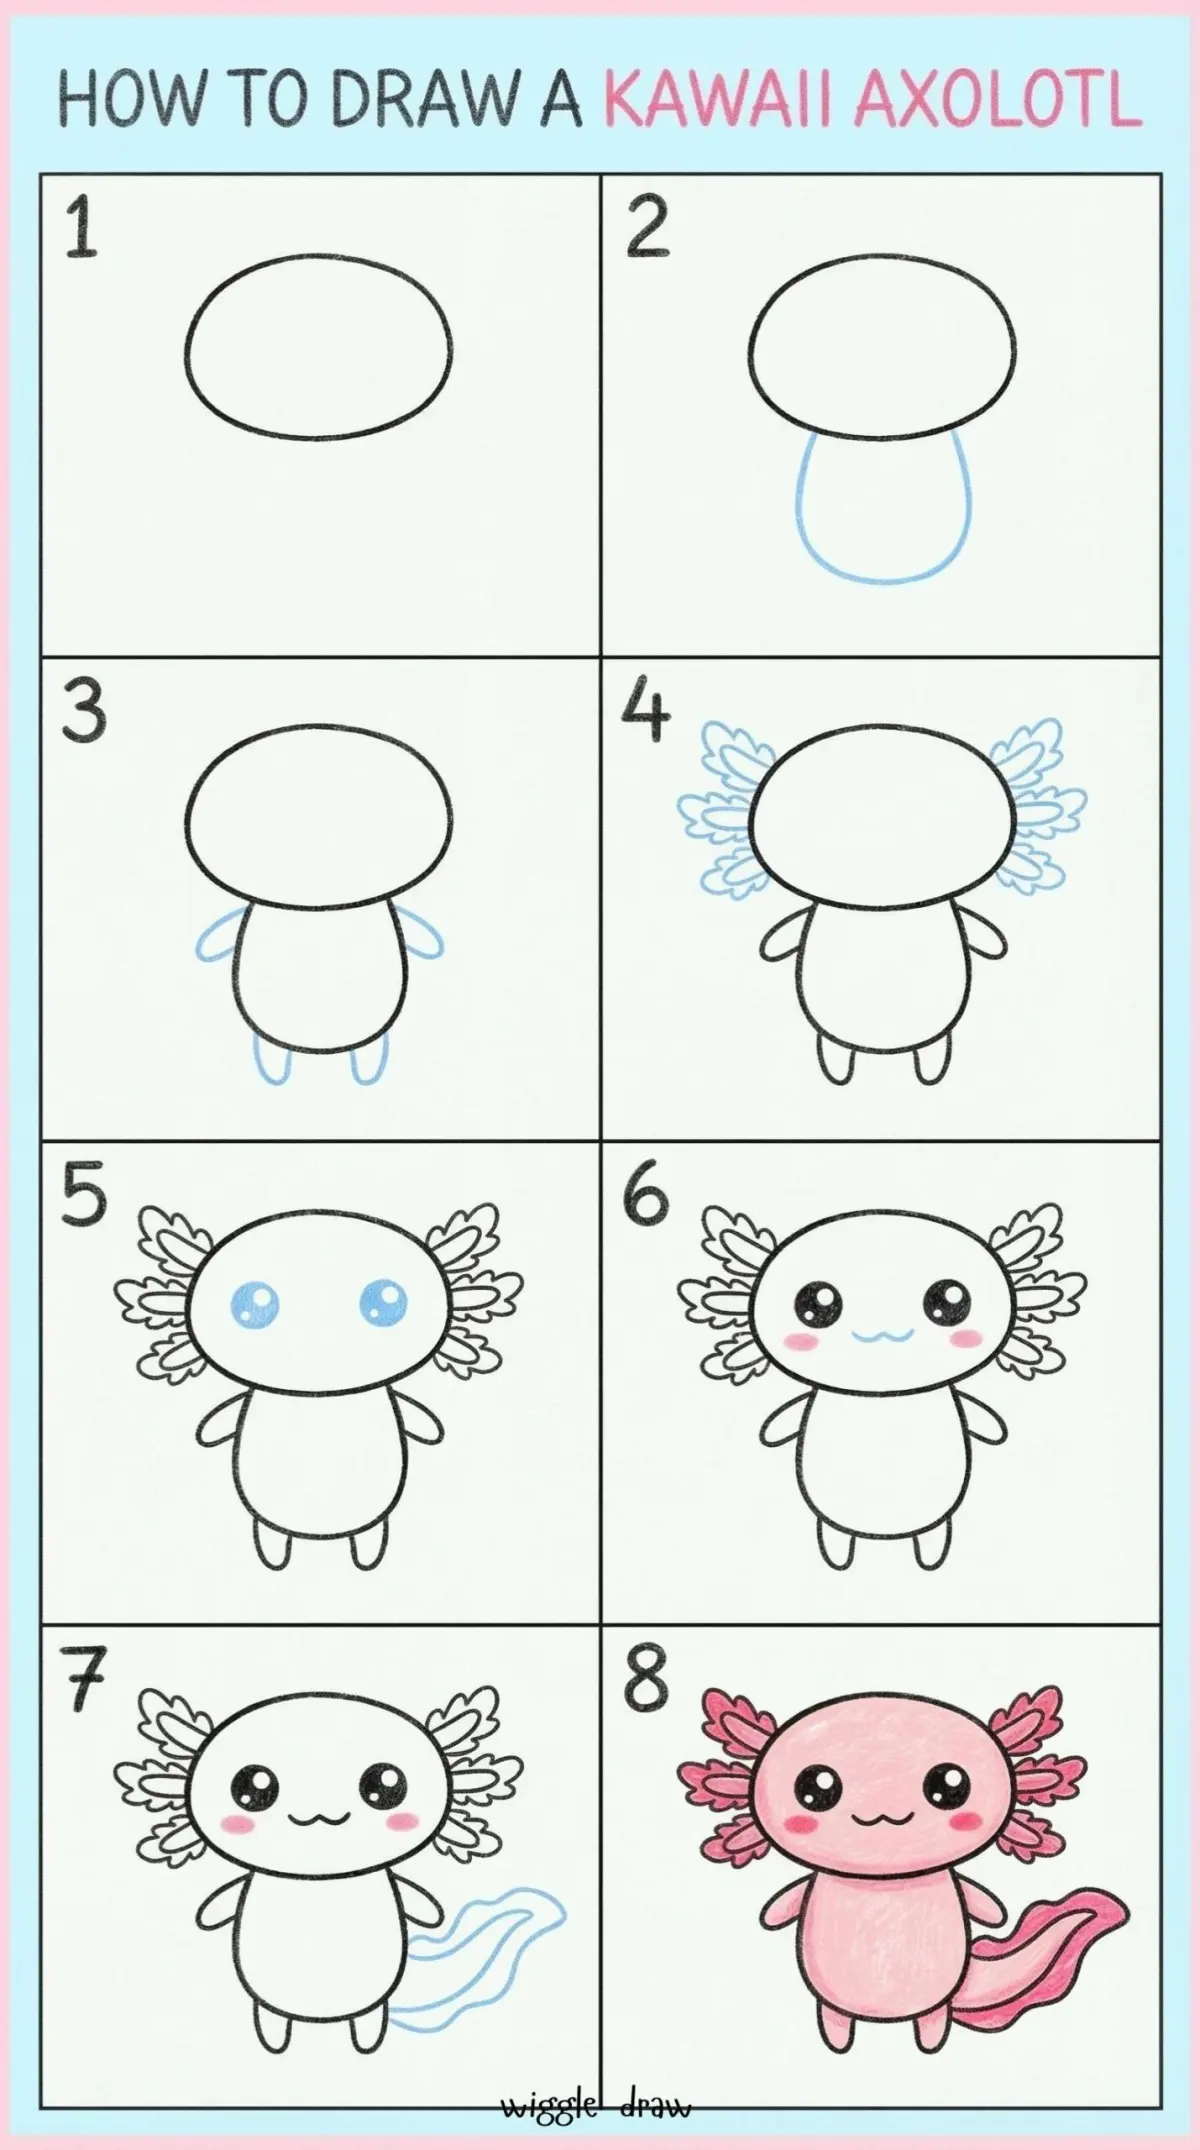
To begin drawing an axolotl, start by visualizing the creature as a soft, elongated oval. Lightly sketch a large, rounded head that transitions smoothly into a thick, tapering body. Unlike many other salamanders, axolotls have a blunt, wide snout that gives them a perpetual, friendly smile. Keep your initial pencil strokes very faint so you can easily adjust the proportions before finalizing the outline.
Focus on the posture of the creature to ensure it looks natural. Most axolotls are depicted in a resting position, with their bodies slightly curved as if floating in water. Ensure the transition between the head and the torso is seamless, as these amphibians lack a distinct neck. By maintaining these rounded, fluid shapes, you establish a strong foundation for the more complex features that define the species.
How to draw axolotl gills and facial features
The most recognizable feature of an axolotl is its set of three feathery external gills on each side of the head. To draw these, start by sketching three long, curved stalks extending outward from the back of the head. Add small, V-shaped branches along these stalks to create the signature frilly, plant-like texture. These gills should look delicate and airy, rather than stiff or heavy.
For the face, place two small, wide-set eyes on the sides of the head. Because axolotls have simple, lidless eyes, a small dark circle with a lighter highlight is sufficient. Draw a wide, horizontal line for the mouth, curving it slightly upward at the corners to emphasize the creature's characteristic grin. Keep the nose area subtle, consisting of two tiny dots near the front of the snout.
How to add limbs and tail details
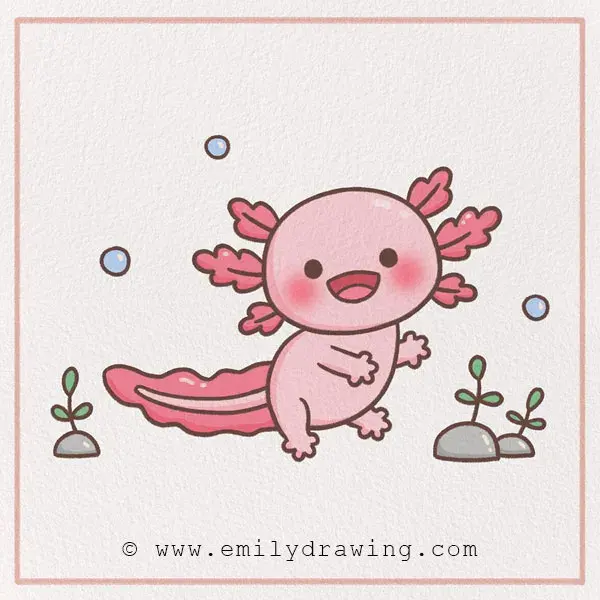
Axolotls possess four short, stubby legs that are deceptively simple in structure. Each leg should be positioned near the base of the head and the start of the tail, respectively. Draw the limbs as thick, rounded cylinders that end in small, splayed toes. Most axolotls have four toes on their front feet and five toes on their back feet, though a simplified version can use three or four for each.
The tail is a critical component of the axolotl's anatomy, acting as a powerful swimming organ. Extend the body into a long, flattened tail that tapers to a rounded point. Add a thin dorsal fin that runs along the top of the tail and extends slightly onto the back. Use these steps to finalize the silhouette:
- Draw the upper and lower edges of the tail as a continuous, smooth curve.
- Ensure the fin membrane looks translucent by using very light, wispy pencil lines.
- Check that the tail length is roughly equal to the length of the body.
Common mistakes when drawing axolotls
A frequent error is drawing the body too thin or rigid, which strips the axolotl of its soft, aquatic charm. Axolotls are neotenic, meaning they retain larval features throughout their lives, so avoid adding sharp angles or overly muscular limbs. If the body looks too much like a lizard or a gecko, soften your lines and increase the overall roundness of the torso.
Another common mistake involves the placement and density of the gills. Beginners often draw the gills too close to the eyes or make them look like solid blocks rather than branching structures. Remember that the gills are meant to look like soft, flowing plumes that drift in the water. If the gills appear too heavy, erase the bulk and focus on the thin, branching lines that give them their characteristic, feathery appearance.
Best techniques for shading and finishing
Once the line art is complete, shading brings the drawing to life by emphasizing the creature's smooth, moist skin. Use a soft blending stump or a light touch with a graphite pencil to create subtle shadows under the belly and along the underside of the tail. This technique creates a sense of volume, making the axolotl appear as though it is floating in a three-dimensional space.
To add final details, consider the following tips:
- Use tiny, scattered dots across the back to represent the axolotl's natural skin texture.
- Leave the center of the belly slightly lighter to suggest a rounded, soft surface.
- Add a few faint, wavy lines around the tail to imply the movement of water.
- Keep the overall shading light, as axolotls—especially the common leucistic variety—are known for their pale, glowing appearance.
By focusing on these subtle gradients, you can transform a flat sketch into a realistic representation of this fascinating aquatic animal. Take your time with the shading, as it is the final step in achieving a professional and polished look for your artwork.
Key facts
- Axolotls are neotenic salamanders, meaning they retain their larval features like external gills throughout their entire adult lives.
- Their signature look features a wide, flat head and three pairs of feathery external gill stalks protruding from the sides of the neck.
- When drawing, start with a "U" shape for the head to capture their characteristic blunt, rounded snout.
- Their eyes are small, lidless, and positioned on the sides of the head, giving them a friendly, wide-eyed expression.
- The body is long and cylindrical, typically about one-third the total length of the animal, ending in a paddle-like tail.
- Avoid drawing sharp, angular lines; axolotls have soft, rounded contours and a smooth, gelatinous appearance.
The bottom line
Drawing an axolotl requires prioritizing soft, rounded shapes over rigid anatomy. By focusing on the wide, blunt head, the distinct feathery gills, and the long, paddle-like tail, you can capture their unique neotenic appearance. Remember to keep the eyes simple and the skin texture smooth. With these foundational elements, you can easily create a recognizable and charming illustration of this fascinating aquatic salamander species.
People also ask
What is the most common mistake when drawing an axolotl?
Many artists mistakenly add eyelids or sharp teeth. Axolotls have lidless eyes and tiny, vestigial teeth that are not visible in a standard drawing.
Should I draw the axolotl standing or swimming?
Drawing them in a swimming pose is often easier because their limbs are naturally splayed out. In a standing position, you must ensure the four short legs are positioned correctly under their heavy, soft bodies.
How do I make the gills look realistic?
Focus on the feathery texture of the gill stalks. Instead of drawing solid lines, use short, repetitive strokes to mimic the filaments that allow them to breathe underwater.
What colors are best for an axolotl drawing?
While wild axolotls are dark brown or black, the most popular artistic subjects are the leucistic variety. These are pale pink or white with bright red or pink gills.
How large should the tail be compared to the body?
The tail should be nearly as long as the head and body combined. It features a thin fin membrane that runs along the top and bottom, which helps them propel through water.
Do I need to draw scales on the skin?
No, you should omit scales entirely. Axolotls have smooth, moist skin, so focus on shading and soft highlights to represent their slippery texture.
This answer was created with the help of AI research tools and reference sources. Spotted an error? Let us know — we correct mistakes quickly. See our editorial policy.