How do you knit a scarf?
Short answer
Knitting a scarf involves casting on stitches, working rows of the knit stitch until the desired length is reached, and binding off. You need a pair of knitting needles, a ball of yarn, and a tapestry needle. By repeating the basic knit stitch, you create a durable, textured fabric perfect for beginners.
On this page
What supplies do I need to knit a scarf?
To begin your first project, you need a pair of knitting needles and a ball of yarn. For beginners, size US 8 (5.0 mm) or US 9 (5.5 mm) needles are ideal because they are easy to hold and manipulate. Choose a medium-weight yarn, often labeled as "worsted" or "medium (4)," in a light color so you can clearly see your stitches. Avoid textured, fuzzy, or dark-colored yarns, as these make it difficult to identify individual loops.
In addition to needles and yarn, you should have a few basic tools on hand to ensure success. A pair of scissors is necessary for cutting the yarn, and a tapestry needle with a large eye is essential for weaving in the loose ends once your scarf is finished. You may also want a measuring tape to track the length of your work. Having these items organized before you start will prevent unnecessary interruptions during your knitting sessions.
- One pair of knitting needles (size US 8 or 9).
- One or two skeins of worsted-weight yarn.
- A pair of sharp scissors.
- A blunt-tipped tapestry needle for finishing.
How to get started with the knit stitch
The process begins with the "cast on," which creates the foundation row of stitches on one needle. The most common method for beginners is the long-tail cast on, which creates a stretchy, neat edge. Once you have your desired number of stitches—typically 20 to 30 for a standard scarf width—you are ready to begin the knit stitch. Hold the needle with the stitches in your left hand and the empty needle in your right hand.
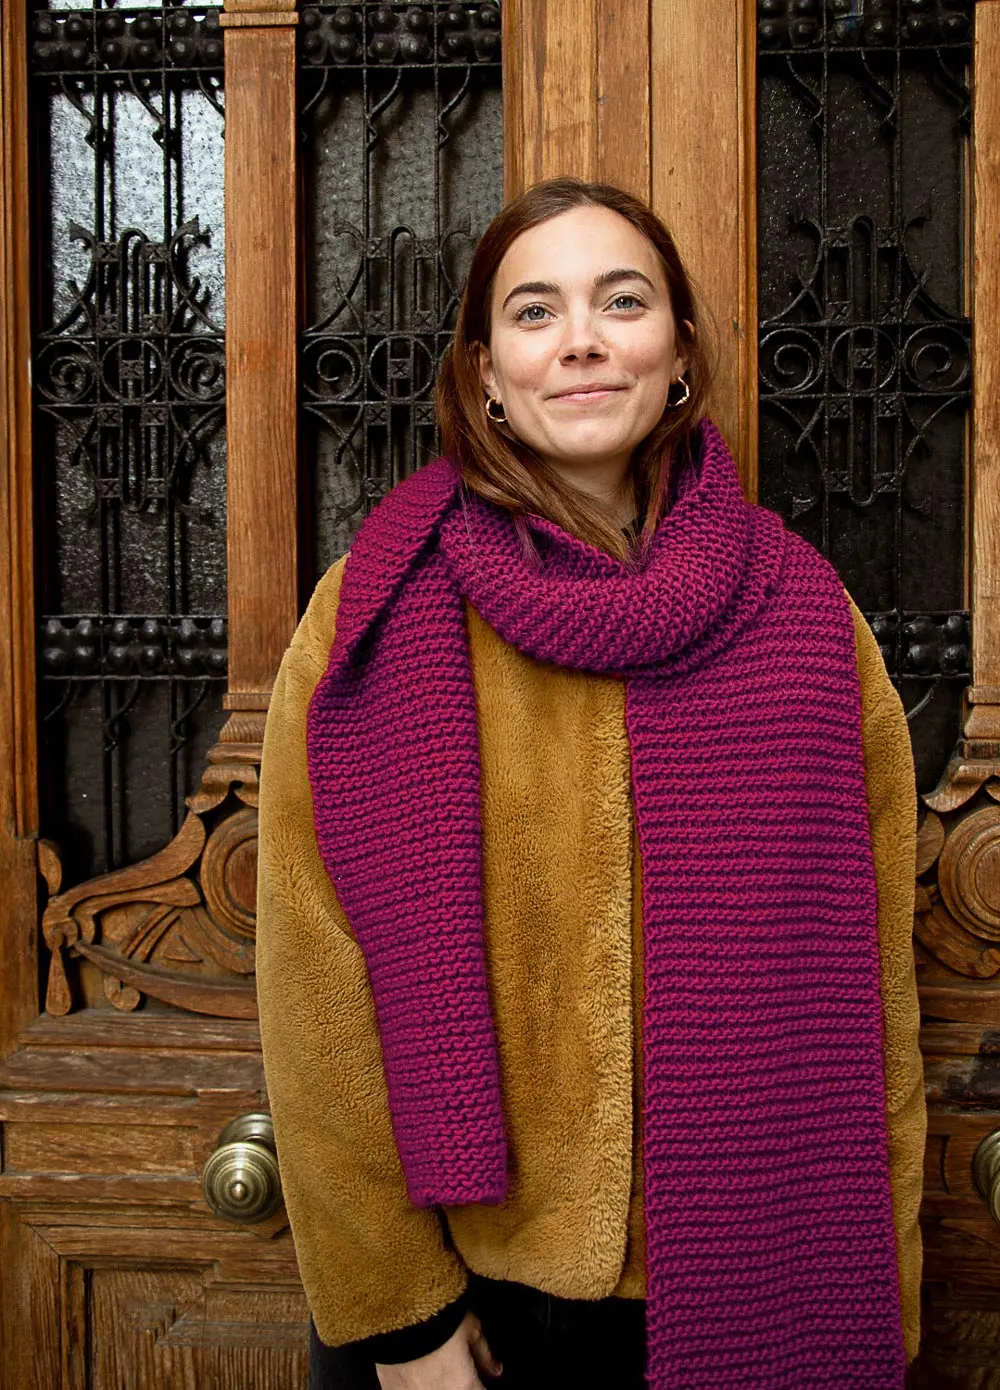
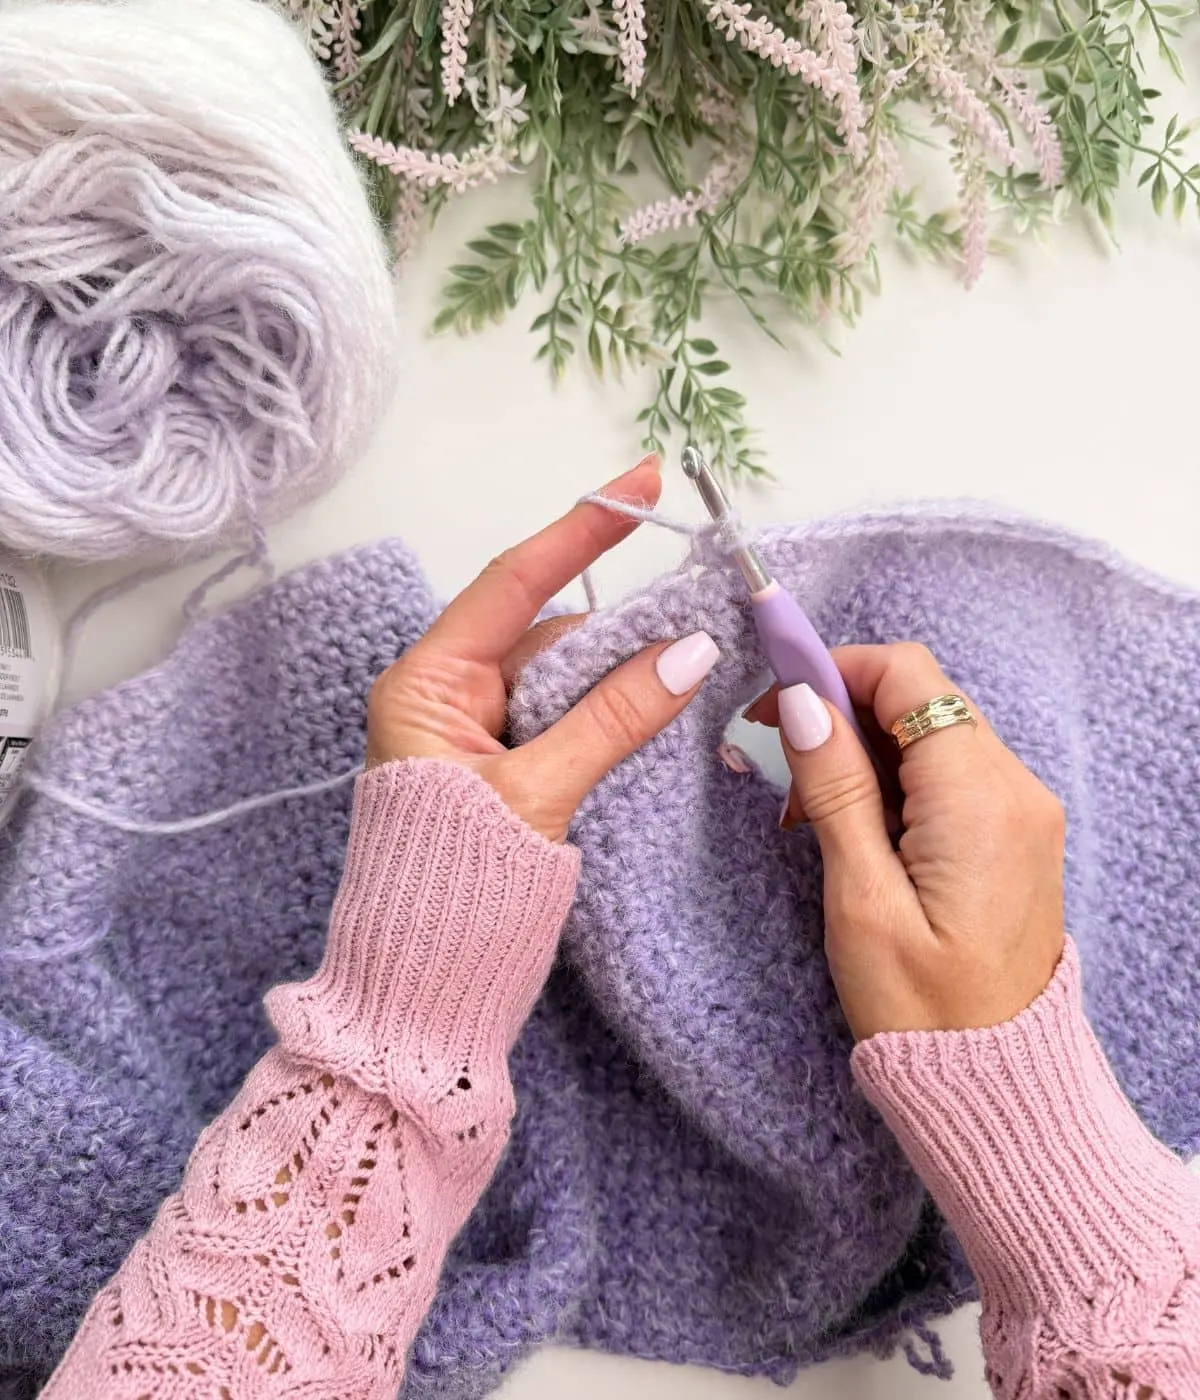
To perform a knit stitch, insert the tip of the right needle into the first stitch on the left needle from front to back. Wrap the yarn around the right needle, pull the new loop through the stitch, and slide the old stitch off the left needle. Repeat this motion across the entire row until all stitches have been transferred to the right needle. Once you finish a row, simply switch the needles between your hands and begin again. By knitting every row, you create a pattern known as "garter stitch," which is reversible and lays flat.
How long does it take to knit a scarf?
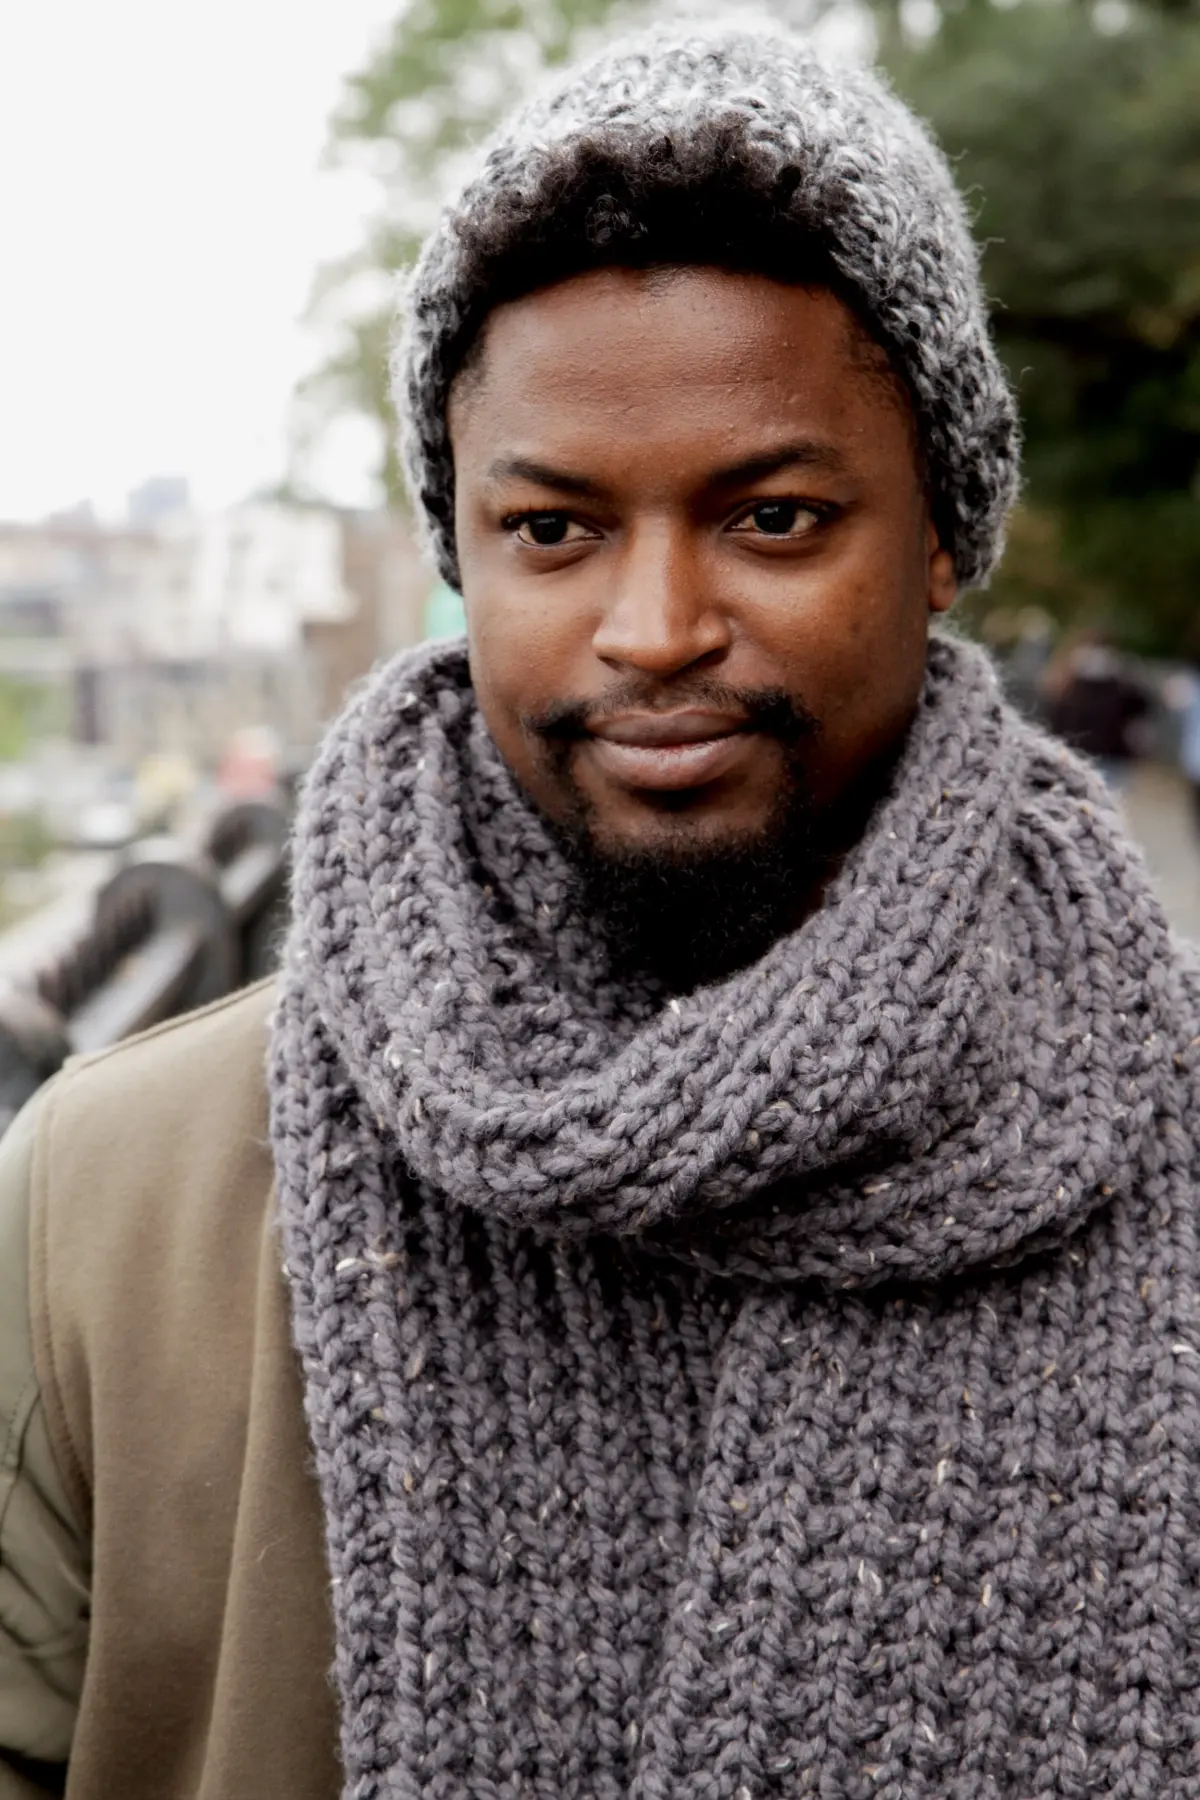
The time required to knit a scarf depends on your speed, the length of the scarf, and the thickness of the yarn. A beginner typically knits at a rate of one row every few minutes as they learn the muscle memory required for consistent tension. For a standard scarf measuring 60 inches in length, you might spend between 10 and 20 hours of total active knitting time. If you knit for 30 minutes each day, you can expect to complete a scarf in about three to four weeks.
Using thicker, "chunky" yarn and larger needles will significantly speed up the process because each stitch covers more surface area. Conversely, using thin, "fingering" weight yarn requires many more stitches and rows, which can take several weeks or even months to complete. Do not feel pressured to finish quickly; knitting is a rhythmic, meditative hobby. Focusing on the consistency of your stitches is more important for the final look of the scarf than the speed at which you finish.
Common mistakes when knitting a scarf
One of the most frequent errors for beginners is accidentally adding or losing stitches at the ends of rows. This usually happens if you pull the yarn too tightly or too loosely when starting a new row, creating an extra loop that looks like a stitch. To avoid this, count your stitches at the end of every row to ensure the number remains consistent with your cast-on count. If you notice your scarf is getting wider or narrower, you have likely made an accidental increase or decrease.
Another common issue is "dropped stitches," where a loop slips off the needle and begins to unravel down the row. If this happens, do not panic; use a crochet hook or your knitting needle to carefully pull the loose loop back up through the row below. Additionally, beginners often struggle with uneven tension, which can make the scarf look lumpy. This is a natural part of the learning process and will improve as your hands become accustomed to the tension of the yarn.
- Counting your stitches after every row to ensure consistency.
- Keeping your yarn tension even to prevent gaps in the fabric.
- Checking for dropped stitches before starting a new row.
- Ensuring you do not knit the very last stitch of a row twice.
How to finish and bind off a scarf
Once your scarf reaches the desired length, usually between 55 and 65 inches, you must "bind off" to secure the stitches so the fabric does not unravel. To do this, knit two stitches, then use your left needle to lift the first stitch you knitted over the second stitch and off the needle. You will have one stitch remaining on your right needle. Knit another stitch and repeat the process until only one loop remains. Cut the yarn, leaving a six-inch tail, and pull the end through the final loop to lock it.
The final step is to weave in the loose yarn ends to give your scarf a professional, clean appearance. Thread the tail of the yarn into your tapestry needle and weave it back and forth through the stitches on the back side of the scarf. Trim any excess yarn close to the fabric, being careful not to cut the actual stitches. Your scarf is now complete, providing a cozy and handmade accessory that will last for many years with proper care.
Key facts
- Knitting requires only two needles and one continuous strand of yarn to create fabric.
- The "Garter stitch" is the most fundamental technique, created by knitting every row.
- Standard scarf widths typically range from 6 to 8 inches for comfortable wear.
- Using larger needles than the yarn label suggests creates a looser, softer fabric.
- "Casting on" is the process of creating the first row of loops on your needle.
- "Binding off" secures the final row so the scarf does not unravel after completion.
The bottom line
Knitting a scarf is an accessible entry point into the craft, requiring only a basic understanding of casting on, the knit stitch, and binding off. By maintaining consistent tension and regularly counting your stitches, you can produce a functional garment. Patience remains the most important tool, as practice naturally improves the uniformity of your stitches and increases your speed over the course of the project.
People also ask
What is the best yarn for a beginner?
Worsted weight wool or acrylic blends are ideal because they are easy to handle and clearly show your stitches. Avoid novelty yarns with textures or dark colors, as these make it difficult to see your work.
How many stitches should I cast on?
For a standard scarf, casting on between 25 and 35 stitches is usually sufficient. This width provides enough coverage without making the knitting process feel overwhelming for a first project.
How do I fix a dropped stitch?
Use a crochet hook to catch the loose loop and pull it through the horizontal strand above it, repeating until you reach the current row. If you cannot fix it, unraveling back to the mistake is often the most reliable method.
Do I need to block my finished scarf?
Blocking involves gently washing and pinning your scarf into shape while it dries. This process evens out uneven stitches and gives the finished product a professional, polished appearance.
How long should a scarf be?
A standard adult scarf is typically 60 to 70 inches long. You can adjust this based on your personal preference for how many times you want to wrap it around your neck.
Why do the edges of my scarf look wavy?
Wavy edges often occur if you accidentally add extra stitches at the end of a row. Ensure you count your stitches after every row to maintain a consistent width throughout the project.
This answer was created with the help of AI research tools and reference sources. Spotted an error? Let us know — we correct mistakes quickly. See our editorial policy.
![How to Knit the Knit Stitch: Step by Step tutorial [+video with slow-mo]](/img/10/what-is-the-easiest-knitting-stitch-1.webp)