How do you start embroidery?
Short answer
Starting embroidery requires a needle, embroidery floss, fabric, and a hoop to keep the material taut. Begin by securing your fabric in the hoop, threading your needle, and tying a knot at the end of the floss. Practice basic stitches like the running stitch or backstitch to build your foundational skills.
On this page
What supplies do I need to start embroidery?
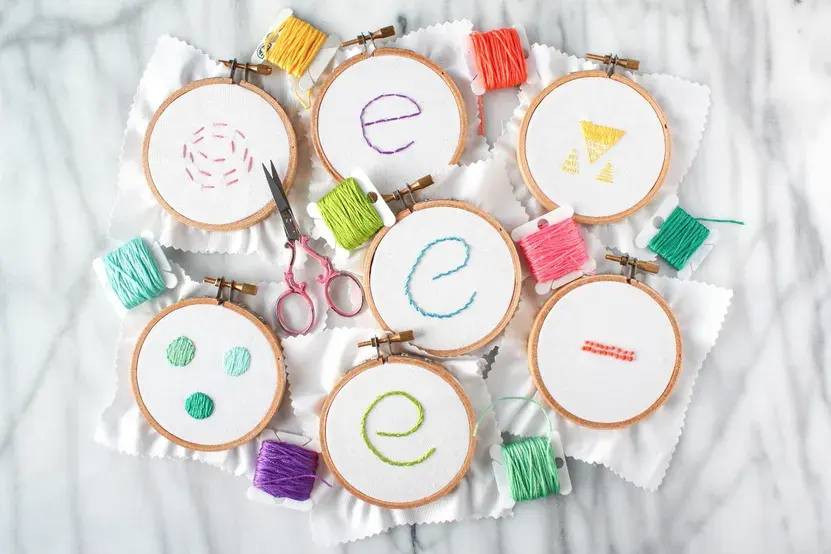
To begin your journey into embroidery, you need a few essential tools that are both affordable and widely available at craft stores. The most important items include a set of embroidery needles, which have larger eyes than standard sewing needles to accommodate thicker thread. You will also need embroidery floss, which is typically a six-strand cotton thread that can be separated depending on the desired thickness of your design.
Beyond the needle and thread, you must have a hoop to hold your fabric taut. Wooden or plastic hoops work well, generally ranging from 4 to 8 inches in diameter. Finally, choose a piece of fabric that is easy to work with, such as plain cotton or linen. Avoid stretchy materials like jersey knit, as they can distort your stitches. Keep a pair of sharp embroidery scissors nearby to ensure clean cuts, as frayed thread ends can make threading your needle difficult and lead to tangles during the stitching process.
How do I prepare my fabric and thread?
Proper preparation is the secret to a successful embroidery project. Start by cutting a piece of fabric that is at least two or three inches larger than your hoop on all sides. This extra space ensures that you can pull the fabric tight and secure it firmly without the edges slipping out while you work.
- Place the inner ring of your embroidery hoop on a flat surface.
- Lay your fabric centered over the inner ring.
- Press the outer ring down over the fabric and the inner ring.
- Tighten the screw at the top of the hoop while gently pulling the fabric edges to ensure it is drum-tight.
Once your fabric is ready, cut a length of floss about 18 inches long. If you use a piece that is too long, it is more likely to knot as you pull it through the fabric repeatedly. Separate the six strands of floss and use only two or three for most basic projects, which provides a clean, professional look.
What are the best embroidery stitches for beginners?
Mastering a few fundamental stitches will allow you to complete a wide variety of patterns. Most embroidery designs rely on a combination of these versatile techniques to create lines, textures, and filled shapes. Practice these on a scrap piece of fabric before starting your main project to gain confidence and ensure your tension remains consistent throughout the work.
- Running Stitch: A simple series of dashes created by moving the needle in and out of the fabric at regular intervals.
- Backstitch: A stronger, solid line stitch created by bringing the needle up a space ahead and then back into the end of the previous stitch.
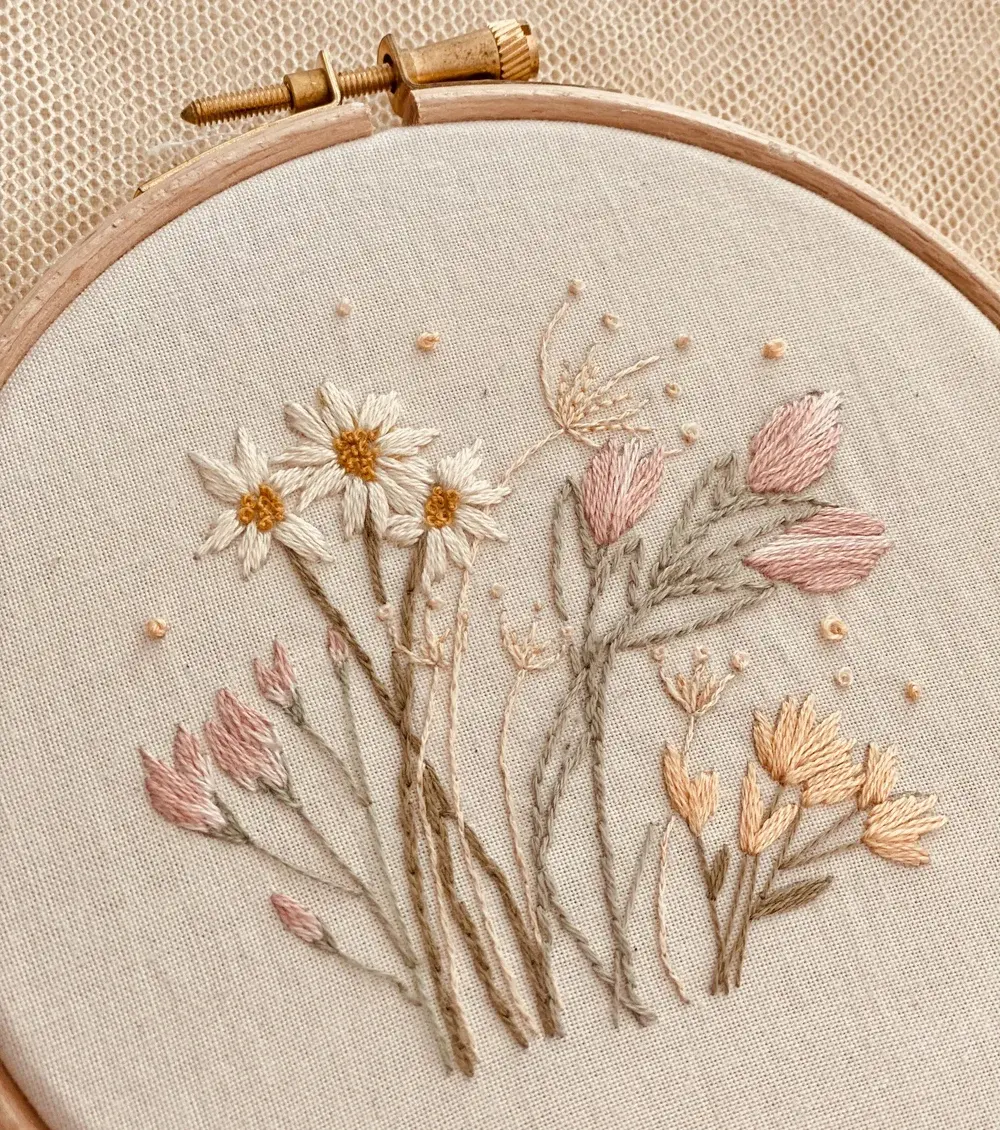
- Satin Stitch: A filling stitch used to cover areas of fabric completely by laying threads side-by-side.
- French Knot: A decorative stitch used to create small, raised dots by wrapping the thread around the needle before pulling it through the fabric.
How do I avoid common embroidery mistakes?
Even experienced embroiderers occasionally face challenges, but beginners can avoid frustration by being mindful of their technique. One of the most frequent errors is pulling the thread too tightly, which causes the fabric to pucker and lose its shape. Always aim for a gentle tension that allows the thread to sit flat against the surface of the fabric without pulling the weave out of alignment.
Another common issue is leaving long, messy threads on the back of your work. While the back does not need to be perfect, long "jumps" of thread between disconnected parts of a design can show through light-colored fabric. Always secure your thread by weaving it under existing stitches on the back of the hoop before cutting it. Finally, avoid using knots that are too bulky, as they can create bumps that make it difficult to lay the fabric flat when you finish your project.
How long does it take to learn embroidery?
Embroidery is a slow, meditative craft that rewards patience. You can learn the basic mechanics of threading a needle and executing a simple backstitch in under an hour. However, developing the muscle memory to achieve perfectly even stitch lengths and smooth curves takes consistent practice over several weeks or months. Most beginners find that their work becomes significantly neater after completing just three or four small projects.
Do not be discouraged if your first attempt looks uneven or if you encounter knots in your thread. Every stitch you place contributes to your skill level and helps you understand how different fabrics and threads behave. Focus on enjoying the process rather than rushing to finish a complex design. By dedicating just fifteen minutes a day to practicing, you will notice a marked improvement in your dexterity and confidence, allowing you to eventually tackle more intricate patterns and complex shading techniques with ease.
Key facts
- Embroidery uses a needle and thread to decorate fabric, a practice dating back to at least the 5th century BCE.
- An embroidery hoop is essential for beginners as it keeps the fabric taut, ensuring even stitches and preventing puckering.
- Choose a tapestry needle with a blunt tip and a large eye, which passes through fabric weaves without piercing the threads.
- Cotton embroidery floss consists of six individual strands that can be separated to adjust the thickness of your lines.
- Always wash your hands before starting to prevent oils and dirt from transferring to the fabric during the stitching process.
- Use a water-soluble fabric marker to draw your design, as these lines disappear completely when rinsed with cool, clear water.
The bottom line
Starting embroidery requires only a few basic supplies: a hoop, a needle, cotton floss, and fabric. By keeping your fabric taut and practicing consistent tension, you can master foundational stitches like the backstitch or satin stitch. Focus on high-quality materials and clean hands to ensure your work remains pristine. With patience and practice, you will quickly develop the dexterity needed to create intricate, beautiful textile art.
People also ask
What is the best fabric for beginners to use?
Cotton or linen with a medium-weight, even weave is ideal for learning. Avoid stretchy jersey fabrics or slippery silks, as these can distort easily while you are learning to control your tension.
How do I secure the thread at the start of my work?
Avoid tying knots at the end of your thread, as they can create bumps under your fabric. Instead, leave a small tail of thread on the back and stitch over it as you work to lock it in place.
How many strands of floss should I use?
Most patterns specify the strand count, but two strands are the standard for most fine detail work. You can use all six strands for bold, thick lines or a single strand for delicate, hair-like textures.
Why does my fabric pucker when I pull the thread?
Puckering happens when you pull your stitches too tightly or use a hoop that is too loose. Practice maintaining a gentle, consistent tension so the thread rests flat against the surface of the fabric.
Can I use any needle for embroidery?
While you can use standard sewing needles, embroidery-specific needles have larger eyes to accommodate thicker floss. Using a needle that is too small can fray your thread and make the process frustrating.
How do I finish the back of my embroidery?
Once you finish your design, weave the remaining thread through the back of your existing stitches to secure it. Trim the excess thread close to the fabric, being careful not to cut the stitches themselves.
This answer was created with the help of AI research tools and reference sources. Spotted an error? Let us know — we correct mistakes quickly. See our editorial policy.