How do you draw an angel for beginners?
Short answer
Drawing an angel involves sketching a basic human figure as your foundation, then adding stylized wings to the back. Focus on symmetry and soft, flowing lines to capture an ethereal appearance. By breaking the process into simple geometric shapes, beginners can easily construct a balanced, graceful character with minimal artistic experience.
On this page
How to draw an angel body for beginners
The most effective way to start is by using the "mannequin" method, which relies on simple geometric shapes to establish proportion. Begin by drawing an oval for the head and a slightly larger, inverted triangle for the torso. Connect these with a small cylinder for the neck and use simple lines to mark the placement of the arms and legs. Keeping these initial lines light is essential, as you will need to erase them later once the final details are added.
Focus on maintaining a graceful posture, as angels are typically depicted with fluid, elegant movements. Avoid making the limbs too rigid; instead, use slight curves to suggest a relaxed or floating stance. Once your skeleton is established, you can begin adding volume by sketching rounded shapes around your guide lines to represent muscles and fabric. Remember that the head should be roughly one-seventh of the total body height to maintain realistic human proportions before you begin adding supernatural elements.
How to draw angel wings step by step
Wings are the defining feature of an angel and should be drawn with a sense of structural integrity. Start by drawing a large, elongated arch extending from the shoulder blades on each side of the back. Divide each wing into three distinct sections: the primary feathers at the bottom, the secondary feathers in the middle, and the coverts near the base. This layering technique prevents the wings from looking like flat, solid sheets and adds a realistic sense of depth.
- Sketch a curved "V" shape or a wide arc to serve as the structural frame of the wing.
- Draw long, thin oval shapes along the bottom edge to represent the primary flight feathers.
- Fill in the middle section with shorter, overlapping teardrop shapes to create the secondary feathers.
- Add small, soft, rounded scales near the shoulder joint to represent the downy feathers.
- Erase the initial frame lines once the feather patterns are clearly defined and layered.
Best drawing tools for beginners
For those just starting, a standard HB graphite pencil is the most versatile tool because it allows for both light sketching and darker detailing. You should also have a high-quality white vinyl eraser, as you will be doing a significant amount of refining and correcting throughout the process. Using a sketchbook with smooth, medium-weight paper prevents the graphite from smudging too easily, which is a common frustration for new artists.
If you wish to add color or depth, consider using a set of blending stumps or a soft tissue to smooth out the shading on the wings. Avoid using pens or permanent markers until you are completely satisfied with your pencil sketch, as these tools do not allow for corrections. Keep a pencil sharpener nearby, as maintaining a fine point is critical when drawing the delicate, individual barbs of the feathers. A clean workspace and good lighting will further ensure that your lines remain precise and intentional.
Common mistakes when drawing angels
One of the most frequent errors is placing the wings too low on the back, which makes the anatomy look unnatural. The wings should originate from the shoulder blades, near the top of the torso, rather than the lower back or waist. Another common issue is drawing wings that are too small to support the weight of a person. Aim for a wingspan that is at least twice the width of the figure's shoulders to ensure the proportions look balanced and believable.
- Placing wings on the sides of the torso instead of the upper back.
- Making feathers uniform in size, which creates a stiff, artificial look.
- Forgetting to account for the weight of the fabric when drawing flowing robes.
- Using heavy, dark outlines that make the angel appear grounded rather than ethereal.
- Neglecting the connection point where the wing meets the shoulder, leading to a "floating" appearance.
How to add ethereal details to your art
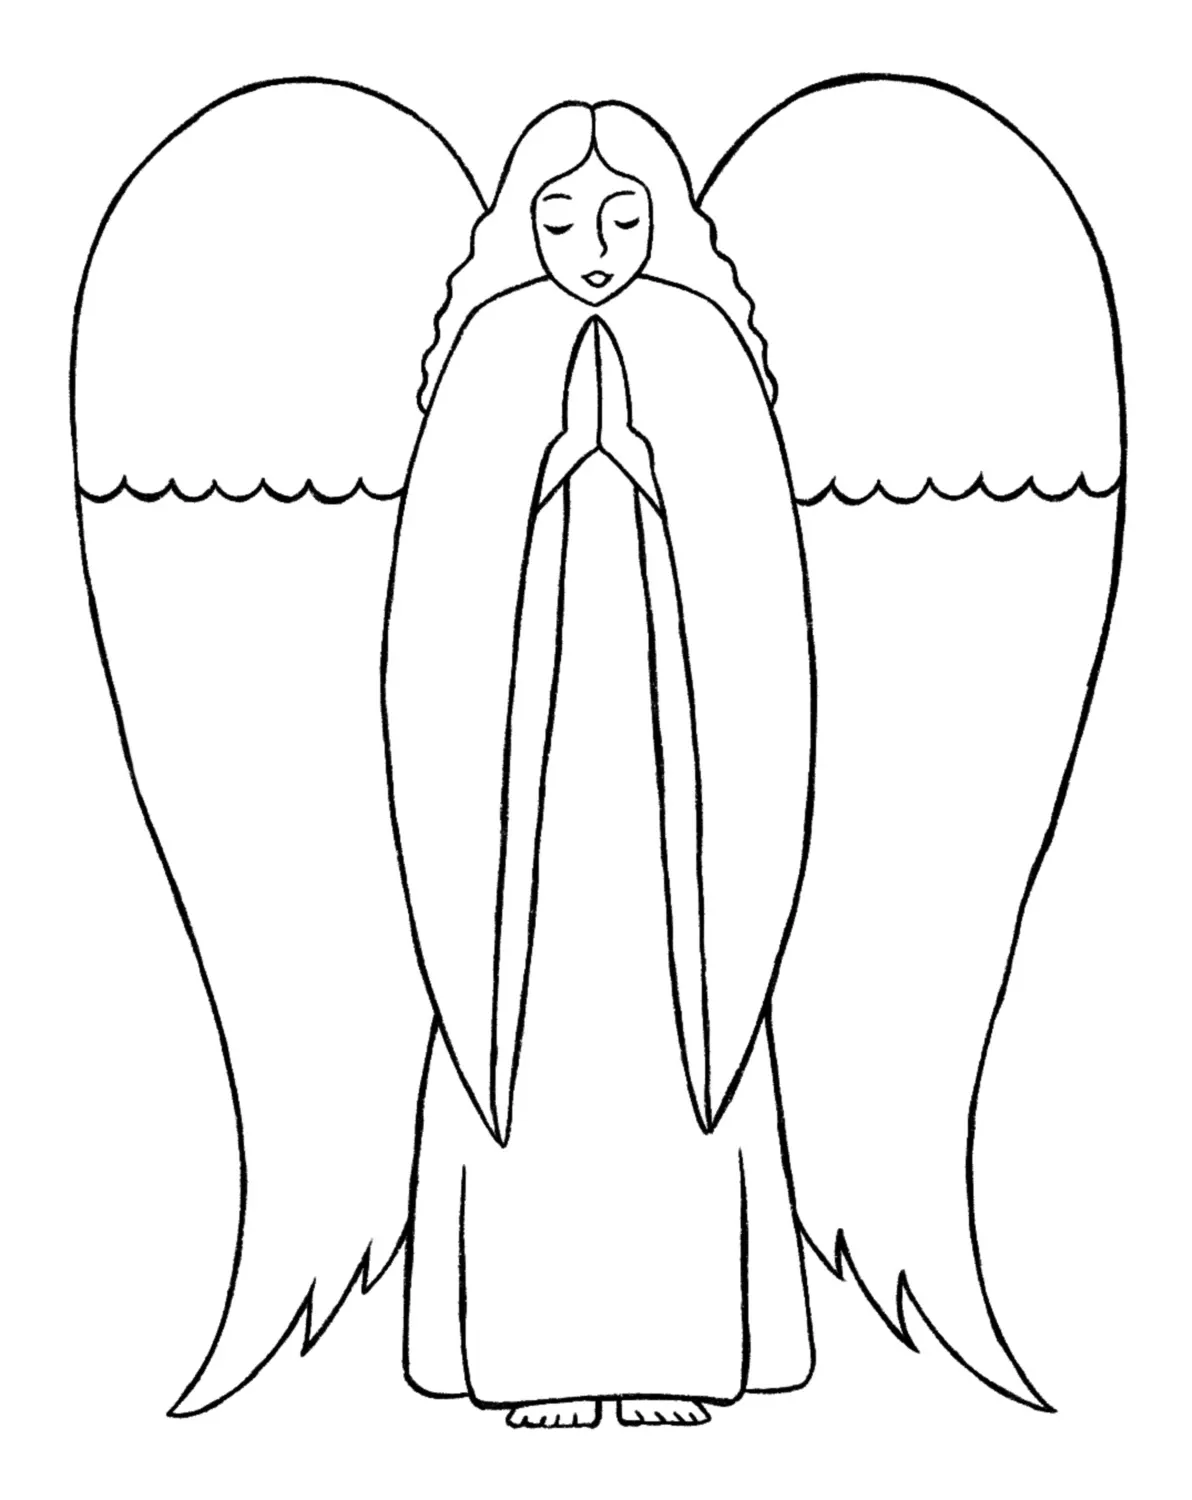
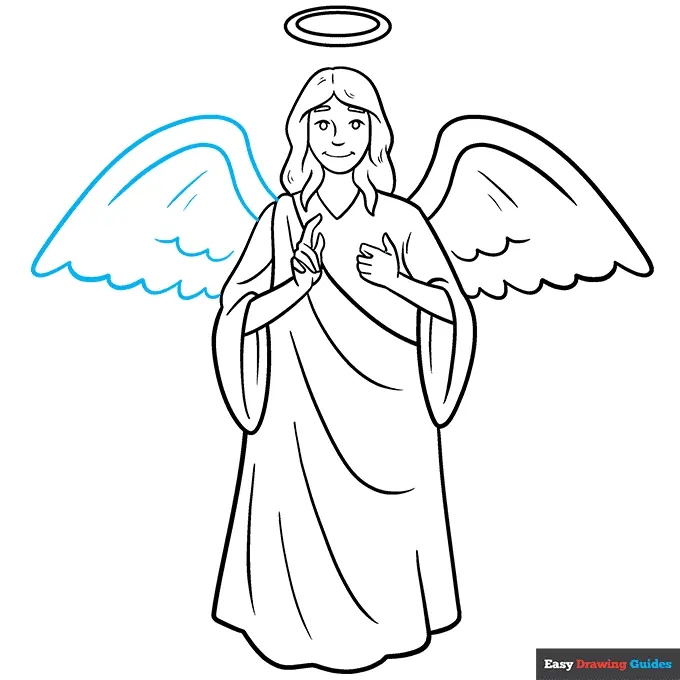
To give your angel an otherworldly quality, focus on the treatment of the clothing and the facial expression. Angels are traditionally depicted in loose, flowing garments that appear to catch the wind or float in mid-air. Use long, sweeping lines to indicate folds in the fabric, and ensure these lines follow the contour of the body to show movement. Soft, gentle shading around the edges of the robes can help create a sense of light radiating from within the figure.
The face should remain calm and serene, with soft features and minimal harsh lines. When shading the skin, use a light touch to keep the complexion looking smooth and youthful. You can also add a simple halo behind the head using a thin, perfect circle, though it should be placed slightly above the crown to avoid looking like a hat. By keeping your lines delicate and your shading subtle, you will successfully capture the peaceful, divine essence that characterizes a classic angel illustration.
Key facts
- Start by sketching a simple oval for the head and a vertical line to establish the body’s posture.
- Use a basic "stick figure" frame to ensure the proportions of the arms and legs are accurate before adding volume.
- Draw the wings as large, elongated teardrop shapes on the back, adding individual feather layers from the bottom up.
- Keep the face simple by placing the eyes at the horizontal midline of the head and the nose halfway between the eyes and chin.
- Drape clothing in long, vertical lines to suggest flowing fabric, which adds a sense of grace to the figure.
- Avoid drawing every single feather; focus on the overall silhouette and suggest texture with a few overlapping curved strokes.
The bottom line
Drawing an angel is an exercise in balancing human anatomy with symbolic elements like wings and halos. By starting with a simple geometric framework, you can ensure your proportions remain accurate before adding intricate details. Focus on fluid lines for the clothing and layered shapes for the wings to create a sense of movement. With practice, these foundational steps will allow you to develop your own unique style.
People also ask
What is the best pencil grade for sketching an angel?
Use an HB pencil for your initial light outlines and a 2B or 4B pencil for adding shadows and defining the final lines. These softer leads make it easier to create depth without damaging the paper.
How do I make the wings look realistic?
Focus on the structure of the wing by drawing a curved "arm" or bone at the top. Layer the feathers so that they overlap like shingles on a roof, starting from the wingtip and working toward the base.
Should I draw the angel with or without a halo?
The halo is a symbolic element often used in religious art to signify divinity. You can draw it as a simple circle floating above the head or as an ellipse tilted to show perspective.
How do I draw the hands if I am a beginner?
Hands are complex, so try drawing them as simple mittens or rounded shapes first. You can refine the fingers later once you are comfortable with the overall proportions of the arms.
What is the most common mistake when drawing an angel?
Beginners often make the wings too small for the body size. Remember that for an angel to look balanced, the wingspan should typically be at least as wide as the figure’s height.
Can I draw an angel without a face?
Yes, many artists choose to leave the face blank or obscured by hair to emphasize the ethereal nature of the figure. This stylistic choice can often make the drawing feel more mysterious and solemn.
This answer was created with the help of AI research tools and reference sources. Spotted an error? Let us know — we correct mistakes quickly. See our editorial policy.