What is air-dry clay?
Short answer
Air-dry clay is a versatile modeling medium that hardens through evaporation rather than kiln firing. Composed of natural earth minerals or synthetic polymers, it is ideal for crafting sculptures, jewelry, and home decor. Because it is water-based, it remains pliable until exposed to air, making it accessible for hobbyists and professional artists alike.
On this page
What is air-dry clay made of?
Air-dry clay is primarily composed of fine mineral particles, such as kaolin or talc, mixed with water and binding agents. These binders, often cellulose or synthetic resins, provide the necessary elasticity and structural integrity to keep the clay from crumbling once the moisture evaporates. Unlike traditional ceramic clay, which requires extreme heat to fuse particles into a durable, glass-like state, air-dry clay relies entirely on the physical process of dehydration.
Most commercial varieties fall into two main categories: earthen-based clays and polymer-based clays. Earthen varieties feel similar to traditional pottery clay and can be sanded or carved once dry. Polymer-based or paper-based formulas are lighter, more flexible, and less prone to cracking. Because these materials do not contain the raw minerals required for true vitrification, they remain porous and fragile even after fully setting. They are best suited for decorative items rather than functional dishware or items intended for food contact.
How long does it take to dry?
The drying time for air-dry clay depends heavily on the thickness of the piece, the ambient humidity, and the airflow in the room. A small, thin pendant might feel firm within a few hours, while a solid, dense sculpture can take several days or even a full week to cure completely. It is important to allow the clay to dry slowly to prevent warping or structural cracks caused by uneven moisture loss.
To ensure your project dries evenly and safely, follow these guidelines:
- Place your sculpture on a non-porous surface, such as a plastic sheet or a tile, to prevent it from sticking.
- Rotate the piece daily to ensure the underside receives adequate airflow.
- Avoid placing wet clay directly under a heat source, as rapid drying causes the outer layer to shrink faster than the interior.
- If the piece is very thick, hollow it out during the sculpting phase to reduce the volume of material that needs to dehydrate.
Best air-dry clay for beginners
Choosing the right clay depends on your specific project goals and your comfort level with sculpting tools. For beginners, paper-based air-dry clay is often the most forgiving choice because it is lightweight, easy to smooth with water, and resists cracking better than heavy mineral clays. Brands like DAS or Creative Paperclay are widely available and offer a consistent texture that is easy to manipulate with basic household tools.
If you are interested in creating fine details or intricate jewelry, look for clays labeled as "fine" or "professional." These varieties contain smaller particles, allowing for sharper edges and smoother surfaces. Regardless of the brand, always check the packaging for specific instructions regarding shrinkage rates. Most air-dry clays will shrink by 5% to 15% as they dry, which can distort delicate geometric shapes. Starting with simple, rounded forms will help you understand how your chosen brand behaves before attempting complex, multi-part assemblies.
Common mistakes when using air-dry clay
The most frequent issue encountered by new users is the development of cracks during the drying process. This usually occurs because the clay dried too quickly or because the artist joined two pieces of clay together without properly scoring the surfaces. To join pieces successfully, you must create a "slip" by mixing a small amount of clay with water, applying it to the joint, and pressing the parts firmly together.
- Avoid adding too much water during the sculpting phase, as this weakens the structural integrity of the clay.
- Do not attempt to speed up the process with a hairdryer; the intense heat will cause the surface to crack before the core is dry.
- Always store unused clay in an airtight container or a heavy-duty plastic bag to prevent it from hardening prematurely.
- If you notice small cracks appearing while the piece is still damp, fill them immediately with a bit of fresh clay and smooth it over with a damp sponge.
How to finish and seal air-dry clay
Since air-dry clay is not fired in a kiln, it remains water-soluble even after it has hardened. If the finished piece comes into contact with water, it will soften or dissolve, which is why sealing is a mandatory final step. Acrylic-based varnishes, spray sealers, or even craft glues can provide a protective barrier against humidity and dust. For a professional look, you can sand the surface with fine-grit sandpaper after the clay has fully cured to remove any bumps or tool marks.
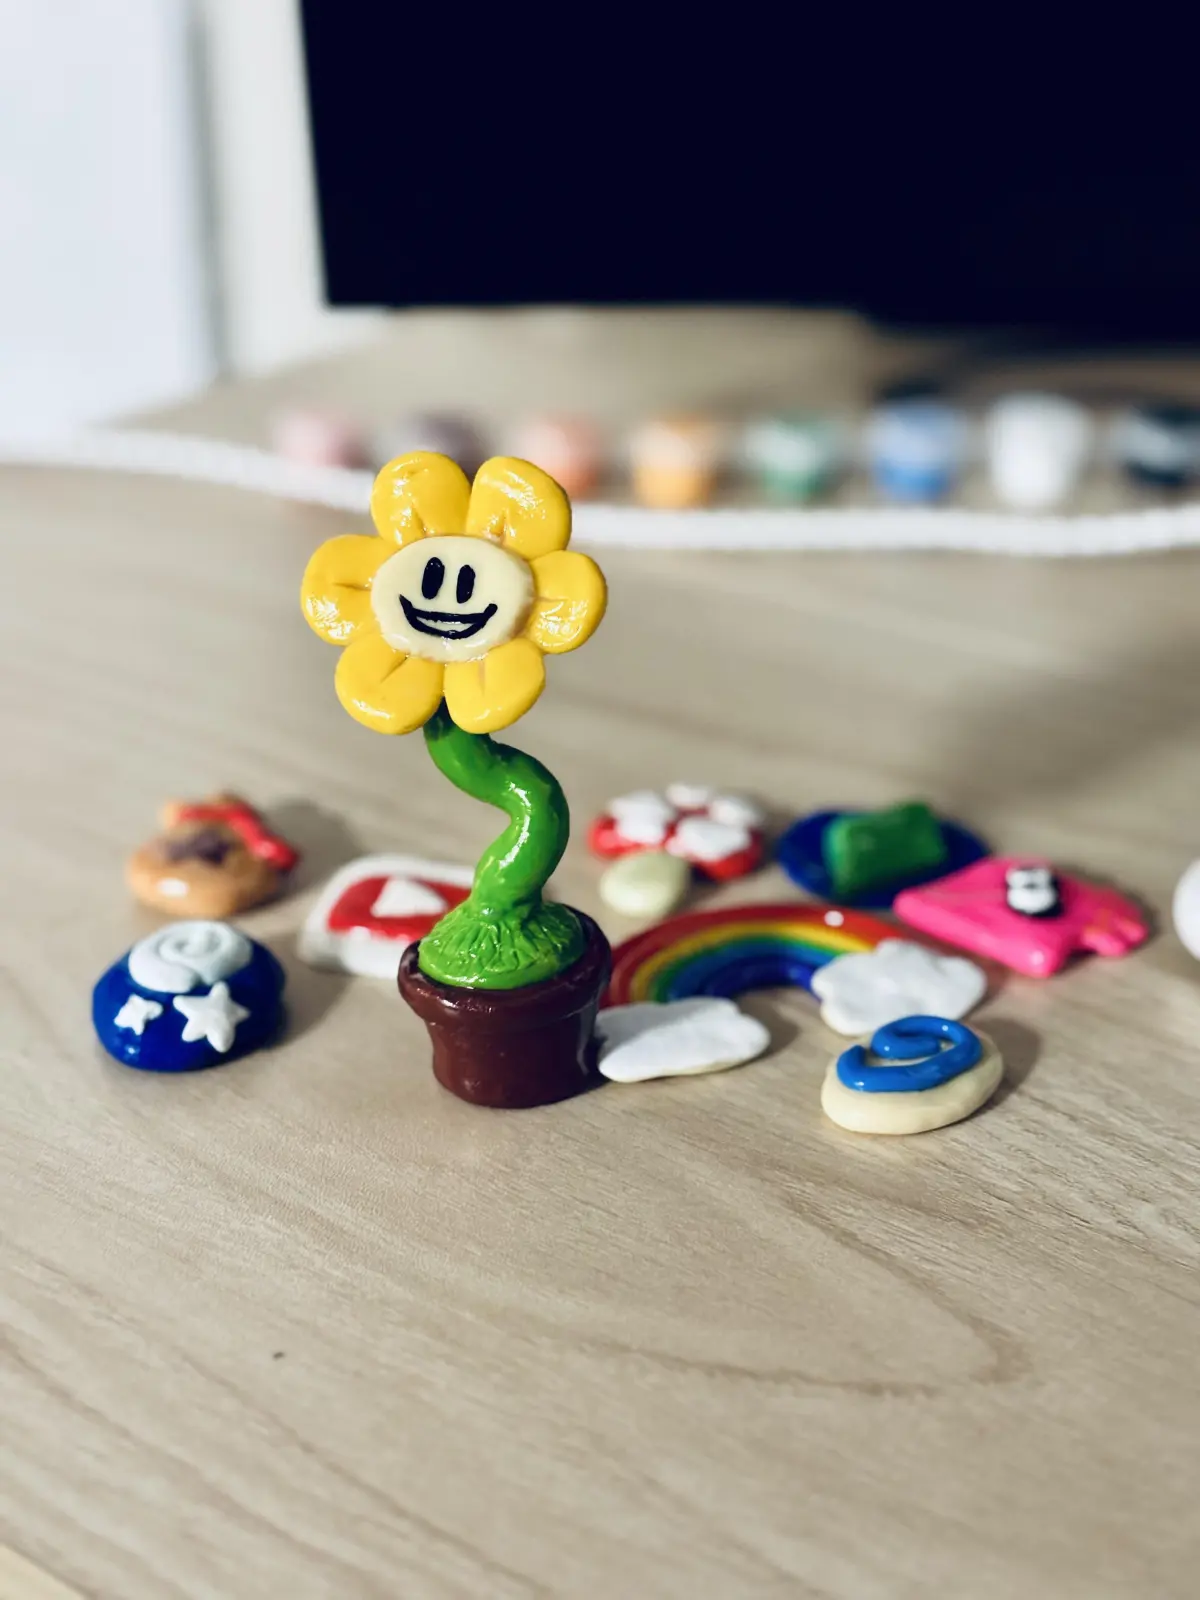
Once the piece is sanded and cleaned of dust, you can apply acrylic paint, gouache, or markers to add color. Because the clay is porous, it acts like a sponge and will absorb paint quickly. Applying a base coat of gesso can help create a smooth, white surface that makes colors appear more vibrant. After your paint has dried, apply two to three thin coats of a clear sealant, allowing each layer to dry completely before adding the next one to ensure a long-lasting, durable finish.
Key facts
- Air-dry clay is a natural or synthetic modeling material that hardens through evaporation rather than kiln firing.
- Most commercial varieties are composed of fine clay particles, water, and binders like cellulose or PVA glue.
- The material shrinks as it dries, typically losing about 5% to 10% of its volume during the process.
- Projects usually require 24 to 48 hours to cure fully, depending on the thickness of the piece and ambient humidity.
- Once dry, the material is porous and must be sealed with a varnish or acrylic paint to prevent moisture damage.
- Store unused clay in an airtight plastic bag or container to prevent it from hardening prematurely.
The bottom line
Air-dry clay is a versatile, accessible medium perfect for beginners and hobbyists interested in sculpting decorative objects. Because it requires no specialized equipment like kilns or ovens, it offers a convenient entry point into ceramics. By managing drying times carefully and sealing your finished work, you can create durable, artistic pieces that serve as a testament to the simplicity and effectiveness of this unique modeling material.
People also ask
Can air-dry clay be used to make functional dinnerware?
No, air-dry clay is not food-safe or waterproof even when sealed. It will soften or dissolve if submerged in water, making it unsuitable for cups, plates, or bowls.
How do I join two pieces of air-dry clay together?
Use the "score and slip" method by scratching cross-hatch patterns into both surfaces and applying a small amount of water or clay slurry. Press the pieces firmly together to create a strong mechanical bond.
Is air-dry clay toxic to children or pets?
Most craft-grade air-dry clays are non-toxic, but you should always check the packaging for an AP (Approved Product) seal. Avoid ingestion and wash hands thoroughly after handling to prevent skin irritation.
Can I bake air-dry clay to make it dry faster?
You should avoid using a high-heat oven, as it can cause the piece to crack or warp due to rapid moisture loss. If you must speed up the process, use a food dehydrator on a very low setting or a hair dryer from a distance.
Does air-dry clay require a kiln?
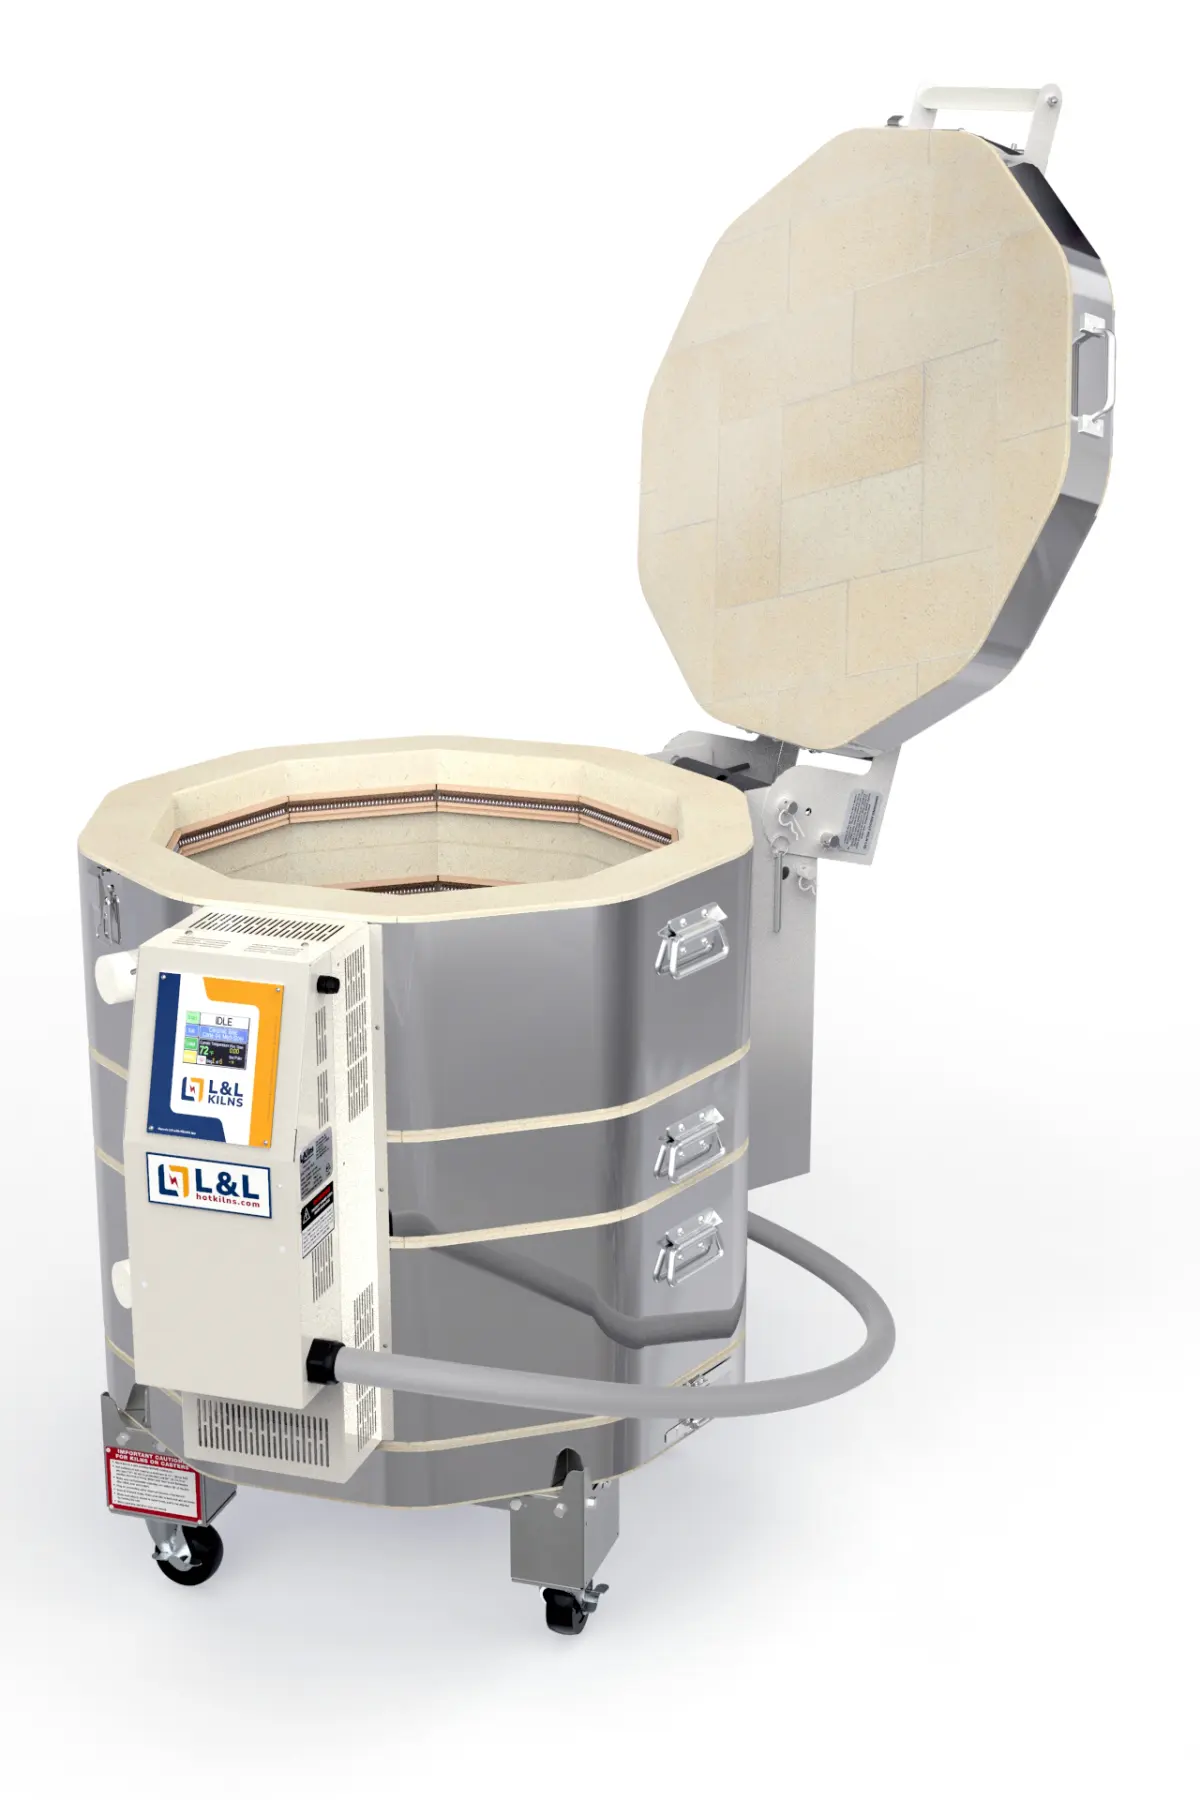
No, the defining characteristic of air-dry clay is that it cures at room temperature. Kiln firing is unnecessary and may actually cause the material to crumble or explode if it contains synthetic binders.
Why is my air-dry clay project cracking after it dries?
Cracking usually occurs because the clay dried too quickly or was worked too thin in certain areas. You can fix minor cracks by filling them with a mixture of clay and water, then sanding the surface smooth once dry.
This answer was created with the help of AI research tools and reference sources. Spotted an error? Let us know — we correct mistakes quickly. See our editorial policy.