How do you use air-dry clay?
Short answer
Air-dry clay is a versatile, water-based medium that hardens through evaporation rather than kiln firing. To use it, shape your project, allow it to dry completely in a low-humidity environment, and finish with paint or sealant. It is ideal for decorative sculptures, jewelry, and home decor items that avoid water exposure.

On this page
How to prepare and shape air-dry clay
Working with air-dry clay begins with proper preparation to ensure a smooth, crack-free result. Before you start, knead the clay for two to three minutes to remove air bubbles and distribute moisture evenly. If the clay feels too stiff or dry, add a few drops of water and work it in until the texture becomes pliable. Keep a small bowl of water nearby to smooth out seams or cracks as you build your piece.
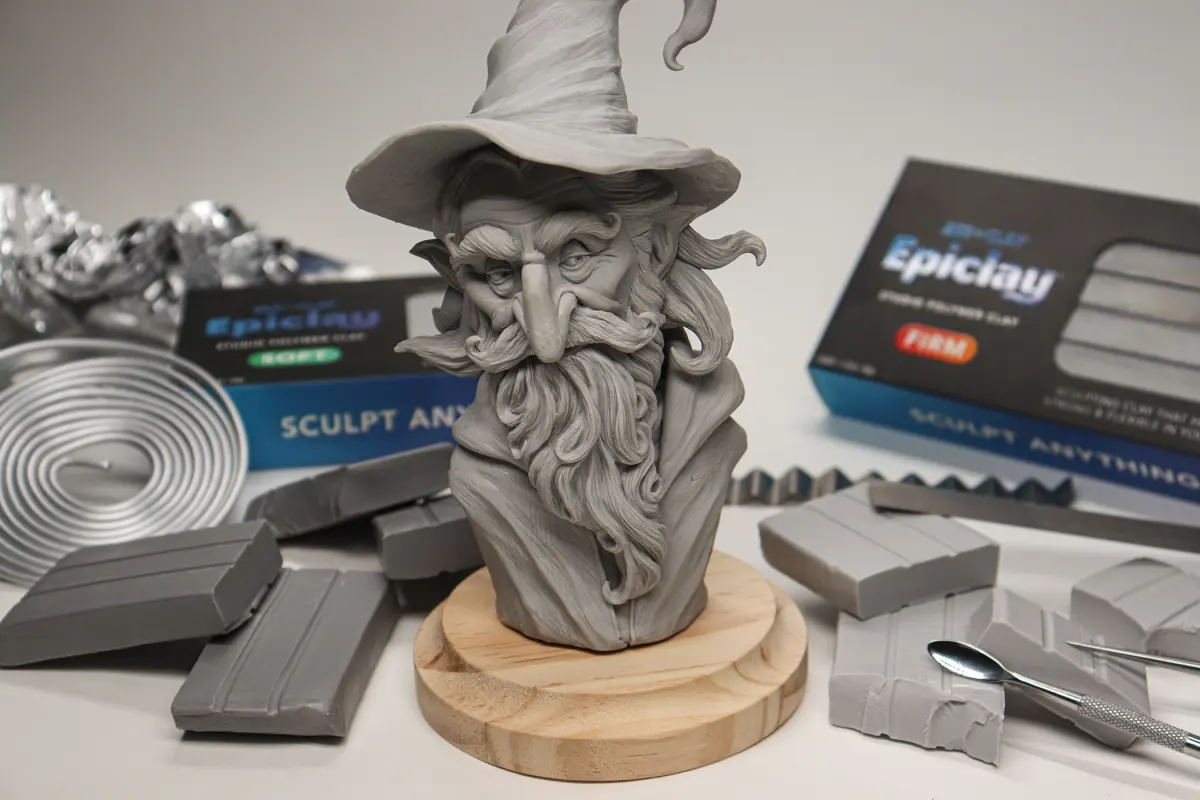
When shaping your project, consider the structural integrity of your design. Because air-dry clay is not as strong as ceramic clay, large or tall sculptures often require an internal support structure known as an armature. You can build this using materials like aluminum foil, wire, or cardboard. Once you have your base, follow these steps to build your form:
- Wrap the clay around your armature, ensuring the layer is at least 1/4 inch thick to prevent cracking.
- Use sculpting tools or your fingers to refine the surface, keeping the clay moist with a damp sponge.
- Score and slip any separate pieces you intend to attach by scratching the surfaces and applying a small amount of water to act as a glue.
How long does it take to dry air-dry clay
The drying process is the most critical phase, as it determines the durability of your finished project. On average, air-dry clay takes between 24 and 48 hours to harden completely, depending on the thickness of the piece and the ambient humidity in your workspace. Thicker items may take up to 72 hours to dry throughout. It is essential to be patient during this time; forcing the process with heat sources like hair dryers or ovens often leads to warping or deep cracks.
To ensure even drying, place your project on a surface that allows airflow, such as a wire rack or a piece of parchment paper. If you are drying a thick sculpture, consider turning the piece over halfway through the process to allow the bottom to breathe. You will know the clay is fully dry when it feels cool to the touch and has turned a lighter, opaque shade. If the piece still feels cold or damp, it requires more time before you proceed to sanding or painting.
Best tools for air-dry clay beginners
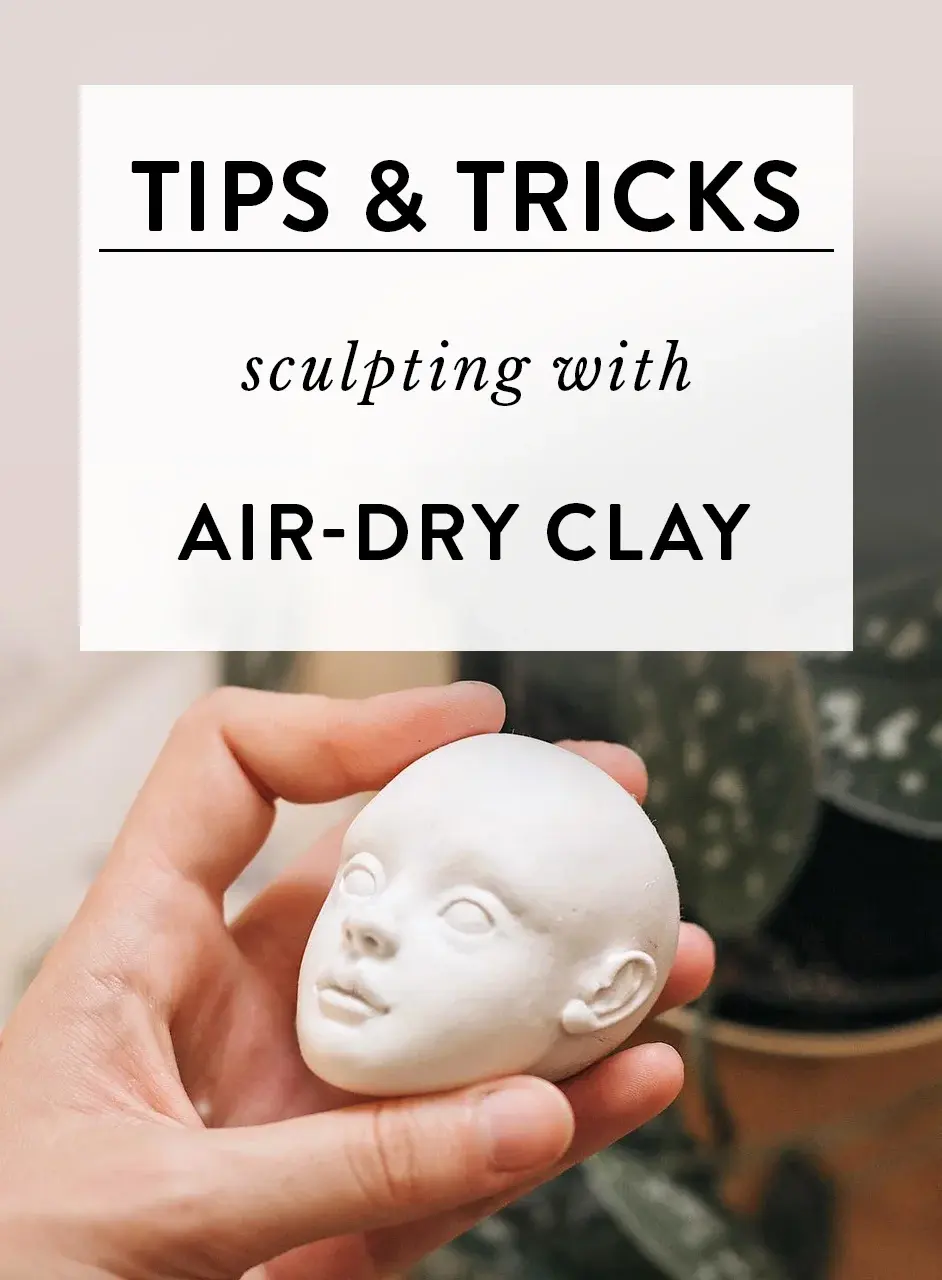
You do not need expensive equipment to start working with air-dry clay. Many household items work perfectly for carving, smoothing, and adding texture to your projects. If you are just beginning, focus on gathering a few essential items that help you control the clay’s surface and shape.
- A rolling pin or a smooth glass bottle to flatten clay slabs.
- Plastic or wooden sculpting tools to carve fine details or create patterns.
- A damp sponge or soft brush to smooth out fingerprints and imperfections.
- Fine-grit sandpaper (around 220 grit) to smooth rough edges after the clay has fully hardened.
- A craft knife or needle tool to trim excess material or cut precise shapes.
Using the right tools makes a significant difference in the professional appearance of your work. Keep your tools clean by wiping them with a damp cloth frequently, as dried clay residue can scratch the surface of your next project.
Common mistakes when using air-dry clay
Many beginners encounter issues because they underestimate how much the clay shrinks or how fragile it can be before sealing. One of the most frequent errors is adding too much water during the smoothing process, which can weaken the clay and cause it to lose its shape. Another common mistake is failing to seal the clay properly after it dries. Because air-dry clay is porous and water-soluble, it will soften or dissolve if it comes into contact with moisture later on.
To avoid these pitfalls, follow these guidelines:
- Avoid creating pieces that are excessively thick, as they are prone to cracking as the water evaporates.
- Do not leave your clay container open, as the material will harden rapidly when exposed to air.
- Always sand your piece gently once it is dry to remove any bumps or tool marks before applying paint.
- Apply a high-quality acrylic sealer or varnish to protect your finished work from humidity and dust.
How to finish and paint your project
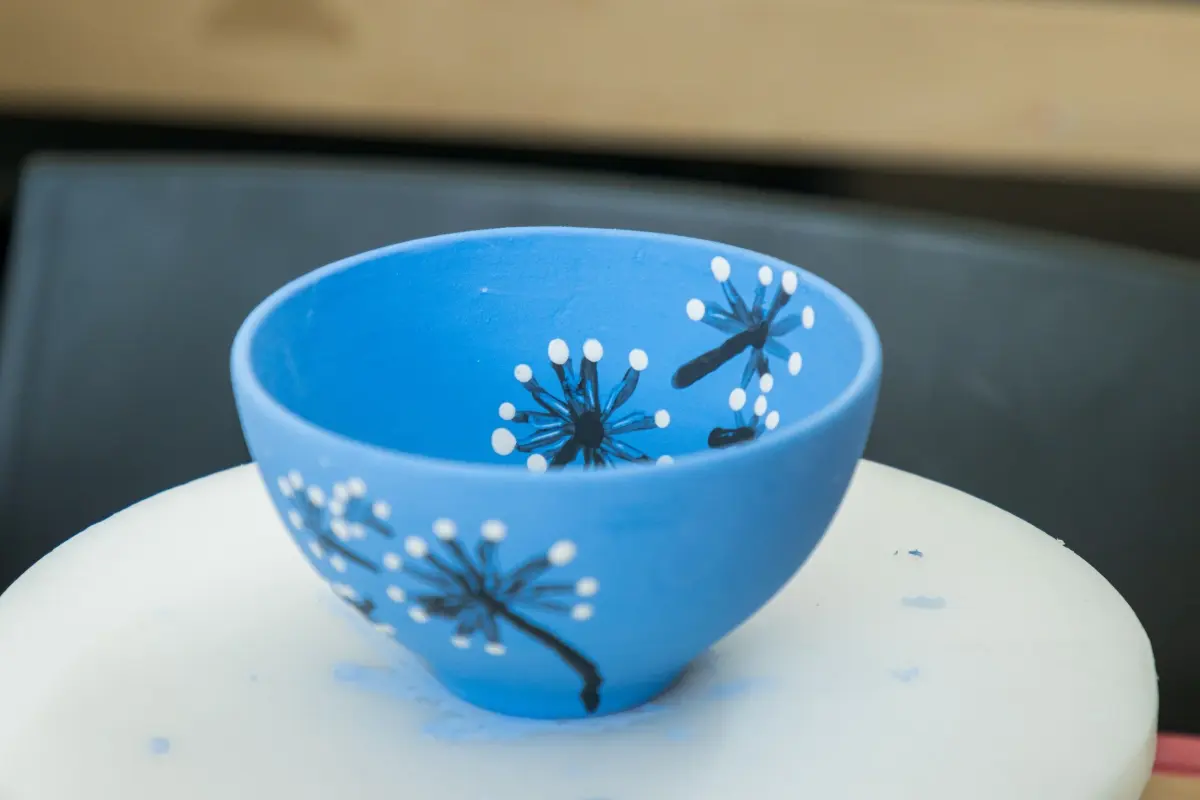
Once your project is bone-dry and sanded, it is ready for decoration. Air-dry clay is highly absorbent, making it an excellent surface for acrylic paints, watercolors, or markers. Acrylic paint is generally the best choice because it provides a durable, opaque finish that adheres well to the clay's surface. You can apply multiple layers to achieve vibrant colors, but ensure each layer is dry before adding the next to avoid smudging.
After painting, the final step is sealing the piece to ensure longevity. A clear acrylic spray sealer or a brush-on varnish is necessary to protect the clay from moisture and UV damage. If you want a glossy finish, use a high-gloss varnish; for a natural look, opt for a matte sealer. Apply the sealant in thin, even coats, allowing it to dry completely between applications. With proper sealing, your air-dry clay creations can last for many years as decorative display pieces in your home.
Key facts
- Air-dry clay is a water-based modeling material that hardens through evaporation rather than kiln firing.
- Work on a non-porous surface like a silicone mat or glass to prevent the clay from sticking to your workspace.
- Keep a small bowl of water nearby to smooth out cracks or join two pieces of clay together.
- Seal your finished project with a water-resistant varnish or acrylic sealer to prevent it from absorbing moisture.
- Store unused clay in an airtight plastic bag or container to prevent it from drying out prematurely.
- Expect your project to shrink slightly as the water evaporates, typically by about 5 to 10 percent.
The bottom line
Air-dry clay is a versatile, accessible medium perfect for beginners and hobbyists looking to create decorative sculptures without the need for a kiln. By keeping your workspace clean, managing moisture levels during the shaping process, and allowing for a slow, even drying period, you can achieve professional results. Always remember to seal your finished work to ensure durability and protect your creation from environmental humidity.
People also ask
Can I put air-dry clay in the oven to speed up the drying process?
You should avoid using a standard oven, as high heat can cause the clay to crack or warp significantly. If you are in a rush, use a dehydrator on a very low setting or place the project near a gentle fan.
Is air-dry clay food safe?
No, air-dry clay is porous and typically contains additives that are not food-safe. You should not use it for plates, bowls, or any items intended to hold food or beverages.
Why does my air-dry clay crack while it is drying?
Cracking usually occurs when the clay dries too quickly or if the piece is too thick. To prevent this, dry your project slowly in a cool area and use an armature, like aluminum foil, for larger sculptures.
Can I paint air-dry clay after it has hardened?
Yes, acrylic paints are the best choice for air-dry clay because they provide good coverage and are water-resistant once dry. You can also use markers or watercolors, though you should seal the piece afterward to protect the finish.
How long does it take for air-dry clay to fully cure?
Small items may dry in 24 hours, but larger or thicker pieces can take up to 48 hours or more. The drying time depends heavily on the humidity levels and the thickness of the object.
Can I add more clay to a project once it has already dried?
It is difficult to add clay to a dry piece, as the new material will not bond properly. It is best to complete your entire sculpture while the clay is still moist and pliable.
This answer was created with the help of AI research tools and reference sources. Spotted an error? Let us know — we correct mistakes quickly. See our editorial policy.