How do you cast on in knitting?
Short answer
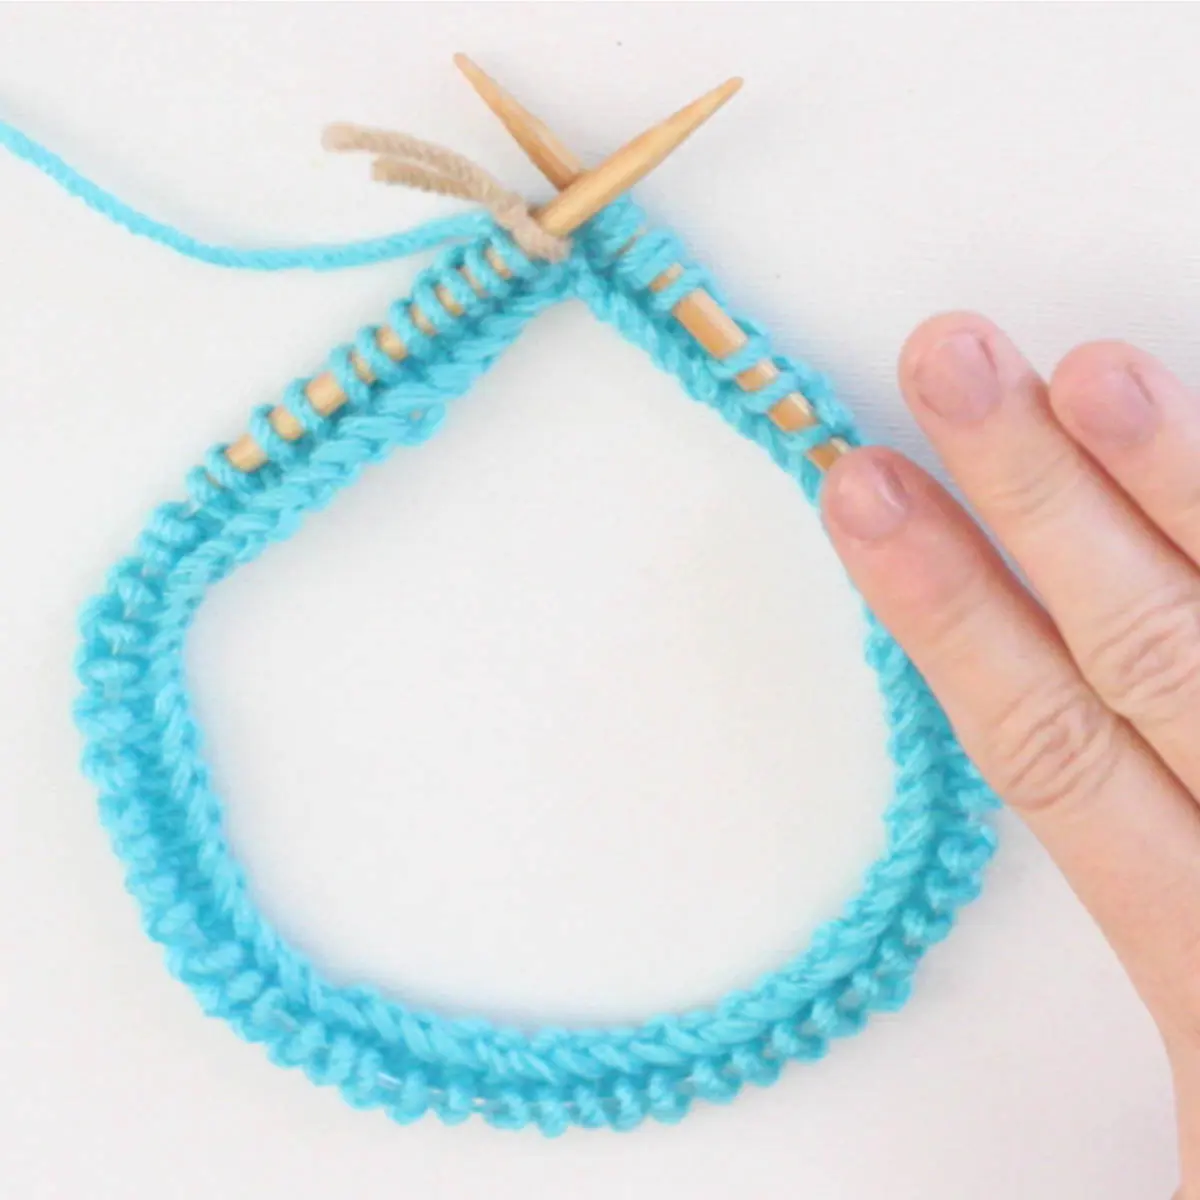
Casting on is the essential process of creating the initial row of loops on a knitting needle to begin a project. By securing yarn onto the needle, you establish the foundation for all subsequent stitches. Common methods include the versatile long-tail cast-on and the beginner-friendly knitted cast-on, each serving different purposes.
On this page
What is the best cast-on for beginners?
The knitted cast-on is widely considered the most intuitive method for those just starting their knitting journey. It mimics the standard knit stitch, meaning beginners do not need to learn an entirely new motion to get their yarn onto the needle. Because it uses the same mechanics as the basic knit stitch, it provides a smooth transition into working the first row of a pattern.
To perform the knitted cast-on, follow these steps:
- Create a slipknot and place it on your left needle.
- Insert the right needle into the slipknot as if to knit.
- Wrap the yarn around the right needle and pull a new loop through.
- Instead of dropping the old stitch, place the new loop onto the left needle.
- Repeat this process until you have the desired number of stitches.
This method is slightly slower than others but offers excellent control for novices. It creates a firm, stable edge that is easy to manage while learning to maintain consistent tension.
How to do the long-tail cast-on
The long-tail cast-on is the most popular technique among experienced knitters due to its efficiency and professional appearance. It creates a stretchy, decorative edge that works well for garments like sweaters, socks, and hats. Unlike the knitted cast-on, this method requires you to estimate the length of the yarn tail before you begin, as the tail provides the material for every stitch.
To execute the long-tail cast-on, you must hold the yarn in a "slingshot" position between your thumb and index finger. You then dip the needle into the thumb loop and catch the index finger yarn to form a stitch. Mastering this technique requires practice to ensure the tension remains even across the entire foundation row. Many knitters prefer it because it integrates the cast-on and the first row of knitting into a single, seamless motion.
Why does my cast-on look uneven?
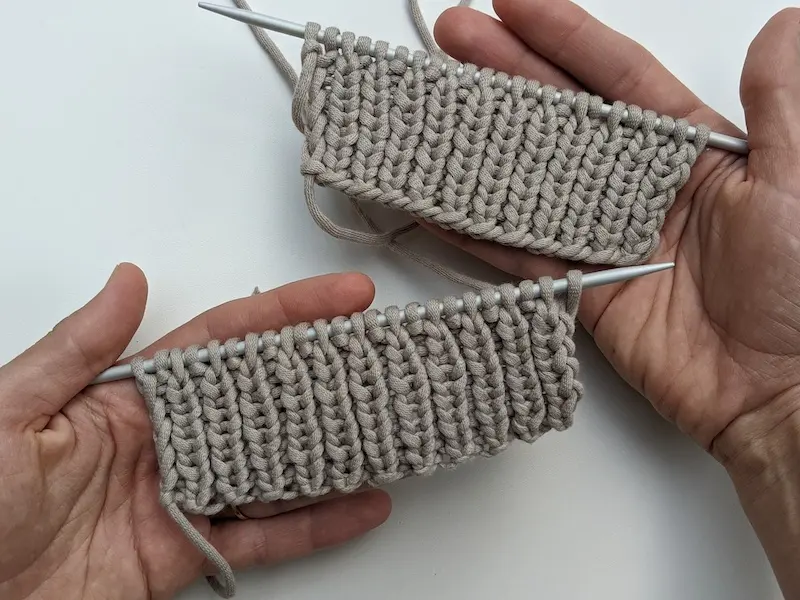
Uneven edges are a common frustration for knitters, often stemming from inconsistent tension or improper needle sizing. When you pull the yarn too tightly during the cast-on, the foundation row becomes rigid and difficult to work into on the next round. Conversely, leaving the loops too loose creates a sloppy, gaping edge that lacks structural integrity.
To achieve a professional-looking edge, try these strategies:
- Use a needle one or two sizes larger than the size required for the main project to cast on, then switch back to the correct needle size for the first row.
- Keep your fingers close to the needle tips to ensure the loops remain uniform in size.
- Practice the "thumb-to-needle" distance to ensure each loop pulls the same amount of yarn from the ball.
- Avoid twisting the loops as you transfer them onto the needle, as this creates a knotted base that is difficult to knit.
Common mistakes when casting on
The most frequent error is miscalculating the amount of yarn needed for the long-tail method, which results in having to restart the entire process. A helpful rule of thumb is to allow one inch of yarn for every stitch you intend to cast on, plus an extra 10 to 12 inches for the final knot. If you run out of yarn mid-cast, you must undo your work and start over with a longer tail.
Another common mistake is twisting the stitches around the needle. This is particularly problematic when joining in the round, as it creates a permanent spiral in the fabric that cannot be fixed later. Always double-check that the "V" shape of each stitch is facing the same direction before you begin your first row. If you notice a twist, it is better to unravel and correct it immediately rather than struggling with an awkward edge for the duration of your project.
How long does it take to cast on?
For a beginner, casting on 20 to 30 stitches might take several minutes as you focus on hand placement and tension. As muscle memory develops, this time decreases significantly. An experienced knitter can cast on 100 stitches in just a few minutes using the long-tail method. The total time depends on the complexity of the chosen technique and the thickness of the yarn.
While speed is often a goal, accuracy is far more important during the foundation stage. A rushed cast-on with dropped stitches or uneven tension will negatively impact the quality of the entire garment. Take your time to ensure each loop is correctly seated on the needle before proceeding to the first row. By focusing on the mechanics rather than the clock, you will build a solid foundation that makes the rest of your knitting project much more enjoyable and successful.
Key facts
- Casting on is the foundational process of creating the first row of loops on a knitting needle.
- The Long Tail Cast On is widely considered the most versatile method for general knitting projects.
- Always leave a tail of yarn at least three times the width of the finished piece to avoid running out of yarn mid-cast.
- Tension is critical; if the loops are too tight, it will be difficult to insert the needle for the first row.
- Using a needle one size larger than the project needle can help prevent a tight, restrictive cast-on edge.
- Counting your stitches immediately after casting on ensures you have the correct number before starting your pattern.
The bottom line
Casting on is the essential first step that translates yarn into a series of workable loops on your needle. By choosing a method that suits your project’s needs—whether it requires elasticity for cuffs or stability for borders—you set the foundation for your entire garment. Practice consistent tension and verify your stitch count early to ensure a professional, clean edge for every knitting endeavor you undertake.
People also ask
Which cast-on method is best for beginners?
The Knitted Cast On is often recommended for beginners because it uses the same motion as the basic knit stitch. It is easy to memorize and creates a firm, stable edge.
How do I know how much yarn to leave for a long tail cast on?
A reliable rule of thumb is to measure one inch of yarn for every stitch you intend to cast on. Adding an extra six inches of buffer ensures you have enough yarn to secure the final stitch.
Why does my cast-on edge look uneven or messy?
An uneven edge usually results from inconsistent tension applied to the yarn as you loop it over the needle. Practice maintaining a steady pull on the working yarn to ensure each loop is the same size.
Can I cast on using two needles held together?
Yes, holding two needles together while casting on creates extra slack in the loops. This technique is helpful if you tend to cast on too tightly and struggle to knit the first row.
What is the difference between a stretchy and a firm cast on?
A firm cast on, like the Cable Cast On, provides structural stability for edges that should not sag. A stretchy method, such as the German Twisted Cast On, is ideal for socks or sweater cuffs that need to expand.
Is it possible to add more stitches after I have already started knitting?
You can use the Backward Loop Cast On, also known as the e-wrap, to add stitches to the end of a row. This method is quick but can be slightly looser than other techniques.
This answer was created with the help of AI research tools and reference sources. Spotted an error? Let us know — we correct mistakes quickly. See our editorial policy.


![How to Knit the Knit Stitch: Step by Step tutorial [+video with slow-mo]](/img/10/what-is-the-easiest-knitting-stitch-1.webp)