What is the easiest way to draw legs?
Short answer
The easiest way to draw legs is by using the "mannequin method," which simplifies complex anatomy into basic geometric shapes like cylinders and spheres. By focusing on the alignment of joints—the hip, knee, and ankle—you can establish a solid foundation before adding muscle definition, skin, or clothing details to your drawing.
On this page
How to simplify leg anatomy for beginners
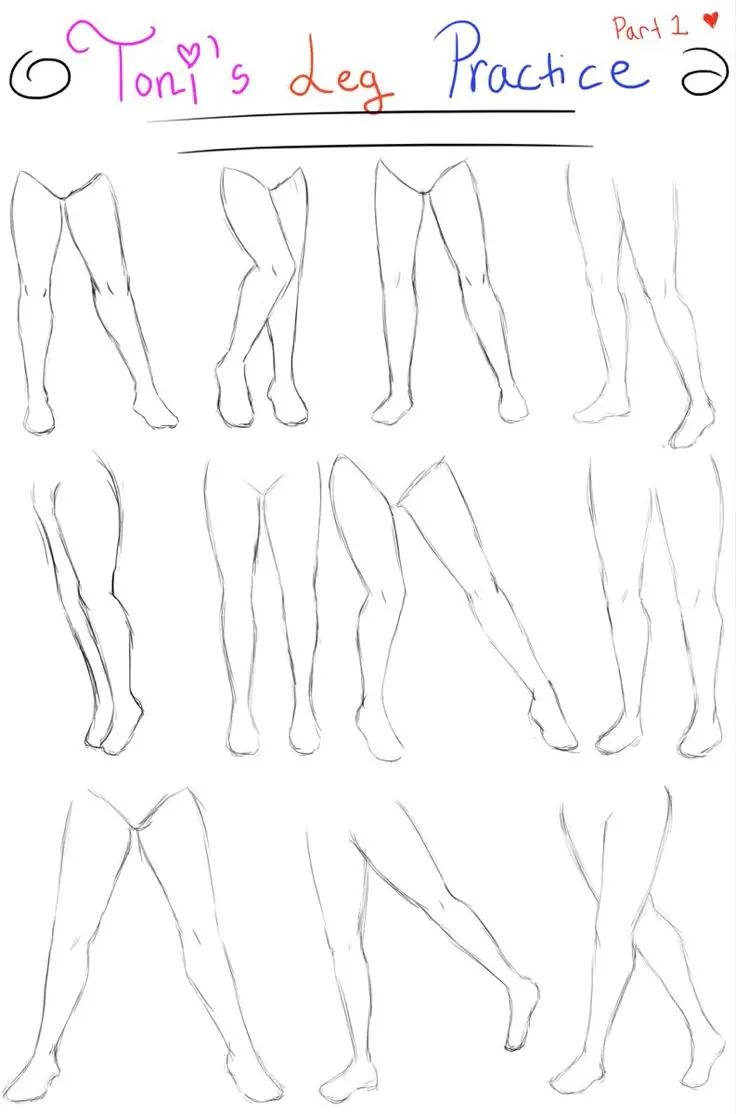
Drawing legs effectively begins with breaking down the limb into three primary segments: the thigh, the calf, and the foot. Instead of attempting to draw individual muscles immediately, visualize the leg as a series of connected cylinders. The thigh is typically the longest segment, extending from the hip socket to the knee, while the calf connects the knee to the ankle. By using simple shapes, you maintain correct proportions and avoid the common pitfall of making limbs look like shapeless tubes.
To ensure your proportions remain accurate, remember that the knee joint is generally located at the midpoint of the entire leg length. The distance from the hip to the knee should be roughly equal to the distance from the knee to the ankle. Using these geometric guides allows you to establish the gesture and flow of the pose. Once the skeletal structure is in place, you can wrap the muscle mass around these cylinders to create a more organic, realistic appearance.
Best techniques for drawing leg proportions
Mastering proportions is essential for making legs look natural rather than stiff or distorted. A helpful rule of thumb is to use the length of the head as a unit of measurement. In a standard adult figure, the legs usually account for half of the total body height. If your legs appear too short or long, checking them against the head-unit measurement is the quickest way to identify and correct the error.
When sketching the leg, follow these steps to maintain structural integrity:
- Draw a circle for the hip joint and a smaller circle for the knee.
- Connect them with a straight or slightly curved line to represent the femur.
- Draw a second segment from the knee to the ankle, ensuring the calf curve is placed on the outside of the lower leg.
- Add a wedge shape for the foot, keeping it roughly one-third the length of the thigh.
Following this sequence ensures that your proportions stay consistent regardless of the pose.
Why legs look unnatural in drawings
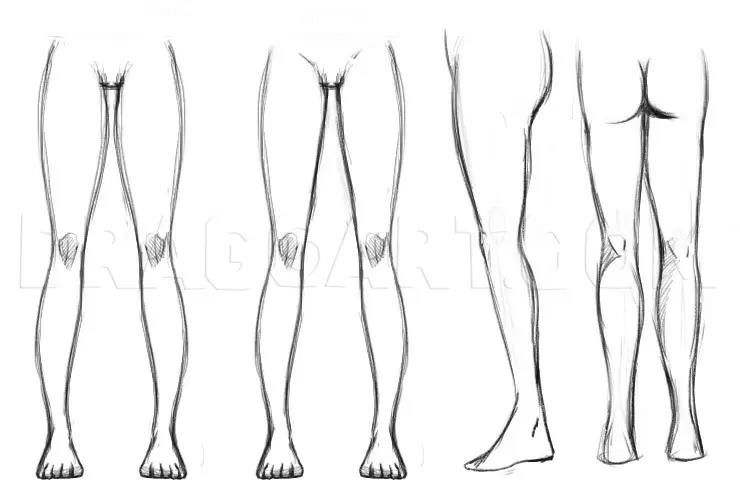
Many artists struggle with legs because they treat them as perfectly symmetrical objects. In reality, the human leg has a distinct "S-curve" profile. The thigh muscles, such as the quadriceps, bulge toward the front, while the calf muscles, specifically the gastrocnemius, bulge toward the back. If you draw both sides of the leg with identical curves, the limb will look like a cartoonish prop rather than a functioning part of the body.
Another reason for unnatural results is the failure to account for weight distribution. When a person stands, their weight usually shifts to one leg, causing the hip on that side to tilt upward. The knee of the weight-bearing leg should be positioned directly under the center of gravity, while the other leg remains relaxed. Failing to show this shift makes the figure look like it is floating or falling. Always observe how the torso leans to compensate for the stance of the legs.
Common mistakes when drawing legs
The most frequent mistake beginners make is ignoring the knee's complexity. The knee is not just a simple hinge; it is a bony structure that shifts depending on whether the leg is bent or straight. When the leg is straight, the kneecap (patella) is prominent and sits slightly higher. When the leg is bent, the knee becomes more angular, and the muscles around it tighten, creating folds in the skin. Avoid drawing the knee as a perfect circle, as this ignores the anatomical reality of the joint.
Another common error involves the connection of the foot to the ankle. Beginners often attach the foot directly to the end of the calf cylinder, which makes the leg look like it is stuck into a block. In reality, the ankle bones (malleoli) are offset, with the inner ankle bone sitting higher than the outer one. Paying attention to these subtle anatomical landmarks prevents the "stump" look and adds a professional level of detail to your character designs.
How to add muscle and definition
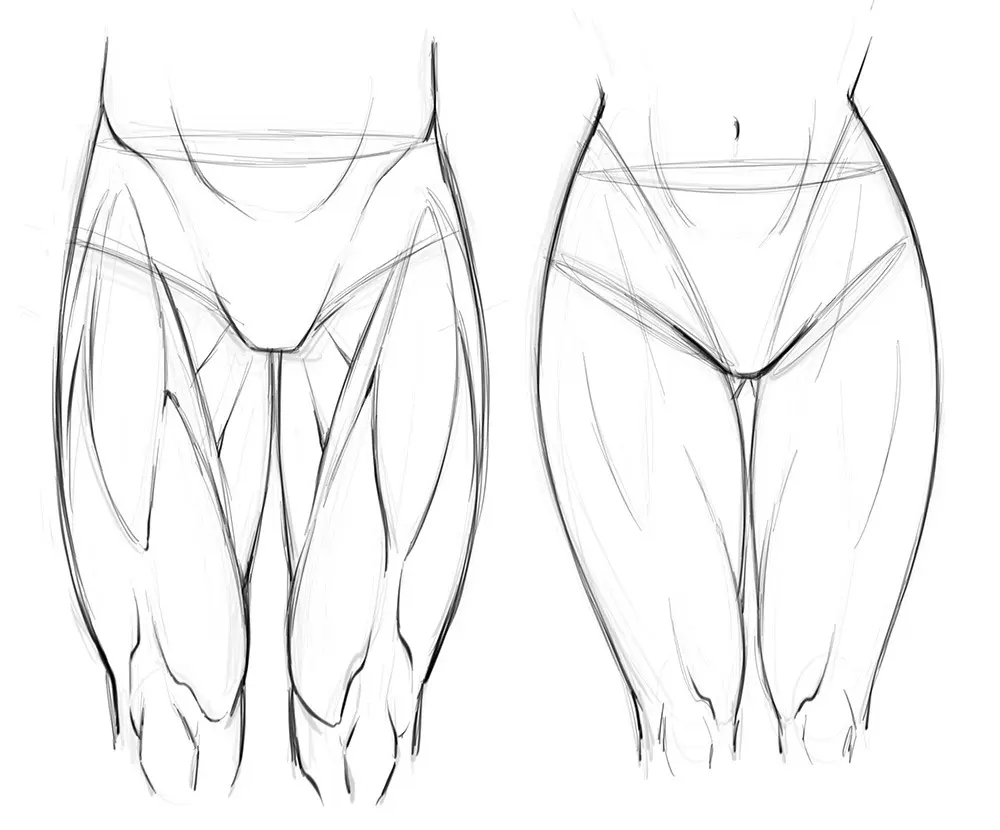
Once you have mastered the basic cylinders and proportions, you can begin adding muscle definition to bring the legs to life. Focus on the major muscle groups: the quadriceps on the front of the thigh, the hamstrings on the back, and the calf muscles on the lower leg. Use light, sweeping lines to indicate the flow of these muscles rather than drawing heavy, rigid outlines. This approach keeps the leg looking dynamic and capable of movement.
To refine your drawings, consider these tips for adding detail:
- Use cross-contour lines to wrap around the leg, which helps define the volume of the muscles.
- Keep the inner side of the leg relatively straight while allowing the outer side to have more curvature.
- Observe how clothing interacts with the leg, noting that fabric will bunch up at the back of the knee and stretch over the thighs.
- Study photographs of athletes to see how muscles change shape during intense physical activity.
By practicing these techniques consistently, you will develop the muscle memory needed to draw legs from any angle with confidence and precision.
Key facts
- The human leg is typically measured as four head-lengths long from the hip to the floor.
- Use a "gesture line" to establish the curve and weight distribution of the leg before adding volume.
- The knee joint sits roughly at the halfway point between the hip and the ankle.
- Simplify the leg into three primary shapes: an inverted triangle for the thigh, a cylinder for the calf, and a wedge for the foot.
- The inner calf muscle is generally higher and more pronounced than the outer calf muscle.
- Always draw legs in relation to the center of gravity to ensure the figure looks balanced rather than falling.
The bottom line
To draw legs effectively, prioritize the underlying structure over surface details. Start by establishing the gesture and center of gravity, then build the form using simple geometric shapes like cylinders and wedges. Remember that the knee is not a circle but a complex joint, and vary your line weights to show depth. Consistent practice with basic anatomy will help you create balanced, realistic figures every time.
People also ask
Should I draw the legs as straight lines or curved shapes?
You should use curved lines to represent the natural rhythm and muscle mass of the leg. Straight lines often make the anatomy look stiff or robotic, whereas slight curves help define the transition between muscle groups.
How do I make the legs look like they are supporting weight?
Place the center of gravity directly over the foot that is bearing the weight. By aligning the pit of the neck with the supporting ankle, you create a realistic sense of balance and stability.
What is the most common mistake when drawing knees?
Beginners often draw knees as simple circles, which makes them look like mechanical hinges. Instead, treat the knee as a complex, flattened box shape that shifts slightly depending on whether the leg is bent or straight.
How do I draw the transition between the thigh and the calf?
Use an overlapping line where the thigh muscle meets the knee. This overlap creates depth and helps the viewer understand which part of the leg is positioned in front of the other.
Do legs look different from the front versus the side?
Yes, the silhouette changes significantly because of the curvature of the quadriceps and calves. From the side, the leg follows an "S" curve, while from the front, it appears more symmetrical with subtle bumps for the knee and ankle bones.
How can I improve my leg drawings quickly?
Practice drawing legs from life or photographs using a "mannequin" approach. By breaking the leg down into simple geometric primitives like cylinders and spheres, you learn to understand volume before focusing on complex surface details.
This answer was created with the help of AI research tools and reference sources. Spotted an error? Let us know — we correct mistakes quickly. See our editorial policy.