How do you draw a barn step by step?
Short answer
Drawing a barn involves constructing a basic geometric foundation, typically starting with a rectangle for the main structure and a trapezoid or triangle for the roof. By adding perspective lines, doors, and textures like wood planks or shingles, you can create a realistic representation of a classic rural agricultural building.
On this page
How to draw a barn step by step
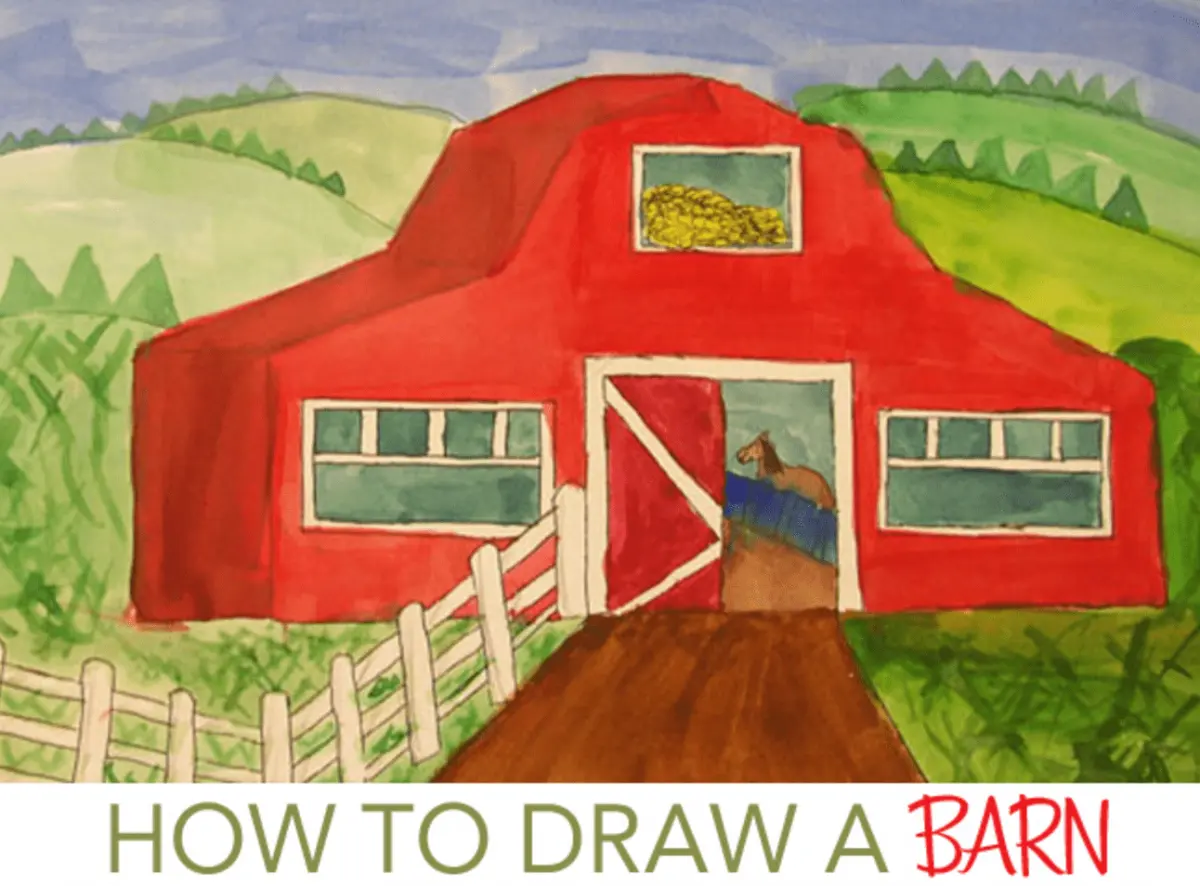
To begin your drawing, establish a horizon line to anchor your barn in space. Start by sketching a large rectangle to represent the main body of the structure. If you want a classic look, add a tall, wide trapezoid on top to serve as the roof. Ensure your vertical lines are parallel to the sides of your paper to keep the building from appearing to lean.
Once the basic silhouette is established, refine the proportions by adding a smaller rectangle for the barn door and squares for windows. Use a ruler if you prefer clean, architectural lines, or sketch freehand for a more rustic, weathered appearance. Remember that barns are functional structures, so keep the design simple and grounded in solid, rectangular shapes before adding any complex details.
- Draw a large central rectangle for the barn walls.
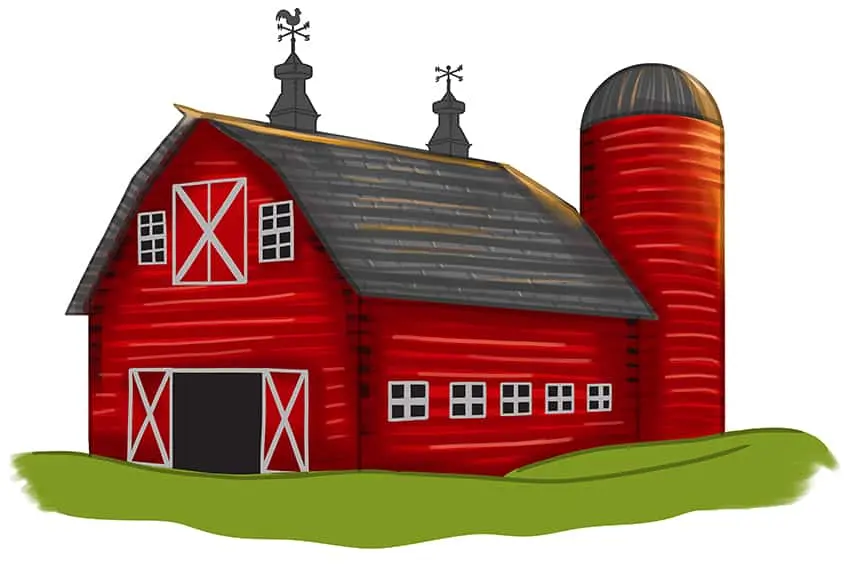
- Add a slanted roof shape, such as a gambrel or gable style, on top.
- Sketch a large, rectangular sliding door on the front wall.
- Add smaller square windows near the top of the walls.
- Define the ground line to provide a sense of stability.
Best tools for barn drawing beginners
For those just starting, a simple HB graphite pencil is the most versatile tool. It allows for light initial sketches that can be easily erased as you refine your shapes. Pair this with a high-quality white vinyl eraser to clean up your construction lines without damaging the paper surface. Using a sketchbook with a slight tooth, or texture, will help your pencil marks grip the page more effectively.
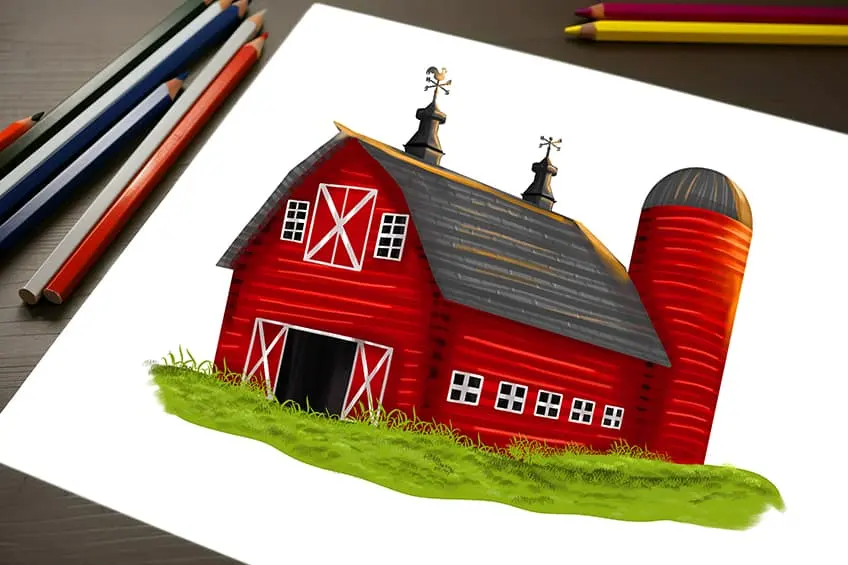
As you progress, you might consider using fineliner pens or ink markers to outline your final drawing. These tools provide high contrast, making the architectural features pop against the background. If you want to add color, colored pencils or watercolor paints are excellent choices. They allow you to layer earth tones, such as barn red, brown, or grey, to mimic the appearance of aged wood or painted siding.
- HB and 2B graphite pencils for sketching and shading.
- A kneaded eraser for lifting graphite without smudging.
- Fine-tipped ink pens for permanent outlining.
- A ruler or T-square for maintaining consistent perspective.
- High-quality drawing paper with a medium weight.
How to add perspective to a barn drawing
Perspective is the key to making your barn look three-dimensional rather than flat. Use one-point perspective by placing a single vanishing point on your horizon line. Draw lines from the corners of your barn toward this point to ensure that the sides of the structure recede realistically into the distance. This technique creates the illusion of depth, which is essential for architectural drawing.
If you prefer a more dynamic view, try two-point perspective. In this method, you use two vanishing points on opposite sides of the horizon line. You will draw the corner of the barn closest to the viewer as a vertical line, then angle the roof and walls toward the two different vanishing points. This creates a more dramatic angle, making the barn look as if it is sitting firmly on the landscape.
- Establish the horizon line at eye level.
- Identify your vanishing points on the horizon.
- Align all horizontal edges with the vanishing points.
- Keep vertical lines perfectly perpendicular to the ground.
- Check your angles frequently to ensure they converge correctly.
Common mistakes when drawing barns
One of the most frequent errors is ignoring the scale of the doors and windows. Beginners often draw doors that are too small or windows that are placed inconsistently across the walls. A barn door should be large enough to accommodate farm equipment, so ensure it occupies a significant portion of the front wall. Always double-check that your windows are aligned horizontally, as crooked windows can ruin the structural integrity of your drawing.
Another common mistake is neglecting the roof overhang. Real barns typically have eaves that extend slightly beyond the walls to protect the siding from rain. If the roof sits flush against the wall, the building will look like a flat box rather than a functional structure. Additionally, avoid making your lines too dark too early in the process. Heavy, dark lines are difficult to correct if you discover a mistake in your initial proportions or perspective.
- Forgetting to draw the thickness of the walls or roof.
- Placing windows at uneven heights across the facade.
- Making the barn door too small for the structure.
- Over-detailing the texture before finalizing the basic geometry.
- Using inconsistent light sources when applying shadows.
Why barn drawings look realistic
Realism in a drawing comes from the application of light and shadow, known as value. Identify where your light source is coming from—such as the sun—and keep it consistent. If the sun is on the right, the left side of the barn should be in shadow. Use cross-hatching or smooth shading to create these transitions. Adding textures like wood grain or stone patterns can further enhance the believability of your subject.
Finally, consider the environment surrounding the barn. A barn floating in empty space looks unnatural, so add elements like grass, trees, or a fence line. These details provide context and help ground the building in a realistic setting. By paying attention to the interplay between the barn and its surroundings, you create a narrative that makes the drawing feel complete and authentic to the viewer.
Key facts
- Start by drawing a large rectangle to serve as the main body of the barn.
- Add a triangle on top of the rectangle to form the basic roof structure.
- Use a ruler to ensure your vertical lines are perpendicular to the ground.
- Draw a smaller rectangle on the side of the barn to represent the sliding door.
- Incorporate a cupola, the small box-like structure on the roof, to add architectural depth.
- Use vanishing points if you want to draw the barn in one-point or two-point perspective.
The bottom line
Drawing a barn is an exercise in basic geometric construction. By starting with simple rectangles and triangles, you provide a stable foundation for your architectural sketch. Focus on maintaining consistent perspective and adding realistic textures like wood grain or roof shingles to bring the structure to life. With patience and attention to structural alignment, you can transform basic shapes into a charming and accurate rural scene.
People also ask
What is the most common mistake when drawing a barn?
The most common error is failing to align the roof peak with the center of the base. This makes the building appear lopsided or structurally unsound.
Should I use a pencil or a pen for the initial sketch?
Always start with a light graphite pencil to map out your proportions. You can trace over your finalized lines with ink once you are satisfied with the structure.
How do I make the barn look weathered?
Add vertical lines along the walls to represent wooden planks and include small, irregular shapes to suggest peeling paint or knots in the wood.
Why are barns usually painted red?
Historically, red paint was the cheapest option because it was made from rust, or iron oxide, which prevented moss growth and kept the wood preserved.
How can I add depth to the drawing?
Use cross-hatching or shading on the side of the barn that is opposite the light source. This creates a three-dimensional effect that makes the structure look solid.
What is a gambrel roof?
A gambrel roof is a symmetrical two-sided roof with two slopes on each side. It is a classic design feature that provides extra storage space in the loft.
This answer was created with the help of AI research tools and reference sources. Spotted an error? Let us know — we correct mistakes quickly. See our editorial policy.