How do you draw a moth?
Short answer
Drawing a moth requires capturing its distinct fuzzy body, feathery antennae, and broad, overlapping wings. Begin by sketching a central thorax and abdomen, then layer the wings using light geometric shapes. Focus on symmetry and intricate wing patterns, utilizing soft shading to emphasize the moth's characteristic velvety texture and natural, muted coloration.
On this page
How to draw a moth for beginners
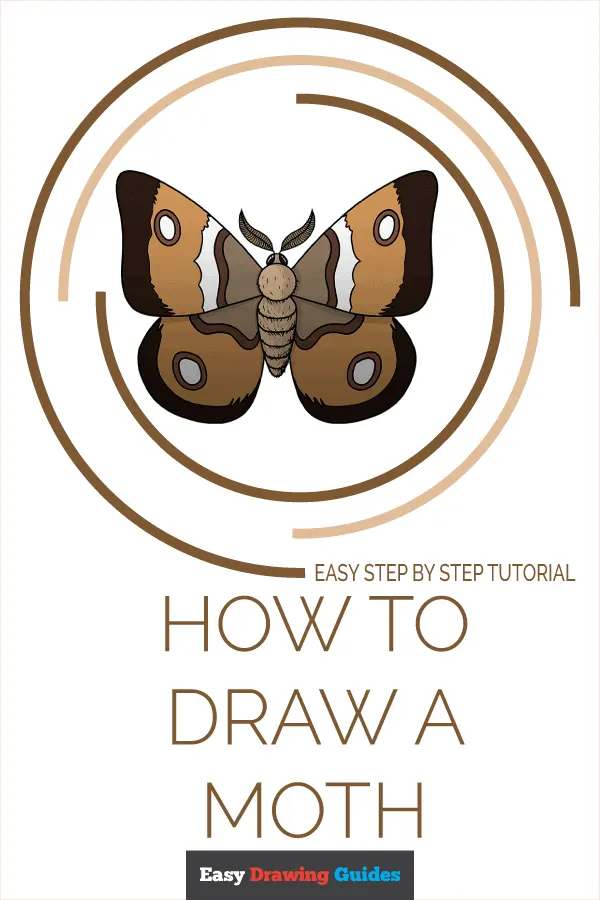
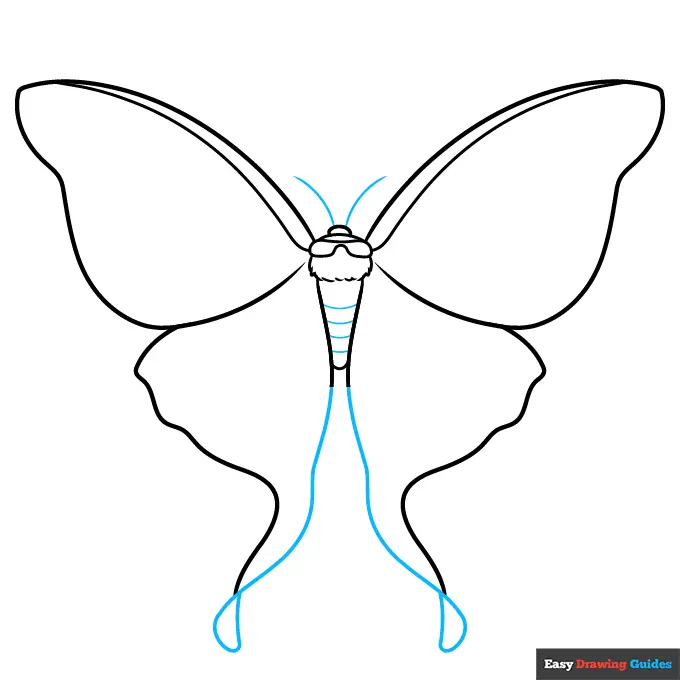
To draw a moth, start by observing the anatomical differences between moths and butterflies. Moths typically have thicker, furrier bodies and feathery or comb-like antennae, whereas butterflies possess slender bodies and clubbed antennae. Begin your sketch by drawing a central oval for the thorax and a longer, segmented oval for the abdomen. Keep your initial lines faint so you can easily erase them as you refine the details.
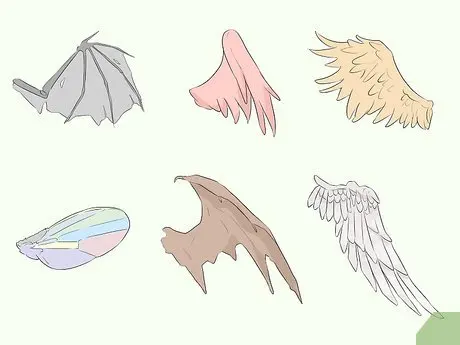
Once the body structure is established, add the wings. Moths often rest with their wings spread flat or folded in a roof-like shape over their backs. Use these simple steps to build your foundation:
- Sketch two large triangles extending from the thorax for the forewings.
- Add smaller, rounded shapes beneath them for the hindwings.
- Draw the antennae as two thin lines extending from the head, adding small, hair-like strokes along their length.
- Define the edges of the wings with slightly wavy lines to mimic natural wear.
Best tools for drawing moths
For a realistic result, graphite pencils are the most versatile tools. Use a 2H pencil for light, preliminary structural lines and a 4B or 6B pencil for the deep, dark shadows found under the wings and along the thorax. If you prefer color, soft pastels or colored pencils work well to capture the dusty, iridescent scales found on many species. A kneaded eraser is essential, as it allows you to lift pigment to create the subtle highlights on the wings.
Texture is the defining characteristic of a moth. To achieve this, use a blending stump or a piece of cotton to soften your pencil marks, giving the body a fuzzy appearance. Avoid using harsh, solid black lines for the wing patterns. Instead, use short, rhythmic strokes to simulate the appearance of overlapping scales. This technique adds depth and makes the drawing feel organic rather than rigid, which is a common issue for those accustomed to drawing hard-edged mechanical objects.
Why moth wing patterns are complex
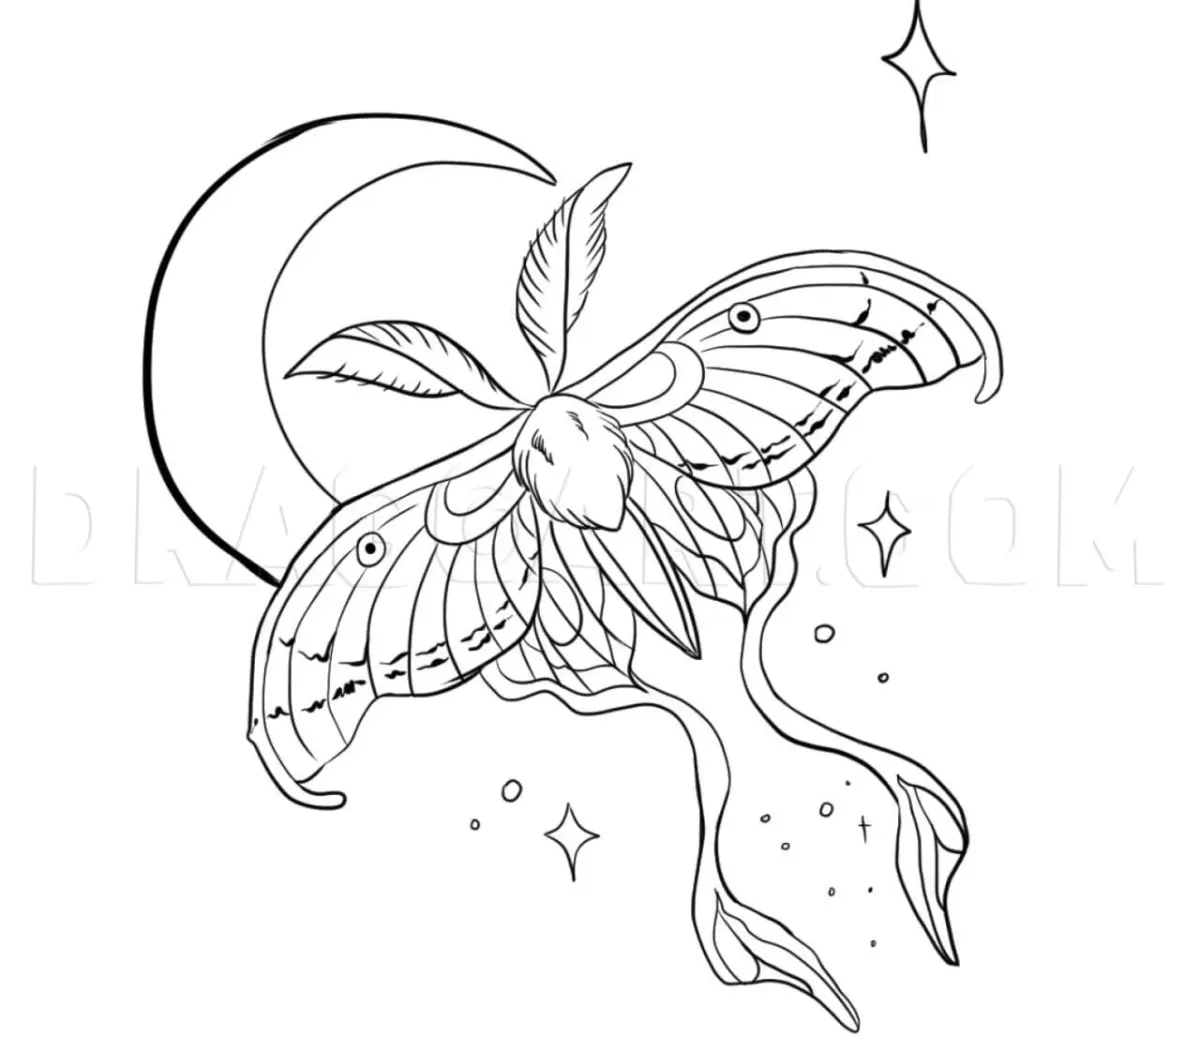
Moth wings are covered in thousands of microscopic, overlapping scales that create their intricate patterns. When drawing these, focus on the symmetry of the primary markings, such as "eyespots" or bands of color. Most moths exhibit bilateral symmetry, meaning the patterns on the left wing should mirror those on the right. If you are drawing a specific species, such as the Luna moth or the Cecropia moth, pay close attention to the specific vein structure, which usually radiates from the center of the wing toward the outer edges.
To maintain accuracy, consider these tips when detailing the wings:
- Work from the center of the body outward to ensure the patterns align correctly.
- Use a reference photograph to identify the primary veins, which act as the "skeleton" of the wing.
- Vary the pressure of your pencil to create gradients within the patterns, rather than using flat, uniform colors.
- Remember that moth patterns are rarely perfectly symmetrical in nature; slight variations add to the realism.
Common mistakes when drawing moths
A frequent error is making the moth look too much like a butterfly. If you draw the antennae as thin, smooth lines with a bulb at the end, you have created a butterfly. Always ensure the antennae are feathery or plumose. Another common mistake is neglecting the "fur" on the thorax. Because moths are nocturnal, they often have dense, insulating hair to stay warm; failing to represent this texture makes the insect look like it is made of plastic or metal.
Proportions are equally critical. Many beginners draw the wings too small relative to the body. Moths often have wings that are significantly wider than their total body length. Before finalizing your drawing, check the ratio of the wing span to the body length. If the wings look stunted, expand them outward. Additionally, avoid drawing the legs too prominently. While moths have six legs, they are often tucked underneath the body while at rest and should not be the focal point of your illustration.
How to add realistic details and shading
The final stage of your drawing involves adding contrast to bring the moth to life. Focus on the shadow cast by the wings onto the surface below, as well as the shadows created by the overlapping wings themselves. By darkening the area where the wings meet the thorax, you create a sense of height and volume. Use your darkest pencil to define the eyes, which are often large and reflective, adding a tiny white dot with a sharp eraser to suggest a glint of light.
To finish, add fine details to the wing margins. Many moths have delicate fringes of hair along the edges of their wings. Use a sharp pencil to draw these with quick, flicking motions. Finally, step back from your work to ensure the overall balance feels correct. If the moth looks too flat, increase the contrast in the darkest areas. By focusing on these subtle textural elements, you transform a basic geometric sketch into a detailed, lifelike representation of a moth that captures its unique biological character.
Key facts
- Moths typically have feathery or saw-edged antennae, whereas butterflies possess thin, club-tipped antennae.
- When resting, most moths hold their wings flat against their bodies or folded like a roof, unlike butterflies that fold wings vertically.
- Start your sketch with a central vertical axis line to ensure the left and right sides of the wings remain symmetrical.
- Use a soft graphite pencil (2B or 4B) to sketch light guidelines before committing to darker, final outlines.
- Focus on the "furry" appearance of the thorax by using short, overlapping hatch marks to suggest dense scales.
- Avoid drawing perfectly straight edges; moth wings are organic, often featuring slight curves or jagged margins.
The bottom line
Drawing a moth requires careful attention to its unique physical characteristics, specifically its fuzzy body and distinct, feathery antennae. By establishing a symmetrical foundation and layering texture through light shading, you can create a lifelike representation. Remember to observe the organic, curved edges of the wings rather than relying on rigid lines, allowing the natural, soft appearance of the insect to emerge through your detailed pencil work.
People also ask
What is the main difference between drawing a moth and a butterfly?
Moths generally have thicker, hairier bodies and broader, more muted-colored wings compared to the slender bodies of butterflies. When drawing, emphasize the fuzzy texture of the moth's thorax and abdomen to distinguish it from the smoother look of a butterfly.
Should I use a reference photo when drawing a moth?
Using a reference photo is essential for capturing the complex, intricate patterns found on moth wings. Real specimens provide accurate details regarding wing venation and the specific shape of the antennae, which vary significantly between species.
How do I make the moth wings look realistic?
Add depth by shading the area where the wings meet the body, as this is where the shadow is darkest. Use a blending stump or a soft cloth to smooth out the transition between light and dark areas on the wing surface.
What are common mistakes when drawing moth antennae?
A common error is drawing the antennae too thin or too short. Moths often have prominent, plume-like antennae that are vital for sensing pheromones, so make them a focal point of your drawing.
How can I represent the patterns on moth wings?
Start by outlining the major veins and color blocks before adding fine details like spots or stripes. Work from the center of the wing outward to maintain control over the pattern's scale and proportion.
Is it better to draw a moth with wings open or closed?
Both perspectives are valid, but drawing wings open is better for showcasing intricate patterns. Drawing them closed provides a better opportunity to practice rendering textures and the unique roof-like resting posture of the insect.
This answer was created with the help of AI research tools and reference sources. Spotted an error? Let us know — we correct mistakes quickly. See our editorial policy.