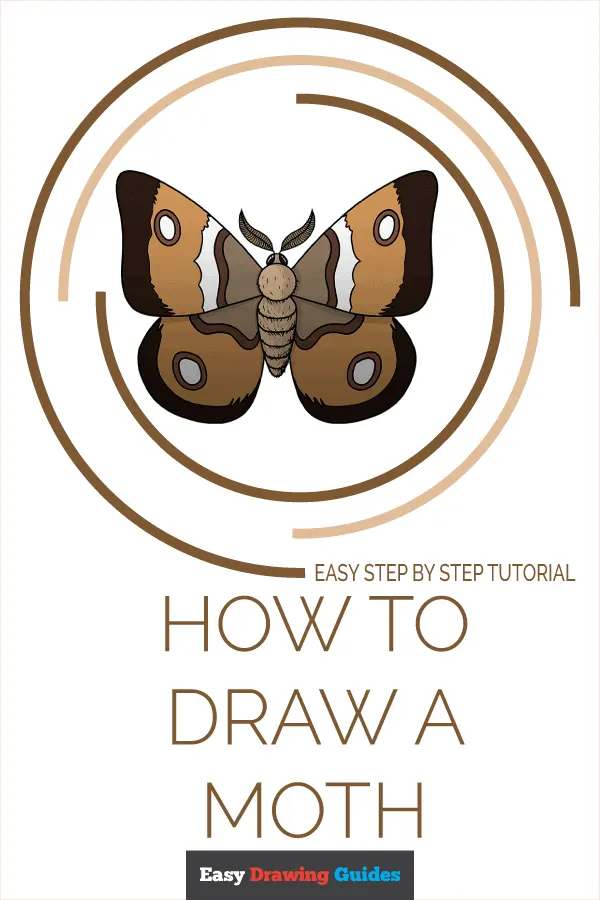
How do you draw a realistic butterfly?
Short answer
Drawing a realistic butterfly requires observing bilateral symmetry and structural anatomy. Begin by sketching a central body axis, then map out the wing shapes using geometric guidelines. Focus on layering intricate vein patterns and distinct color gradients. With patience and attention to the insect's delicate proportions, you can capture a lifelike, detailed representation.
On this page
How to structure a butterfly drawing
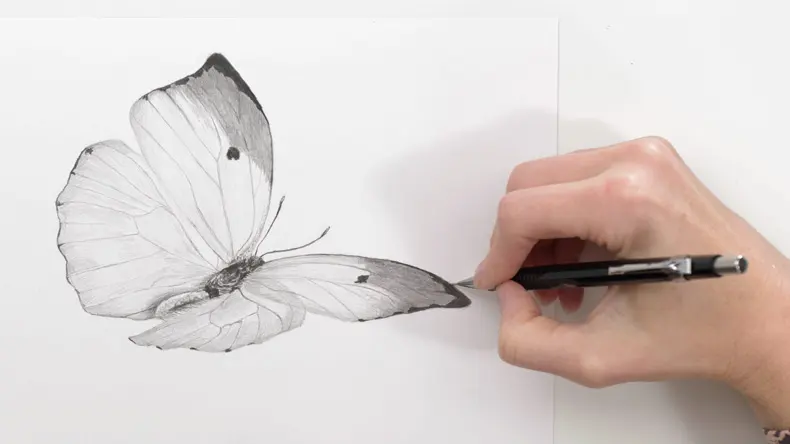
Achieving realism starts with understanding the basic anatomy of a butterfly. Every butterfly consists of three main body parts: the head, the thorax, and the abdomen. When drawing, always begin by sketching a thin, vertical center line to act as your axis of symmetry. This ensures that both sides of the insect remain balanced, which is the most critical aspect of creating a natural look.
Once the body is established, outline the wings using light, angular shapes before rounding them out. Most butterflies have two sets of wings: the larger forewings at the top and the smaller hindwings tucked beneath. Keep your initial lines extremely faint so they can be easily erased or blended later. By focusing on these skeletal proportions first, you build a sturdy foundation that prevents the drawing from looking distorted or lopsided.
Best materials for realistic butterfly art
For beginners, using a range of graphite pencils is the most effective way to learn shading and texture. A 2H pencil is ideal for light construction lines, while a 4B or 6B pencil provides the deep, rich blacks needed for the wing edges and body. If you are adding color, professional-grade colored pencils allow for the layering and blending necessary to mimic the iridescent scales found on butterfly wings.
Regardless of your medium, the quality of your paper matters significantly. A smooth, hot-press surface is preferable because it allows for fine detail work without the texture of the paper interfering with your strokes. To achieve professional results, consider using the following tools:
- A kneaded eraser to lift pigment and create highlights on the wings.
- A blending stump or tortillon to soften transitions between colors.
- A mechanical pencil for drawing the ultra-fine veins.
- A white gel pen for adding sharp, reflective highlights to the eyes or wing tips.
How to draw realistic wing patterns
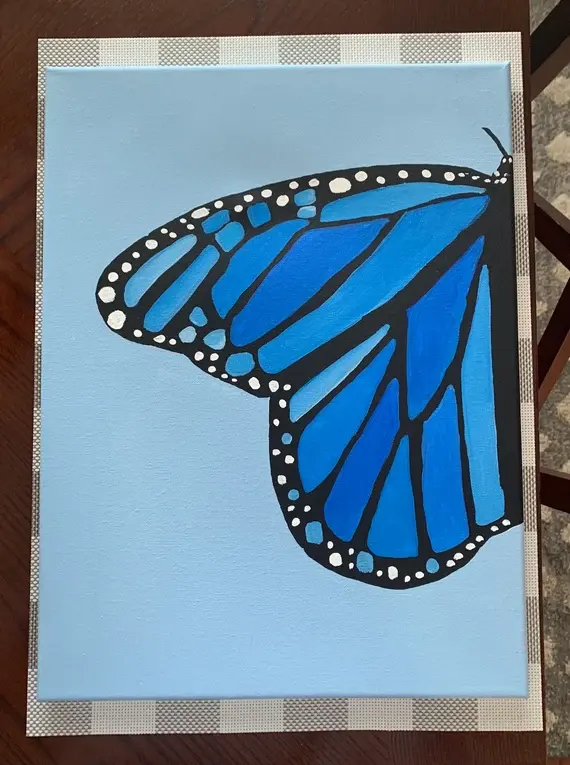
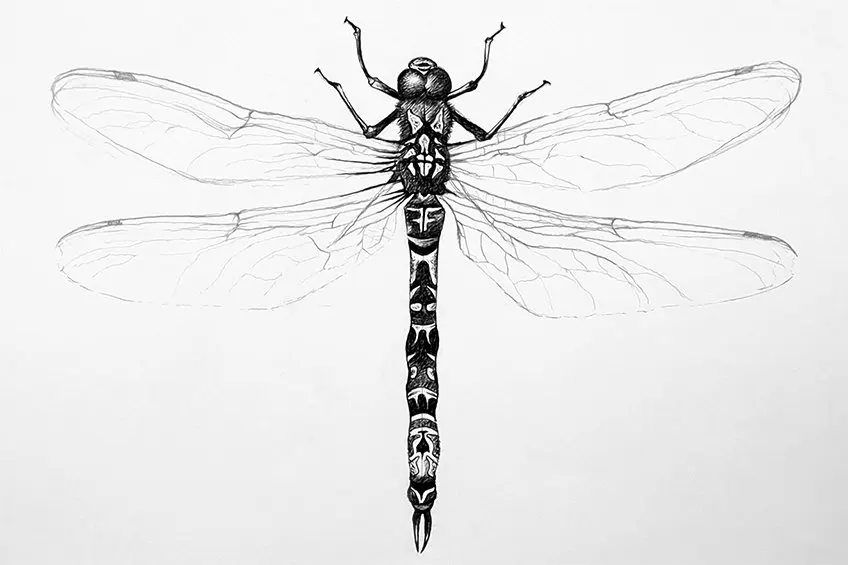
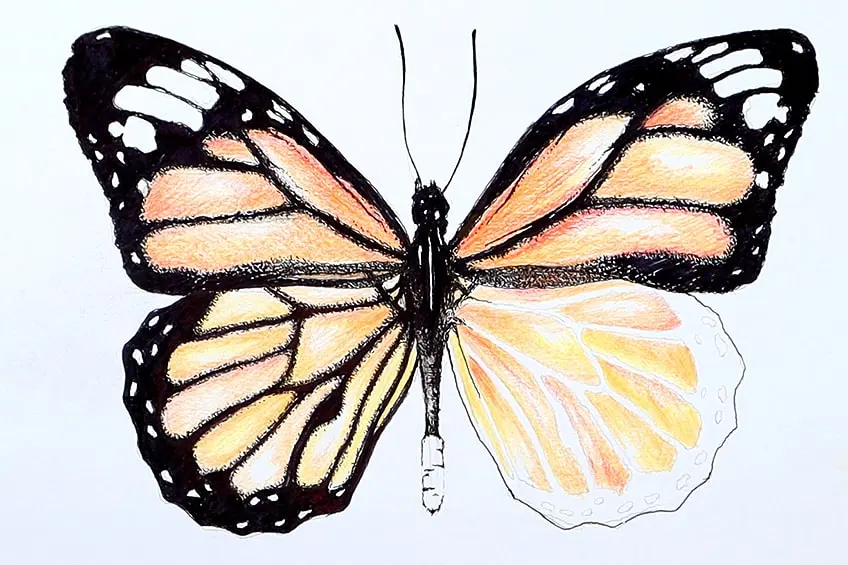
The beauty of a butterfly lies in its complex wing patterns, which are rarely perfectly uniform. To draw these accurately, observe the underlying vein structure. Veins typically radiate from the thorax toward the outer edges of the wings, branching out like a network of capillaries. Avoid drawing these lines as rigid, straight segments; instead, give them a slight, organic curve to mimic the flexibility of insect wings.
After the veins are in place, focus on the color distribution. Butterflies often feature symmetrical spots, bands, or gradients that fade toward the edges. Use a layering technique, starting with the lightest base colors and gradually building up darker tones. This process mimics the way scales overlap on a real butterfly. Remember that the patterns on the left wing must be a mirror image of the right wing, though subtle variations in shading can add to the overall sense of realism.
Common mistakes when drawing butterflies
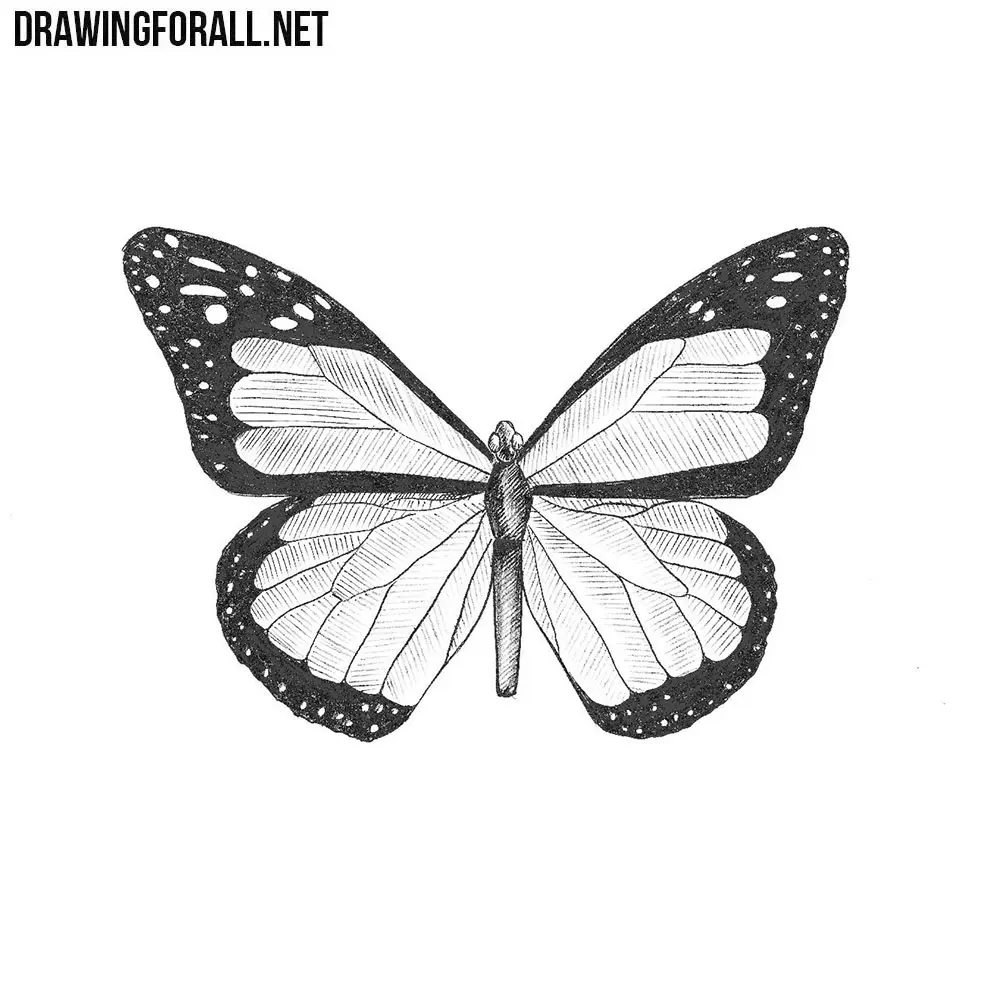
One of the most frequent errors is ignoring the perspective of the wings. If you draw the wings perfectly flat, the butterfly will look like a static specimen pinned to a board rather than a living creature. To create depth, slightly overlap the hindwings behind the forewings or foreshorten one side if the butterfly is turned at an angle. This simple adjustment provides a three-dimensional quality that immediately elevates the drawing.
Another common mistake is over-detailing the body while neglecting the texture of the wings. The wings are covered in thousands of tiny scales that create a soft, dusty appearance, whereas the body is often fuzzy or segmented. Use these techniques to avoid a flat look:
- Use short, light strokes to represent the fine hairs on the thorax.
- Avoid harsh outlines around the wing edges; instead, use soft shading to define the boundaries.
- Ensure the antennae are thin and graceful, rather than thick or heavy, as they are very delicate in nature.
How to refine your butterfly drawing
Refining your work is the final step in moving from a sketch to a realistic illustration. Once your shading and patterns are set, go back and evaluate the contrast. Real butterflies often have high-contrast areas where bright colors meet deep shadows. Use your darkest pencil to deepen the shadows near the body and the edges of the wings, which will make the colors in the center pop and appear more vibrant.
Finally, add the finishing touches that bring the drawing to life. This includes adding a subtle cast shadow beneath the butterfly if you have drawn it resting on a surface, or adding a light sheen to the wings to suggest the reflection of sunlight. Take a step back and look at your drawing from a distance to check for any final symmetry issues. By carefully refining these small details, you transform a basic diagram into a convincing, professional-grade piece of natural history art.
Key facts
- Butterflies exhibit bilateral symmetry, meaning the left and right wings are near-mirror images of each other.
- Use a reference photograph to identify the specific wing venation patterns unique to the species you are drawing.
- Start your sketch with a central vertical axis line to ensure the body and wings remain balanced throughout the process.
- Focus on the "clubbed" antennae, which are a defining anatomical feature that distinguishes butterflies from moths.
- Layer your colors from light to dark to build depth and mimic the translucent quality of butterfly scales.
- Avoid drawing perfectly straight edges, as natural wing margins are slightly curved or serrated depending on the species.
The bottom line
Drawing a realistic butterfly requires a balance of anatomical accuracy and artistic observation. By establishing a central axis for symmetry, mapping out the wing veins, and layering colors to replicate the texture of scales, you can create a lifelike representation. Remember to focus on the unique wing shapes and clubbed antennae of your specific subject, as these small details are what truly bring the insect to life.
People also ask
How do I ensure the wings are symmetrical?
Draw a light vertical line down the center of your paper and use horizontal guide lines to mark the top and bottom limits of each wing. Periodically flip your drawing upside down to spot asymmetrical shapes that your eyes might have missed while working in a standard orientation.
What pencil grade is best for sketching?
Start with an H or HB pencil to create faint, easily erasable structural lines. Once the proportions are correct, switch to a 2B or 4B pencil to add darker values and fine details to the wing patterns.
Should I draw the body or wings first?
Always draw the central body—the thorax and abdomen—first to act as an anchor. The wings grow out of the thorax, so establishing this connection point prevents the wings from appearing detached or floating.
How do I make the wings look realistic?
Focus on the veins, which act like a structural skeleton for the wing membrane. By drawing these lines radiating from the body toward the outer edges, you create a sense of organic growth and tension.
Why do my butterfly drawings look flat?
Flatness usually results from a lack of contrast between the patterns and the background. Use shading to indicate the curve of the wings and add highlights to the wing edges to suggest they are catching the light.
How do I color the intricate patterns?
Use a stippling or light hatching technique to mimic the texture of the thousands of tiny scales that cover a butterfly's wings. Work in small sections, matching the colors to your reference image to capture the specific iridescent or matte finish of the species.
This answer was created with the help of AI research tools and reference sources. Spotted an error? Let us know — we correct mistakes quickly. See our editorial policy.