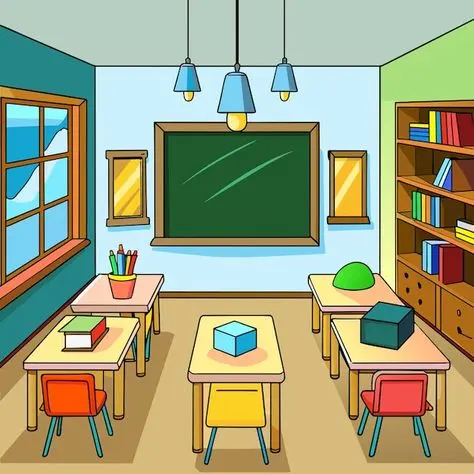
How do you draw a hallway in perspective step by step?
Short answer
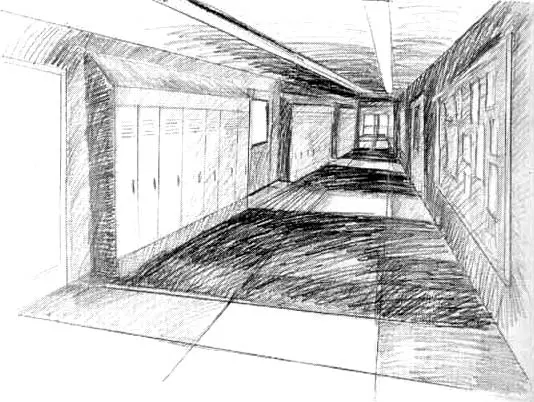
Drawing a hallway in perspective requires one-point perspective, where all receding lines converge at a single vanishing point on the horizon line. By establishing this central point and drawing orthogonal lines from the edges of your paper toward it, you create the illusion of depth and architectural recession in your drawing.
On this page
How to set up one-point perspective
To begin, place a horizontal line across the center of your paper, which represents the horizon line or eye level. Mark a single dot near the middle of this line; this is your vanishing point. Every diagonal line representing the sides of the hallway, floorboards, or ceiling tiles must eventually connect to this specific point to maintain consistent depth.
Using a ruler is essential for beginners to ensure that all lines are perfectly straight. If your lines are even slightly wobbly, the illusion of a three-dimensional space will collapse. Once the vanishing point is set, you can establish the "picture plane" by drawing a large rectangle that encompasses the entire page. This frame acts as the opening of the hallway, providing a boundary for your architectural elements.
How to draw the hallway walls
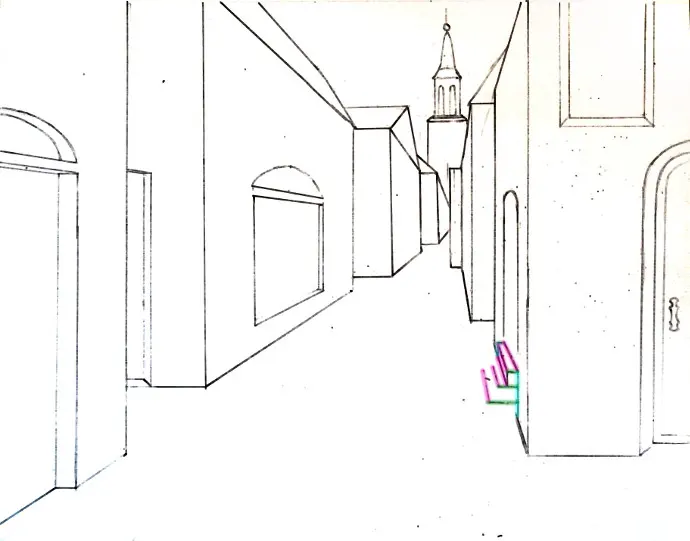
Once your vanishing point is established, you must define the corners of the hallway where the walls meet the ceiling and floor. Draw four lines starting from the four corners of your paper, extending them inward until they meet the vanishing point. These diagonal lines, known as orthogonals, serve as the primary guides for the perspective of your space.
- Lightly sketch the four corner lines using a hard pencil.
- Ensure these lines converge exactly at the vanishing point.
- Use a vertical line to connect the top and bottom orthogonals to create the back wall.
- Add horizontal lines to define the floor and ceiling boundaries.
By keeping these initial lines light, you can easily erase or adjust them later. The rectangle formed at the center by your horizontal and vertical lines represents the back wall of the hallway, which should appear smaller than the front frame.
How to add depth to furniture and doors
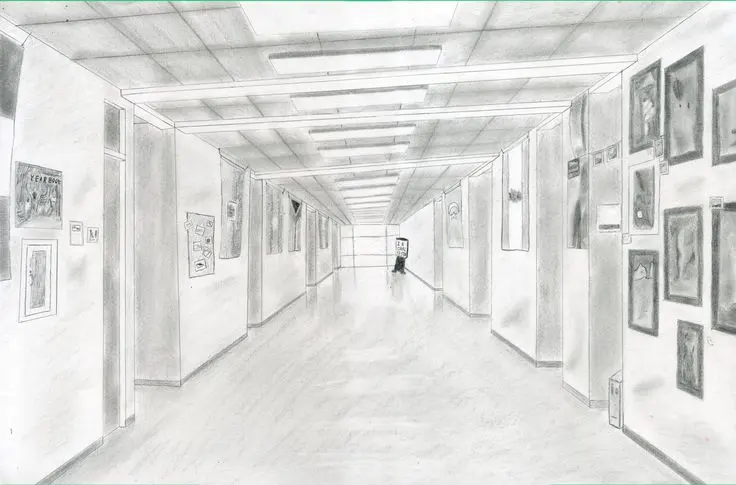
Adding architectural details like doors, windows, or floor tiles requires careful attention to the vanishing point. For a door on the side wall, draw two vertical lines for the sides of the door frame. Then, draw horizontal lines for the top and bottom of the door, ensuring they are parallel to the horizon line. Connect the corners of the door to the vanishing point to create the thickness of the door frame.
- Use vertical lines for all upright objects like door frames or wall hangings.
- Use horizontal lines for the tops and bottoms of objects that are parallel to the floor.
- Connect corners to the vanishing point to show the depth or "thickness" of objects.
- Keep all lines consistent with the initial perspective grid to avoid distortion.
Consistent application of these rules allows you to place objects anywhere in the hallway while maintaining their spatial relationship to the viewer.
Common mistakes when drawing perspective
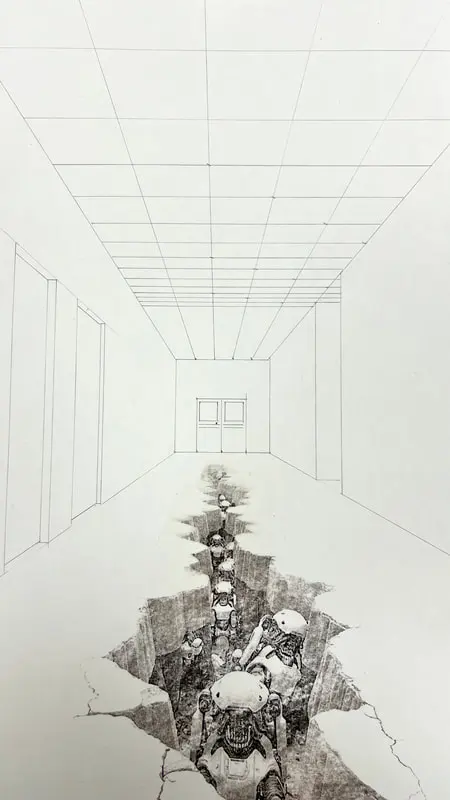
One of the most frequent errors is failing to keep horizontal lines perfectly parallel to the horizon. If a door frame or floor tile is drawn at a slight angle rather than being perfectly horizontal, the entire room will appear crooked. Another common mistake is ignoring the vanishing point for smaller objects, which makes them look like they are floating or detached from the walls.
Beginners often make the mistake of drawing the back wall too large. Remember that in one-point perspective, the further away an object is, the smaller it must appear. If your back wall is nearly the same size as your front frame, the hallway will look like a shallow box rather than a long, receding corridor. Always double-check that your lines are converging toward the center point, as even a minor deviation can ruin the sense of realism.
Best tools for perspective drawing
For the best results, use a high-quality mechanical pencil with 0.5mm lead, as it provides the precision needed for architectural lines. A transparent plastic ruler or a T-square is indispensable for maintaining the accuracy of your orthogonals and horizontal lines. Using a drawing board can also help keep your paper stable, preventing accidental shifts while you are working on complex details.
High-quality, smooth-surface paper is recommended because it allows for clean erasing without damaging the fibers of the page. If you are a beginner, drafting paper with a pre-printed grid can be a helpful training tool to understand how lines move toward a vanishing point. As you become more confident, transition to heavier weight paper for your final drafts. By combining these professional-grade tools with a disciplined approach to geometry, you can create compelling, realistic environments that draw the viewer directly into the center of your composition.
Key facts
- One-point perspective is the most effective technique for drawing a hallway because all depth lines converge at a single point on the horizon.
- The vanishing point should be placed at the viewer's eye level, typically in the center of the page.
- Use a ruler to ensure all orthogonal lines—the lines representing the floor and ceiling edges—connect perfectly to the vanishing point.
- Keep horizontal lines perfectly parallel to the top and bottom edges of your paper to maintain structural stability.
- Draw the back wall of the hallway as a simple rectangle before connecting its corners to the edges of your paper.
- Varying the thickness of your lines can create a sense of atmospheric depth, with thicker lines in the foreground and thinner lines toward the vanishing point.
The bottom line
To draw a convincing hallway, establish a central vanishing point on your horizon line and anchor all depth-defining orthogonal lines to it. By keeping horizontal lines parallel and vertical lines perpendicular to the page edges, you create a mathematically sound space. Practice precision with a ruler and focus on the consistent scaling of objects as they recede to master the illusion of three-dimensional depth on paper.
People also ask
What is a vanishing point?
A vanishing point is the specific spot on the horizon line where all parallel lines appear to converge and disappear. It acts as the anchor for your entire perspective drawing.
Read the full answer →Why do my drawings look distorted?
Distortion usually happens when your orthogonal lines do not meet exactly at the vanishing point. Always use a straightedge to ensure precision, as even a slight deviation creates an unnatural look.
How do I draw doors along the hallway walls?
Draw vertical lines for the sides of the doors and connect the top and bottom corners to the vanishing point. This ensures the doors appear to shrink correctly as they recede into the distance.
Does the horizon line always have to be in the center?
No, you can move the horizon line higher or lower to change the viewer's perspective. A lower horizon makes the viewer feel like they are crouching, while a higher one simulates a bird's-eye view.
Should I use a pencil or a pen for perspective drawings?
Start with a light graphite pencil so you can easily erase construction lines. Once the perspective is accurate, you can go over the final outlines with ink for a clean finish.
What is the biggest mistake beginners make?
The most common error is drawing horizontal lines at an angle. To maintain the illusion of a realistic hallway, all lines representing floorboards or ceiling tiles must remain perfectly horizontal.
This answer was created with the help of AI research tools and reference sources. Spotted an error? Let us know — we correct mistakes quickly. See our editorial policy.