How do you draw a moose step by step?
Short answer
Drawing a moose requires capturing its distinct silhouette, characterized by a large, humped shoulder, a long drooping snout, and expansive palmate antlers. By breaking the animal down into basic geometric shapes—circles for the body and rectangles for the legs—you can build a proportional structure before refining the details and textures.
On this page
How to sketch the basic shapes of a moose
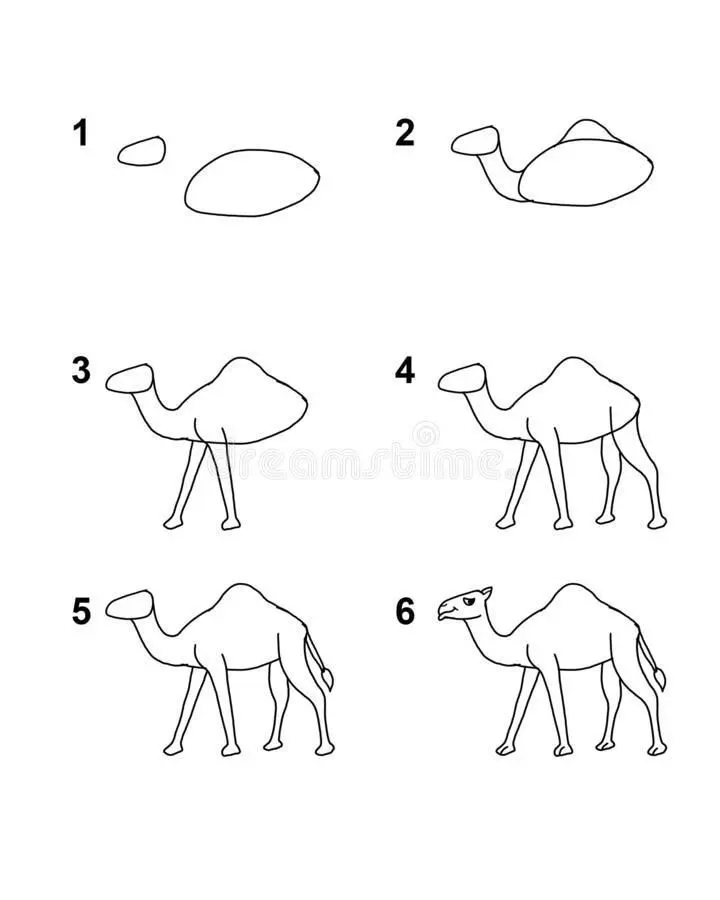
To begin your drawing, focus on the moose's unique anatomy by using simple shapes to establish proportions. Start by drawing a large oval for the main body and a slightly smaller, circular shape for the shoulder hump, which is a signature feature of the species. Place a smaller circle above the front of the body to serve as the head. Connect these shapes with light, sketchy lines to create the neck and the sloping back.
Once your foundational shapes are set, you can refine the posture. Moose carry their heads low, so ensure your head circle is positioned slightly below the top line of the shoulder hump. Keep your lines very light during this stage, as you will need to erase them later. Focus on the overall balance of the sketch rather than individual details like fur or eyes.
- Draw a large horizontal oval for the torso.
- Add a circle for the high shoulder hump.
- Place a smaller circle for the head, positioned low.
- Connect the shapes with a smooth, sloping line for the back.
How to add legs and facial features
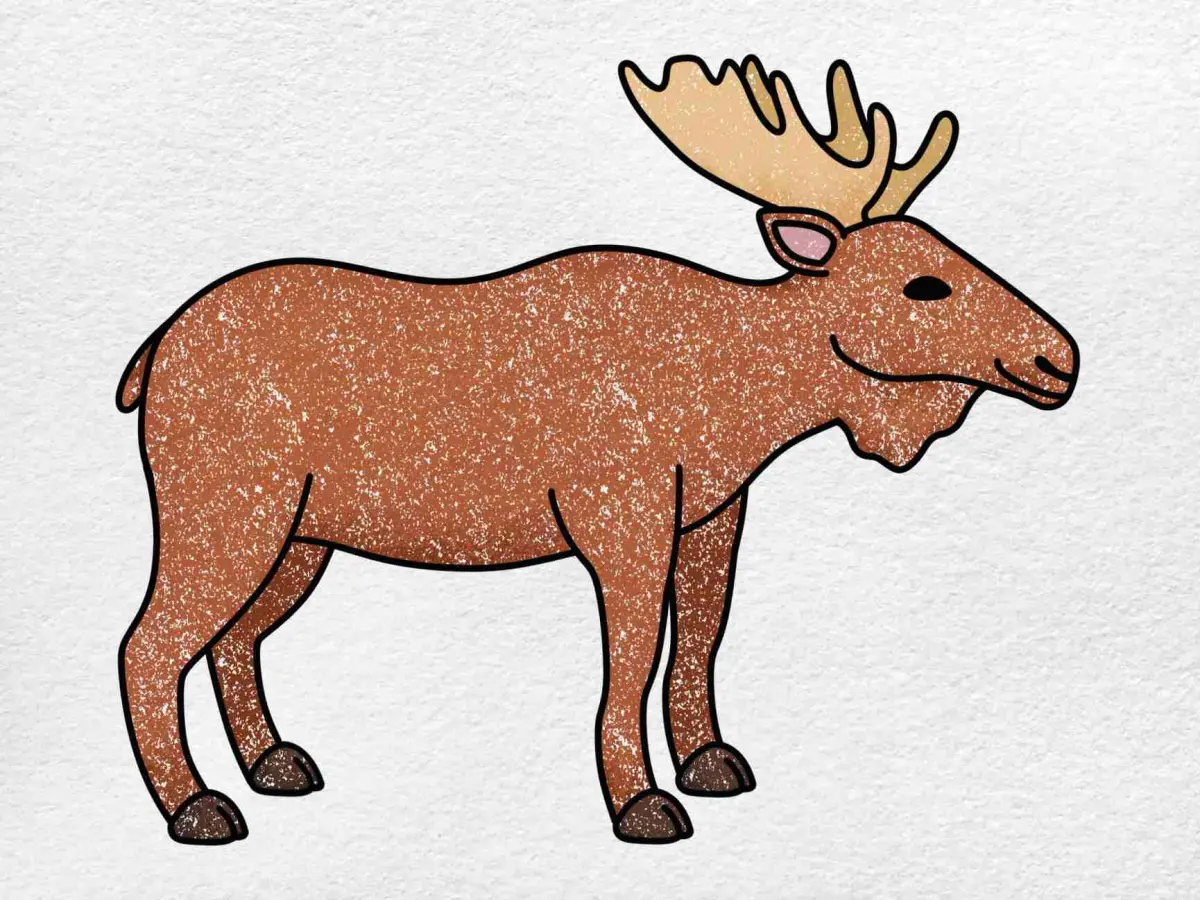
The legs of a moose are disproportionately long and thin compared to their massive bodies. Draw four vertical lines extending from the bottom of your body oval, ensuring the front legs are positioned directly beneath the shoulder hump. Add small rectangles at the bottom of these lines to represent the hooves, which are quite large and splayed to help the animal walk through deep snow or marshy terrain.
For the head, focus on the signature "bulbous" nose. Extend the circular head shape into a long, rectangular muzzle that droops downward. Add a small, oval-shaped eye near the top of the head circle and a large, leaf-shaped ear extending upward from the back of the skull. The neck should be thick and muscular, connecting the head to the body with a slight downward curve.
- Keep the legs straight and sturdy, avoiding a "bow-legged" appearance.
- Ensure the muzzle is significantly longer than a deer's snout.
- Place the ears high on the head to capture the moose's alert expression.
How to draw realistic moose antlers
Antlers are the most iconic feature of a bull moose and require careful attention to shape and symmetry. Start by drawing two wide, horizontal "palms" extending from the sides of the head. These should look like large, flattened fans rather than simple branching sticks. Once the main palm shape is established, add smaller, finger-like points along the outer edges to create the characteristic jagged silhouette.
When drawing the antlers, remember that they grow outward and slightly backward before curving forward. The size of the antlers should be substantial, often spanning several feet on a mature bull. If you are drawing a cow moose, omit the antlers entirely, as females do not grow them. Focus on the weight and density of the antlers, as they are heavy structures that sit firmly on the skull.
- Sketch two large, flattened fan shapes extending from the head.
- Outline the outer edge with irregular, pointed protrusions.
- Add thickness to the base where the antlers attach to the skull.
- Ensure the antlers are balanced on both sides of the head.
Common mistakes when drawing a moose
One of the most frequent errors is failing to capture the distinct shoulder hump, which makes the moose look like an oversized horse or deer. Without this hump, the animal loses its top-heavy, powerful appearance. Additionally, many beginners draw the muzzle too short or rounded. Remember that a moose has a long, drooping face that gives it a somewhat solemn or stoic expression.
Another mistake involves the legs. Because moose live in rugged environments, their legs must look capable of supporting their immense weight. Avoid drawing them too thin or too close together. If the legs are not spaced correctly, the drawing will lack stability and realism. Finally, ensure the hooves are depicted as large and blocky, as these are essential for the animal's survival in soft ground.
- Avoid making the head too small relative to the massive body.
- Do not round off the nose; it should be long and somewhat squared.
- Ensure the neck is thick and powerful, not fragile or thin.
How to add texture and finishing touches
To bring your moose to life, focus on the texture of the coat and the lighting of the scene. Moose fur is coarse and dark, usually ranging from deep brown to nearly black. Use short, overlapping pencil strokes to suggest the direction of the hair, focusing on the neck and the belly where the fur is often longest. Leave small highlights on the shoulder and back to indicate where sunlight hits the animal's thick coat.
Finally, refine your outlines by darkening the areas that would be in shadow, such as the underside of the belly and the area beneath the chin. This creates a sense of volume and depth. You can also add subtle shading around the eyes and the base of the ears to enhance the realism. By carefully layering your marks, you transform a basic geometric sketch into a detailed, lifelike portrait of this majestic northern forest inhabitant.
Key facts
- Moose possess a distinct "bell," a flap of skin hanging from the throat, which is a key identifying feature.
- Adult moose stand up to 7 feet tall at the shoulder, so draw the body as a large, rectangular mass.
- The head is long and bulbous, often described as having an overhanging, flexible upper lip.
- Male moose grow massive, palmate antlers that span up to 6 feet across in mature specimens.
- Legs should be drawn long and spindly to support the animal's heavy, top-heavy frame.
- Avoid drawing a perfectly smooth coat; moose fur is coarse and shaggy, especially around the neck hump.
The bottom line
Drawing a realistic moose requires focusing on its unique proportions, specifically the high shoulder hump and the heavy, overhanging snout. Start by sketching the large, rectangular body and long, thin legs before adding the defining features like the throat bell and palmate antlers. By layering rough, shaggy texture over the basic shapes, you can effectively capture the rugged, imposing presence of this iconic northern forest giant.
People also ask
Why do moose have such large noses?
A moose's large nose is highly specialized for thermoregulation and sensing predators. It contains complex tissues that help warm cold air before it reaches the lungs and provides an acute sense of smell.
Are moose antlers permanent?
No, male moose shed their antlers every winter and regrow them in the spring. They are the fastest-growing bone tissue in the animal kingdom, often gaining an inch per day.
How do you differentiate a moose from an elk?
Moose are significantly larger and possess a distinct shoulder hump and a bulbous snout. Elk have more slender bodies and lack the characteristic palmate, flat-shaped antlers of the moose.
What is the best medium for drawing wildlife?
Graphite pencils are ideal for beginners because they allow for easy shading and texture building. Charcoal is better for creating deep, dark shadows on the moose's thick fur.
Do female moose have antlers?
Unlike caribou, female moose do not grow antlers. If you are drawing a cow moose, omit the antlers entirely to maintain anatomical accuracy.
Should I draw the moose in profile or facing forward?
A profile view is the easiest way to capture the distinct silhouette of the moose's shoulder hump and snout. Frontal views are more challenging due to the complex perspective of the wide antlers.
This answer was created with the help of AI research tools and reference sources. Spotted an error? Let us know — we correct mistakes quickly. See our editorial policy.