How do you draw a park bench?
Short answer
Drawing a park bench requires establishing a foundational perspective using vanishing points to ensure structural accuracy. By sketching the rectangular frame, adding slats for the seat and backrest, and refining the details with shading, you create a realistic three-dimensional object. Consistent geometry and observation of light sources are essential for success.
On this page
How to set up perspective for a bench
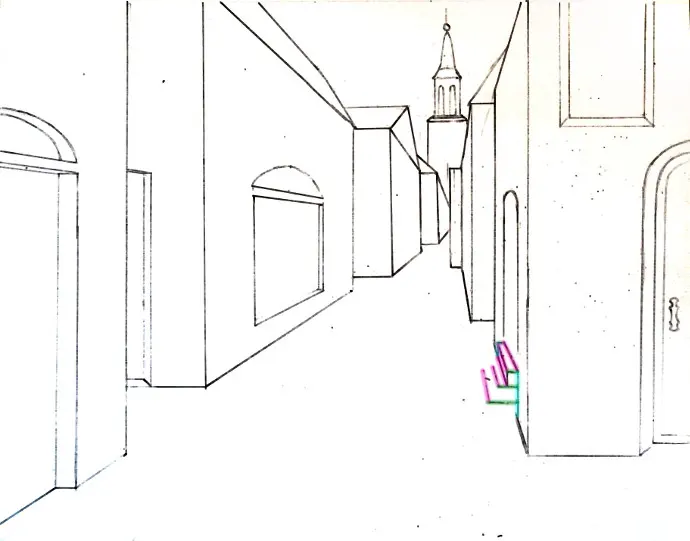
To draw a realistic park bench, you must first establish a horizon line and vanishing points. Most benches are viewed at an angle, meaning a two-point perspective is the most effective approach. Begin by drawing a faint horizontal line across your paper to represent the eye level. Place two dots near the edges of this line to act as your vanishing points. All vertical lines of the bench will remain parallel to the sides of your paper, while the horizontal edges of the seat and backrest will recede toward these two points.
Using a light graphite pencil, such as an HB, sketch the basic footprint of the bench as a rectangular prism. This initial box serves as your guide for the overall scale and volume. Ensure the lines are light enough to be erased later, as you will eventually define the specific components like the legs and the slats. If the lines do not converge toward your vanishing points, the bench will appear distorted or tilted.
How to structure the bench frame
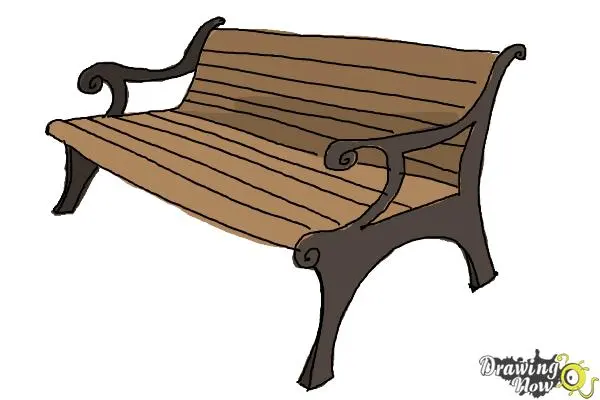
Once the perspective is established, focus on the structural frame, which typically consists of two side supports and a series of horizontal slats. The side supports, often made of cast iron or heavy timber, provide the bench with its silhouette. Draw these shapes on both ends of your rectangular guide. If you are drawing a classic Victorian-style bench, incorporate curved iron armrests that transition into the legs.
- Draw the two side profiles first to determine the depth of the bench.
- Connect the sides with horizontal lines that follow your vanishing points.
- Divide the seat area into four or five equal sections to represent the wooden slats.
- Add a slightly curved backrest frame that mirrors the angle of the seat.
By keeping these structural elements consistent across the length of the bench, you maintain the illusion of depth. Ensure the legs are firmly grounded on the bottom plane of your perspective box.
How to add detail and texture
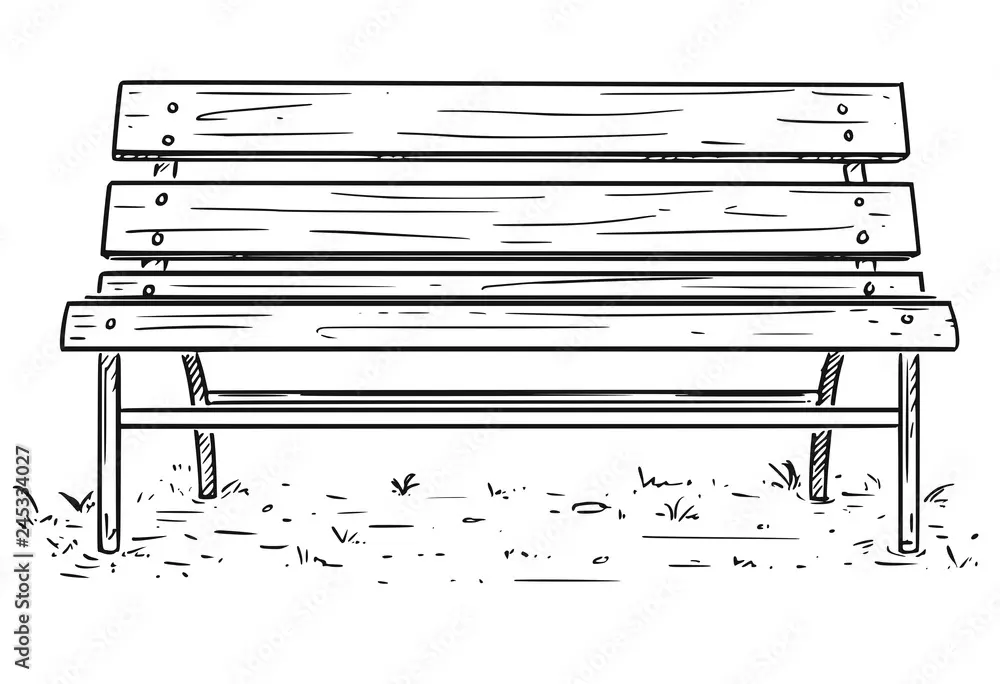
After the frame is set, focus on the details that give the bench its character. Park benches are usually constructed from wooden planks, so adding grain patterns and small gaps between the slats is crucial. Use short, light strokes to suggest the texture of wood, and vary the pressure to create depth. If the bench is made of metal, use smooth, long strokes to imply a hard, reflective surface.
- Add small circles or ovals at the ends of the slats to represent bolts or screws.
- Use cross-hatching to define the shadowed areas beneath the seat.
- Vary the thickness of your lines to emphasize the foreground elements over the background.
- Include subtle wear and tear, such as chipped paint or slight cracks, to make the object feel authentic.
These small additions prevent the drawing from looking like a flat, sterile diagram. Focus on the negative space between the slats, as this is often where the most interesting shadows fall.
Common mistakes when drawing furniture
One of the most frequent errors is failing to maintain parallel vertical lines. In a two-point perspective, only the horizontal lines converge; the vertical posts of the bench must remain perfectly perpendicular to the ground. If these lines tilt, the bench will look as though it is collapsing. Another common mistake is ignoring the thickness of the materials. A bench seat is not a single line; it has depth and volume that must be accounted for in your initial sketch.
Avoid the temptation to draw every single detail before the proportions are correct. If the legs are too short in relation to the seat, the entire drawing will look awkward regardless of how well you shade it. Always step back from your work periodically to view the bench from a distance. This helps you spot alignment issues that are not visible when you are focused on a small section of the paper.
How to use shading for depth
Shading is the final step that transforms a line drawing into a three-dimensional object. Determine the direction of your light source, such as the sun positioned to the upper left. Areas facing away from this light source should be darkened, particularly the underside of the seat and the inner faces of the legs. Use a softer pencil, like a 4B or 6B, to build up these shadows gradually.
Cast shadows are equally important for grounding the bench in its environment. A dark shadow directly beneath the bench, fading slightly as it moves away, anchors the object to the ground plane. Without this shadow, the bench will appear to float in space. Use a blending stump or a soft cloth to smooth out your pencil strokes, creating a realistic transition between light and shadow. By carefully observing how light interacts with the slats and the frame, you complete a professional-looking drawing that captures the essence of a public park.
Key facts
- A standard park bench typically measures 4 to 6 feet in length, providing comfortable seating for two to three adults.
- Use a two-point perspective technique to give the bench depth, ensuring parallel lines converge toward two distinct vanishing points on the horizon.
- The seat height should be approximately 16 to 18 inches from the ground to mimic the ergonomics of real-world furniture.
- Always sketch the structural frame first, such as the iron legs or wooden supports, before adding the slats that form the seat and backrest.
- A common mistake is drawing the seat slats too close together; leave a small gap of about 0.5 to 1 inch to represent drainage and natural wood expansion.
- Incorporating cast shadows beneath the bench and on the ground plane provides the necessary contrast to make the object appear grounded in a space.
The bottom line
Drawing a park bench effectively requires a balance between structural accuracy and artistic detail. By mastering basic perspective and maintaining consistent proportions, you can create a believable object that fits naturally into any landscape. Remember to focus on the interplay of light and shadow to ground your bench firmly in the scene. With practice, these fundamental techniques will allow you to render various furniture styles with confidence.
People also ask
How do I make a bench look realistic?
Focus on the thickness of the materials and the way light hits the surfaces. Adding subtle textures like wood grain or metal weathering creates depth that simple outlines lack.
What is the best angle to draw a park bench?
A three-quarter view is often the most dynamic because it displays the front, side, and top of the bench simultaneously. This angle provides the viewer with the most information about the bench's form.
Should I use a ruler for my drawing?
Using a ruler helps establish precise geometric lines for the frame, but drawing freehand often adds a more organic, artistic quality. Beginners should use a ruler for the initial structure and freehand for the finer details.
How do I draw the slats on a curved backrest?
Follow the contour of the frame by drawing parallel arcs that mimic the curve of the support brackets. Ensure the spacing between the slats remains consistent as they follow the bend.
Why does my bench look like it is floating?
This usually happens because the shadows are missing or incorrectly placed. Ensure the bench legs touch the ground line and add a dark, soft shadow directly underneath the seat to anchor it.
How many legs should a standard park bench have?
Most traditional benches have four legs, though some modern designs use two heavy-duty pedestal supports. Choose a design that matches the style of the park environment you are depicting.
This answer was created with the help of AI research tools and reference sources. Spotted an error? Let us know — we correct mistakes quickly. See our editorial policy.