How do you paint a butterfly with acrylic paint?
Short answer
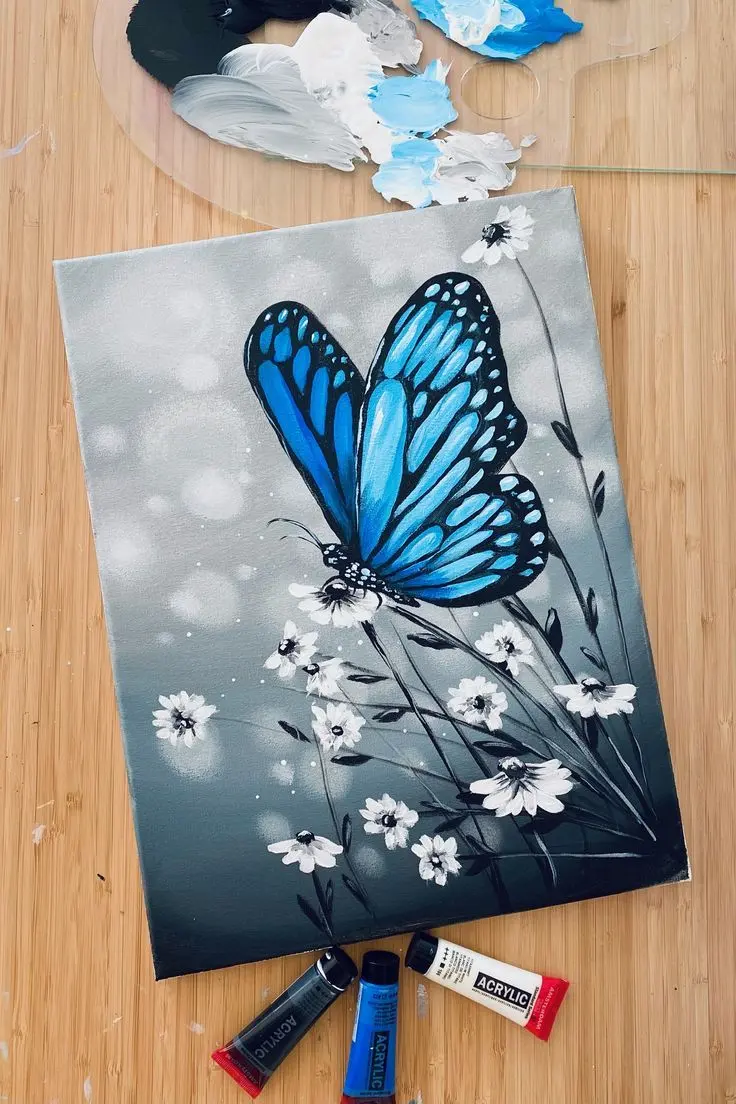
Painting a butterfly with acrylics involves sketching a symmetrical outline, layering base colors, and adding intricate details with a fine-tipped brush. Because acrylic paint dries rapidly, you must work in sections, blending colors while they are wet. Focus on capturing the delicate wing patterns and vibrant, high-contrast markings for a realistic finish.
On this page
What supplies do I need for painting butterflies?
To paint a butterfly effectively, you need a specific set of tools that allow for both broad coverage and fine detail. Start with a set of heavy-body or fluid acrylic paints in vibrant pigments such as cadmium yellow, ultramarine blue, and crimson. You will also need a variety of synthetic brushes, specifically a flat brush for the wings and a size 0 or 2 round brush for the veins and body.
Preparation is essential for a smooth painting experience. Ensure you have the following items ready before you begin:
- A stretched canvas or heavy-weight mixed media paper primed with gesso.
- A palette for mixing colors and a water container for cleaning brushes.
- A paper towel to blot excess moisture from your bristles.
- A graphite pencil for sketching the initial composition.
- A fine-liner pen or white gel pen for adding final highlights.
How to sketch a butterfly for painting?
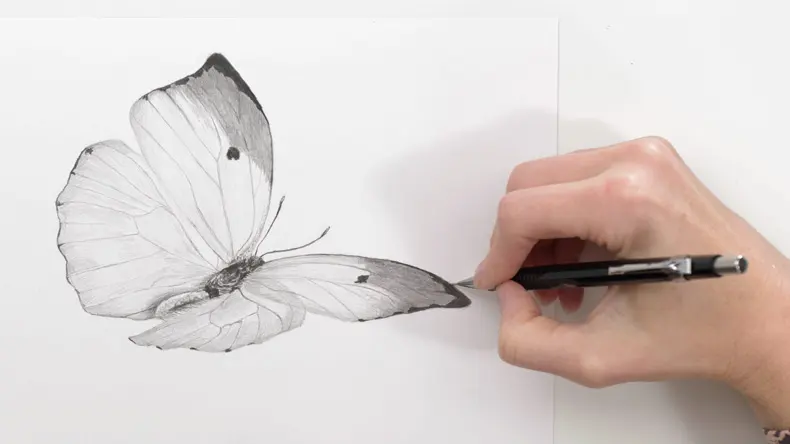
The most challenging part of painting a butterfly is achieving natural symmetry. Begin by drawing a light vertical center line on your canvas to act as an axis. Sketch the body as a series of three elongated ovals representing the head, thorax, and abdomen. Once the body is placed, draw the upper and lower wings on both sides of the line simultaneously to ensure they mirror each other.
Keep your initial lines very light so they do not show through the paint. If you struggle with symmetry, draw one wing on a piece of tracing paper, fold it in half, and use it as a stencil to mark the canvas. Remember that butterfly wings are not perfectly rigid; adding slight curves to the edges will make the insect appear more lifelike. Avoid drawing overly complex patterns at this stage, as these are better handled with a brush during the painting phase.
How to layer acrylic paint for wings?
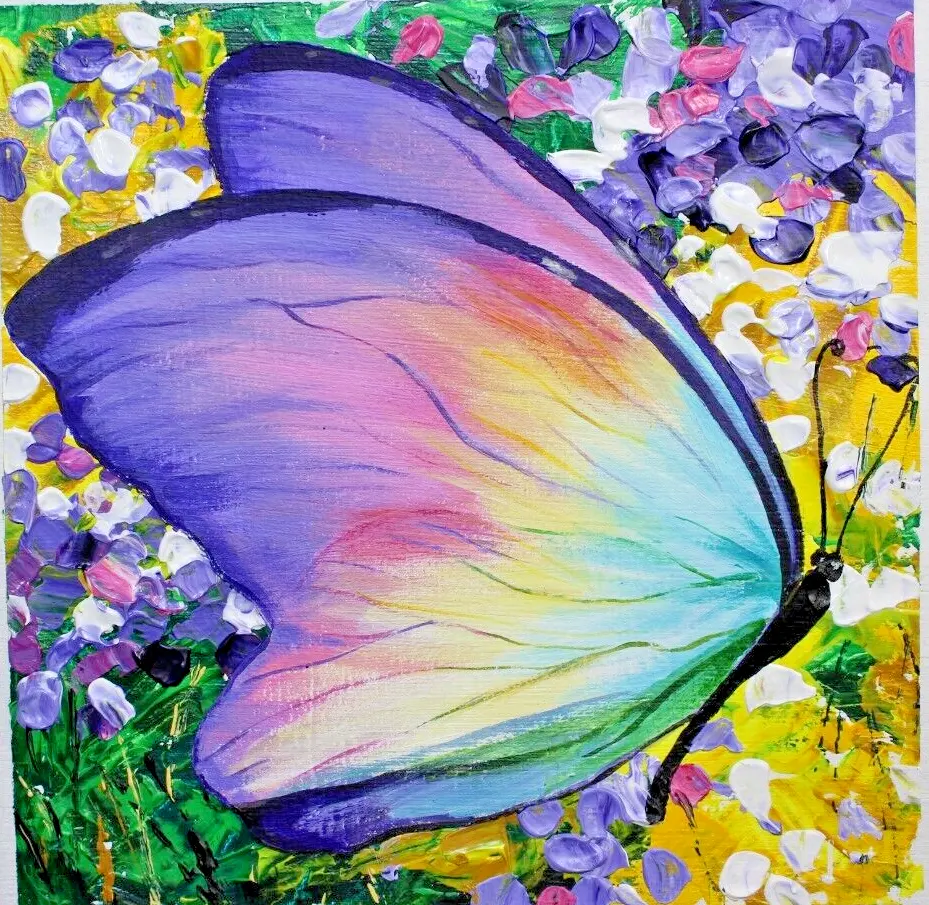
Acrylics are excellent for layering, which is vital for creating the iridescent look of butterfly wings. Start by blocking in the base colors of the wings using a flat brush. Apply your lightest colors first, then build up to the darker shades. Because acrylics dry quickly, you can add subsequent layers within minutes, allowing you to create depth and dimension without the colors muddying together.
Follow these steps to achieve a professional finish:
- Paint the large color blocks on the wings, starting from the center and moving outward.
- Use a "dry brush" technique to add texture by dipping a nearly dry brush into a lighter color and lightly dragging it over the wings.
- Once the base is dry, use a thin round brush to paint the dark veins radiating from the center of the wings toward the edges.
- Add small dots of white or light yellow along the wing margins to simulate the scales found on real butterflies.
How to blend colors on butterfly wings?
Blending with acrylics requires speed because the paint sets quickly. To achieve a smooth gradient, apply two adjacent colors to the canvas while they are still wet. Use a clean, slightly damp brush to gently stroke back and forth where the colors meet. If the paint dries too fast, use a small amount of acrylic retarder or a light mist of water from a spray bottle to extend the working time.
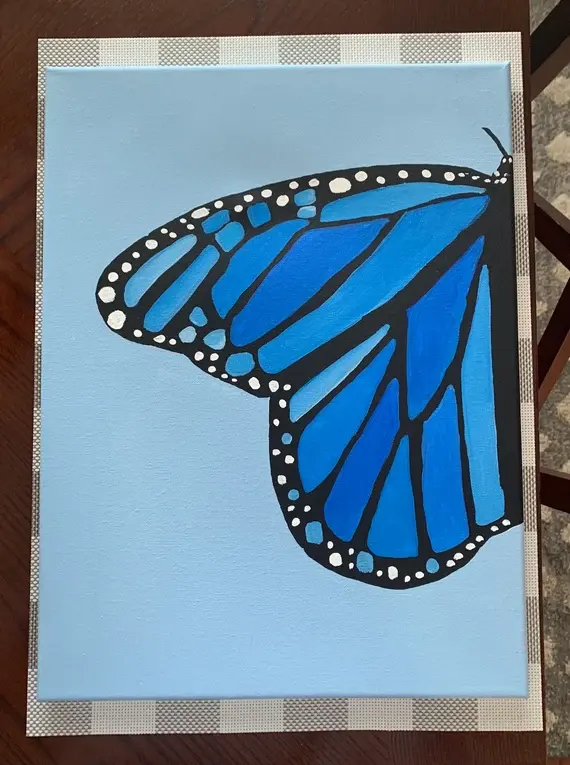
When blending, focus on the transition zones where the wing color shifts from dark to light. If you are painting a species like the Monarch, blend the orange into the black borders while the edges are still soft. If you make a mistake, do not panic. Simply wait for that area to dry completely and paint over it with a fresh layer of your base color. This ability to layer opaque paint is the greatest advantage of using acrylics over watercolors.
Common mistakes when painting butterflies?
Many beginners struggle with the body proportions, often making the head too large or the abdomen too short. Another frequent error is using colors that are too muted. Butterflies are known for their high-contrast, vibrant patterns, so do not be afraid to use pure, unmixed pigments directly from the tube. Using too much water can also turn your acrylics into a thin, transparent wash, which lacks the vibrant impact needed for insect wings.
Avoid these common pitfalls to improve your results:
- Overworking the paint: If you brush over the same spot too many times, you will lift the previous layer and create a muddy texture.
- Neglecting the shadows: Failing to add a slight shadow beneath the butterfly on the canvas makes the insect appear as if it is floating rather than resting.
- Using low-quality brushes: Cheap brushes shed bristles, which can get stuck in your wet paint and ruin the delicate detail of the wings.
- Ignoring reference photos: Always keep a high-resolution image of your chosen butterfly species nearby to ensure your color placement and wing shape remain accurate throughout the process.
Key facts
- Acrylic paint dries quickly, so keep your brushes moist and work in thin, buildable layers.
- Use a small, round synthetic brush, such as a size 0 or 2, to capture the delicate vein patterns on the wings.
- Always sketch the butterfly outline lightly with a light-colored pencil before applying paint to ensure symmetry.
- Mix colors on a palette rather than on the canvas to maintain control over the vibrancy and saturation.
- Apply a white base coat under bright colors like yellow or orange to prevent the background from dulling the pigment.
- Use a fine-liner brush or a paint pen to add the final, sharp black details to the wing edges.
The bottom line
Painting a butterfly with acrylics requires patience and a focus on layering. By sketching your design first, using high-quality synthetic brushes, and building colors from dark to light, you can create a vibrant and detailed result. Remember to keep your paint moist and use thin applications to maintain control. With practice, you will master the delicate balance of color and symmetry essential for realistic insect art.
People also ask
How do you achieve the iridescent look of butterfly wings?
You can mimic iridescence by layering thin, transparent glazes of metallic or pearlescent acrylics over a dark base color. Applying a high-gloss varnish once the paint is fully dry also enhances the reflective quality of the surface.
What is the best way to blend colors on the wings?
Since acrylics dry rapidly, use a "wet-on-wet" technique by keeping the canvas slightly damp with a mist of water. Work quickly to blend two colors together where they meet on the wing to create a smooth, natural gradient.
How do I prevent my brush from drying out while painting?
Keep a small cup of water nearby and rinse your brush every few minutes to remove excess paint. If you are not using a specific color for a while, cover your palette with a damp paper towel to keep the paint workable.
Should I use a primer on my canvas before starting?
Yes, applying a coat of gesso creates a smooth, non-porous surface that prevents the paint from soaking into the fabric. This allows your colors to remain vibrant and makes it easier to move the brush across the canvas.
How do I paint the fine, hair-like textures on the butterfly's body?
Use a dry-brush technique with a very small amount of paint on a stiff-bristled brush. Lightly flick the brush in short, quick strokes to create the appearance of fine fuzz without over-saturating the area.
Can I fix mistakes if I paint over the wrong area?
Acrylic paint is opaque, so you can simply wait for the layer to dry completely and paint over the error. If the mistake is significant, a light sanding once dry can help create a smoother surface for your correction.
This answer was created with the help of AI research tools and reference sources. Spotted an error? Let us know — we correct mistakes quickly. See our editorial policy.