How do you draw a jet step by step?
Short answer
Drawing a jet requires breaking the complex aircraft down into simple geometric shapes. Start by sketching a long, tapered cylinder for the fuselage and adding triangular wings. Refine these forms by adding the cockpit, engines, and tail stabilizers. Finally, add realistic details like landing gear, panel lines, and air intakes.
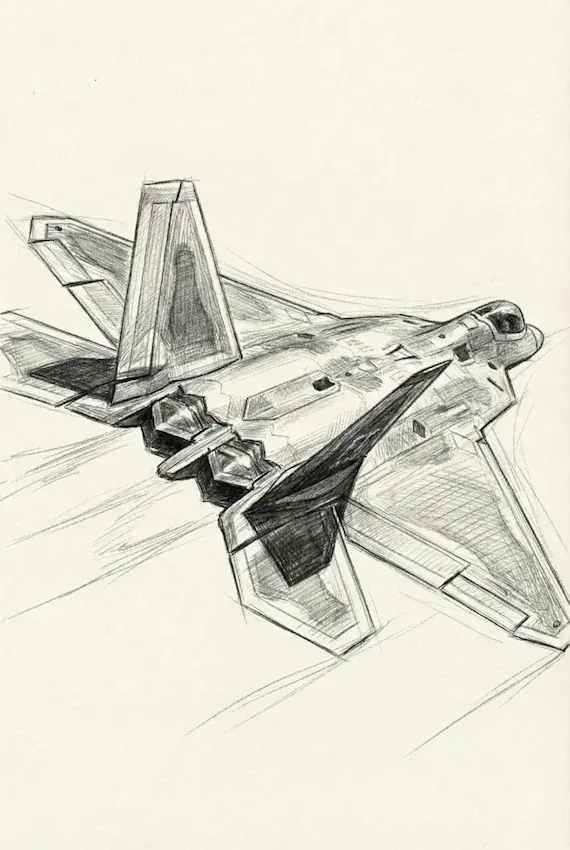
On this page
How to draw a jet step by step
To begin your drawing, focus on the overall silhouette of the aircraft. Most modern fighter jets, such as the F-22 Raptor or the F-16 Fighting Falcon, feature a sleek, aerodynamic profile. Start by drawing a long, horizontal oval or a flattened cylinder to serve as the main body, known as the fuselage. This shape should be slightly wider near the middle and taper toward the rear.
Once the body is established, sketch the wings. For a supersonic jet, draw two large triangles extending from the sides of the fuselage. If you are drawing a delta-wing aircraft, like the Eurofighter Typhoon, ensure the wings are large and triangular, starting from the center of the body. You can use light pencil strokes for these initial shapes, as you will erase the overlapping lines later to create a clean, professional outline.
- Draw a long, narrow oval for the fuselage.
- Add a small, curved triangle on top for the cockpit canopy.
- Sketch two large triangles on the sides for the main wings.
- Add smaller triangles at the back for the horizontal and vertical stabilizers.
- Connect these shapes with smooth, flowing lines to define the outer edge of the jet.
Best drawing tools for beginners
Using the right equipment makes the process of sketching complex machinery much easier. A standard HB pencil is perfect for the initial layout because it is easy to erase. For defining the final contours and adding technical details, a 2B or 4B pencil allows for darker, more precise lines. Always keep a high-quality kneaded eraser nearby, as it is gentle on paper and allows you to lift graphite without damaging the surface.
When you move to the detailing phase, consider using a fine-liner pen or a technical drawing pen. These tools provide the crisp, sharp edges characteristic of military hardware. For shading, a blending stump or a soft tissue can help create smooth gradients that mimic the reflective surface of polished aluminum or composite materials. Using a ruler is also recommended for drawing the straight edges of the wings and the rigid lines of the air intakes.
- HB pencil for light sketching and guidelines.
- 2B or 4B pencils for shading and final outlines.
- Fine-liner pens for permanent, sharp detailing.
- Kneaded eraser for clean corrections.
- Ruler for maintaining straight, structural lines.
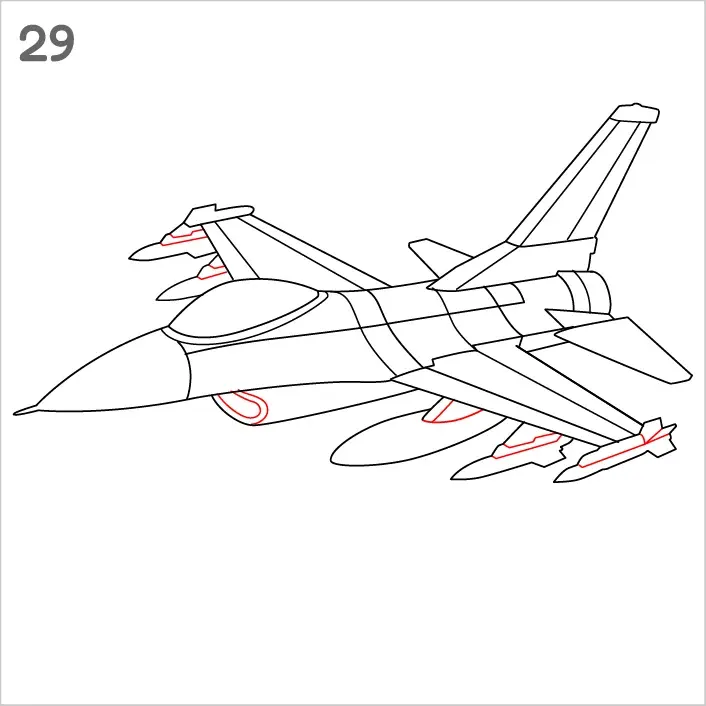
How to add realistic jet details
Details are what transform a basic shape into a recognizable aircraft. Focus first on the cockpit, which should be positioned near the front of the fuselage. Draw a teardrop shape for the canopy and add a small pilot silhouette inside if desired. Next, address the air intakes, which are usually located on the sides of the fuselage near the wings. These are typically rectangular or semi-circular openings that feed air into the jet engines.
The rear of the jet requires the most attention to detail, specifically the engine nozzles. Draw two circular or oval shapes at the very back of the fuselage to represent the exhaust ports. You can add texture to these by drawing small, parallel lines inside the circles to simulate the petals of a variable-nozzle engine. Finally, add panel lines across the body of the jet to represent the different sections of the aircraft's skin, which adds a sense of scale and realism.
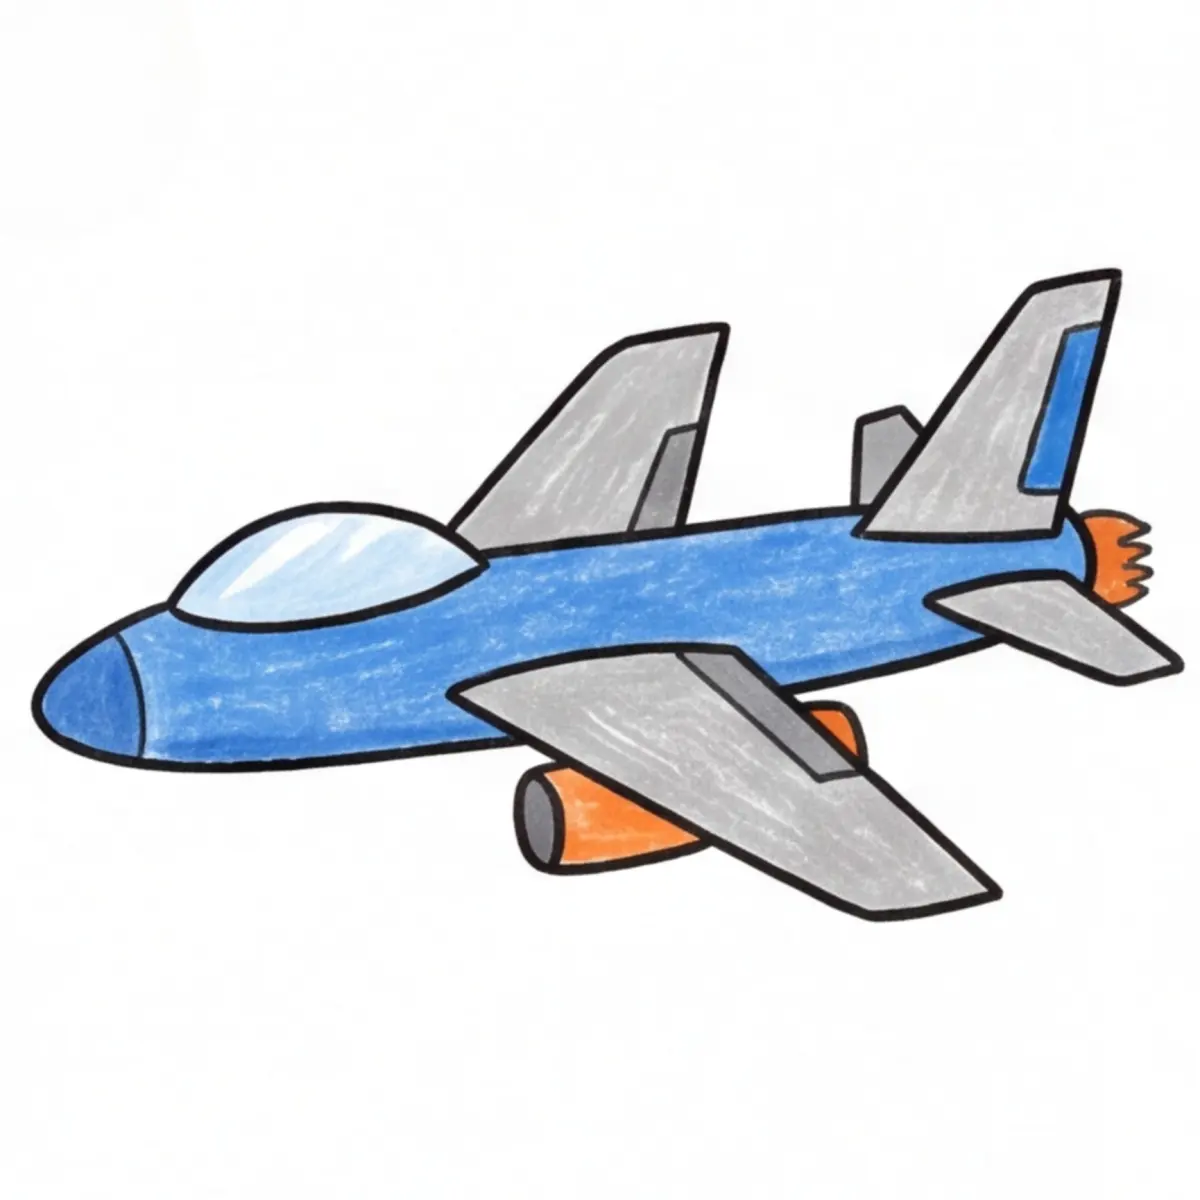
Common mistakes when drawing jets
One of the most frequent errors is ignoring the perspective of the aircraft. If the jet is tilted, the wings must be drawn at an angle that matches the fuselage, or the drawing will look flat and unrealistic. Always establish a horizon line before you start to ensure the aircraft is oriented correctly in space. Another common mistake is making the wings too small or too large relative to the body; study reference photos of real jets to understand the correct proportions.
Another issue is the lack of symmetry in the tail section. The vertical stabilizer, or the fin on top, must be perfectly centered on the fuselage to maintain the appearance of balance. If the tail is slightly off-center, the entire jet will appear to be leaning or distorted. Take your time to measure the distance from the center line of the fuselage to the edges of the wings and stabilizers to ensure everything is perfectly aligned before finalizing your lines with ink.
How to shade and finish a jet drawing
Shading is the final step that gives your jet a three-dimensional appearance. Identify where your light source is coming from—usually from above—and apply darker shading to the underside of the wings and the bottom of the fuselage. This creates the illusion of depth and weight. Use hatching or cross-hatching techniques to create darker shadows near the engine exhausts and the landing gear bays, where light is naturally blocked by the structure of the aircraft.
To finish, add subtle highlights by erasing small, thin lines along the top edges of the fuselage and the leading edges of the wings. This simulates the way light catches the metallic surface of a real jet. Finally, check your drawing for any stray pencil marks and clean them up with your eraser. By carefully layering your shadows and highlights, you can create a professional-looking illustration that captures the power and speed of a modern jet fighter.
Key facts
- Start with a long, thin oval or a "cigar" shape to establish the fuselage of the jet.
- Draw the wings as swept-back triangles to mimic the aerodynamic design of modern supersonic aircraft.
- Place the cockpit near the front third of the fuselage, using a small, curved trapezoid shape.
- Add vertical stabilizers or "fins" at the rear to provide visual balance and represent flight control surfaces.
- Use a ruler to ensure your lines are straight, as jets are defined by sleek, geometric precision rather than organic curves.
- Focus on the engine intake placement, usually located under the wings or along the sides of the fuselage.
The bottom line
Drawing a convincing jet requires prioritizing geometric precision and aerodynamic flow. By starting with a sleek, elongated fuselage and incorporating swept-back wings, you establish the fundamental silhouette of high-speed flight. Avoid overly rounded edges and focus on sharp, clean lines to capture the aggressive, mechanical nature of modern aviation. With these structural foundations in place, you can add realistic details like cockpit glass and engine intakes.
People also ask
Why do jet wings point backward?
Swept-back wings are designed to delay the onset of shock waves as an aircraft approaches the speed of sound. This aerodynamic feature reduces drag and increases stability during high-speed flight.
Should I draw the landing gear down or up?
Drawing the gear up creates a cleaner, faster look that emphasizes the jet's purpose. If you draw it down, ensure the struts are positioned under the center of gravity for realism.
How do I make the jet look like it is moving?
Add "motion lines" behind the exhaust nozzles and tilt the aircraft at an angle. Placing the jet against a background of clouds or a horizon line also adds a sense of speed.
What is the most common mistake when drawing a jet?
Beginners often make the fuselage too short or the wings too rounded. Remember that jets are built for slicing through air, so sharp angles and elongated proportions are essential.
How do I draw the jet exhaust?
Use a soft, fading gradient of light blue or white trailing from the engine nozzle. Avoid drawing a solid, hard-edged shape, as exhaust is composed of rapidly expanding hot gases.
Do all jets have the same wing shape?
No, wing shapes vary based on the jet's mission, such as delta wings for fighters or straight wings for high-altitude reconnaissance. Researching specific models like the F-22 or MiG-29 can provide better reference.
This answer was created with the help of AI research tools and reference sources. Spotted an error? Let us know — we correct mistakes quickly. See our editorial policy.