How do you draw a hammer step by step?
Short answer
Drawing a hammer involves sketching the basic geometric shapes of the head and handle before refining the contours. You must establish the proportions of the claw, the poll, and the grip. By connecting these segments with smooth, deliberate lines and adding shading, you create a realistic representation of a standard claw hammer.
On this page
How to draw a hammer step by step
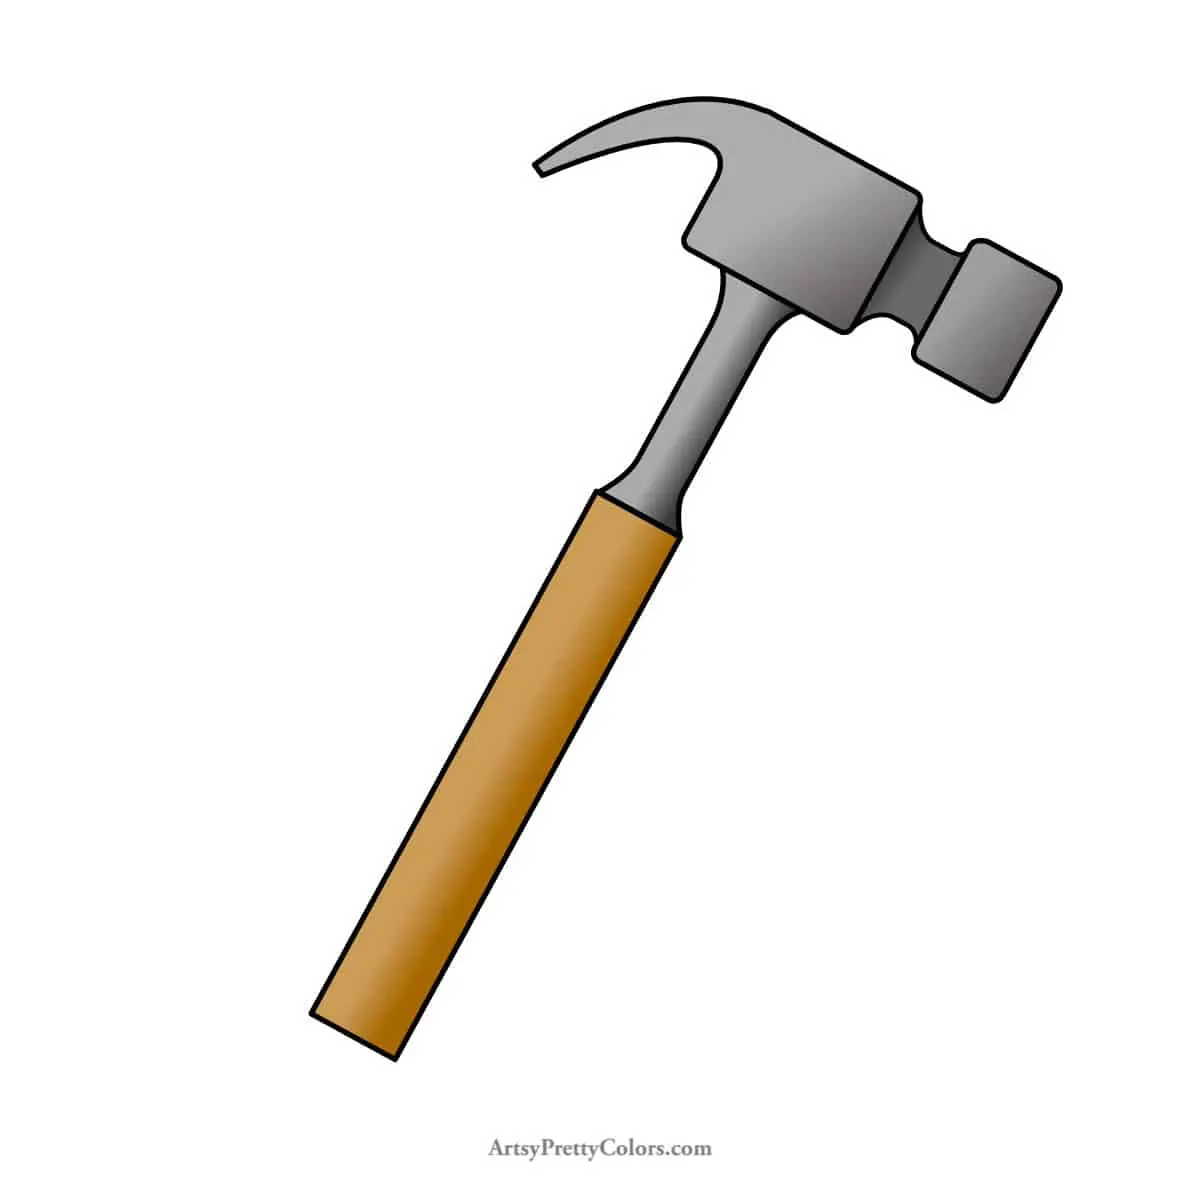
To begin your drawing, start by establishing the structure of the hammer head. Use a rectangle to represent the main body, or "cheek," of the hammer. Extend a smaller, slightly curved shape from one side to represent the claw, and a smaller square on the opposite side for the poll, which is the striking surface. Keep your initial lines light, as these are merely guides for the final form.
Once the head is defined, draw a long, slightly tapered rectangle extending downward from the center of the head to form the handle. Ensure the handle is centered so the hammer appears balanced. A common method is to sketch a center line first to act as an axis, ensuring both sides of the handle mirror each other. This skeletal framework provides the necessary foundation for adding realistic details later.
How to add realistic details to your drawing
After establishing the basic structure, focus on the transition points where the metal head meets the wooden or fiberglass handle. Draw a small, rounded shape at this junction, often called the eye, to show where the handle is secured. Add subtle curves to the handle to reflect the ergonomic shape found in professional tools, as handles are rarely perfectly straight.
Refine the claw by adding a V-shaped notch in the center, which is the functional part used for pulling nails. Smooth out the sharp corners of the rectangle you drew earlier to give the hammer a worn, metallic appearance. Adding these specific features transforms a collection of simple geometric shapes into a recognizable tool. Use the following steps to refine your outline:
- Round the edges of the poll to show wear from impact.
- Taper the handle slightly toward the bottom for a natural grip.
- Add a small hole at the base of the handle if you wish to include a lanyard loop.
What tools are best for drawing a hammer
For beginners, a standard HB graphite pencil is ideal because it allows for both light sketching and darker, more defined lines. Use a kneaded eraser to lift away your initial guide lines without damaging the paper. If you want to add depth, a 2B or 4B pencil is excellent for creating shadows that suggest the weight and density of the steel head.
If you prefer a more technical look, use a fine-liner pen to trace your finalized pencil lines. This creates a clean, professional aesthetic similar to a technical blueprint. When working with ink, ensure your pencil lines are fully established before committing to the permanent marks. Using a ruler for the straight edges of the handle can also help maintain a crisp, industrial appearance throughout the drawing process.
How to shade a hammer for depth
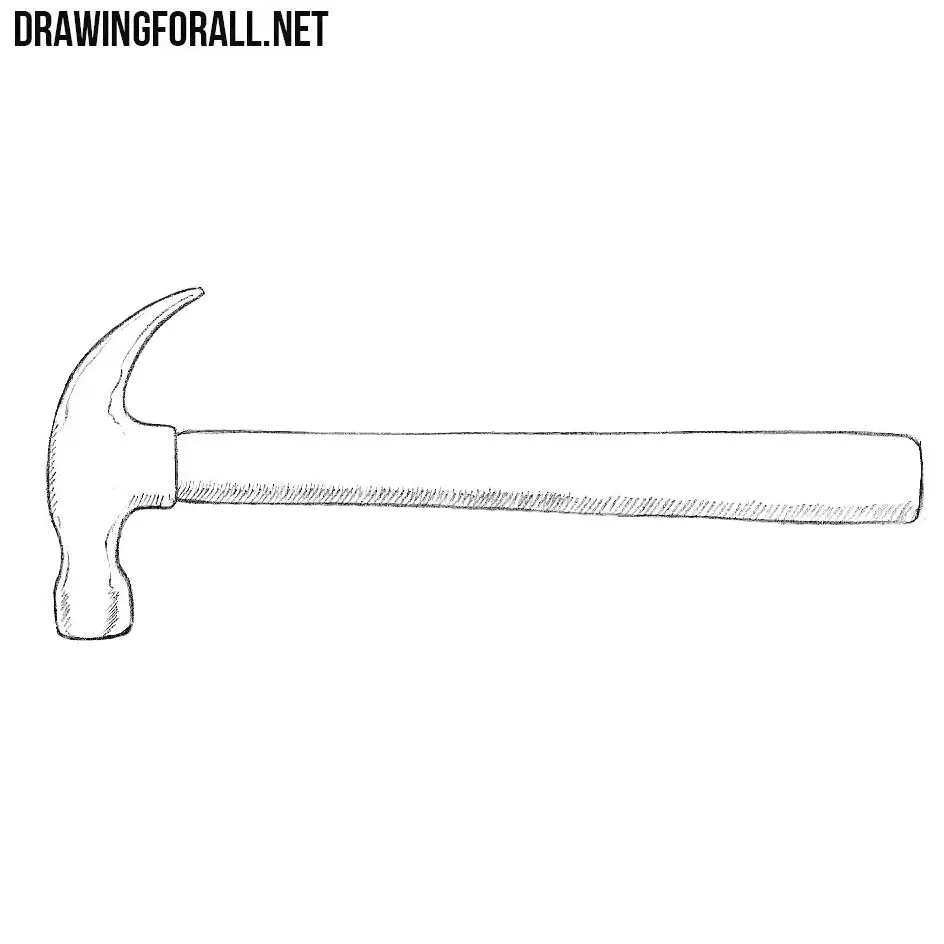
Shading is essential to convey the metallic texture of the hammer head. Identify a light source, such as the top right, and ensure your shadows fall consistently on the opposite side. Use long, smooth strokes to blend graphite, creating a gradient that moves from dark near the edges to a highlight in the center of the metal. This technique mimics the way light reflects off curved steel surfaces.
For the handle, use shorter, cross-hatched lines to suggest the texture of wood grain or the matte finish of rubberized grips. Apply lighter pressure on the side of the handle facing the light source to give it a three-dimensional, cylindrical volume. Consistent shading helps the viewer understand the form of the object. Consider these shading tips for a polished result:
- Keep highlights bright by leaving small areas of the paper white.
- Use a blending stump to smooth out transitions between light and shadow.
- Darken the area directly under the head to create a cast shadow on the handle.
Common mistakes when drawing a hammer
One frequent error is making the handle too thin in proportion to the heavy head. A hammer requires a sturdy handle to support the weight of the steel, so ensure the width is sufficient to look functional. Another common mistake is drawing the claw as a flat, two-dimensional shape. Remember that the claw is curved and tapered, which requires careful attention to perspective and line weight to appear realistic.
Finally, avoid making the hammer look perfectly symmetrical or pristine. Real tools have nicks, scratches, and slight variations in texture from years of use. Adding small, irregular marks or subtle imperfections can make the drawing appear more authentic. By observing a real hammer or a high-quality photograph, you can capture the unique characteristics that distinguish a professional tool from a generic illustration. Always check your proportions against your reference before finalizing your work to ensure the balance is correct.
Key facts
- A standard claw hammer consists of a head with a flat striking face and a curved, bifurcated claw for prying nails.
- The handle is typically made of hickory wood, fiberglass, or steel, and it should be drawn as a slightly tapered cylinder.
- To maintain proper proportions, ensure the head length is roughly one-third the total length of the handle.
- Always use a light pencil sketch for your initial guidelines to allow for easy erasing and refinement of curves.
- The "eye" of the hammer, where the handle meets the head, is usually slightly wider than the rest of the handle shaft.
- Adding subtle shading along the edges of the metal head creates a realistic metallic luster and depth.
The bottom line
Drawing a hammer requires attention to the balance between the heavy metal head and the slender handle. By starting with simple geometric shapes—a rectangle for the head and a tapered cylinder for the handle—you can build a accurate structure. Refining these lines with shading and texture will transform your sketch into a realistic representation of this essential tool, ensuring your final drawing looks both functional and professional.
People also ask
What is the most common mistake when drawing a hammer?
Beginners often draw the head too small or disproportionate to the handle, making the tool look unusable. Always check your reference image to ensure the weight of the head looks balanced against the length of the grip.
Should I use a ruler to draw the handle?
While a ruler helps create straight lines, a slight taper makes the handle look more natural and ergonomic. Avoid perfectly rigid lines, as most handles have a subtle curve or swell for better grip.
How do I make the metal head look shiny?
Use high-contrast shading by leaving a thin white strip of paper visible along the top edge of the head. This technique simulates a highlight, which is essential for conveying the reflective properties of polished steel.
What is the purpose of the claw on the back of the hammer?
The claw is designed for extracting nails from wood. When drawing it, ensure the curve is smooth and the two prongs are clearly separated to show its functional design.
How do I draw the texture of a wooden handle?
Use light, irregular vertical lines to suggest wood grain. Do not over-detail the entire surface, as a few well-placed marks are often more effective than dense, messy scribbles.
Is it better to draw a hammer from the side or at an angle?
Drawing from the side is the best way to learn the basic silhouette and proportions. Once you master the profile view, you can experiment with foreshortening to add a dynamic, three-dimensional perspective.
This answer was created with the help of AI research tools and reference sources. Spotted an error? Let us know — we correct mistakes quickly. See our editorial policy.