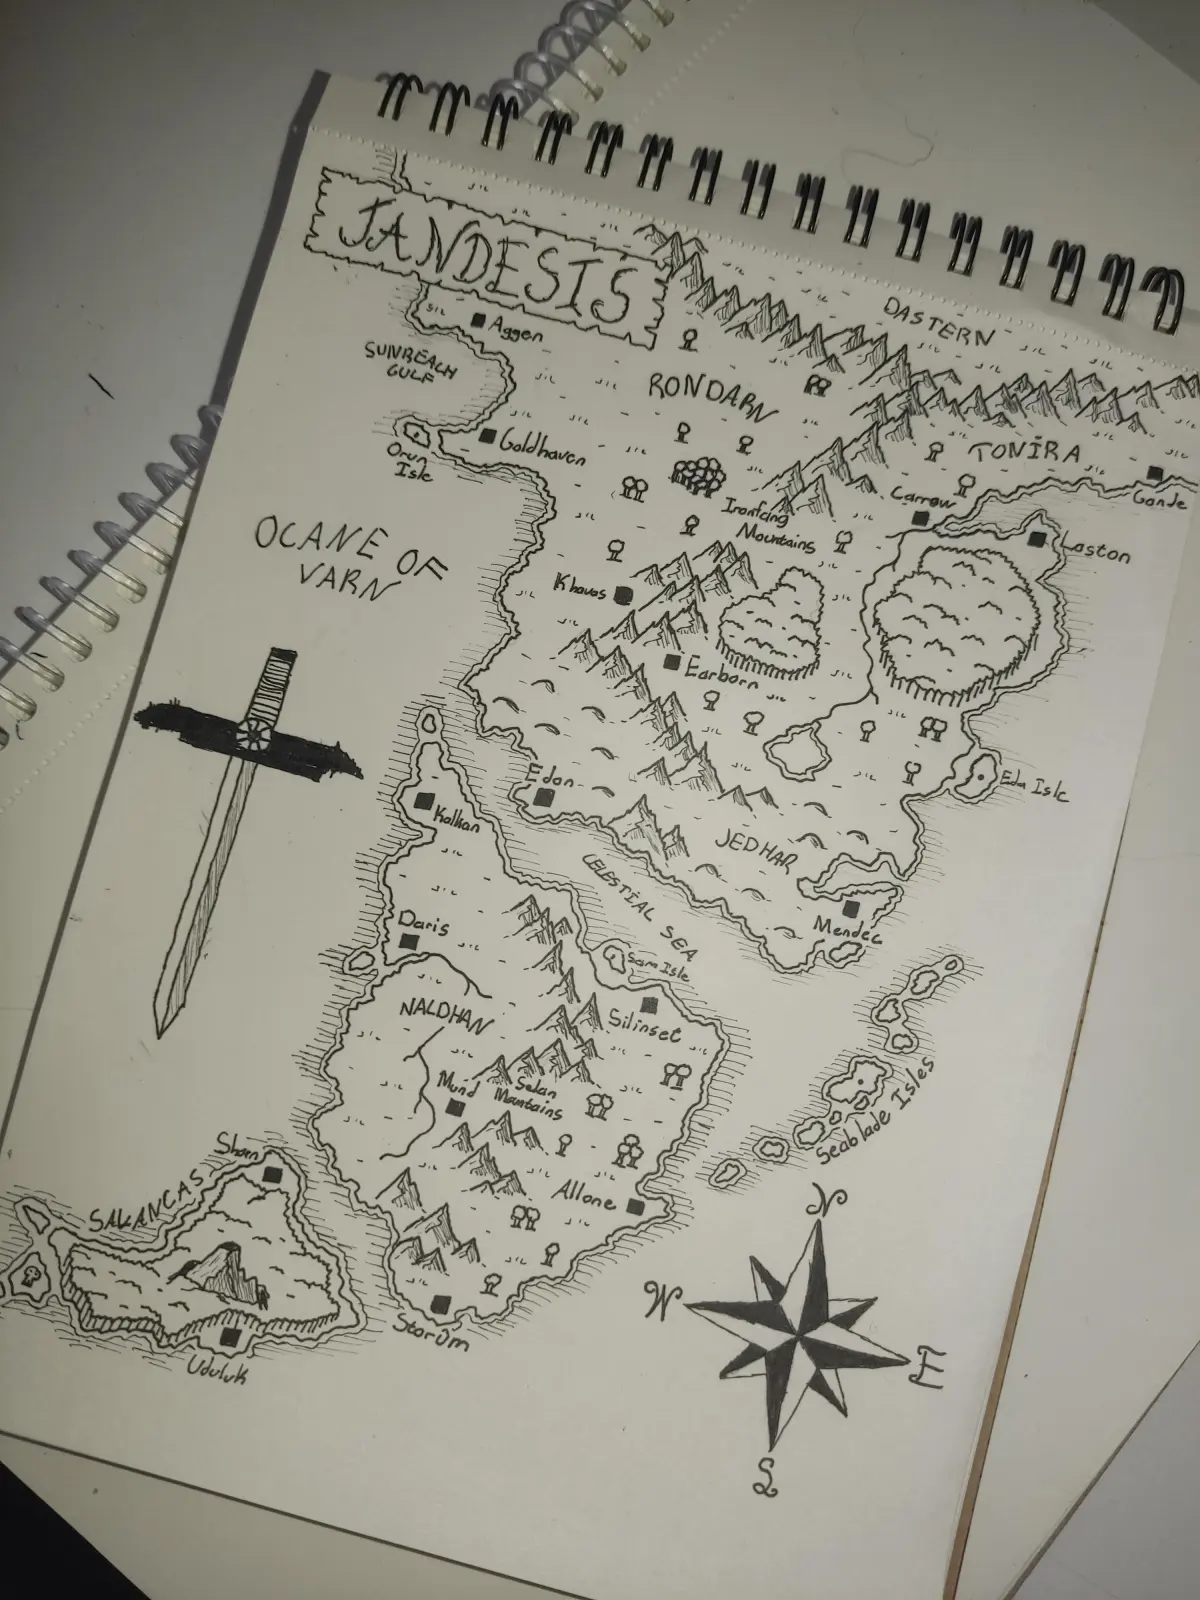
How do you draw a mountain?
Short answer
Drawing a mountain involves establishing a jagged, asymmetrical silhouette and layering shadows to create volume. Start with a rough triangular base, refine the edges into irregular rock formations, and apply directional shading to define the light source. By focusing on texture and atmospheric perspective, you can transform simple shapes into realistic peaks.
On this page
How to draw a mountain for beginners
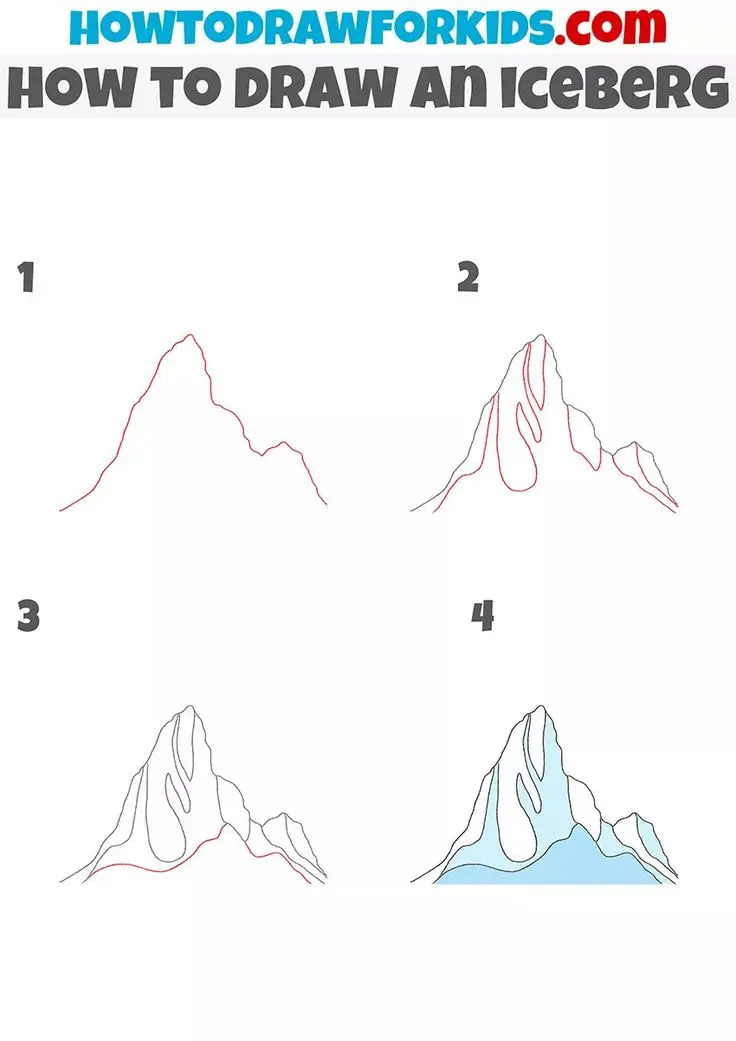
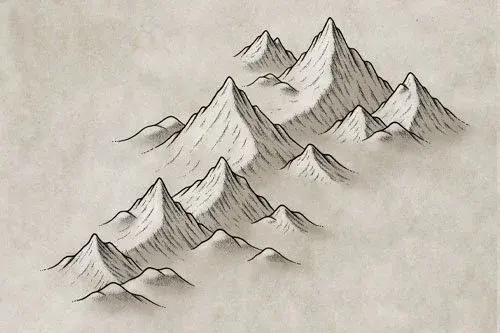
To draw a mountain, begin by sketching a large, irregular triangle. Avoid making the peak perfectly centered or symmetrical, as natural mountains are shaped by tectonic forces and erosion that create uneven slopes. Use light, sketchy lines to establish the overall form, allowing for variations in height and width.
Once the primary shape is established, break the surface into smaller, jagged polygons. These represent the rock faces and ridges that define the mountain's character. Focus on creating a sense of scale by varying the size of these shapes, keeping them larger near the base and smaller toward the summit.
- Sketch a light, asymmetrical triangle to serve as your guide.
- Draw a series of jagged, V-shaped lines down the sides to represent ridges.
- Connect these lines to create distinct planes or facets.
- Erase your initial guide lines once the structural foundation is clear.
What tools are best for mountain drawing
Graphite pencils are the most versatile tools for capturing the rugged texture of a mountain. A range of pencils, from 2H for light initial sketches to 4B for deep, dramatic shadows, allows you to build depth effectively. Using a kneaded eraser is also essential for lifting highlights and creating the appearance of snow or mist.
If you prefer working with charcoal, you can achieve bolder, more atmospheric results. Charcoal is excellent for creating dark, moody valleys and high-contrast crags, though it requires more precision to maintain sharp edges. Regardless of the medium, ensure you have a sharp point to define the crisp, rocky contours that define a mountain's silhouette.
- Use hard pencils (H range) for light, preliminary outlines.
- Use soft pencils (B range) for dark, heavy shadows.
- Keep a blending stump or tissue handy to soften transitions.
- Utilize a kneaded eraser to pull out bright, snowy highlights.
Why shading creates realistic mountains
Shading is the most critical step in transforming a flat sketch into a three-dimensional landscape. You must first determine the direction of your light source, such as the sun hitting one side of the peak. Keep the side facing the light relatively clean, while applying dense, layered strokes to the side in shadow.
To create the illusion of rock, use directional shading that follows the contours of the mountain's facets. Instead of smooth, uniform strokes, use short, cross-hatched marks to mimic the rough texture of granite or shale. Deepen the shadows in the crevices and gullies, as these areas receive the least amount of light and provide the most contrast.
Always remember that shadows are not just black; they contain subtle variations in tone. By layering your pencil strokes, you can create a gradient that makes the mountain look solid and heavy. If the shadows appear too flat, add a few darker accents in the deepest recesses to push the perspective further back.
How to add texture and detail
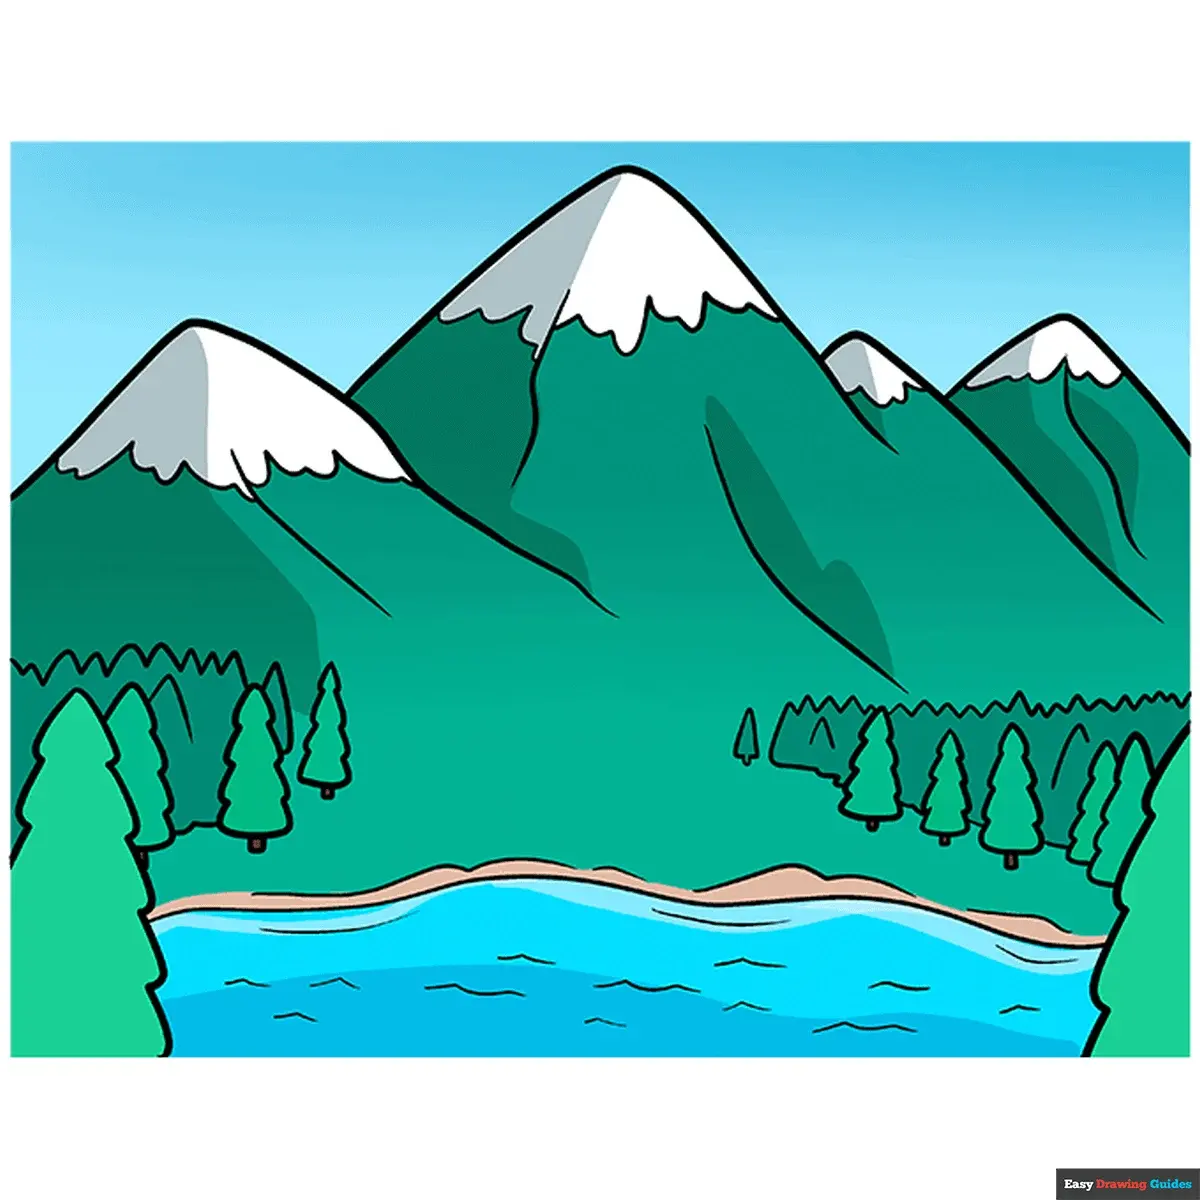
Detailing is what separates a generic mountain from a realistic one. Focus on the "cracks" and "ledges" by varying your line weight. Thicker, darker lines should be used for the primary ridges, while lighter, thinner lines define smaller rocks and surface irregularities. This variation keeps the drawing from looking like a simple cartoon.
Incorporate scree slopes at the base of your mountain to ground it in the landscape. These are piles of loose rock that accumulate over time, represented by small, scattered dots and short, horizontal dashes. Adding these details helps transition the mountain into the surrounding terrain, making the entire composition feel cohesive and grounded.
- Add small horizontal marks to represent layers of sedimentary rock.
- Use light, stippled dots to suggest gravel or loose debris.
- Avoid repeating the same pattern, as nature is inherently chaotic.
- Leave some areas blank to represent patches of snow or ice.
Common mistakes when drawing mountains
One of the most frequent errors is creating a mountain that looks too uniform or "perfect." Nature rarely produces perfectly straight lines or balanced peaks, so avoid making your mountain look like a pyramid. If your drawing feels too symmetrical, try adding a secondary, smaller peak to one side to break up the silhouette.
Another common mistake is neglecting atmospheric perspective. Things that are further away should be lighter, less detailed, and have less contrast than objects in the foreground. If you are drawing a mountain range, keep the distant peaks faint and soft, while focusing your sharpest lines and darkest shadows on the mountains closest to the viewer.
Finally, do not be afraid to use your eraser as a drawing tool. Many beginners try to draw every single rock, which can make the mountain look cluttered and messy. Instead, focus on the major light and shadow patterns, and use the eraser to suggest texture rather than drawing every individual stone.
Key facts
- Start by drawing a jagged, irregular line for the silhouette to avoid a uniform, symmetrical shape.
- Use atmospheric perspective by drawing distant peaks with lighter lines and closer peaks with bolder, darker strokes.
- Incorporate "V" or "Y" shapes on the mountain face to represent ridges and gullies where shadows accumulate.
- Apply shading on only one side of the mountain to create a consistent light source and a sense of three-dimensional volume.
- Vary the texture of the slopes by using short, horizontal marks to suggest rocky outcrops and crags.
- Keep the base wider than the summit to maintain proper structural balance and realistic proportions.
The bottom line
Drawing a realistic mountain requires embracing irregularity and mastering the use of light and shadow. By focusing on jagged silhouettes, consistent lighting, and atmospheric perspective, you can create a sense of scale and depth. Avoid perfectly symmetrical shapes or uniform lines, as nature rarely follows such patterns. With practice, these techniques allow you to translate the rugged, imposing majesty of mountain ranges onto a flat page.
People also ask
Should I use a ruler to draw mountain peaks?
Avoid using a ruler because natural mountains lack perfectly straight lines. Using freehand strokes creates the organic, jagged edges necessary for a convincing landscape.
How do I show snow on a mountain?
Leave the upper portions of the peaks white or lightly shaded with cool gray tones. Use jagged, uneven lines at the snow line to suggest where the snow meets exposed rock.
What pencil grade is best for mountain sketching?
Use an HB pencil for initial light outlines and a 4B or 6B pencil for adding deep, dramatic shadows. Softer leads allow for richer contrast, which makes the mountain look more imposing.
How do I make a mountain look far away?
Draw distant mountains with less detail and lighter pressure. As objects move further into the background, their contrast decreases and they appear closer to the color of the sky.
Why does my mountain look like a flat triangle?
This usually happens because the shading is too uniform or the silhouette is too symmetrical. Add overlapping layers of rock and vary the slope angles to create depth and complexity.
Should I draw the entire mountain range at once?
It is better to sketch the largest, most prominent peaks first to establish the composition. Once the main shapes are set, you can add smaller foothills and secondary ridges to fill the frame.
This answer was created with the help of AI research tools and reference sources. Spotted an error? Let us know — we correct mistakes quickly. See our editorial policy.