How do you draw a glacier step by step?
Short answer
Drawing a glacier requires capturing the massive scale and jagged movement of ice. Focus on creating deep, vertical crevasses, layering shades of blue and white, and adding rocky debris along the edges. By building texture through light and shadow, you can effectively represent the frozen, slow-moving power of a mountain glacier.
On this page
How to draw a glacier step by step
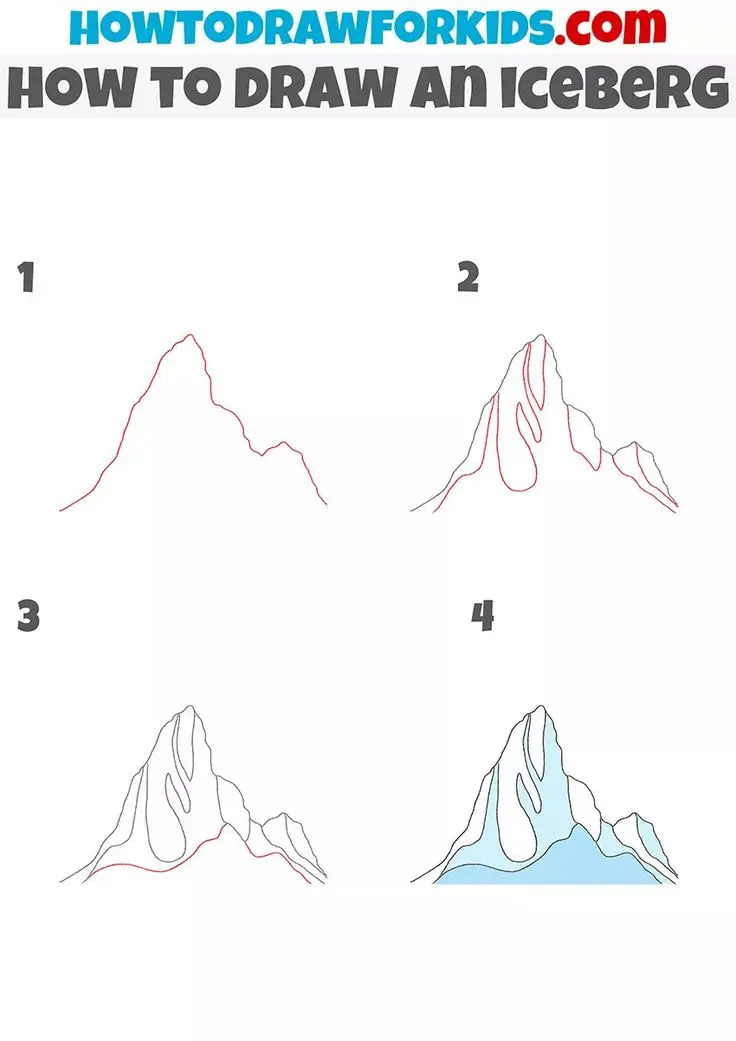
To draw a glacier, begin by sketching the overall shape of the valley. Glaciers act like slow-moving rivers of ice, so they typically follow the contours of mountain slopes. Use light pencil strokes to outline the main body, ensuring the top is wide and the bottom tapers as it flows downward.
Once the basic shape is established, add the primary structural features of the ice. Glaciers are rarely smooth; they are defined by deep cracks known as crevasses. Draw these as jagged, irregular lines running across the surface. Follow these steps to build your initial sketch:
- Outline the mountain valley boundaries to define the glacier's path.
- Sketch the "snout" or the bottom edge where the ice meets the land.
- Draw vertical and diagonal lines across the surface to represent crevasses.
- Add rough, irregular shapes along the sides to indicate moraines, which are piles of rock and debris.
Best drawing tools for beginners
For those new to landscape drawing, graphite pencils remain the most versatile choice. A set ranging from 2H for light, structural lines to 6B for deep, dark shadows allows for a wide range of values. Use a kneaded eraser to lift graphite, which creates the soft, glowing highlights necessary for mimicking the reflective quality of ice.
If you prefer color, watercolor pencils are excellent for capturing the icy blues of a glacier. Apply the pigment dry and then use a damp brush to blend the colors, which creates a natural, flowing appearance. Consider these essential supplies:
- A set of graphite pencils (HB, 2B, 4B, 6B).
- A kneaded eraser for precision highlighting.
- High-quality cold-press watercolor paper for added texture.
- A blending stump or tortillon to smooth out transitions between light and dark areas.
- White gouache or a white gel pen for adding sharp, bright highlights on sharp ice edges.
Why glaciers have unique textures
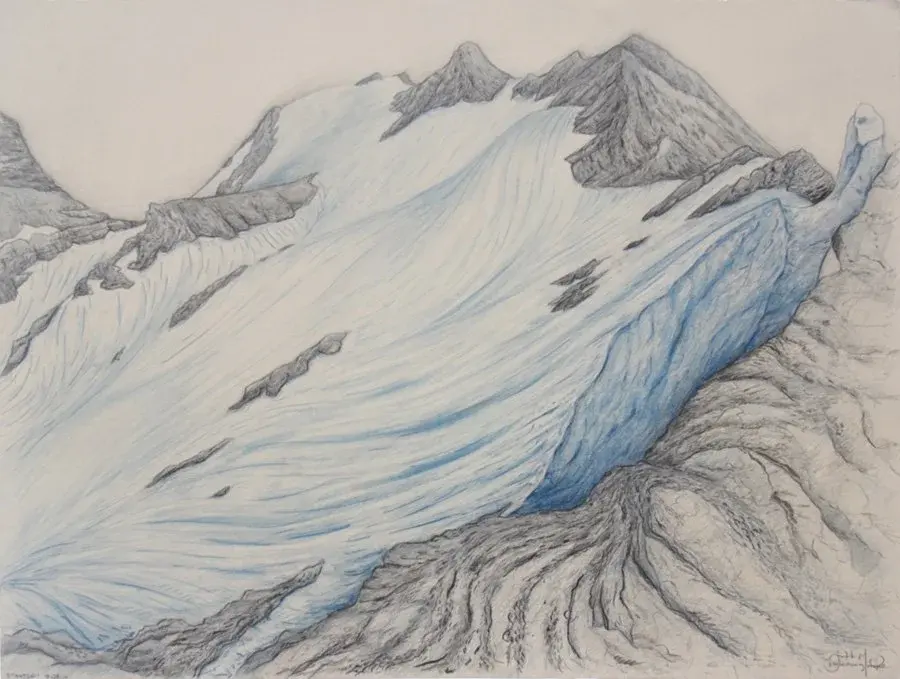
Glaciers are composed of compressed snow that has turned into dense, blue-tinted ice over centuries. Because the ice is under immense pressure, it does not look like a flat white surface. Instead, it features complex, crystalline textures and deep blue tones caused by the absorption of red light.
To represent this, avoid using a single, uniform white color. Use light grays and pale blues to fill in the body of the glacier, leaving the brightest white for the very tops of the ridges. As the ice moves, it picks up rocks and soil, creating dark, gritty lines called lateral moraines along the edges. By adding these dark streaks, you convey the geological history of the glacier as it scrapes against the valley walls.
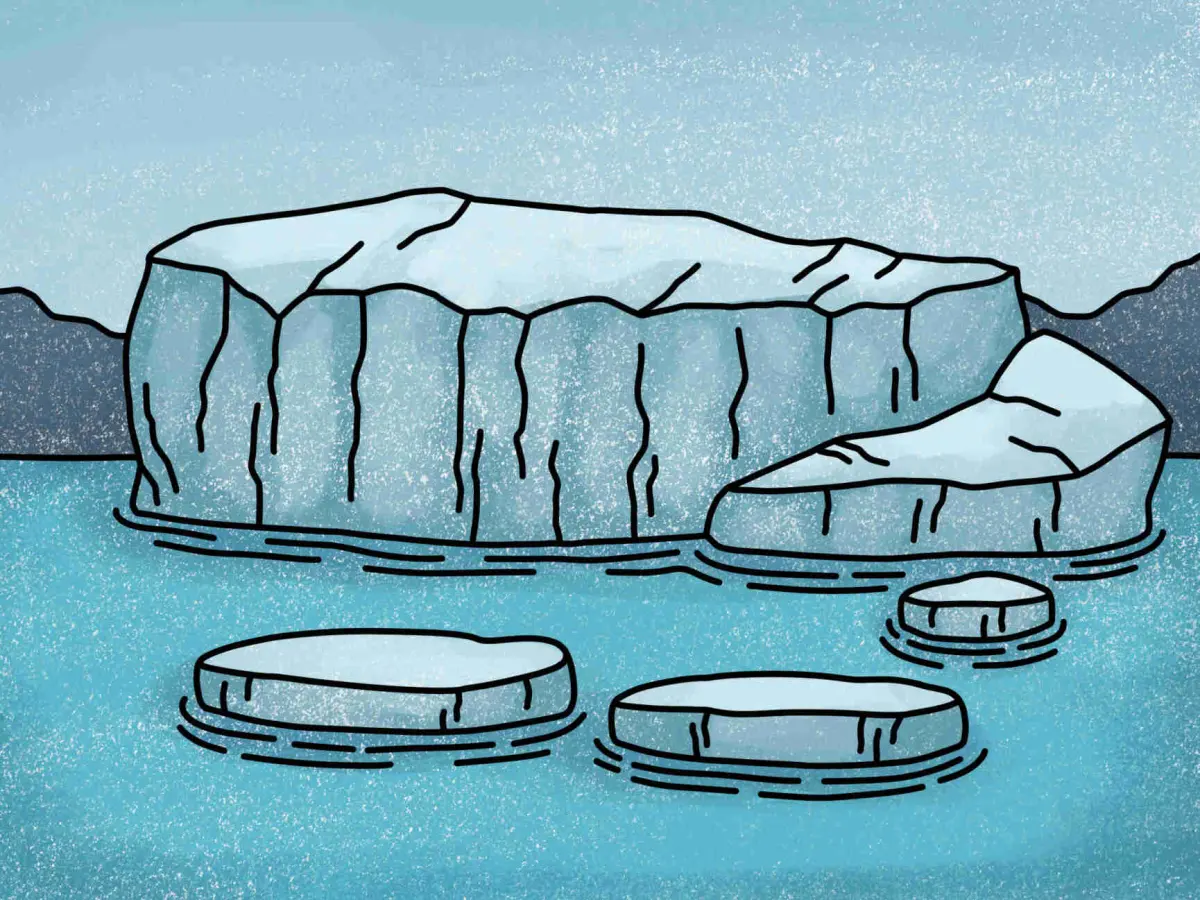
Common mistakes when drawing glaciers
A common error is making the glacier look like a static, flat object. Glaciers are dynamic, flowing masses, and their surface should reflect this movement. Avoid drawing perfectly straight lines for crevasses; instead, use varied, broken lines to show that the ice is shifting and fracturing under its own weight.
Another mistake is neglecting the contrast between the ice and the surrounding environment. If the surrounding mountains are too light, the glacier will lose its impact. Ensure the mountains are rendered with darker, sharper tones to make the icy surface appear brighter by comparison. Remember these tips to avoid common pitfalls:
- Do not use pure white for the entire surface; use subtle blue tints.
- Avoid perfectly symmetrical shapes, as nature is inherently irregular.
- Do not ignore the shadows cast by large ice blocks or pinnacles.
- Ensure the crevasses follow the downward flow of the glacier rather than running horizontally across the entire width.
How to add realistic details to ice
Finalizing a glacier drawing involves refining the highlights and shadows to give the ice a three-dimensional appearance. Focus on the edges of the crevasses, where the light hits the sharpest points. Use a sharp white pencil or gouache to create crisp, bright lines that signify the reflective surface of the ice.
Finally, consider adding environmental context to ground your drawing. A few boulders scattered on the surface or a small meltwater stream at the base of the snout adds a sense of scale. These details help the viewer understand the massive size of the glacier compared to the surrounding terrain. By layering these final touches, you transform a simple sketch into a convincing representation of a massive, frozen landscape that feels cold, heavy, and ancient.
Key facts
- Glaciers are massive bodies of dense ice that move slowly under their own weight.
- A glacier’s shape is defined by its accumulation zone at the top and the ablation zone at the bottom.
- Draw the jagged, cracked surface known as crevasses to show the glacier is moving.
- Use cool blues and grays for shadows, as ice reflects the sky and absorbs red light.
- Include lateral moraines, which are dark lines of rock and debris along the glacier's edges.
- Avoid drawing a perfectly smooth surface; glaciers are textured by meltwater streams and icefalls.
The bottom line
To draw a realistic glacier, focus on the texture of the ice and the movement of the terrain. Start by sketching the valley walls, then layer in the jagged, blue-tinted crevasses that define the glacier's flow. Incorporate dark debris lines along the edges to suggest age and movement. By using light, shadow, and scale-defining elements, you can effectively capture the majestic, frozen nature of these geological giants.
People also ask
Why do glaciers look blue?
Glaciers appear blue because the dense ice absorbs all colors of the spectrum except for blue, which is scattered back to the eye. The older and more compressed the ice, the deeper the blue color will appear.
What is the difference between a glacier and an iceberg?
A glacier is a permanent body of ice formed on land, while an iceberg is a large piece of freshwater ice that has broken off a glacier and is floating in open water. Glaciers are attached to the ground, whereas icebergs are buoyant.
How do you draw realistic ice cracks?
Draw crevasses as jagged, V-shaped lines that follow the flow of the ice. Keep them perpendicular to the direction of the glacier's movement to show how the ice is stretching and pulling apart.
Do glaciers always move in a straight line?
No, glaciers flow like slow-moving rivers, often curving around mountain bends and following the path of least resistance. Their shape is dictated by the underlying topography of the valley floor.
What are the most common colors to use for a glacier?
Use a palette of white, pale blue, slate gray, and deep indigo for shadows. Avoid using pure black for shadows, as ice is translucent and usually reflects surrounding light.
How can I show the scale of a glacier?
Include small, recognizable features like pine trees, boulders, or tiny human figures at the base of the glacier. This provides a visual reference point that helps the viewer understand the immense size of the ice mass.
This answer was created with the help of AI research tools and reference sources. Spotted an error? Let us know — we correct mistakes quickly. See our editorial policy.