How do you draw ice?
Short answer
Drawing ice requires capturing its transparency, sharp geometric edges, and high-contrast highlights. Focus on defining the silhouette with crisp lines, then use varying shades of gray to suggest internal refraction. Finally, apply pure white highlights to indicate where light hits the surface, creating the illusion of a solid, frozen material.
On this page
How to draw realistic ice shapes
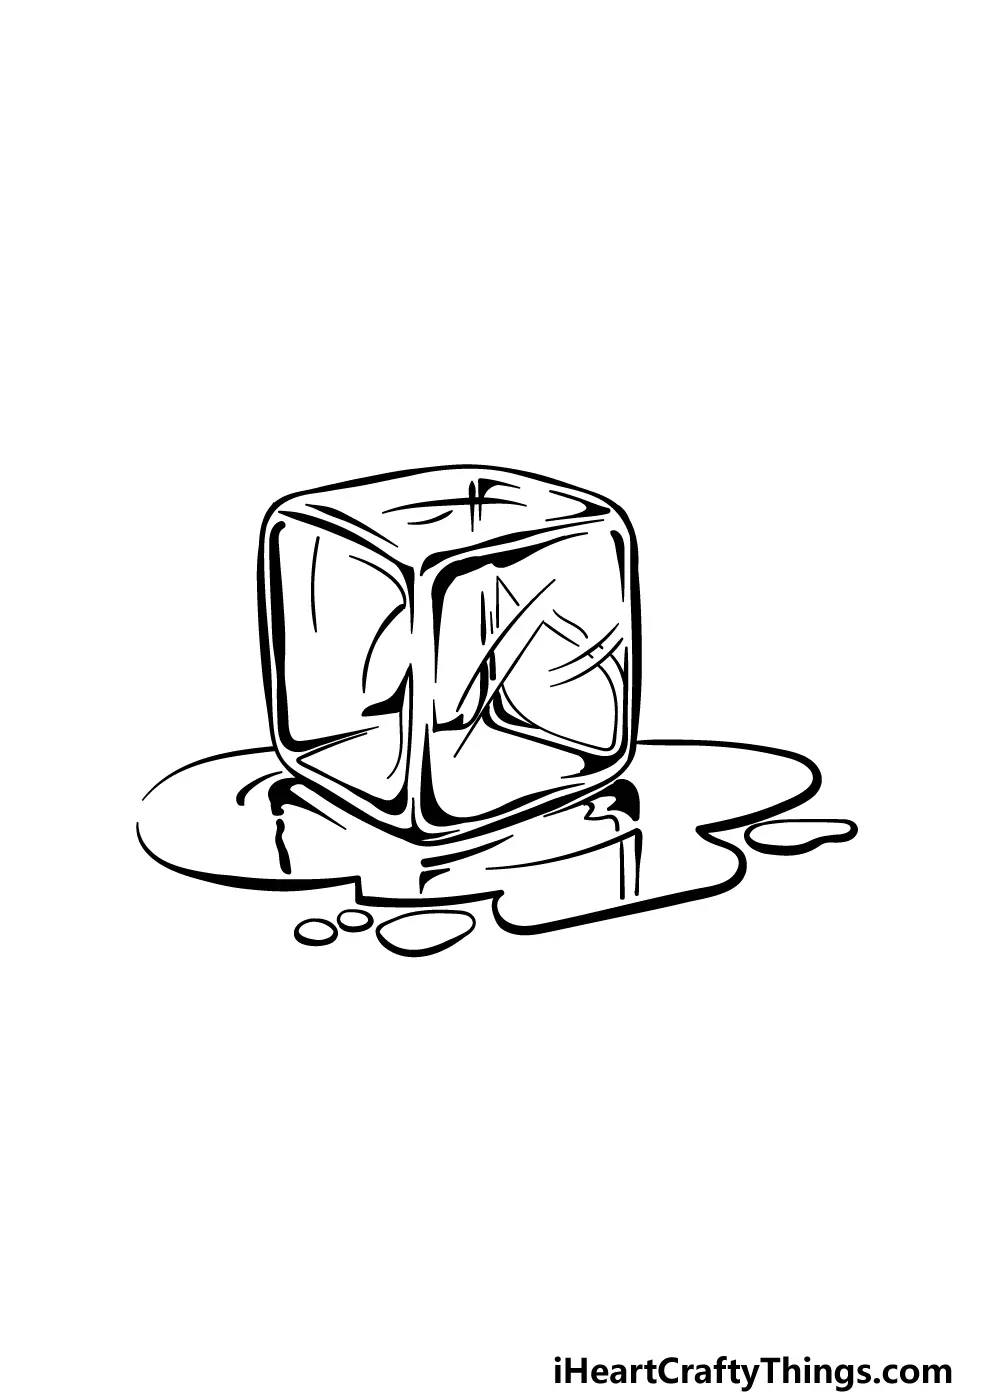
Ice is defined by its crystalline structure, which typically results in sharp, jagged edges rather than smooth curves. When sketching, avoid rounded forms unless you are depicting melting ice or water-worn glaciers. Start by drawing a rough geometric polygon, such as a cube or a prism, to serve as the foundation. You can then break these larger planes into smaller, irregular facets to suggest the natural fracturing of frozen water.
To achieve a realistic look, maintain consistent light direction throughout your drawing. If your light source is coming from the top left, ensure that all highlights and shadows align with that perspective. Use a sharp pencil to define the outer edges, as ice does not have soft, blurry boundaries. By keeping your lines clean and deliberate, you establish the structural integrity that distinguishes ice from liquid water or glass.
Best drawing tools for beginners
For beginners, a set of graphite pencils ranging from 2H to 4B provides the necessary contrast to render ice effectively. The harder 2H pencils are ideal for drawing faint, crisp outlines and subtle internal details, while the softer 4B pencils allow for deep, dark shadows that create the illusion of depth. A kneaded eraser is also essential, as it can be molded into a fine point to lift graphite and create sharp, thin highlights.
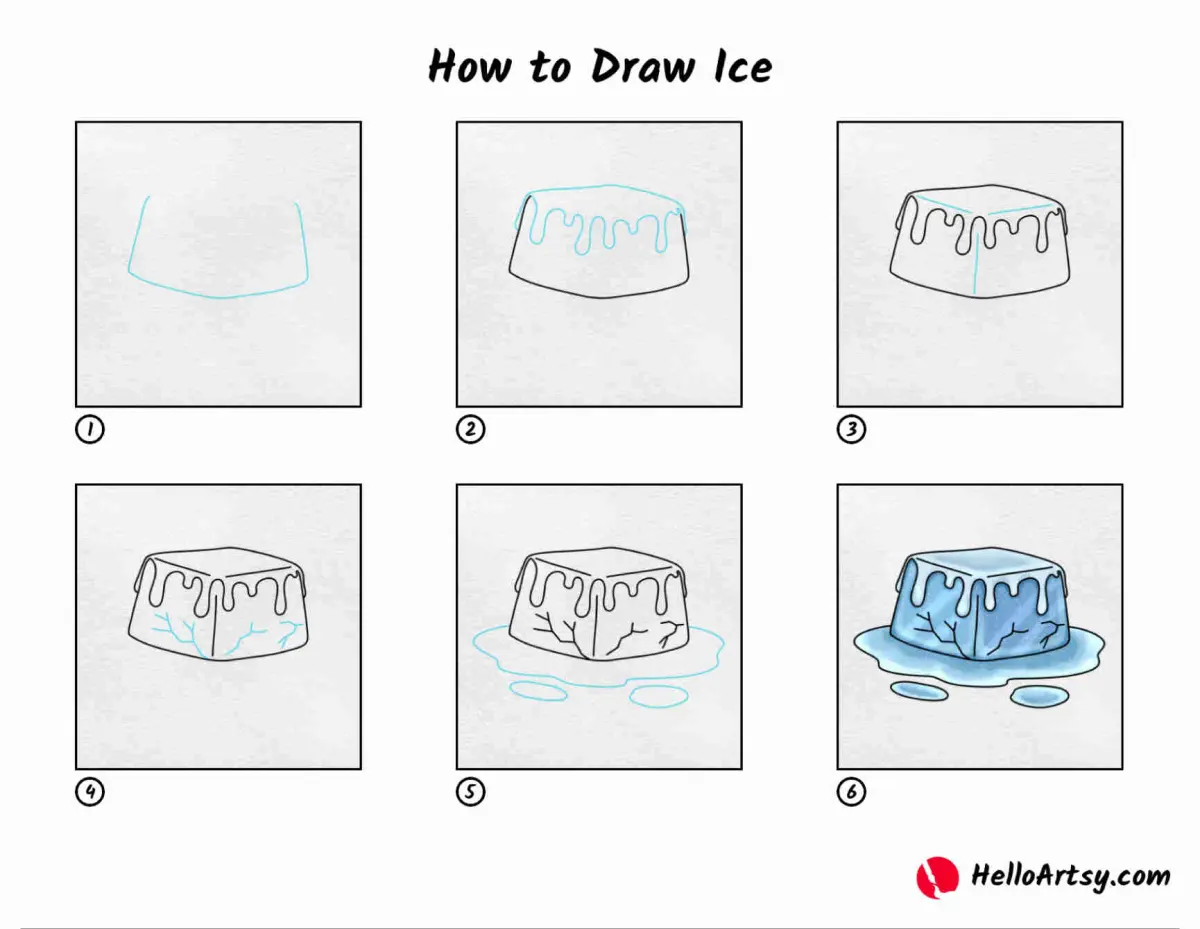
- Use a 2H pencil to sketch the initial geometric structure lightly.
- Apply a light layer of shading to the sides of the ice that are turned away from the light source.
- Use a 4B pencil to darken the deepest shadows, often found where the ice meets the ground or within deep cracks.
- Utilize a kneaded eraser to pull out bright, white highlights on the edges where light reflects most intensely.
Why ice looks transparent in drawings
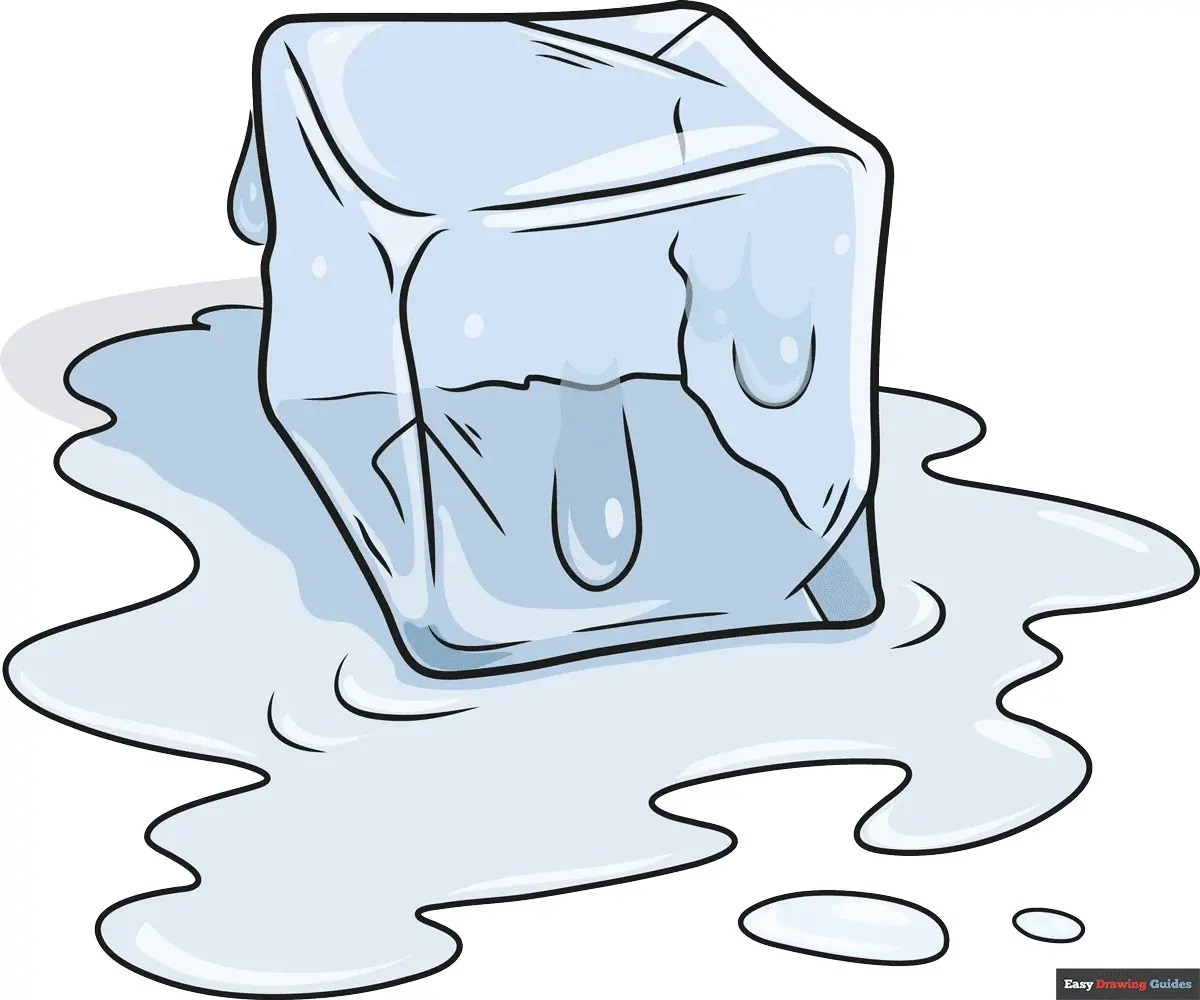
The transparency of ice is achieved through the contrast between its internal refraction and the surrounding environment. Because ice is translucent, it often picks up the colors and values of the objects behind or beneath it. When drawing, do not simply leave the ice white; instead, fill the interior with light gray tones that suggest the density of the frozen mass. You must balance these mid-tones with dark shadows to prevent the ice from looking like a flat, white shape.
Refraction occurs when light bends as it passes through the ice, causing the background to appear distorted. To mimic this, draw lines or shapes behind the ice that are slightly shifted or warped compared to their actual positions. This visual trickery is what convinces the viewer that they are looking through a solid, clear object rather than at a solid white block.
Common mistakes when drawing ice
One of the most frequent errors is over-blending the graphite, which results in a soft, hazy appearance that contradicts the hard nature of ice. Ice should have distinct transitions between light and dark planes; avoid using a blending stump to smooth out your shading. If your drawing looks too blurry, use a sharp pencil to re-establish the edges of the facets. Keeping your lines crisp is more important than achieving perfectly smooth gradients.
- Do not use a smudge tool, as it creates a dull, gray look that lacks the brilliance of ice.
- Avoid drawing perfectly symmetrical shapes, as natural ice formations are almost always irregular and asymmetrical.
- Do not forget to include a "cast shadow" on the surface beneath the ice, which anchors the object to the ground.
- Avoid using too many mid-tones; high contrast is the key to making ice look clear and reflective.
How to add texture and cracks
Cracks are the most effective way to add detail and realism to an ice drawing. These fissures catch light and create internal shadows, breaking up the surface and adding complexity. Draw thin, jagged lines that originate from the corners or edges of your ice block, branching out like a spiderweb. Vary the thickness of these lines; deeper cracks should be darker, while surface scratches can be rendered with very light, thin pencil strokes.
To finish your drawing, add small bubbles or impurities inside the ice. These can be represented by tiny, irregular circles with a small white dot inside to indicate a highlight. By layering these details over your established light and shadow planes, you transform a simple geometric shape into a complex, realistic piece of ice. Always step back from your work periodically to ensure the overall contrast remains strong and the highlights are sufficiently bright.
Key facts
- Ice is essentially transparent, meaning its appearance is defined by the objects, light, and colors behind or around it.
- Use a sharp, hard-edged graphite pencil or a fine-liner pen to capture the crisp, jagged geometry of ice cracks and facets.
- Focus on high-contrast highlights; pure white areas are essential to represent the reflection of light on a slick surface.
- Avoid smudging or blending your shading, as ice surfaces are generally smooth and rigid rather than soft or fuzzy.
- Incorporate "refraction" by slightly distorting or shifting the shapes of objects seen through a block of ice.
- Use a kneaded eraser to lift graphite and create thin, bright lines that simulate the sharp edges where light catches the ice.
The bottom line
Drawing ice successfully requires a shift in focus from the object itself to the light interacting with its environment. By prioritizing sharp edges, high-contrast highlights, and the subtle distortion of background elements, you can effectively mimic the crystalline nature of ice. Avoid soft shading and embrace crisp, deliberate lines to capture the rigid, transparent, and reflective qualities that define this fascinating, ever-changing natural material.
People also ask
How do I make ice look three-dimensional?
Focus on the interplay between deep shadows and bright highlights. By defining the planes of the ice with distinct tonal shifts, you create the illusion of volume and mass.
Should I use color when drawing ice?
While ice often appears colorless, it actually reflects the environment. Use cool blues, grays, or even subtle purples in the shadows to give the ice a natural, chilly appearance.
What is the best way to draw cracks in ice?
Draw thin, irregular lines that branch out like lightning bolts. Vary the thickness of these lines to show depth, making them darker where they go deeper into the ice.
How do I represent the surface texture of ice?
Use short, quick strokes to indicate surface scratches or bumps. Keep these marks sparse to ensure the ice still looks clean and reflective rather than dirty.
Why does my ice drawing look like glass?
Glass and ice share similar properties, but ice is often more irregular. To differentiate them, add more jagged edges and uneven surfaces rather than perfectly smooth, uniform curves.
Is it better to draw from a photo or from life?
Drawing from life allows you to observe how light moves and shifts as you change your perspective. However, a photo is helpful for capturing fleeting details like complex, melting patterns.
This answer was created with the help of AI research tools and reference sources. Spotted an error? Let us know — we correct mistakes quickly. See our editorial policy.