How do you draw a radio step by step?
Short answer
Drawing a radio involves creating a rectangular base, adding a speaker grille, and incorporating control knobs. You can achieve a realistic look by sketching a box in one-point perspective, dividing the face into sections for the speaker and dials, and adding details like antennas or buttons to enhance the vintage aesthetic.
On this page
How to draw a radio step by step
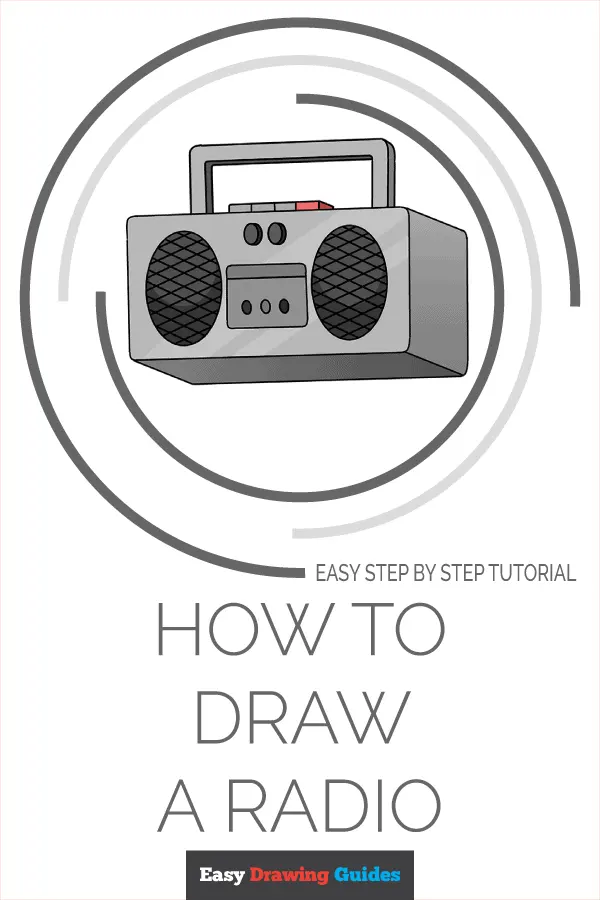
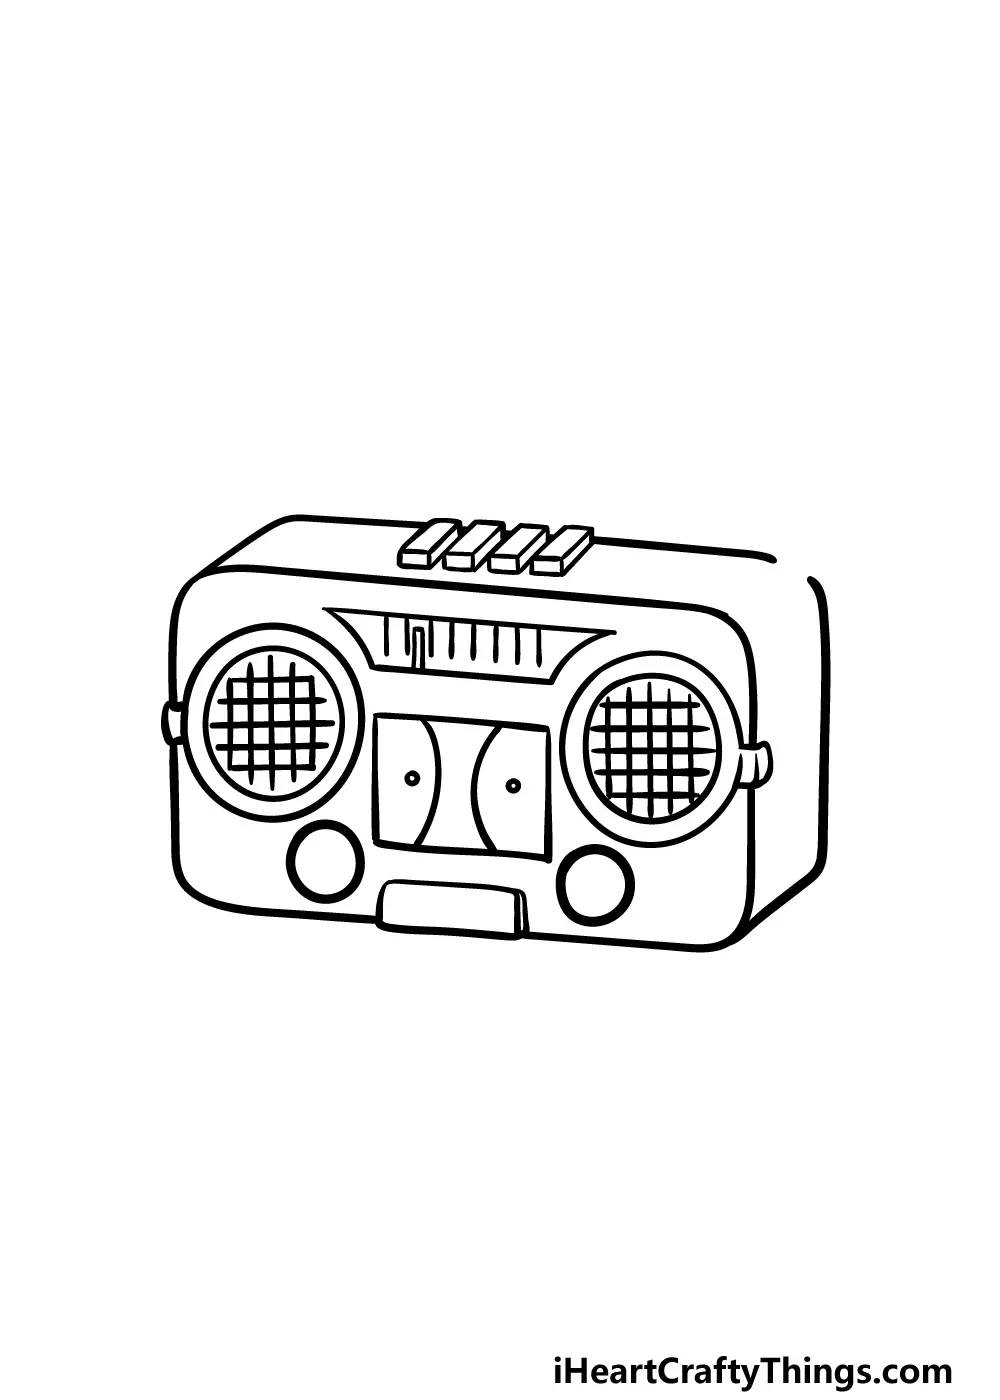
To begin your drawing, start by establishing the basic structure of the device. A standard radio is essentially a rectangular prism, so use a light pencil to sketch a box that represents the outer casing. If you want a three-dimensional effect, draw a front-facing rectangle and then add shorter, angled lines retreating from the corners to create depth. Ensure your lines are straight by using a ruler if necessary, as the clean geometric lines define the radio's industrial design.
Once the frame is set, define the primary components on the face of the radio. Most radios feature a speaker area, a tuning dial, and volume knobs. Sketch a large square or circle for the speaker grille and smaller circles for the controls. Keep your initial lines faint so you can easily refine them later with darker, bolder strokes once you are satisfied with the proportions.
- Draw a large rectangle for the main body.
- Sketch a smaller rectangle or circle on the left or right side for the speaker.
- Add two or three small circles along the bottom or side for volume and tuning knobs.
- Draw a long horizontal rectangle near the top to serve as the frequency display window.
- Add a thin, vertical line extending from the top to represent the antenna.
Best tools for drawing radios for beginners
For those starting out, a standard HB pencil is the most versatile tool for creating both the initial layout and the final shading. You should also have a high-quality eraser to clean up construction lines, as precision is vital when drawing the symmetrical parts of a radio. A ruler is indispensable for maintaining the sharp, clean edges characteristic of electronic hardware, preventing the drawing from looking distorted or sloppy.
If you wish to add detail, fine-liner pens or technical markers are excellent for outlining the finished structure. These pens allow you to create crisp, consistent lines that make the speaker grille and buttons stand out against the body. When adding texture, such as the mesh of a speaker, use a fine-tip pen to create a grid pattern, which adds a professional, realistic touch to your work.
- HB pencil for initial sketching and light shading.
- Ruler for maintaining straight lines and accurate proportions.
- Kneaded eraser for removing guide lines without damaging the paper.
- Fine-liner pens for defining edges and adding intricate details.
- Graphite sticks or blending stumps for smooth, metallic shading.
How to add realistic details to a radio
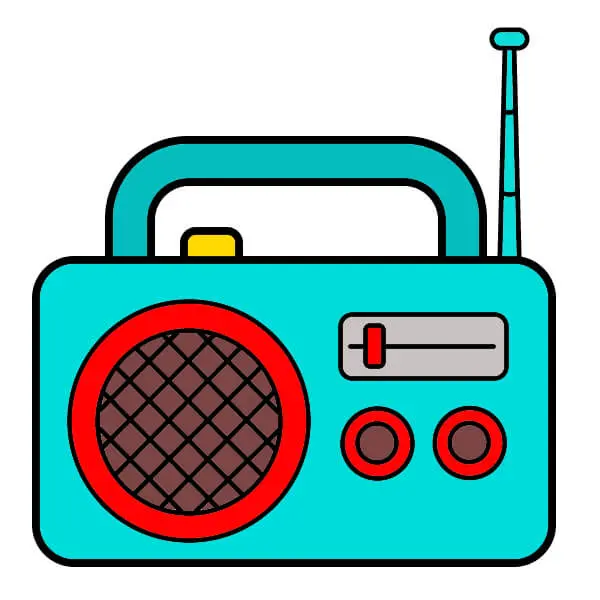
Details are what transform a simple box into a recognizable piece of technology. Focus on the speaker grille by drawing a tight, repeating pattern of small dots or diagonal lines. This creates the illusion of fabric or metal mesh. For the knobs, add small notches or lines around the circumference to represent the grip texture, and shade one side of the knob darker to suggest a rounded, three-dimensional shape.
Don't forget the frequency display, which is a hallmark of analog radios. Draw a thin horizontal line across the display window and add small tick marks to indicate station numbers. You can even draw a small, thin pointer needle positioned somewhere along that line. Adding these tiny, specific features provides context and makes the viewer immediately identify the object as a radio rather than a generic box.
Common mistakes when drawing a radio
One of the most frequent errors is failing to maintain consistent perspective. If the sides of your radio box do not converge toward a single vanishing point, the object will look flat or warped. Always double-check that your parallel lines remain truly parallel or converge correctly according to your chosen perspective. A lack of symmetry in the knobs or speaker placement can also make the radio look unbalanced, so use light guide lines to ensure everything is centered.
Another common issue is neglecting the light source. Without consistent shading, the radio will lack volume and appear two-dimensional. Determine where your light is coming from—usually the top left or right—and ensure all shadows fall on the opposite side of the knobs and the casing. Avoid making the speaker grille too dark, as this can overwhelm the rest of the drawing and hide the radio’s primary features.
How to shade and finish a radio drawing
Shading is the final stage that brings your drawing to life. Start by applying a light layer of graphite to the entire surface, then identify the areas that should be darkest, such as the recessed space behind the speaker grille or the underside of the knobs. Use a blending stump to smooth out your pencil strokes, creating a soft, metallic or plastic finish. This transition from light to dark is essential for creating a realistic material quality.
Finally, add highlights to the knobs and the edges of the radio casing using a white gel pen or by carefully erasing small areas of graphite. These bright spots suggest that the surface is reflective, which is common for electronic devices. Once you have finished the shading, step back and look at your drawing from a distance to ensure the overall balance feels correct before finalizing your lines with a permanent ink pen.
Key facts
- Start by drawing a simple rectangle to establish the main body of the radio.
- Use a compass or a circular stencil to ensure the speaker grille is perfectly round.
- Add a smaller rectangle on the side to represent the tuning knob for a realistic look.
- Use a ruler to draw straight lines for the antenna to maintain clean, professional edges.
- Incorporate a horizontal rectangular strip for the frequency display panel.
- Avoid smudging your lines by resting your hand on a clean sheet of paper while sketching.
The bottom line
Drawing a radio is a rewarding exercise in geometric precision and shading. By starting with basic rectangular forms and layering details like knobs, speakers, and antennas, you can construct a convincing vintage or modern device. Remember to prioritize clean lines and consistent lighting to give your object volume. With practice, these fundamental shapes will allow you to sketch any electronic device with confidence and ease.
People also ask
What is the best type of pencil for sketching a radio?
Use an HB pencil for the initial light outlines and a 2B pencil for shading the speaker grille. This combination allows you to build depth without leaving heavy, permanent marks.
How do I make the speaker look three-dimensional?
Draw a series of concentric circles or a fine cross-hatch pattern within the speaker area. Adding a subtle shadow on the bottom right side of the circle creates the illusion of depth.
Should I use a ruler for every part of the drawing?
Use a ruler for the outer frame and antenna to ensure structural accuracy. Freehand the knobs and buttons to give the object a more natural, hand-drawn character.
How can I represent the radio dial effectively?
Draw a long, thin rectangle and place small vertical tick marks inside to represent frequency stations. Adding a small needle or pointer near the center adds a functional detail.
What is the most common mistake when drawing a radio?
Beginners often forget to add perspective to the knobs, making them look like flat circles. Ensure the knobs have a slight oval shape to suggest they are protruding from the surface.
How do I add metallic texture to the antenna?
Use short, diagonal white spaces or highlights along the length of the antenna. This technique simulates the way light reflects off polished chrome or steel surfaces.
This answer was created with the help of AI research tools and reference sources. Spotted an error? Let us know — we correct mistakes quickly. See our editorial policy.