How do you draw a snowman step by step?
Short answer
Drawing a snowman involves sketching three stacked circles of varying sizes, starting with the largest at the base. You then add facial features like a carrot nose and coal eyes, followed by accessories such as a hat, scarf, and stick arms. Use simple geometric shapes to build a balanced, classic winter figure.
On this page
How to draw a snowman step by step
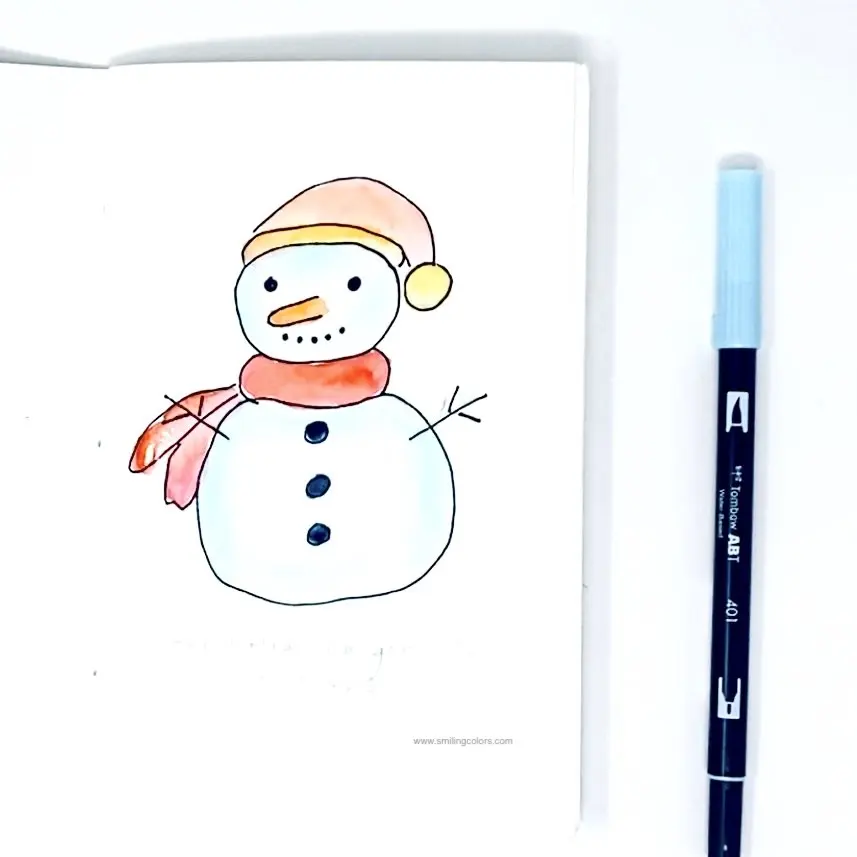
Drawing a snowman is a foundational exercise in composition because it relies on basic geometric shapes. Begin by drawing a large circle at the bottom of your paper to serve as the base. Place a medium-sized circle directly on top of the first, ensuring they overlap slightly to create a sense of weight. Finally, draw a smaller circle on top for the head, completing the classic three-part structure.
Once the body is established, you can add personality with simple details. Use two dots for eyes, a triangle for a carrot nose, and a series of small circles to represent a coal mouth. Adding stick arms on the sides of the middle circle creates movement, while a top hat or a scarf provides a focal point. Keep your lines light initially so you can easily erase and adjust the proportions as you refine your sketch.
Best drawing tools for beginners
For those new to drawing, starting with a graphite pencil is essential because it allows for easy corrections. Use an HB or 2B pencil for the initial layout, as these provide enough darkness without being too difficult to erase. A soft white eraser is also a necessary tool, as it removes graphite cleanly without damaging the paper surface or leaving smudges.
As you progress, you might consider using fine-liner pens or markers to finalize your drawing. These tools allow you to create bold, clean outlines that make the snowman stand out on the page. If you are working on colored paper, a white gel pen can be used to add highlights, simulating the reflective quality of snow. Using high-quality, acid-free drawing paper will also prevent your lines from bleeding or fading over time.
How to add texture and shading
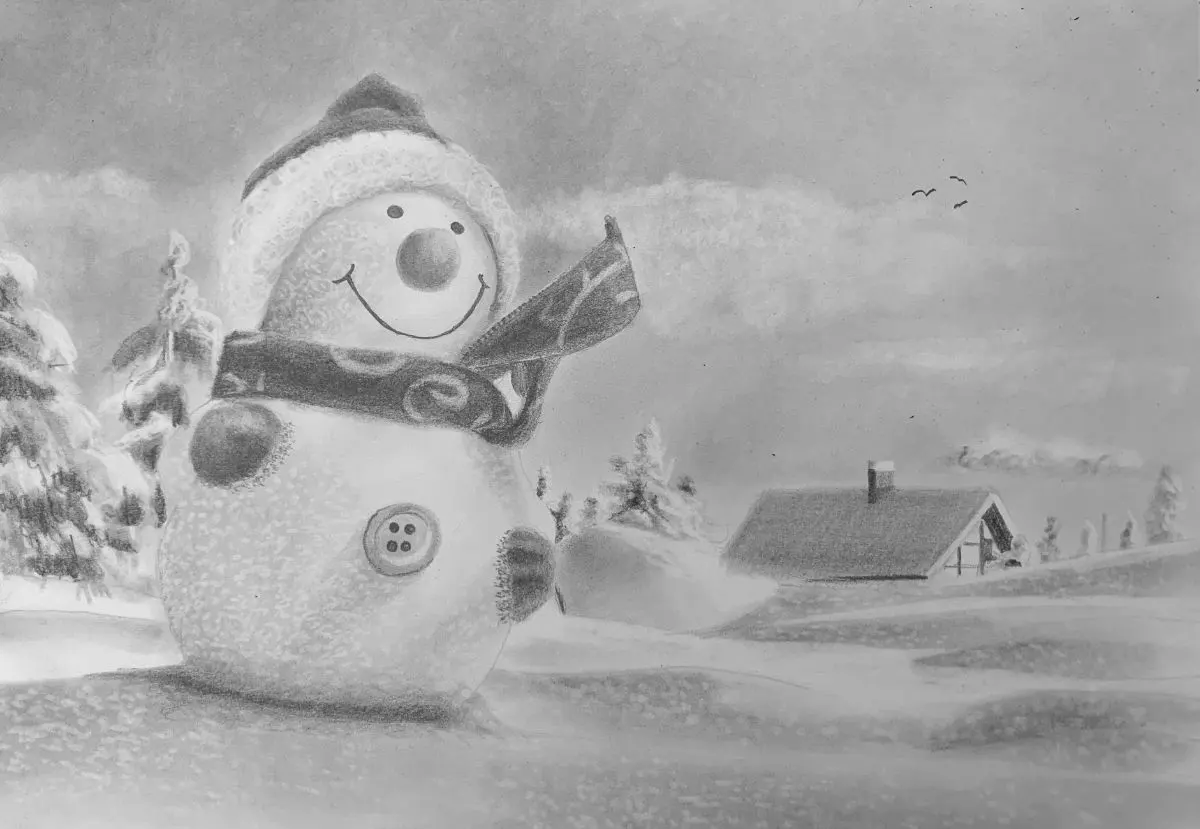
Adding depth to your snowman is what separates a flat sketch from a three-dimensional illustration. Snow is not purely white; it contains subtle shadows that define its roundness. Use the side of your pencil to apply soft, light gray shading along the right or left side of each circle. This technique, known as hatching or blending, mimics the way light hits a curved, snowy surface.
To enhance the texture, consider these specific shading techniques:
- Use circular strokes to follow the contour of the snowballs, which emphasizes their rounded shape.
- Apply darker pressure near the base of each circle where they meet, as these areas would naturally be in shadow.
- Leave small, unshaded white patches on the top of the head or shoulders to represent highlights where sunlight hits the snow.
- Use a blending stump or a clean tissue to soften the graphite, creating a smooth, snowy appearance rather than harsh pencil lines.
How to accessorize your snowman
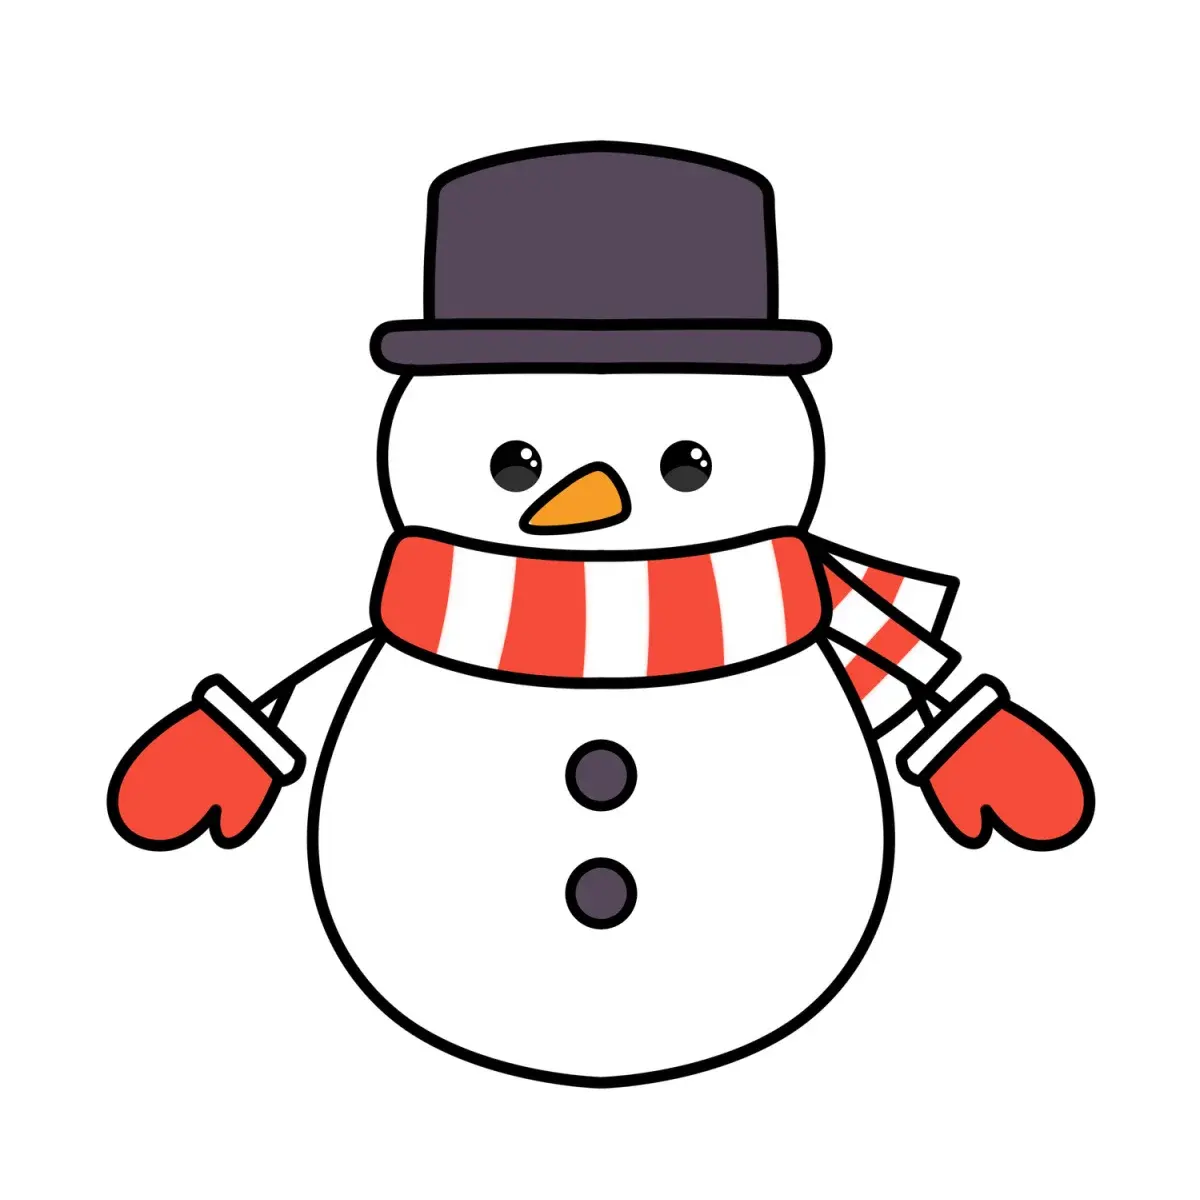
Accessories are the most effective way to give your snowman a unique character and narrative flair. A traditional top hat is a classic choice, but you can also draw a beanie, a baseball cap, or even earmuffs. When drawing a hat, start by sketching a flat oval for the brim, then add a rectangular or cylindrical shape on top to create the crown. Ensure the hat sits slightly tilted to add a sense of personality.
Adding a scarf is another excellent way to add color and texture to your drawing. Follow these steps to create a realistic scarf:
- Draw a rectangular shape wrapped around the neck area between the head and the middle circle.
- Add a small knot or a fold where the scarf overlaps itself.
- Extend two long, rectangular strips downward from the knot to represent the ends of the scarf.
- Add small, parallel lines at the bottom of these strips to represent fringe or fabric texture.
Common mistakes when drawing a snowman
One of the most frequent errors is making all three circles the same size, which results in a rigid, unnatural appearance. To avoid this, ensure the bottom circle is the largest, the middle is slightly smaller, and the head is the smallest. If the proportions are off, the snowman will look unstable or top-heavy. Always check your spacing before committing to dark, permanent outlines.
Another common mistake is placing facial features too far apart or too close to the edge of the head. Remember that the face is a curved surface, so the eyes and nose should be centered and slightly wrapped around the form. Avoid drawing perfectly straight lines for the mouth; instead, use a slight curve to follow the shape of the head. By focusing on these subtle adjustments, you ensure that your snowman looks balanced, friendly, and well-integrated into its environment.
Key facts
- A classic snowman is constructed from three spheres of snow, representing the head, torso, and base.
- Pack the snow firmly to ensure structural integrity, as loose snow will crumble under the weight of the upper sections.
- Use a carrot for the nose, as its conical shape mimics a traditional aesthetic while providing weight to hold it in place.
- Place the largest sphere at the bottom to lower the center of gravity and prevent the snowman from tipping over.
- Use coal or dark stones for the eyes and mouth, as these materials provide high contrast against white snow.
- Avoid building on soft or melting snow, as the base will lose its shape and cause the structure to collapse.
The bottom line
Building a snowman is a simple process that relies on physics and proper material selection. By stacking three spheres of varying sizes, you create a stable structure that can be personalized with natural items like coal and sticks. Always prioritize a wide, flat base to ensure longevity. With the right snow consistency and careful placement of features, you can successfully construct a classic winter figure.
People also ask
Why does my snowman keep falling over?
The most common cause is an unstable base or uneven weight distribution. Ensure the bottom sphere is significantly larger than the others and flattened slightly at the bottom to create a stable foundation.
What is the best type of snow for building?
Sticky, packable snow is ideal, usually found when temperatures are near the freezing point of 32 degrees Fahrenheit (0 degrees Celsius). If the snow is too powdery, it will not hold together, and if it is too icy, it will be difficult to mold.
How can I make the snowman's arms stay attached?
Use sturdy, Y-shaped sticks and push them deep into the sides of the middle sphere. If the sticks are too heavy, they may cause the snow to crack, so choose lightweight branches.
Should I use water to help the snow stick?
Adding a small amount of water can help "glue" the snow together if it is slightly too dry. However, using too much water will cause the snowman to freeze into a solid block of ice, which can be dangerous if it melts and refreezes.
How do I keep the carrot nose from falling out?
Carve a small, shallow hole in the center of the head sphere before inserting the carrot. This creates a secure socket that prevents the nose from sliding out due to gravity or wind.
Can I build a snowman indoors?
You can create a snowman indoors using craft materials like cotton balls, white felt, or Styrofoam balls. These materials allow you to design a permanent figure without the risk of melting or water damage.
This answer was created with the help of AI research tools and reference sources. Spotted an error? Let us know — we correct mistakes quickly. See our editorial policy.