What is the easiest way to draw a planet with rings?
Short answer
The easiest way to draw a ringed planet is to use a compass to create a perfect circle, then sketch an elongated ellipse around it to represent the rings. By adding depth through shading and perspective, you create a three-dimensional appearance that accurately mimics the iconic silhouette of Saturn.
On this page
How to draw a planet with rings step by step
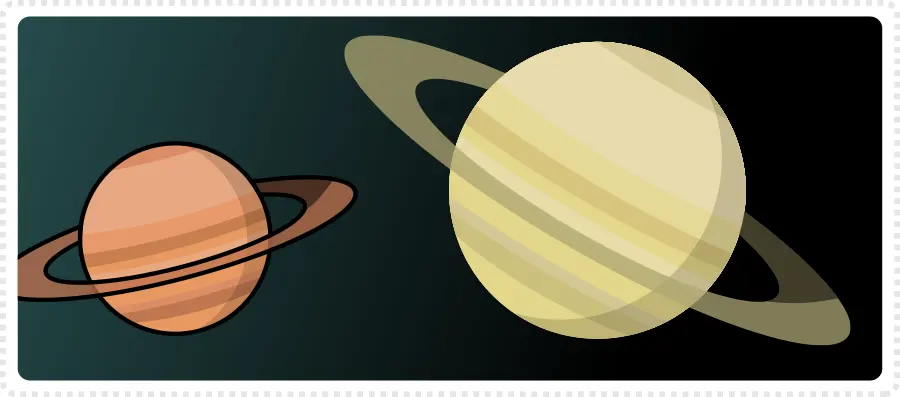
Drawing a planet with rings is best approached by breaking the object into basic geometric shapes. Start by placing a circle in the center of your page to serve as the main body of the planet. Using a compass ensures the sphere remains symmetrical, which is essential for a realistic look. Once the sphere is established, you can begin constructing the ring system around it.
Follow these steps to build your sketch:
- Draw a light horizontal line through the center of your circle to act as a guide.
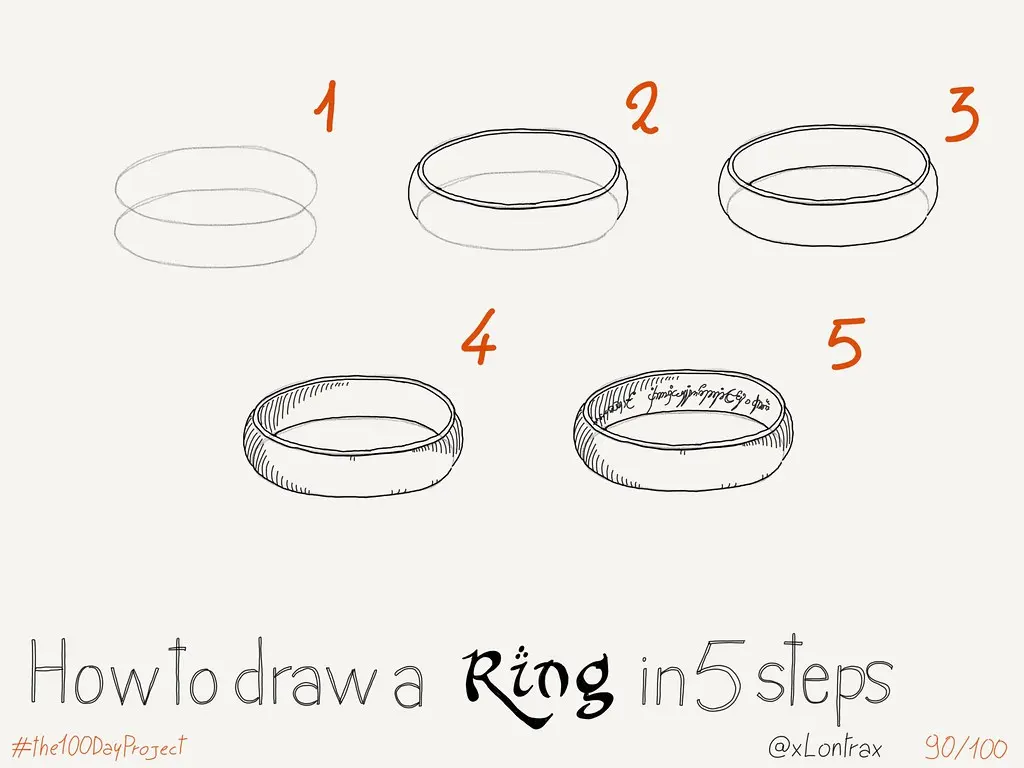
- Sketch a wide, thin oval that encompasses the circle, ensuring the line passes behind the planet.
- Erase the portion of the ring that would be hidden by the planet’s bulk.
- Add a second, slightly larger oval outside the first to create the thickness of the ring system.
- Refine the edges to ensure they connect smoothly to the planet’s horizon line.
Best drawing tools for beginners
For those just starting, simple graphite pencils are the most effective tools for mastering form and texture. A standard HB pencil is ideal for initial light sketching, while a 4B or 6B pencil allows for richer, darker shading. Using a kneaded eraser is also highly recommended, as it allows you to lift graphite off the paper to create highlights or correct small errors without damaging the surface.
Beyond the basics, consider using a blending stump or a piece of soft tissue to smooth out your shading. This technique helps transition between light and shadow, which is crucial for making a flat circle appear like a solid, spherical planet. Avoid using pens or markers until you are confident with your pencil work, as these mediums do not allow for the subtle gradients needed to simulate the curvature of a planet.
Why shading creates a 3D effect
Shading is the most important factor in transforming a flat drawing into a convincing celestial body. Light typically hits a planet from a single direction, meaning one side of the sphere should be bright while the other falls into shadow. By applying a consistent light source, you create a terminator line—the dividing line between day and night—which gives the planet its round, voluminous appearance.
The rings also require specific shading to look realistic. The side of the rings closest to the light source should be brightest, while the side obscured by the planet should cast a subtle shadow onto the rings themselves. This interaction between the planet and the rings is what astronomers call a shadow transit. Mastering this interaction provides depth and context, showing the viewer exactly how the rings are positioned in relation to the planet’s surface.
Common mistakes when drawing planetary rings
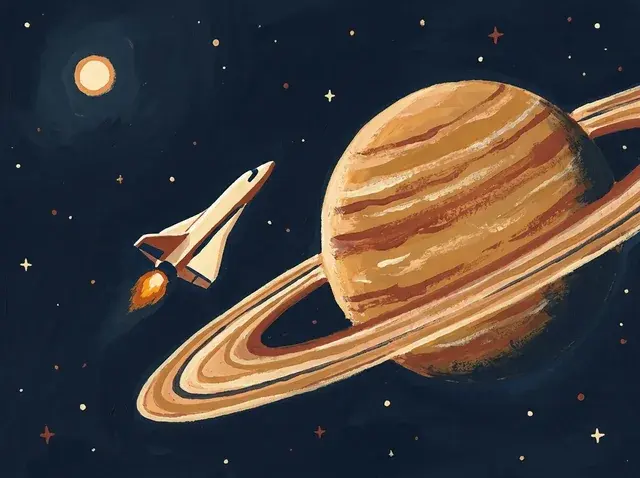
One of the most frequent errors is drawing the rings as a perfectly flat, solid line that sits on top of the planet. In reality, rings are composed of millions of ice and rock particles that orbit in a thin, disc-like plane. If you draw the rings as a single, thick band, the planet will look like a cartoon rather than a scientific representation. Always ensure the rings have a slight tilt, as this perspective shift is what makes the structure look dynamic.
Another common issue involves inconsistent perspective. If the planet is drawn from a side-on view, but the rings are drawn from a top-down view, the drawing will look disjointed and unnatural. Keep your perspective consistent by imagining a single camera angle. If you are looking at the planet’s equator, the rings should appear as a thin, stretched ellipse. If you are looking from above the north pole, the rings should appear as a much wider, circular shape.
How to add detail and texture
Once the basic structure is complete, you can add texture to make the planet feel more authentic. Instead of leaving the surface blank, use light, circular strokes to suggest cloud bands or atmospheric storms. On a planet like Saturn, these bands run parallel to the equator. Adding subtle variations in tone across the surface mimics the complex gas compositions found in the outer solar system, providing a sense of scale and atmosphere.
To elevate your drawing, focus on these final details:
- Use a sharp eraser to create a thin line of light along the edge of the planet to represent the atmosphere.
- Add small, irregular gaps within the rings to represent the divisions between different icy bands.
- Keep the background dark to make the planet pop, as space is naturally devoid of light.
- Ensure your shading remains consistent across both the planet and the rings to maintain a unified light source.
By focusing on these subtle textures and light interactions, you can transform a simple sketch into a sophisticated illustration of a complex planetary system.
Key facts
- Saturn is the most iconic ringed planet, featuring a complex system of icy particles and dust.
- Draw a slightly flattened circle, or an ellipse, to represent the planet's spherical shape from a distance.
- Use a compass or a circular object to ensure the planet's body is symmetrical before adding rings.
- Sketch the rings as two elongated ovals surrounding the planet, one slightly wider than the other to create depth.
- Erase the parts of the rings that would be hidden behind the planet to establish a three-dimensional perspective.
- Add "Cassini Division" by drawing a thin, dark gap within the rings to mimic the actual structure of Saturn’s main bands.
The bottom line
Drawing a planet with rings is best achieved by focusing on perspective and layering. By sketching an ellipse for the planet and surrounding it with tilted, overlapping ovals, you create a convincing sense of volume. Remember to erase the segments of the rings passing behind the planet to maintain spatial accuracy. With these simple geometric steps, you can effectively capture the iconic appearance of a ringed world.
People also ask
Why do planets have rings?
Planetary rings form from debris like moons, asteroids, or comets that strayed too close to a planet and were torn apart by tidal forces. These fragments then spread out into a flat, orbiting disc around the planet's equator.
Are all rings made of the same material?
No, composition varies significantly between planets. Saturn’s rings are primarily composed of water ice, while the rings of Jupiter, Uranus, and Neptune are much darker and consist mostly of dust and rocky material.
How many planets in our solar system have rings?
There are four ringed planets in the solar system: Jupiter, Saturn, Uranus, and Neptune. While Saturn’s rings are bright and visible through small telescopes, the others are faint and were only discovered during space missions.
Can I see planetary rings without a telescope?
You cannot see rings with the naked eye because they are either too thin, too dark, or too far away. Even for Saturn, a telescope with at least 25x magnification is generally required to clearly distinguish the rings from the planet.
What is the best way to color the rings?
Use light grays, whites, and subtle browns to represent ice and dust. Adding thin, concentric lines of varying shades helps suggest the thousands of individual ringlets that make up the larger structure.
Do rings stay in the same place forever?
Rings are dynamic structures that constantly change due to gravitational interactions with moons. Some rings may eventually dissipate or collide with the planet, while new material can be added through meteoroid impacts on existing moons.
This answer was created with the help of AI research tools and reference sources. Spotted an error? Let us know — we correct mistakes quickly. See our editorial policy.