How do you draw the Earth?
Short answer
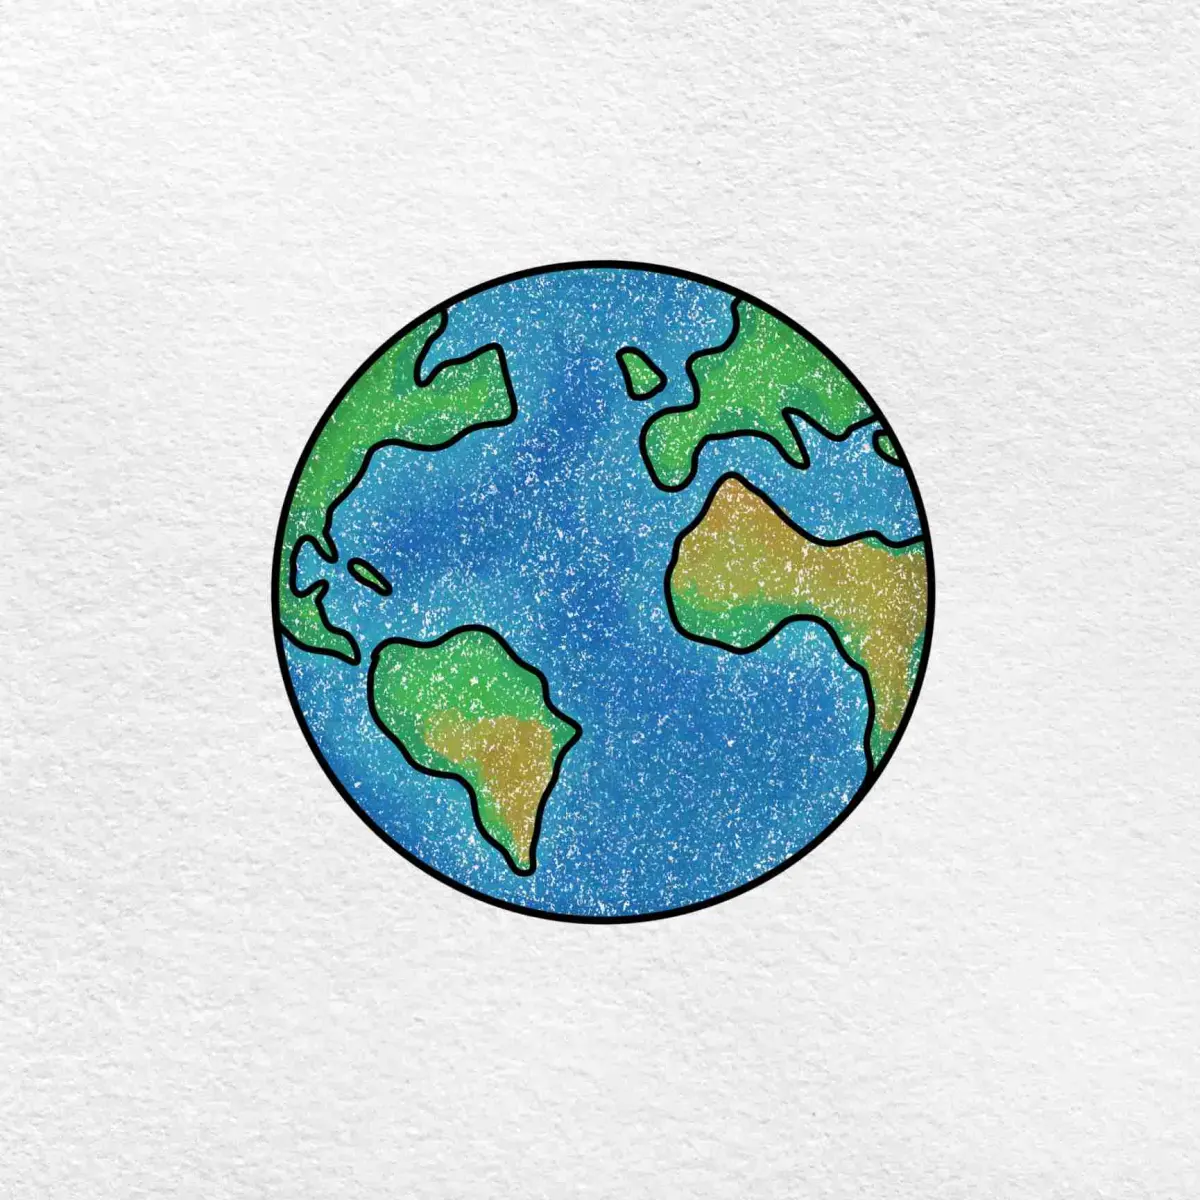
Drawing the Earth involves representing a spherical, three-dimensional planet on a two-dimensional surface. You can achieve this by sketching a circle, adding curved grid lines to suggest volume, and detailing the continents using a globe or map as a reference. Focus on shading to create depth and realistic planetary curvature.
On this page
How to draw the Earth step by step
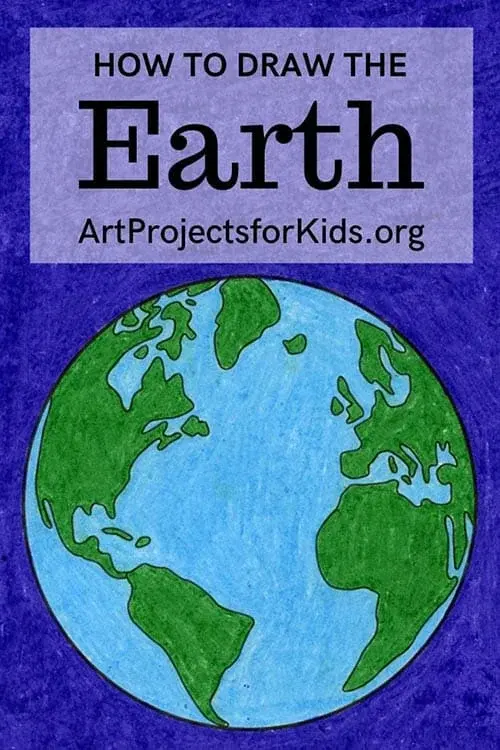
To begin your drawing, start with a perfect circle. You can use a compass or trace a circular object to ensure symmetry. Once the outline is established, lightly sketch a vertical line down the center and a horizontal line through the middle to create a crosshair. These guidelines help maintain perspective as you add geographical features.
Next, add the continents by referencing a globe rather than a flat map. Flat maps, such as the Mercator projection, distort landmasses, making them appear stretched near the poles. By looking at a globe, you can accurately place the shapes of the continents while accounting for the curvature of the sphere. Follow these steps to refine your sketch:
- Lightly draw the outlines of the major continents like Africa and South America.
- Add curved lines following the sphere's shape to represent the equator and prime meridian.
- Use an eraser to remove the initial construction lines once the landmasses are positioned correctly.
- Add small, jagged shapes to represent island chains or archipelagos for more detail.
Best materials for drawing the Earth
For beginners, a standard graphite pencil set ranging from 2H to 6B is ideal. Harder leads like 2H are perfect for initial light construction lines that are easily erased. Softer leads like 4B or 6B allow you to build deep, rich shadows that give the planet a sense of three-dimensional weight. Using a high-quality kneaded eraser will help you lift graphite without damaging the paper.
If you prefer color, colored pencils or soft pastels work exceptionally well for blending oceans and land. When choosing paper, opt for a medium-tooth sketchbook, which provides enough texture to hold multiple layers of pigment. Consider these essential tools for your kit:
- Graphite pencils for initial sketching and structural guidelines.
- A kneaded eraser for precise adjustments and highlights.
- Blending stumps or tortillons to smooth out transitions between land and sea.
- A white gel pen or opaque white paint for adding bright highlights on the water.
Why shading makes the Earth look realistic
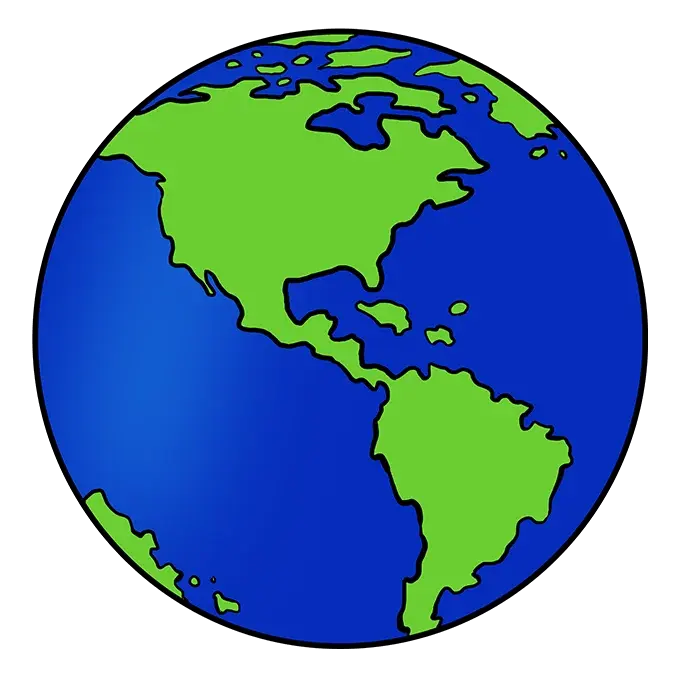
Shading is the most critical element in transforming a flat circle into a convincing sphere. Because the Earth is illuminated by the Sun, one side will be brightly lit while the other falls into shadow. Start by identifying your light source; if the light comes from the top right, the bottom left of your sphere must be the darkest area. This technique, known as chiaroscuro, creates the illusion of volume.
Apply your shading in layers, starting with light, circular strokes. Gradually build up the darkness on the shadowed side, leaving a small area of reflected light near the edge to prevent the drawing from looking like a flat black hole. The transition from light to shadow should be smooth and gradual, mirroring the way light wraps around a curved surface. By focusing on the terminator line—the border between day and night—you provide a clear sense of planetary orientation.
Common mistakes when drawing the Earth
A frequent error is drawing continents that appear flat or pasted onto the surface. To avoid this, ensure that the edges of your landmasses follow the curvature of the sphere. If you draw a coastline that is perfectly straight, it will look unnatural. Instead, curve the lines of the continents slightly toward the edges of the sphere to reinforce the three-dimensional form.
Another common mistake is neglecting the atmosphere. The Earth is surrounded by a thin layer of gases that creates a soft, hazy glow at the edges, known as the limb. Avoid making the outline of your Earth a harsh, dark line. Instead, use a lighter touch or a soft smudge at the edges to suggest this atmospheric effect. Keep these tips in mind to improve your results:
- Do not make the Earth a perfect, uniform circle; remember that it is an oblate spheroid.
- Avoid using pure black for shadows; use deep blues or grays to keep the colors vibrant.
- Do not clutter the drawing with too much detail; focus on the major continental shapes first.
How to add details like clouds and oceans
Adding atmospheric details like clouds and ocean currents can elevate your drawing from a simple diagram to a realistic illustration. Use a white pencil or a gel pen to create swirling, wispy patterns over the oceans. Clouds should be drawn in thin, broken lines that follow the circular flow of the planet, rather than straight across. This suggests the rotation of the Earth and adds dynamic energy to your work.
For the oceans, vary your blue tones to represent depth. Shallower coastal waters can be a lighter, turquoise blue, while the deep ocean should be a darker, navy tone. By layering these colors and using a blending stump, you can create a sense of vast, liquid movement. Remember that the Earth is a complex, living system, and adding these subtle textures will make your drawing feel much more authentic and alive.
Key facts
- The Earth is an oblate spheroid, meaning it bulges at the equator due to its rotation.
- To draw the Earth accurately, start with a perfect circle and add a slight horizontal stretch.
- Use a grid system of latitude and longitude lines to help maintain correct proportions for continents.
- The Earth is tilted on its axis at approximately 23.5 degrees relative to its orbital plane.
- About 71 percent of the Earth's surface is covered by water, primarily in the form of oceans.
- Avoid drawing the Earth as a perfect sphere, as this ignores the equatorial bulge caused by centrifugal force.
The bottom line
Drawing the Earth requires balancing artistic intent with geographical accuracy. By acknowledging the planet's oblate shape and using a grid of latitude and longitude, you can create a realistic representation. Remember that all flat maps involve trade-offs, so focus on capturing the relative scale of continents and the vastness of the oceans. With practice, you can master the proportions needed to depict our world effectively.
People also ask
Why do maps look different from globes?
Maps are flat projections of a curved surface, which inevitably introduces distortion in size, shape, or distance. Globes provide a true representation of the Earth's geometry, whereas maps must sacrifice accuracy in one area to preserve another.
What is the Mercator projection?
The Mercator projection is a cylindrical map projection introduced by Gerardus Mercator in 1569. It is famous for preserving angles and shapes, making it ideal for navigation, though it significantly exaggerates the size of landmasses near the poles.
How do I draw the continents correctly?
Use a reference image or a globe to trace the general silhouettes of the seven continents. Focus on the relative positions of major features like the Mediterranean Sea or the Gulf of Mexico to anchor your drawing.
Does the Earth look blue from space?
Yes, the Earth appears predominantly blue from space due to the scattering of sunlight by the atmosphere and the reflection of light off the vast oceans. Clouds add white swirls, while landmasses appear as brown or green patches.
What are latitude and longitude?
Latitude lines run horizontally around the Earth, measuring distance north or south of the Equator. Longitude lines run vertically from pole to pole, measuring distance east or west of the Prime Meridian in Greenwich, England.
Is it possible to draw the Earth perfectly?
It is impossible to represent the three-dimensional, irregular surface of the Earth on a two-dimensional plane without some degree of distortion. Techniques like the Robinson projection attempt to balance these distortions to create a visually pleasing map.
This answer was created with the help of AI research tools and reference sources. Spotted an error? Let us know — we correct mistakes quickly. See our editorial policy.