How do you draw an orca jumping for beginners?
Short answer
Drawing a jumping orca involves sketching a curved, torpedo-shaped body, adding a tall dorsal fin, and defining the distinct black-and-white color pattern. By focusing on the arc of the jump and the streamlined silhouette, you can capture the animal's powerful movement. Start with simple geometric shapes before refining the final details.
On this page
How to sketch the basic shape of an orca
The foundation of a successful orca drawing is capturing the animal's streamlined, hydrodynamic form. Orcas, or Orcinus orca, possess a robust, cylindrical body that tapers toward the tail. To begin, draw a long, slightly curved arc to represent the spine as the whale leaps out of the water. This curve should mimic the trajectory of a projectile, showing the momentum of the jump.
Once the spine is set, build the body around it using a series of overlapping ovals. The head should be rounded and blunt, while the midsection is thick and muscular. Keep your lines light so you can easily adjust the proportions as you refine the silhouette. Focus on these specific structural steps:
- Draw a large, elongated oval for the main body mass.
- Add a smaller, rounded shape at the front for the head.
- Sketch a tapered, wedge-like shape at the rear for the tail fluke.
- Ensure the transition between the head and the body is smooth rather than angular.
How to add fins and tail flukes
An orca's silhouette is defined by its distinct appendages, which provide stability and steering. The dorsal fin is the most recognizable feature; in adult males, it can reach up to 1.8 meters in height. Place this fin slightly behind the midpoint of the back, drawing it as a tall, triangular shape with a slight curve toward the rear.
The pectoral flippers are located on the sides of the body and are rounded at the tips. When the orca is mid-jump, these flippers are often tucked against the body or splayed slightly for balance. Finally, draw the tail flukes at the end of the peduncle, or the "tail stalk." The flukes should be horizontal, unlike the vertical tails of fish, and shaped like two broad, pointed triangles meeting at the center. Use these guidelines for placement:
- Position the dorsal fin on the upper curve of the back.
- Draw the pectoral flippers starting just behind the head area.
- Ensure the tail flukes are wide and span a significant portion of the body length to convey power.
Best shading techniques for orca markings
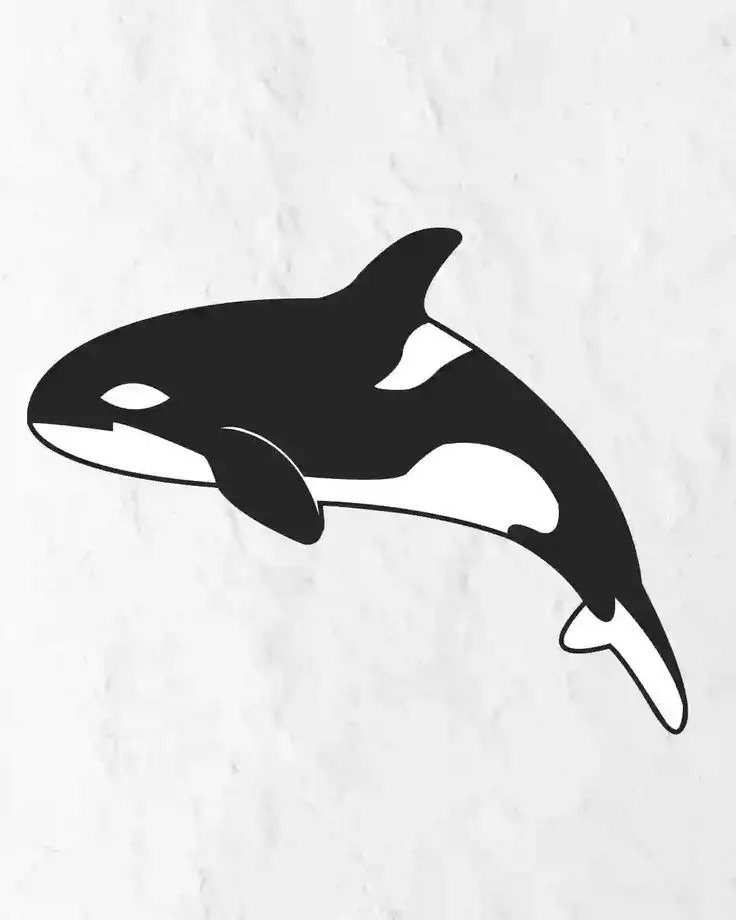
The orca is famous for its bold, high-contrast black-and-white pattern. To achieve a realistic look, you must carefully map out these regions before applying dark tones. The back, dorsal fin, and tail are primarily black, while the underside, chin, and a distinctive patch behind the eye are white. Use a light pencil to outline these boundaries so you do not accidentally shade the white areas.
When shading the black sections, use a soft-leaded pencil to create smooth, consistent tones. Avoid harsh, scratchy lines, as the orca’s skin is smooth and sleek. You can add a subtle highlight along the top of the back to suggest the wet, reflective quality of the skin. By leaving a small sliver of white paper unshaded near the dorsal fin and the top of the head, you create the illusion of light hitting the wet surface, which adds depth and realism to your drawing.
Common mistakes when drawing jumping whales
A frequent error for beginners is drawing the orca’s body too stiff or straight. Because the animal is leaping, the body should exhibit a natural, fluid curve that suggests flexibility and muscle tension. If the orca looks like a rigid log, adjust the curve of the spine to make the jump appear more dynamic. Another mistake is misplacing the eye patch; it is not actually the eye itself, but a white oval located just above and behind the real, much smaller eye.
Proportions are also a common pitfall. Beginners often make the head too small or the tail flukes too narrow, which ruins the sense of scale. Remember that orcas are massive animals, with some reaching up to 9 meters in length. Keep the body thick and powerful, ensuring the tail stalk is sturdy enough to support the weight of the animal as it clears the water. Regularly step back from your work to view it from a distance, as this helps identify imbalances in the overall shape.
How to draw water splashes and movement
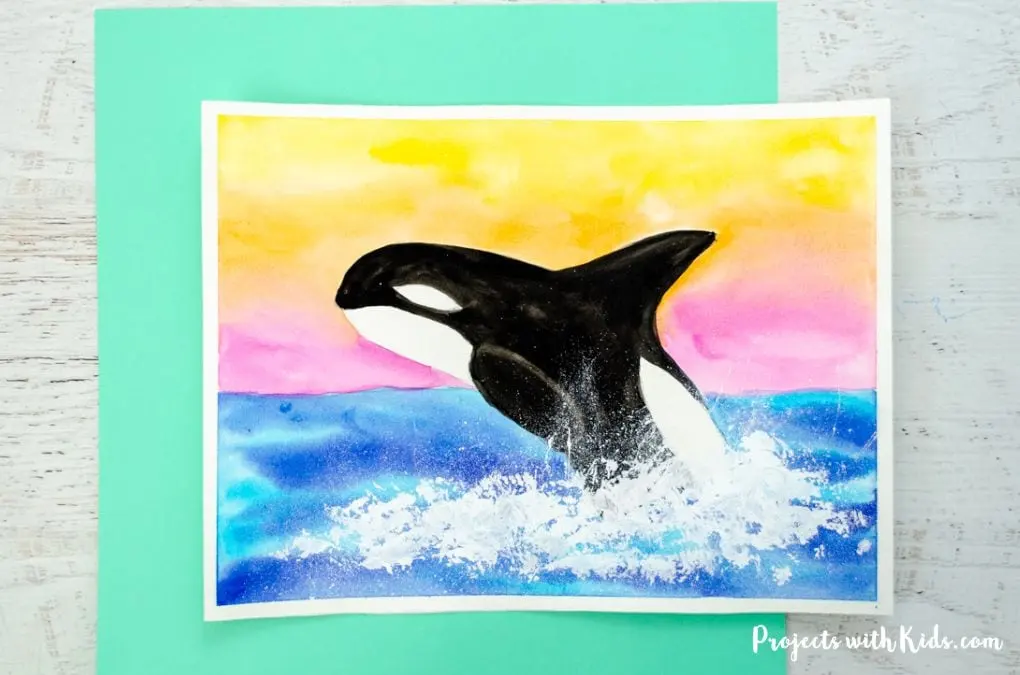
To emphasize that the orca is jumping, you must incorporate the surrounding environment. Water should be depicted as breaking around the body, particularly near the tail flukes and the base of the jump. Use short, jagged lines to represent spray and foam, and draw larger, sweeping curves to show the wake left in the water. These details provide context and reinforce the motion of the scene.
Focus on the interaction between the whale and the surface:
- Draw small droplets flying upward to indicate speed.
- Add horizontal ripples extending outward from the point of entry or exit.
- Use darker, denser lines near the water surface to create a sense of weight and impact.
- Keep the water lines flowing in the direction of the jump to maintain visual continuity.
By integrating these environmental elements, your drawing will transition from a simple study of an animal to a compelling action scene. Focus on the energy of the water to ground the orca within its natural habitat, completing the illusion of a powerful leap.
Key facts
- Orcas, or killer whales, are technically the largest members of the dolphin family.
- Their bodies are streamlined and torpedo-shaped, which helps them reach speeds of up to 30 miles per hour.
- The iconic dorsal fin of a male orca can grow up to 6 feet tall, while females have smaller, curved fins.
- When drawing a jump, use an elongated oval as your base shape to represent the powerful, arched body.
- Always include the distinctive white oval patch located just above and behind the eye.
- To show motion, draw water droplets and a splash arc around the point of impact or exit.
The bottom line
Drawing an orca in motion requires focusing on its streamlined, torpedo-like silhouette and the iconic contrast between its black and white markings. By mastering the arched "C" shape of the body and correctly placing the white eye patch, you can create a dynamic representation of this powerful marine predator. Remember to emphasize the splash to convey the immense energy involved in a full-body breach from the ocean.
People also ask
How do I make the orca look like it is actually in the air?
Draw the body in a slight "C" curve to mimic the animal's natural arch during a breach. Adding a wake or spray of water at the base of the jump creates the illusion of height and momentum.
What is the most common mistake when drawing an orca?
Many beginners draw the dorsal fin too far forward or shaped like a shark's fin. Remember that the orca's fin is located in the middle of the back and is more rounded or triangular depending on the whale's age and sex.
Should I use realistic colors or just black and white?
While orcas are primarily black and white, they often have a faint grey "saddle patch" behind the dorsal fin. Using a very light grey for this area adds depth and professional realism to your sketch.
How do I draw the eye correctly?
Many people mistake the white patch behind the eye for the eye itself. The actual eye is small, dark, and set within the black section of the head, just in front of the white patch.
What is the best way to capture the pectoral fins?
When an orca jumps, its pectoral fins are usually pressed against its body or slightly flared. Keep them paddle-shaped and rounded at the tips to maintain the correct anatomical look.
How can I improve the texture of the skin?
Orca skin is smooth and reflects light, so leave small white highlights on the top of the back and head. This simple technique makes the skin appear wet and sleek.
This answer was created with the help of AI research tools and reference sources. Spotted an error? Let us know — we correct mistakes quickly. See our editorial policy.