How do you draw a swan for beginners?
Short answer
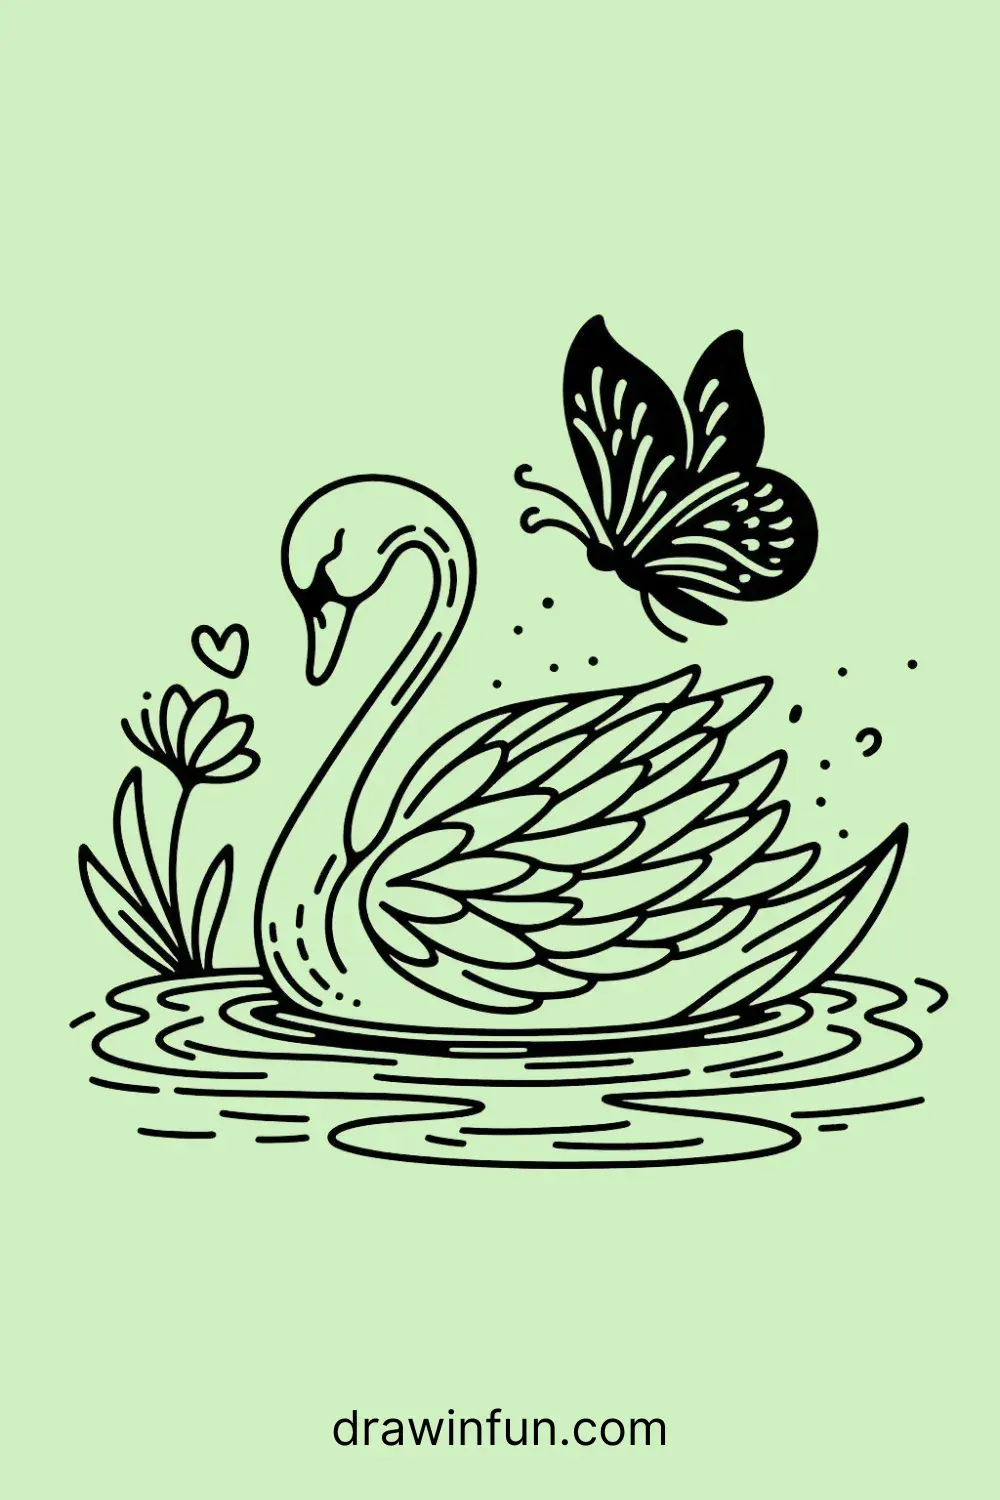
Drawing a swan for beginners relies on mastering the "number two" shape. By sketching a graceful, curved neck that transitions into an oval body, you create the classic silhouette. Focus on the fluid connection between the head and the wings to capture the elegant posture that defines this iconic water bird.
On this page
How to draw a swan step by step
The most effective method for beginners is to use basic geometric shapes as a foundation. Start by drawing a small circle for the head and a larger, horizontal oval for the body. Connect these shapes with two parallel, curving lines that form the swan's signature long, slender neck. Once the frame is established, you can refine the outlines to reflect the bird's natural grace.
Follow these steps to construct your drawing:
- Sketch a small circle at the top of your page for the head.
- Draw a larger, elongated oval below it, angled slightly to suggest the body.
- Connect the shapes with a smooth, "S" shaped curve to create the neck.
- Add a small triangle on the head for the beak and a teardrop shape for the eye.
- Draw a curved line across the body to represent a folded wing.
- Add a few simple strokes at the bottom of the oval to suggest tail feathers.
Best drawing tools for beginners
For those just starting, graphite pencils are the most forgiving medium. A standard HB pencil allows you to sketch light guidelines that can be easily erased if you make a mistake. As you refine your drawing, you might transition to a 2B or 4B pencil to add darker, more confident lines that give the swan depth and weight.
Paper choice also plays a significant role in your success. A smooth, medium-weight sketchbook paper prevents the graphite from smudging too easily while allowing for clean lines. You should also keep a kneaded eraser nearby; unlike standard rubber erasers, a kneaded eraser can be shaped to lift small amounts of graphite, which is perfect for creating highlights on the swan's feathers or cleaning up the edges of the neck.
How to capture the swan's posture
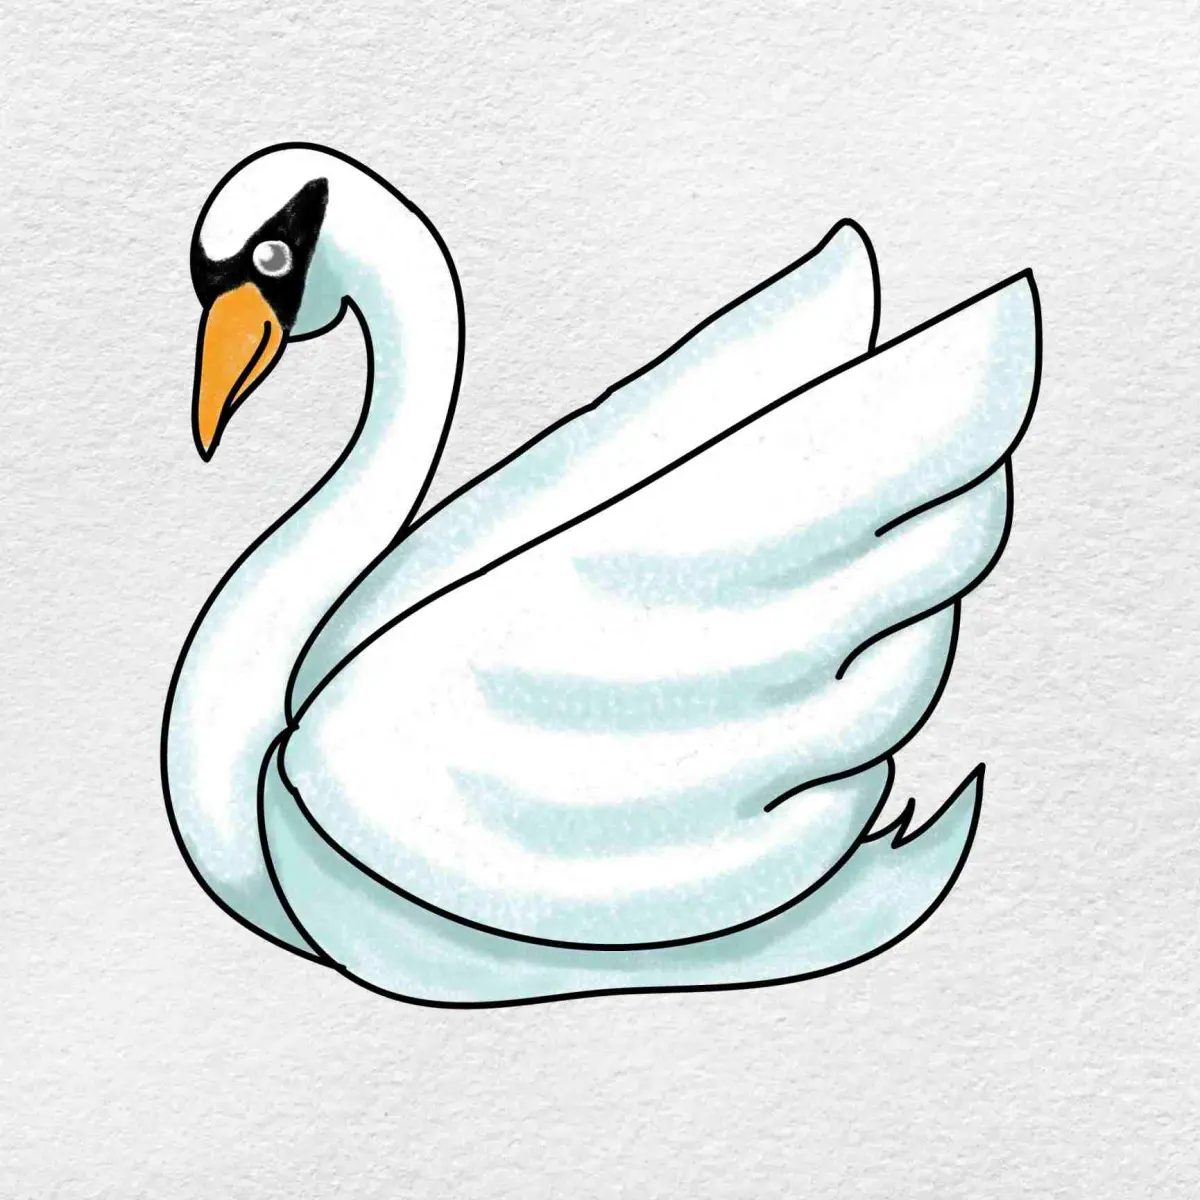
The elegance of a swan is found in its posture, which is defined by the curve of its neck. Beginners often make the neck too straight or rigid, which strips the drawing of its natural grace. To avoid this, visualize the neck as a flexible, winding ribbon rather than a stiff pipe. The curve should be most pronounced at the base of the neck where it meets the chest.
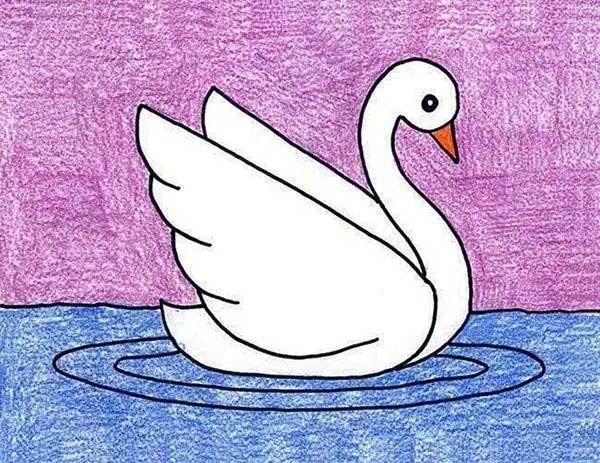
When drawing the body, remember that swans often appear to be floating. You can suggest this by drawing a horizontal line across the base of the body to represent the water surface. Adding small, horizontal ripples beneath the swan helps ground the drawing and provides context. Keep the body shape rounded and full, as this helps balance the visual weight of the long, arched neck and head.
Common mistakes when drawing swans
One of the most frequent errors is drawing the head too large in proportion to the body. A swan’s head is relatively small and delicate, so keep your initial circle compact. Another common mistake is neglecting the beak's shape; beginners often draw a simple straight line, but a swan's beak actually has a distinct, rounded profile that curves slightly downward toward the tip.
Avoid making your outlines too dark too early in the process. If you press down hard with your pencil immediately, you will create indentations in the paper that are impossible to erase. Instead, use light, feathery strokes to build up the form. Only when you are satisfied with the proportions should you commit to darker, permanent lines. Remember that symmetry in the wings is not always necessary, as swans often fold their wings in asymmetrical, natural patterns.
How to add detail and texture
Once the basic outline is complete, you can add texture to make the swan look realistic. Use short, overlapping strokes to suggest the appearance of soft, layered feathers. Focus these strokes along the wing and the base of the neck, where the plumage is most visible. You do not need to draw every individual feather; suggestion is often more effective than excessive detail.
To finish your drawing, consider the light source. If the light is coming from the left, add subtle shading on the right side of the neck and body to create a three-dimensional effect. A light smudge with a blending stump or a clean finger can soften these shadows, giving the swan a smooth, white appearance. Finally, darken the eye and the base of the beak to provide a focal point that brings your swan to life on the page.
Key facts
- A swan’s body is essentially an oval shape, while the neck forms a distinct "2" or "S" curve.
- Always start with the neck and head to establish the swan's graceful posture before drawing the body.
- The beak is triangular and connects directly to the eye line, which is usually positioned near the center of the head.
- Use soft, overlapping strokes to represent feathers rather than drawing individual lines for every single plume.
- Place the swan on a horizontal line to represent the water surface, adding small ripples to create depth.
- Symmetry is less important than fluidity; focus on the elegance of the neck curve rather than perfect geometric shapes.
The bottom line
Drawing a swan is an exercise in capturing fluid, organic shapes rather than rigid lines. By mastering the iconic "S" curve of the neck and layering simple ovals for the body and wings, you can create a graceful composition. Focus on the elegance of the silhouette and the interaction with the water surface to bring your drawing to life through simple, intentional strokes and soft shading.
People also ask
What is the easiest way to draw a swan's neck?
Start by drawing a large number "2" with a slightly elongated base. This provides the perfect skeletal structure for the elegant, curved neck that defines a swan's silhouette.
Should I use a pencil or a pen for beginners?
Use a graphite pencil first to allow for light sketching and easy corrections. Once you are satisfied with the outline, you can trace over the lines with a pen or marker.
How do I make the wings look realistic?
Draw a large, elongated teardrop shape attached to the back of the body. Add curved, layered lines inside this shape to suggest the texture and volume of folded wings.
Where should I place the eye on the head?
Place the eye slightly above the center of the head circle. Keep it small and dark to maintain a realistic look, as swan eyes are relatively tiny compared to their heads.
How do I draw the water reflection?
Draw faint, horizontal zigzag lines directly beneath the swan's body. Keep these lines slightly wider than the body itself to mimic the way light reflects on a calm surface.
What is the most common mistake when drawing a swan?
Beginners often draw the neck too thick or rigid. Remember that a swan's neck is flexible and tapers significantly as it reaches the head, so keep your lines fluid.
This answer was created with the help of AI research tools and reference sources. Spotted an error? Let us know — we correct mistakes quickly. See our editorial policy.