How can I draw a meerkat easily?
Short answer
Drawing a meerkat is best achieved by simplifying its body into three primary shapes: a small oval for the head, a larger oval for the torso, and a long, tapering tail. By focusing on the upright, alert posture characteristic of the species, you can create a recognizable sketch using basic geometric construction.
On this page
How to simplify meerkat anatomy for drawing
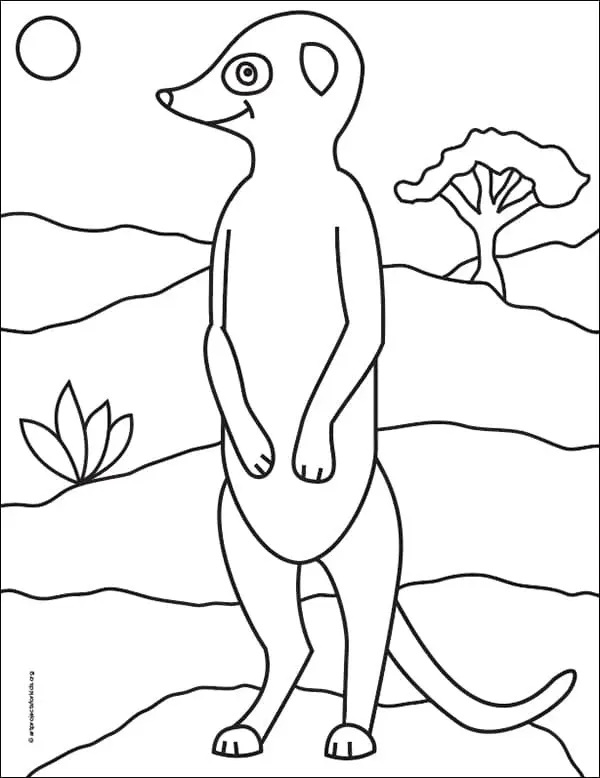
Meerkats are small mongooses known for their elongated bodies and upright, sentry-like stance. To draw one easily, visualize the animal as a series of simple shapes rather than complex fur textures. Start by sketching a small circle for the head, followed by a slightly larger, vertically oriented oval for the chest, and a larger, rounded shape for the hips. Connecting these with a curved line for the spine establishes the signature posture.
The limbs should be kept relatively thin. Meerkats have long, slender legs that support their weight while standing. When drawing the arms, keep them close to the body, as they often hold them against their chest when alert. Focus on these proportions first:
- Head: One-sixth of the total body height.
- Torso: Twice the length of the head.
- Tail: Roughly equal to the length of the entire body.
- Legs: Slightly shorter than the torso length.
Best drawing tools for beginners
For those just starting, graphite pencils are the most forgiving medium. A standard HB pencil allows for light initial sketches that can be easily erased, while a 2B or 4B pencil provides the necessary darkness for defining the eyes and the dark patches around them. Use a kneaded eraser to lift graphite gently without damaging the paper surface.
If you prefer digital tools, use a brush with low opacity to map out your shapes. This mimics the layering process of traditional sketching. Regardless of the medium, keep your paper or canvas size manageable. Avoid overly large formats, as they make it difficult to maintain consistent proportions when drawing small, detailed subjects like meerkats. Keep these tools nearby:
- HB pencil for structural outlines.
- 2B pencil for dark accents.
- A sharpener to maintain fine points.
- A small sketchbook for practice.
How to capture the meerkat facial expression
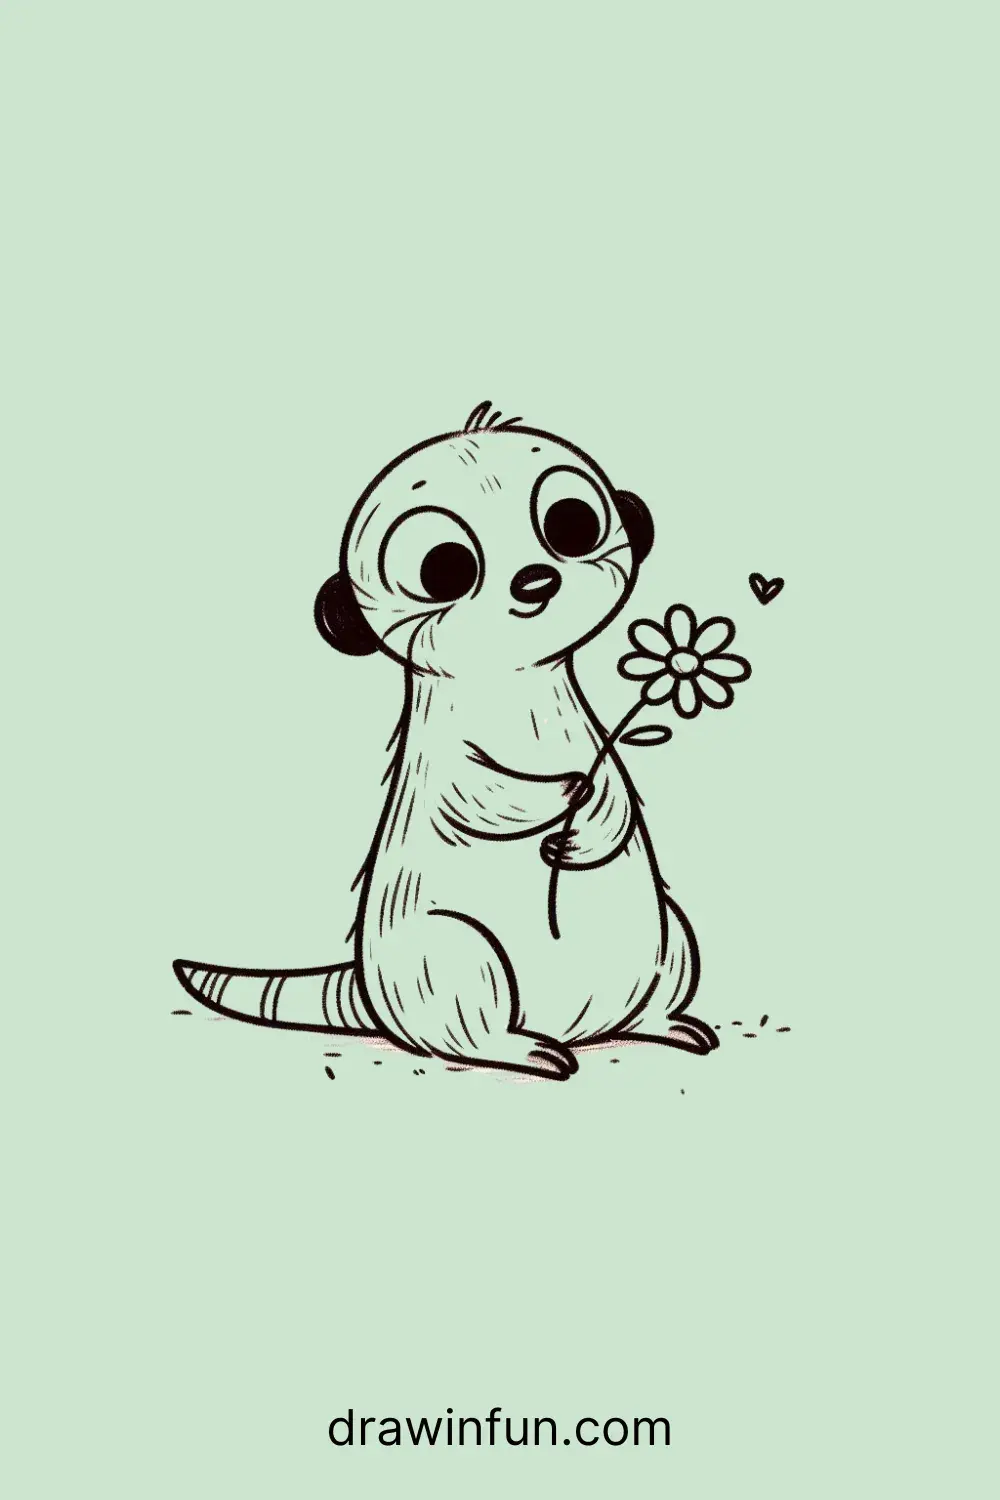
The meerkat face is defined by its large, dark eye patches and alert, triangular ears. To draw the face effectively, start with a horizontal line across the center of the head circle to place the eyes. The dark patches should extend from the eyes toward the snout, giving the meerkat its inquisitive, mask-like appearance. The snout itself is short and pointed, ending in a small, dark nose.
Pay close attention to the eyes, which are large and set forward to provide a wide field of vision. A small white dot in the pupil creates a highlight, which instantly brings the drawing to life. Keep the mouth line simple and short, as meerkats generally keep their mouths closed unless they are calling out or eating. The ears should be placed high on the head, rounded and slightly forward-facing to emphasize their role in listening for predators.
Common mistakes when drawing meerkats
A frequent error is making the meerkat look too much like a domestic cat or dog. Meerkats have a very specific, low-slung, and elongated silhouette that distinguishes them from other small mammals. Avoid drawing the neck too thick; meerkats have a slim neck that connects smoothly to a narrow, cylindrical body. If the neck appears too wide, the entire drawing will lose the animal's characteristic agility.
Another common mistake is misplacing the tail. The tail is not just an accessory; it acts as a tripod for the meerkat when it stands upright. Ensure the tail base is thick and connects firmly to the ground behind the hind legs. If the tail is drawn too thin or floating above the ground, the meerkat will appear to be falling over. Always anchor the tail firmly to the base of the drawing to provide visual stability.
How to add texture and detail
Once the structure is correct, you can suggest fur without drawing every individual hair. Use short, rhythmic strokes following the direction of the body's contours. Focus on the chest and the back, where the fur is slightly thicker and more textured. Keep the strokes sparse near the face to maintain clarity, as the facial features are the most important part of the composition for the viewer.
To finish your drawing, add subtle shading to create a three-dimensional effect. Lightly shade one side of the body to indicate a light source, which helps the meerkat stand out from the background. By keeping the shading soft and focusing on the contrast between the dark eye patches and the lighter fur, you create a professional finish. Remember that simplicity is key; a few well-placed lines are far more effective than an overly cluttered sketch that obscures the meerkat's natural form.
Key facts
- Meerkats are characterized by their elongated, slender bodies and distinctive dark patches around their eyes.
- Start your sketch with a large oval for the body and a smaller circle for the head to establish proportions.
- The tail of a meerkat is long, thick at the base, and often acts as a tripod when they stand upright.
- Use a simple "V" shape for the ears, positioned high on the head, to capture their alert expression.
- Focus on the "sentry" pose, where the animal stands vertically with its forepaws tucked against its chest.
- Avoid drawing the legs too thick; meerkats have thin, wiry limbs that support their agile movements.
The bottom line
Drawing a meerkat is best approached by focusing on its unique vertical posture and slender anatomy. By starting with basic geometric shapes and emphasizing the dark eye patches and upright stance, you can capture the essence of this alert creature. Remember to keep the limbs thin and the tail sleek, avoiding overly rounded features to ensure your drawing remains accurate to the animal's distinct wild appearance.
People also ask
What is the best pencil grade for sketching a meerkat?
An HB or 2B pencil is ideal for initial light sketches, as these allow for easy erasing. You can switch to a 4B pencil later to add depth to the dark eye patches and fur texture.
How do I draw the meerkat's fur texture?
Use short, quick pencil strokes rather than solid lines to suggest fur. Focus these marks along the edges of the body to create a soft, natural silhouette.
Should I draw the meerkat with four legs or two?
While they have four legs, meerkats frequently stand on their hind legs to scan for predators. Drawing them in this upright posture is the most recognizable way to depict the species.
How large should the eyes be in relation to the face?
The eyes should be relatively small, but the dark, mask-like markings around them make them appear larger. Draw the dark patches first, then place the small, round eyes within that area.
Why does my meerkat drawing look like a squirrel?
This usually happens if the tail is too bushy or the ears are too round. Keep the tail sleek and tapering, and ensure the ears are pointed and set high on the skull.
What is the most important detail to include for realism?
The posture is vital; meerkats always look alert. Ensure the head is tilted slightly and the back is straight to convey their natural, watchful personality.
This answer was created with the help of AI research tools and reference sources. Spotted an error? Let us know — we correct mistakes quickly. See our editorial policy.