How do you draw a robin for beginners?
Short answer
Drawing a robin requires capturing its signature round body and bright orange-red breast. Start by sketching two overlapping circles for the head and body, then add a small, sharp triangular beak. Focus on the bird’s posture, which is often upright and alert, to create a recognizable and charming garden bird illustration.
On this page
How to draw a robin step by step
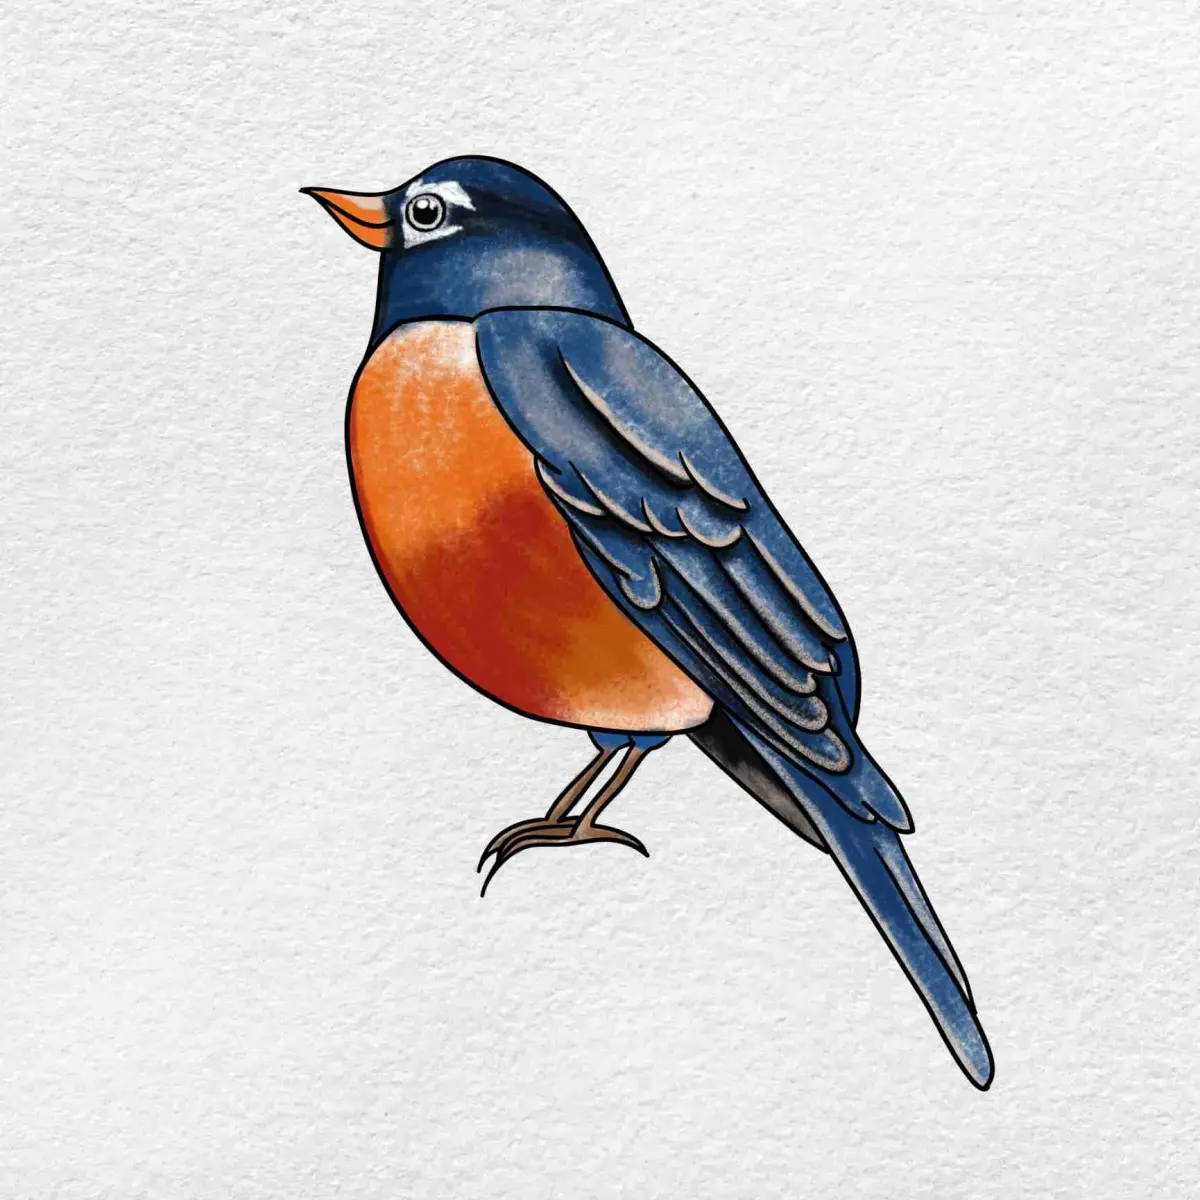
To begin your drawing, focus on the basic geometry of the robin. Start by lightly sketching a small circle for the head and a larger, slightly oval shape for the body, connected by a short, thick neck. Ensure the body is tilted forward slightly to mimic the bird's natural stance. Use a light pencil pressure so you can easily erase guidelines later.
Once the basic shapes are in place, connect the head and body with smooth, flowing lines to create the back and chest. Add a small triangle for the beak and a circular eye positioned slightly above the center of the head. Finally, draw a long, rectangular shape for the tail and two thin, jointed lines for the legs.
- Draw a small circle for the head and a larger oval for the body.
- Connect these shapes with a curved line for the back and a rounded line for the chest.
- Add a sharp triangle for the beak and a small dot for the eye.
- Sketch the wing as a teardrop shape tucked against the side of the body.
- Finish by adding thin, stick-like legs with three toes pointing forward and one backward.
Best drawing tools for beginners
For those just starting, a standard HB graphite pencil is ideal because it allows for both light sketching and darker detailing. You should also have a soft white eraser, which is essential for cleaning up construction lines without damaging the paper. Using a medium-weight drawing paper, preferably with a slight texture, will help your pencil marks adhere better and prevent smudging.
If you decide to add color, colored pencils are the most manageable medium for beginners. They allow for precise layering, which is perfect for capturing the delicate texture of feathers. Start with a light base layer of orange for the breast and brown for the wings, then build up the intensity gradually. A colorless blender pencil can help smooth out the transitions between colors, giving your robin a professional, polished finish.
- HB graphite pencil for initial sketching.
- Soft white vinyl eraser for clean corrections.
- Medium-weight sketch paper (at least 80 lbs).
- A set of colored pencils with a range of browns, oranges, and grays.
- A sharpener to maintain fine points for feather detailing.
How to capture the robin’s proportions
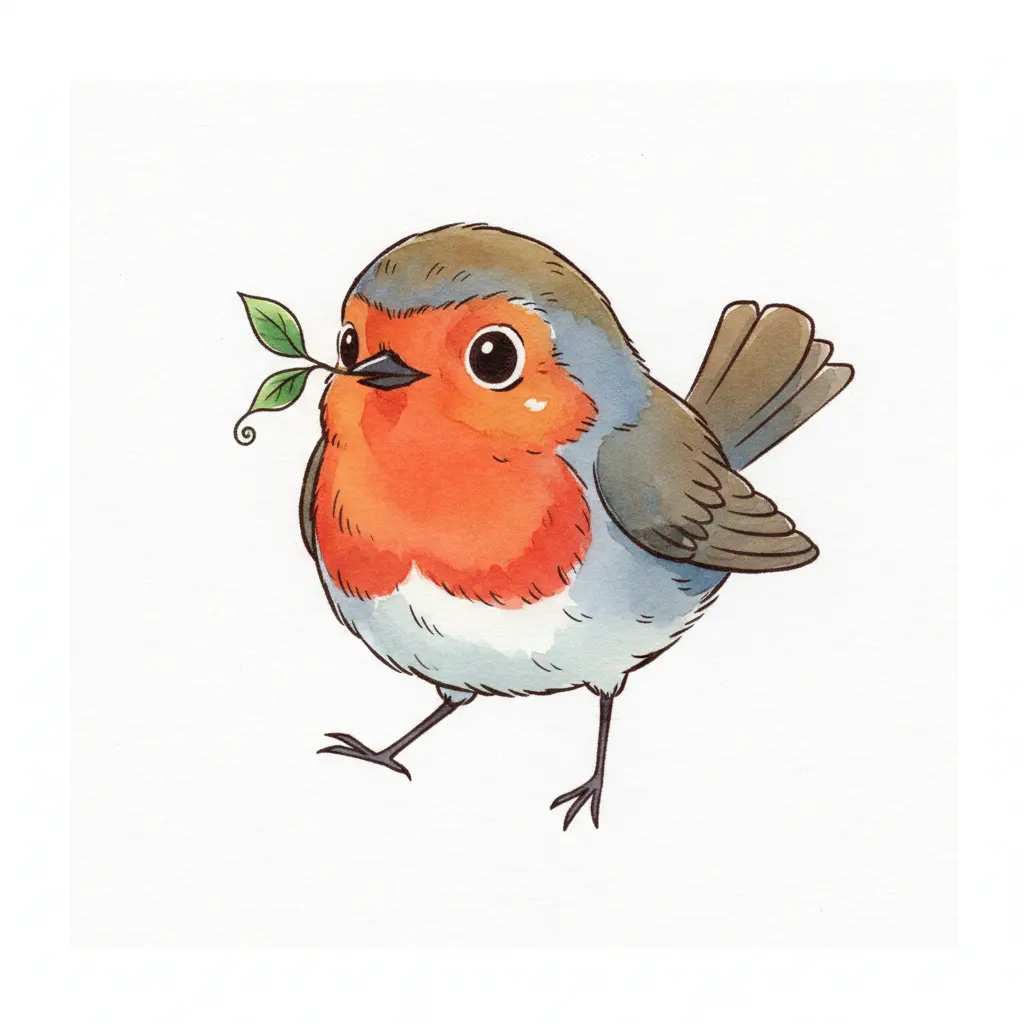
The most distinct feature of a robin is its plump, round body, which often looks disproportionately large compared to its small head. When drawing, maintain a ratio where the body is about two times the width of the head. This "chunky" silhouette is what gives the robin its friendly, approachable appearance. If the body looks too thin, the bird will resemble a sparrow or a finch instead.
Pay close attention to the placement of the bird's features. The eye should be placed high on the head, near the base of the beak, to give it an alert expression. The wing should be positioned mid-body, angled downward toward the tail. By keeping the wings tucked close to the body, you emphasize the bird's rounded shape. Always check your proportions by holding your drawing at arm's length to ensure the balance feels natural before adding final details.
Common mistakes when drawing birds
One frequent error is making the beak too long or curved. Robins are thrushes, meaning they have relatively short, straight, and sturdy beaks designed for eating worms and insects. Avoid drawing a hooked beak, which is characteristic of birds of prey like hawks. Keeping the beak small and triangular will keep your drawing accurate to the species.
Another common mistake is neglecting the posture of the legs. Beginners often draw the legs coming out of the center of the body, but they should originate from the lower chest area. Additionally, ensure the tail is not too long; a robin’s tail is relatively short and often held at a slight downward angle. If the legs are too long or the tail is too sweeping, the bird will lose its compact, grounded look. Always observe reference photos to ensure the legs are positioned to support the weight of the bird’s body.
How to add realistic feather textures
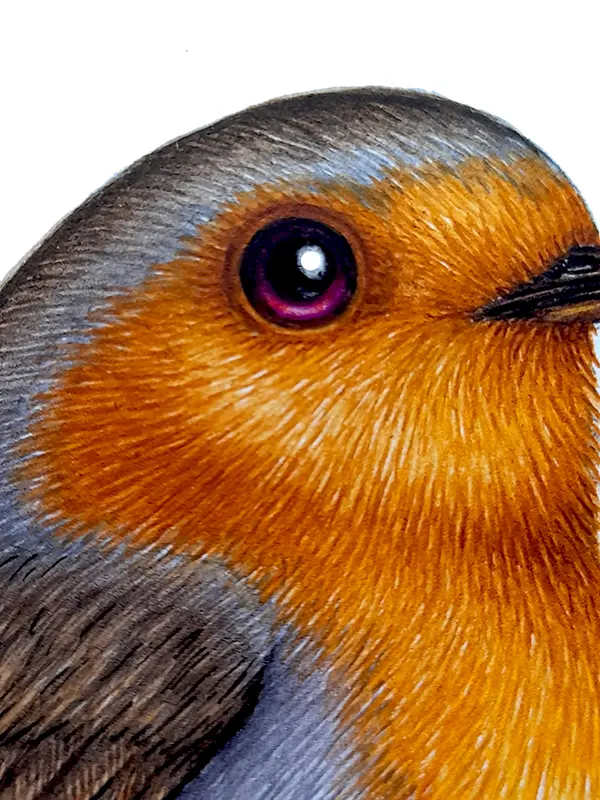
To make your robin look lifelike, avoid drawing every single feather. Instead, focus on suggesting texture through short, overlapping strokes that follow the contour of the bird’s body. Use light, flicking motions with your pencil to create the appearance of soft down on the breast and firmer, overlapping feathers on the wings and back. This technique adds depth without cluttering the drawing with unnecessary lines.
Focus your detail work on the transition areas, such as where the orange breast meets the brown wings. Use cross-hatching or light shading to create shadows under the wing and beneath the tail. These small, dark areas provide contrast, which makes the bird pop off the page. By varying the length and direction of your strokes, you create a sense of volume that makes the robin appear three-dimensional. Keep your hand loose and rhythmic to ensure the feathers look natural rather than stiff or uniform.
Key facts
- Robins are defined by their round, plump bodies and relatively long, thin beaks.
- Start your drawing by sketching two overlapping circles: a smaller one for the head and a larger, oval-shaped one for the body.
- The iconic orange-red breast of the American robin should be drawn as a distinct, semi-circular patch on the upper chest.
- Keep the legs thin and set them slightly toward the back of the body to maintain the bird's natural balance.
- Use short, quick strokes around the edges of your sketch to suggest the texture of feathers rather than drawing solid, hard outlines.
- A common mistake is drawing the eye too large; keep the eye small and place it slightly above the center of the head circle.
The bottom line
Drawing a robin is an accessible exercise in basic geometry and observation. By starting with simple circles to define the head and body, you create a stable foundation for the bird's anatomy. Focus on the distinct orange breast and the slender, pointed beak to capture its identity. With patience and attention to the bird's round silhouette, you can create a recognizable and charming avian illustration.
People also ask
What is the most important feature to capture when drawing a robin?
The most important feature is the silhouette, which is characterized by a "chunky" or round posture. If you get the round shape of the body correct, the bird will look like a robin even before you add color or fine details.
Should I use colored pencils or markers for a robin drawing?
Colored pencils are generally better for beginners because they allow for layering and blending. You can build up the orange breast color gradually and use light gray or brown strokes to create the appearance of soft, overlapping feathers.
How do I draw the wings correctly?
Draw the wings as a long, teardrop shape folded against the side of the body. Ensure the wing shape stays within the silhouette of the larger circle you drew for the body to keep the proportions accurate.
Why does my robin look like a different type of bird?
This usually happens because the beak is drawn too thick or the tail is too short. Robins have slender, pointed beaks and a tail that is roughly one-third the length of their total body size.
How do I make the drawing look more realistic?
Focus on light and shadow by darkening the area under the wing and the underside of the belly. Adding a small white highlight in the eye also provides a sense of life and depth to the drawing.
Is it better to draw from a photo or a live bird?
Drawing from a high-quality photograph is best for beginners because the subject remains perfectly still. Live birds move constantly, which can make it difficult to focus on the specific anatomical proportions required for a clear drawing.
This answer was created with the help of AI research tools and reference sources. Spotted an error? Let us know — we correct mistakes quickly. See our editorial policy.