How do you draw a pug for beginners?
Short answer
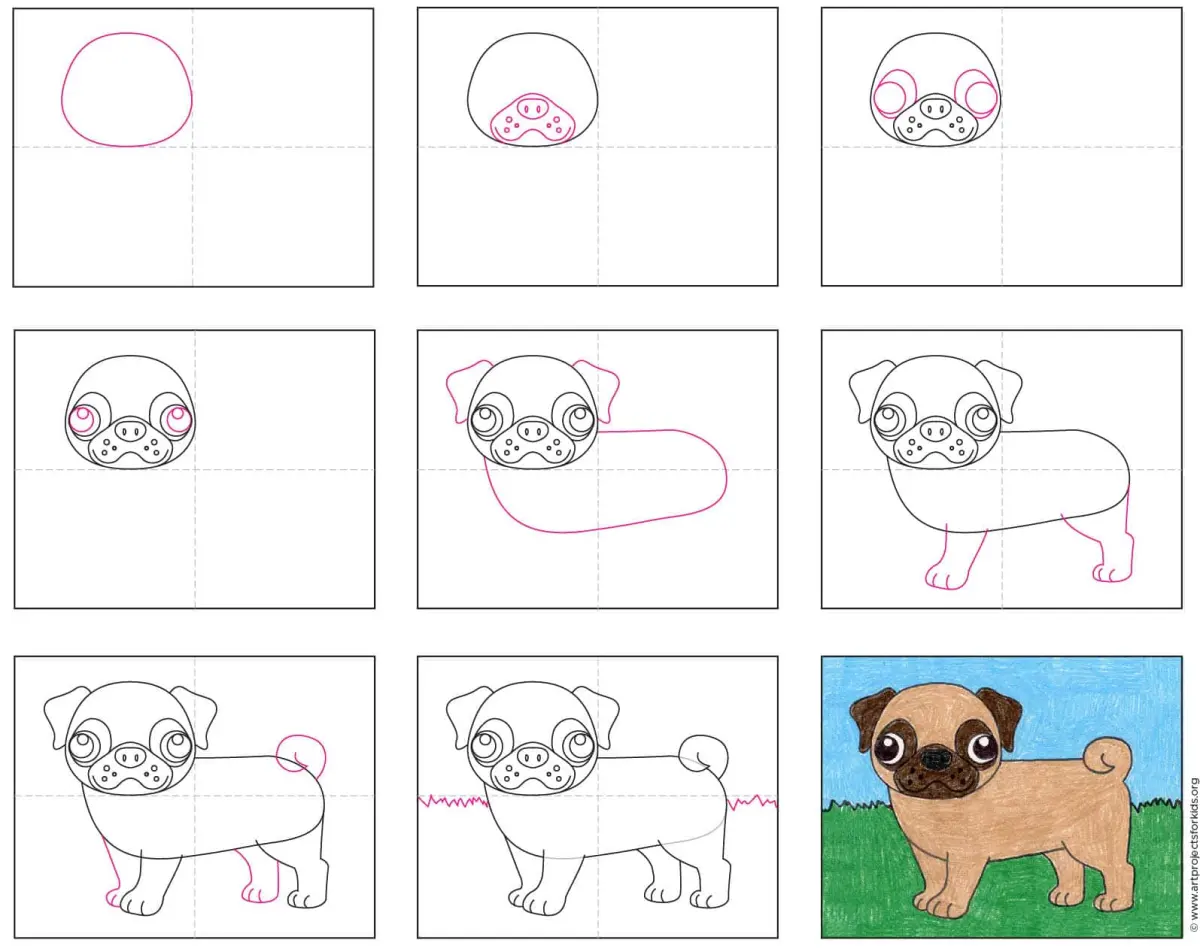
Drawing a pug involves capturing its signature squashed face, large round eyes, and curled tail. Start by sketching basic geometric shapes like circles and ovals to establish proportions. Focus on the deep wrinkles around the muzzle and the floppy ears to define the breed’s unique character and charming, expressive personality.
On this page
How to sketch a pug face shape
The most recognizable feature of a pug is its broad, round head. To begin, draw a large circle to represent the skull. Add a smaller, slightly flattened oval overlapping the bottom half of the circle to serve as the muzzle area. This structural foundation ensures the head looks proportional before you add the specific facial details.
Keep your pencil lines light during this initial stage so you can easily adjust the shape. Pugs are known for their compact, sturdy builds, so avoid drawing the head too narrow or elongated. Once the basic outline is set, you can refine the silhouette by adding slight indentations for the jawline and the characteristic pug ears.
- Draw a large circle for the head.
- Place a smaller, horizontal oval at the bottom for the muzzle.
- Lightly sketch a vertical line down the center to help align the eyes and nose.
- Add two small triangles on the top sides of the circle for the ears.
Best drawing tools for beginners
For those just starting, a standard HB graphite pencil is the most versatile tool. It provides enough darkness for shadows while remaining easy to erase. You should also use a high-quality white vinyl eraser, which cleans up stray marks without damaging the paper surface. A sketchbook with medium-weight paper is ideal for practice.
If you want to add depth, consider using a 2B or 4B pencil for darker areas like the eyes and the folds of the skin. Avoid using heavy pressure, as this creates indentations in the paper that are difficult to fix. Rely on layering light strokes to build up the contrast gradually.
- HB pencil for initial outlines.
- 2B or 4B pencil for shading.
- Vinyl eraser for clean corrections.
- Blending stump or soft tissue for smoothing shadows.
Why pug wrinkles are important
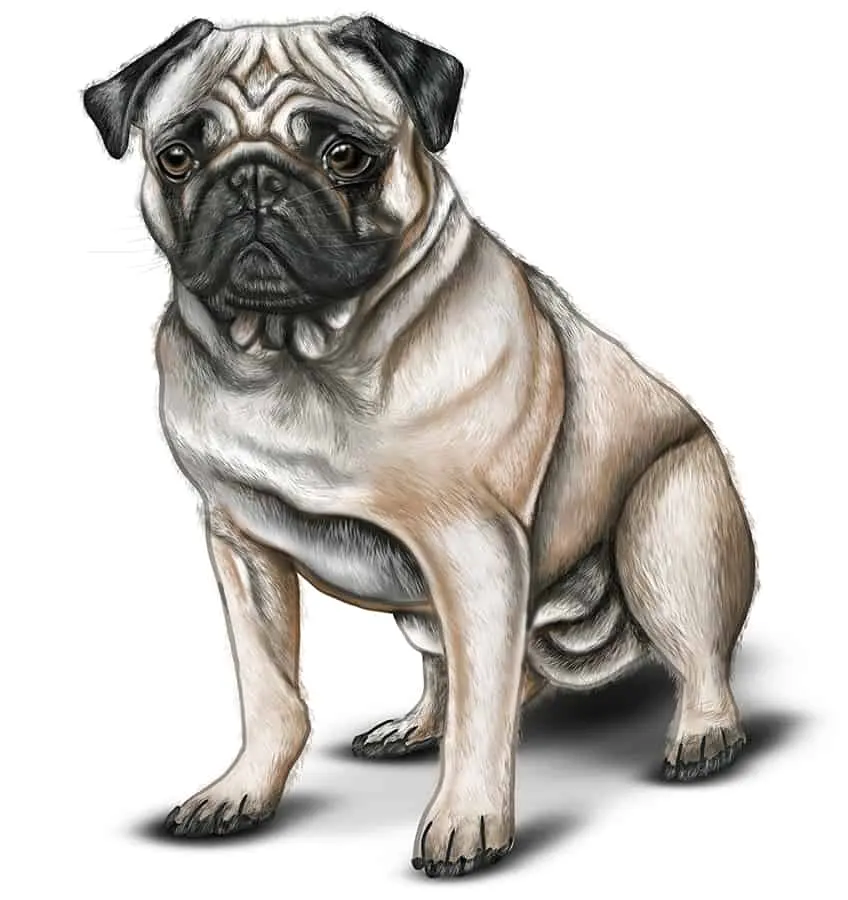
Pug wrinkles are not just decorative; they define the breed’s expression. These folds typically sit above the nose and around the eyes. When drawing them, use irregular, short curved lines rather than perfectly symmetrical ones. This gives the dog a more natural and lifelike appearance, as no two pugs have the exact same wrinkle pattern.
Focus on the "mask" area, which is the darker patch of fur surrounding the muzzle. By shading this area slightly darker than the rest of the face, you create the illusion of depth. Ensure the wrinkles follow the contour of the snout to make the muzzle appear pushed in, which is a hallmark of the breed.
- Start with a center line above the nose.
- Branch out with smaller, wavy lines toward the eyes.
- Keep the lines close together to suggest depth.
- Vary the thickness of the lines to show where the skin folds.
How to draw pug eyes and ears
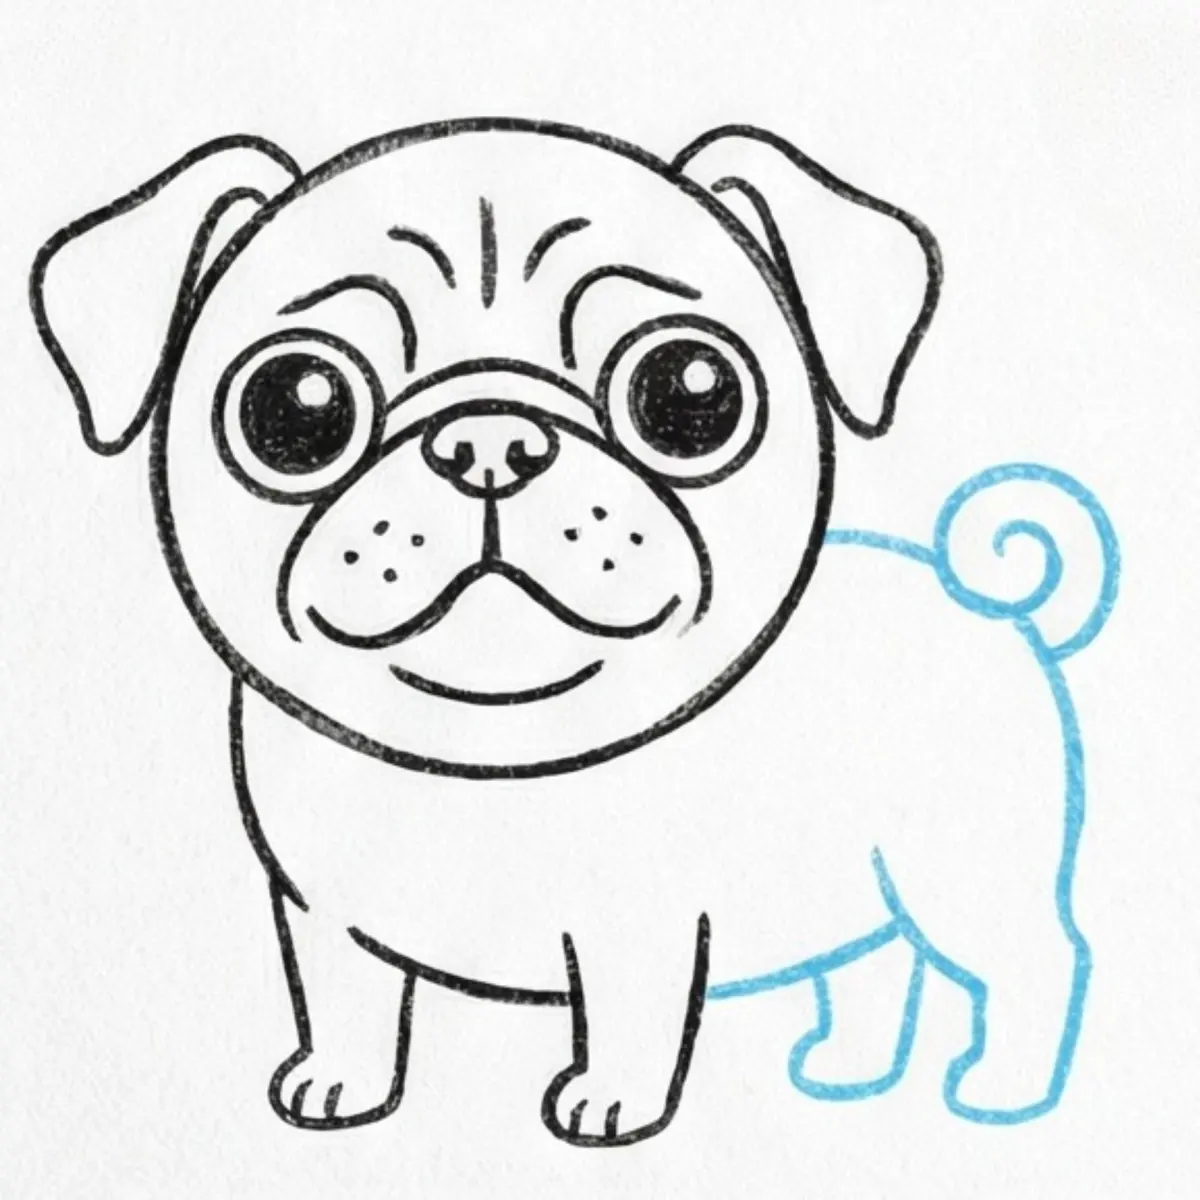
Pug eyes should be large, dark, and set wide apart. Draw two large circles within the upper half of your head shape, leaving enough space between them for the bridge of the nose. Fill the centers with a dark pupil, leaving a tiny white dot to represent a highlight; this small detail makes the eyes look bright and alert.
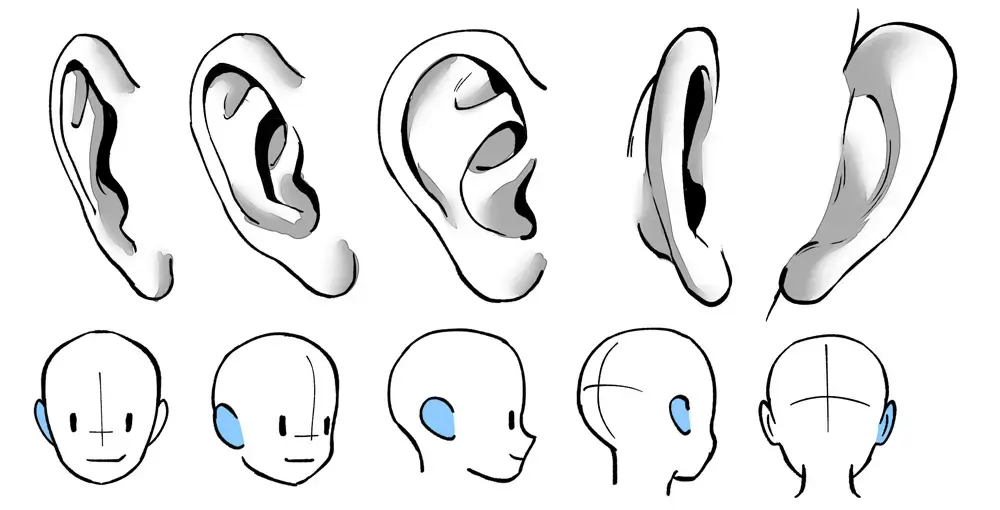
The ears should be soft and floppy, sitting close to the head. They are often described as "button" or "rose" ears, meaning they fold forward or backward. Draw them as small, rounded triangles that hang down rather than standing upright. Keeping the ears close to the skull reinforces the pug's compact, rounded silhouette and adds to its endearing, gentle look.
- Sketch two large, wide-set circles for the eyes.
- Add dark, round pupils with a small white highlight.
- Draw the ears as small, soft, downward-pointing triangles.
- Ensure the ears are positioned near the top sides of the head.
Common mistakes when drawing pugs
A frequent error is making the muzzle too long, which makes the drawing look like a different breed. Pugs are brachycephalic, meaning their faces are naturally short and flat. If the snout protrudes too far, the drawing loses its pug identity. Always double-check that your muzzle oval stays within the bounds of the main head circle.
Another mistake is drawing the eyes too small or too close together. Pugs have wide-set, bulging eyes that are a primary source of their charm. If you find your drawing looks off, compare your sketch to a reference photo, paying close attention to the spacing between the eyes and the start of the nose. Finally, ensure the tail is drawn as a tight, high curl resting on the back, as this is a defining physical trait for the breed. Practice patience, as capturing the correct proportions often requires several attempts before you achieve the desired result.
Key facts
- Pugs are defined by their "brachycephalic" or flat-faced structure, which requires drawing a short, pushed-in muzzle rather than a long snout.
- Use a large circle for the head and a smaller, slightly elongated oval for the body to establish the pug’s stout, compact silhouette.
- The hallmark of a pug’s face is the deep, symmetrical wrinkles on the forehead, which should be drawn as curved, overlapping horizontal lines.
- Eyes should be drawn as large, dark, and slightly bulging circles positioned low on the face to capture the breed's expressive, soulful look.
- Ears should be small and folded forward, often described as "rose ears" or "button ears," sitting high on the sides of the head.
- Keep the legs short and thick, as pugs are muscular, "cobby" dogs that lack the long, slender limbs of other breeds.
The bottom line
Drawing a pug is an exercise in capturing rounded shapes and compact proportions. By focusing on the signature flat muzzle, large expressive eyes, and the characteristic tail curl, you can easily define the breed's unique personality. Remember to keep the body stout and the lines soft. With practice, these simple geometric foundations will allow you to sketch a charming, accurate portrait of this beloved companion dog.
People also ask
What is the easiest way to get the proportions of a pug right?
Start by drawing two overlapping circles, one for the head and one for the chest, keeping them roughly the same width. Pugs are square-bodied dogs, so avoid making the torso too long or thin.
How do I draw the signature pug tail?
Draw a tight, curled loop sitting high on the rear end of the dog. It should look like a small cinnamon roll perched near the base of the spine.
Should I use sharp or soft lines for a pug?
Use soft, rounded lines for the entire body to emphasize the pug's chubby, muscular build. Avoid sharp angles, as the breed is characterized by smooth curves and rolls of skin.
How do I make the eyes look realistic?
Leave a small white dot inside the dark pupil to represent a light reflection. This simple highlight adds depth and makes the eyes appear moist and lively.
What is the most common mistake when drawing a pug's face?
The most common error is drawing a muzzle that is too long, which makes the dog look like a different breed. Keep the nose bridge extremely short and wide to maintain the pug's distinct profile.
How do I add texture to the coat?
Pugs have very short, smooth fur, so avoid drawing individual hairs. Instead, use light shading around the neck and joints to suggest the density of their coat and the folds of their skin.
This answer was created with the help of AI research tools and reference sources. Spotted an error? Let us know — we correct mistakes quickly. See our editorial policy.