How do you draw Santa Claus?
Short answer
Drawing Santa Claus involves constructing a character using basic geometric shapes like circles and ovals to establish proportions. By layering a large rounded body, a fluffy beard, and a signature hat onto a skeletal frame, you can create a recognizable figure. Focus on facial expressions and festive clothing to finalize the illustration.
On this page
How to draw Santa Claus step by step
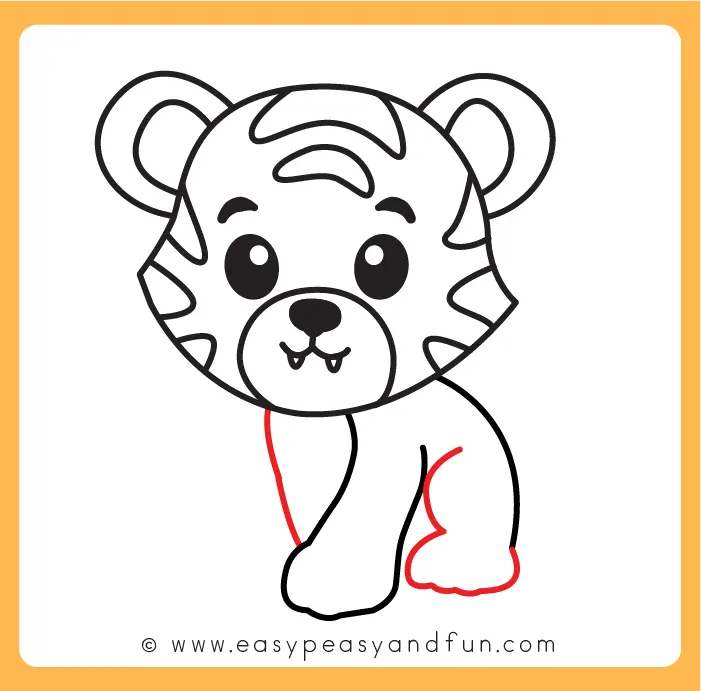
Creating a classic Santa Claus figure begins with establishing a solid foundation using simple shapes. Start by drawing a large circle for the torso and a slightly smaller circle on top for the head. Connect these with a short neck and add ovals for the arms and legs to determine his posture. Once the frame is set, you can refine the outlines to give him his iconic portly silhouette.
Following the initial sketch, you should focus on the primary features that define the character. Add a large, curved shape for the beard and a smaller circle for the nose. Use these steps to build the figure:
- Sketch the head and body circles lightly with a graphite pencil.
- Draw the beard as a large, fluffy cloud shape covering the chin and chest.
- Add the hat by drawing a triangle shape that flops over to one side.
- Outline the boots and mittens to complete the basic attire.
Best drawing tools for beginners
For those new to drawing, starting with a standard HB graphite pencil and a high-quality eraser is essential. These tools allow you to make light, adjustable marks that can be corrected easily as you refine your Santa’s proportions. Using a sketchbook with medium-weight paper prevents the graphite from smudging or tearing during the iterative process of drafting and refining the character’s features.
As you progress, consider incorporating fine-liner pens or markers to define the final contours. A set of colored pencils or alcohol-based markers works best for adding the traditional red and white color palette. When selecting colors, look for a vibrant crimson for the suit and a soft gray or light blue for shading the white beard. This contrast helps the character pop off the page and creates a professional, finished look.
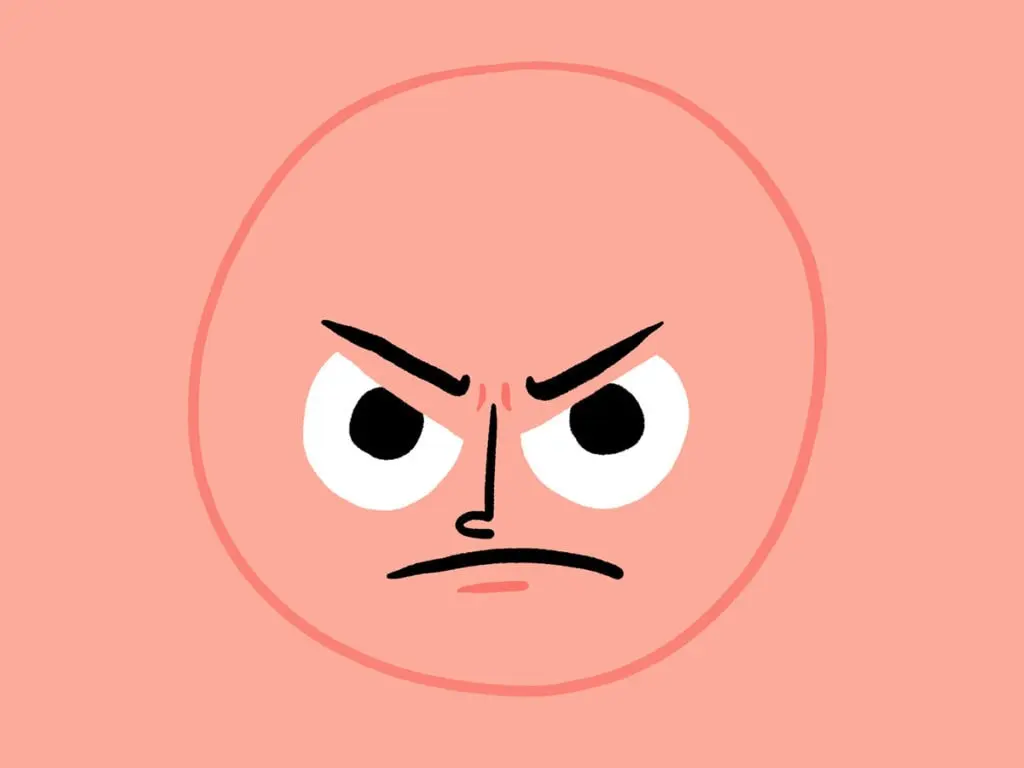
How to draw Santa’s face and expression
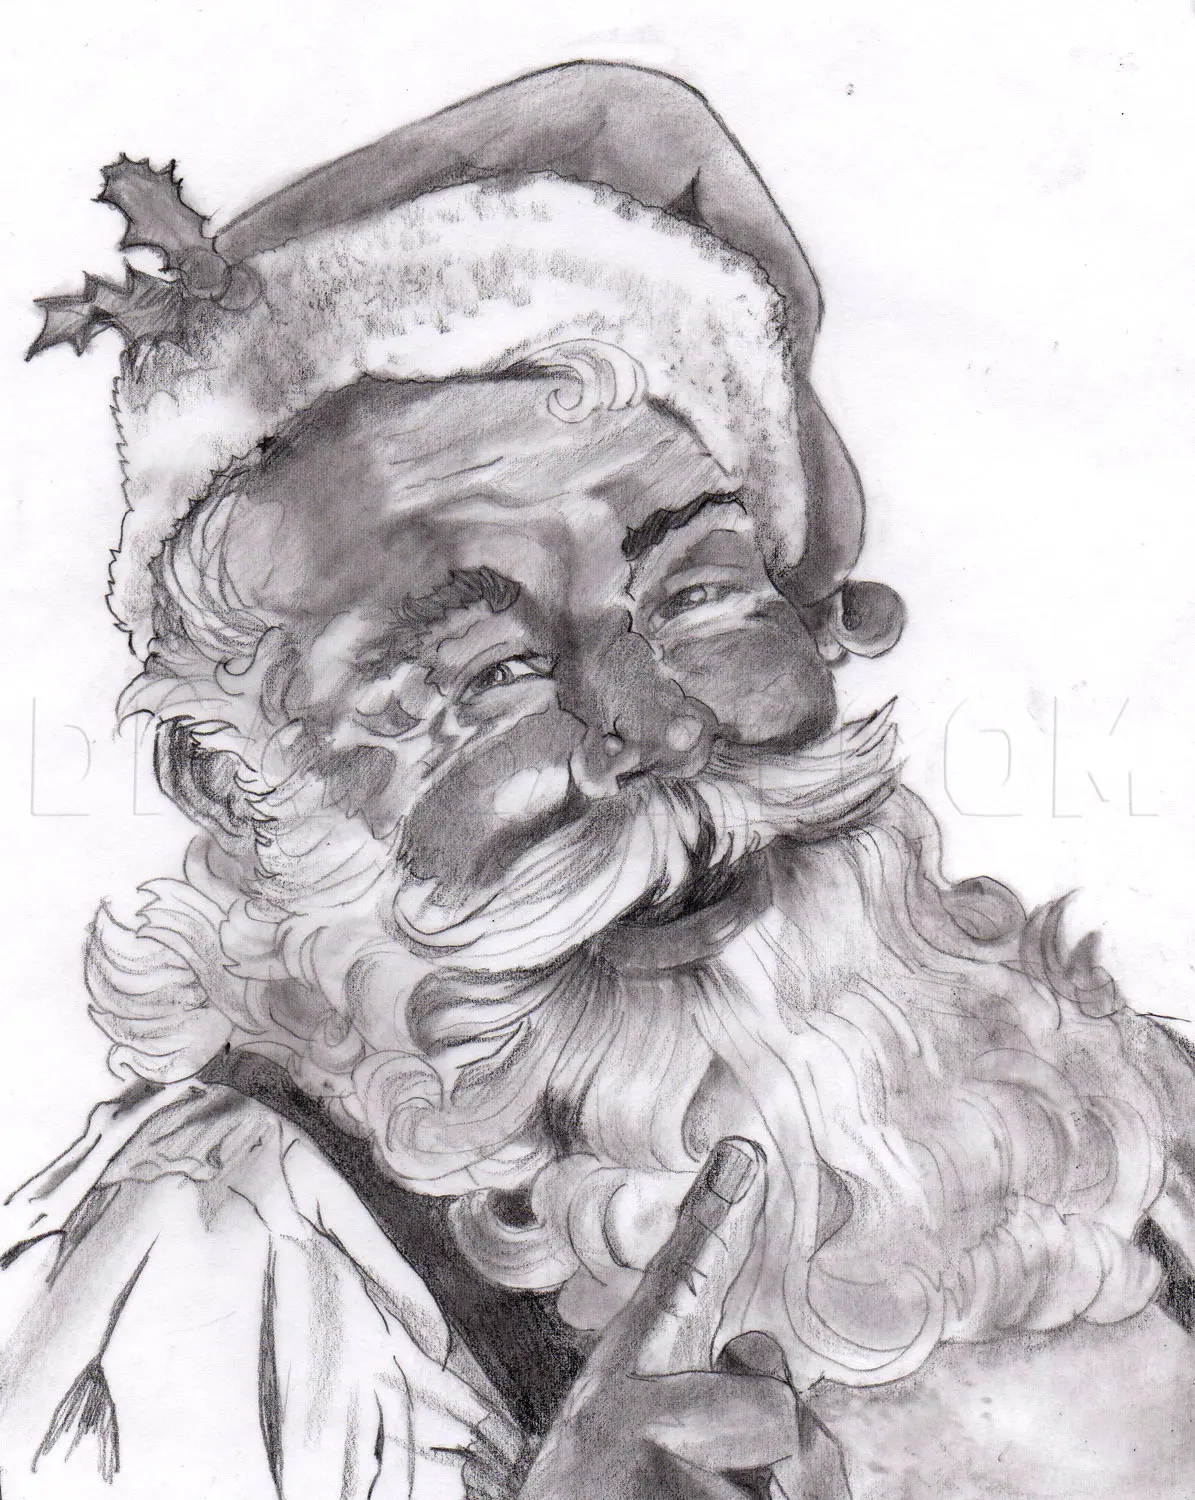
Santa’s personality is largely conveyed through his eyes and the shape of his mouth hidden behind his beard. Start by placing the eyes just above the center of the head circle, using small ovals with dark pupils to suggest a friendly, twinkling gaze. Adding small crow’s feet or wrinkles around the eyes will give him a warm, grandfatherly appearance that feels authentic and inviting.
The mouth is often obscured by the mustache, so focus on the curve of the cheeks. By drawing two small, curved lines under the eyes, you can imply that he is smiling broadly. This technique creates a sense of depth and joy in the face. Remember that the mustache should sit directly above the beard, acting as a bridge between the nose and the lower facial hair.
Common mistakes when drawing Santa Claus
One of the most frequent errors is making the limbs too thin or disproportionate for Santa’s heavy, jolly frame. Because he is traditionally depicted as a large, rotund figure, his arms and legs should appear sturdy and somewhat thick to support his weight. Avoid drawing straight, rigid lines; instead, use gentle curves to suggest the soft, rounded nature of his clothing and body.
Another common issue involves the placement of the hat. Beginners often draw the hat sitting perfectly flat on top of the head, which can look unnatural. To achieve a more dynamic look, angle the hat slightly to one side and ensure the brim overlaps the forehead. This small adjustment adds movement to the drawing and makes the character look more lifelike rather than like a stiff, static cutout.
Why Santa’s proportions matter
Maintaining consistent proportions is the key to making your Santa Claus look balanced and believable. If the head is too large compared to the body, the character will look like a caricature; if it is too small, the figure will appear overly muscular or distorted. Aim for a ratio where the head is roughly one-fourth or one-fifth of the total height of the character.
To ensure your drawing remains accurate, follow these professional tips:
- Use a vertical centerline to keep the body symmetrical.
- Check that the hands and feet are roughly the same size as each other.
- Keep the belt line slightly above the center of the torso to emphasize his round belly.
- Use shading under the beard to separate the head from the shoulders.
By adhering to these structural guidelines, you will ensure that your final illustration captures the classic, jolly spirit of the character while maintaining a clean and polished aesthetic.
Key facts
- Start with a large oval for the head and a slightly larger, pear-shaped body to establish the classic jolly silhouette.
- Use a series of overlapping circles or "cloud" shapes to draw the thick, fluffy beard and mustache.
- Keep the eyes small and placed high on the face to leave ample room for the iconic white beard.
- Draw the hat as a soft, drooping triangle with a prominent white pom-pom at the tip.
- Add a wide belt with a large, square buckle across the midsection to emphasize Santa's round belly.
- Avoid drawing sharp, angular lines; Santa’s character is defined by soft, rounded shapes and curves.
The bottom line
Drawing Santa Claus is best achieved by prioritizing rounded, soft shapes that emphasize his iconic jolly physique. By starting with a basic skeletal structure of circles and ovals, you can build up the layers of his beard, suit, and hat. Focus on the signature details like the wide belt and fur trim to ensure the character is instantly recognizable to any observer during the holiday season.
People also ask
How do I make Santa's face look friendly?
Focus on drawing a wide, upward-curving mouth hidden beneath a thick mustache and adding rosy, circular cheeks. Keeping the eyebrows bushy and slightly arched downward helps convey a warm, cheerful expression.
What is the best way to draw the texture of the fur trim?
Instead of drawing straight lines, use short, jagged, or scalloped strokes along the edges of the hat and coat. This technique mimics the appearance of soft, thick fur rather than flat fabric.
Should I draw Santa standing or sitting?
Drawing Santa standing is easier for beginners because it allows for a clear view of his belt and boots. If he is sitting, you must account for the foreshortening of the legs and the way his coat bunches around his lap.
How do I draw the hands and gloves?
Simplify the hands by drawing mitten shapes rather than individual fingers. Mittens are easier to render and fit the traditional aesthetic of Santa’s winter gear.
What colors are traditional for Santa Claus?
The standard palette includes deep crimson red for the suit and hat, clean white for the trim and beard, and black for the boots and belt. Using a soft peach or light brown tone for the skin helps balance the bright red.
How can I prevent the drawing from looking too thin?
Emphasize the horizontal width of the torso and limbs to maintain the "jolly" look. Adding extra volume to the beard and the coat’s fur trim will naturally make the figure appear larger and more substantial.
This answer was created with the help of AI research tools and reference sources. Spotted an error? Let us know — we correct mistakes quickly. See our editorial policy.