How do you draw a screwdriver for beginners?
Short answer
Drawing a screwdriver involves capturing its three primary components: the handle, the shaft, and the tip. By using basic geometric shapes like cylinders and rectangles, you can construct a realistic representation. Focus on establishing a central axis line first, then build the volume around it to ensure symmetry and proper perspective.
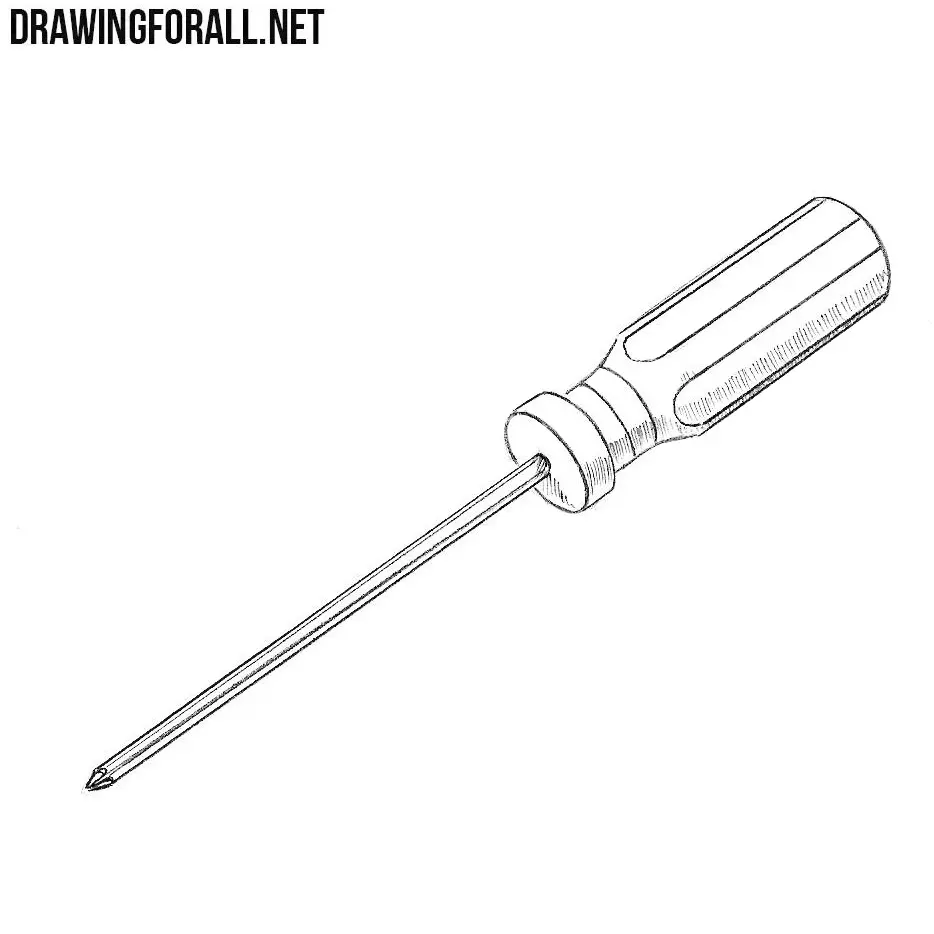
On this page
How to draw a screwdriver for beginners
To begin, you need a pencil, an eraser, and a ruler to ensure your lines remain straight. Start by drawing a long, thin rectangle that will serve as the shaft of the tool. Extend this rectangle slightly at the top to create a space for the handle. Use a light touch with your pencil so that you can easily erase construction lines later.
Once the basic frame is established, add a cylindrical shape at the top for the handle. Most screwdrivers feature ergonomic grips, so you might want to add slight curves or indentations to the cylinder. Keep your proportions in mind; a standard screwdriver shaft is usually about twice the length of the handle. This initial sketch provides the skeleton for your final drawing.
What shapes make up a screwdriver
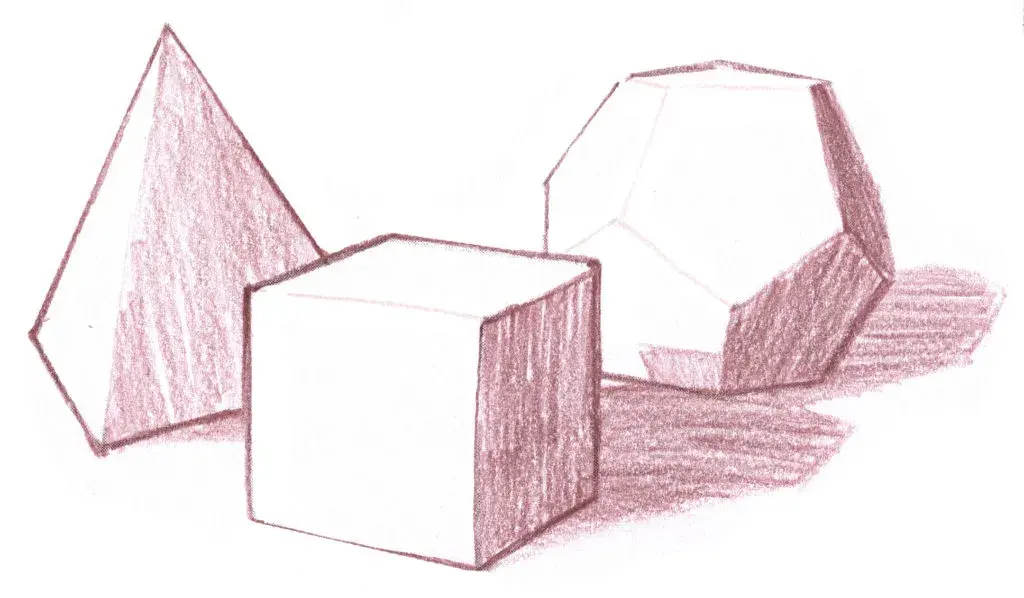
A screwdriver is essentially a composition of simple geometric forms. The handle is typically a cylinder or an elongated oval, while the shaft is a thin, rigid rectangular prism. The tip, which is the functional part of the tool, is usually a wedge or a cross shape depending on whether it is a flathead or a Phillips head driver.
By breaking the object down into these primitive shapes, you simplify the drawing process significantly. You can use these steps to build the form:
- Draw a long vertical line to act as the central axis for the entire tool.
- Sketch a cylinder at the top for the handle and a thin rectangle below it for the shaft.
- Add a small triangle at the very bottom to represent the flathead tip.
- Refine the edges by rounding off the sharp corners of the handle to make it look comfortable.
How to add depth and shading
Adding depth is what transforms a flat drawing into a three-dimensional object. Since the shaft is cylindrical, you should apply shading that follows the curve of the metal. Use light strokes on one side and darker, more concentrated pencil marks on the opposite side to suggest a rounded surface. This technique, known as value rendering, gives the metal a realistic, reflective quality.
For the handle, consider the light source in your scene. If the light is coming from the top left, the bottom right of the handle should be the darkest area. You can use cross-hatching or smooth blending to create these gradients. Remember to leave a small area of white space on the side facing the light to represent a highlight, which makes the plastic or rubber handle look shiny and tactile.
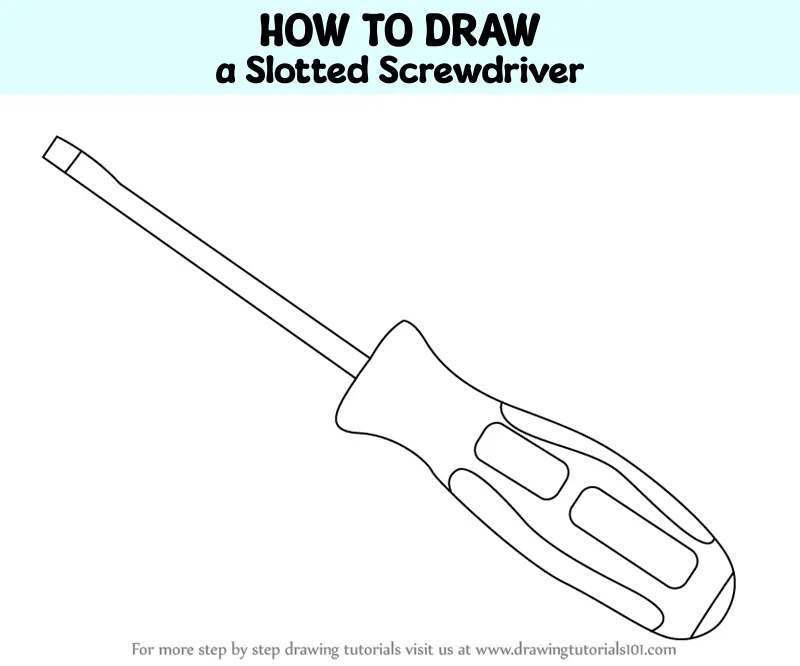
Common mistakes when drawing tools
One of the most frequent errors beginners make is failing to align the shaft with the center of the handle. If the shaft is off-center, the screwdriver will look broken or unusable. Always use a ruler or a guide line to ensure the shaft extends perfectly from the middle of the handle base. Another mistake is making the tip too large or too small relative to the shaft.
Avoid these common pitfalls to improve your accuracy:
- Drawing the shaft too thick, which makes the tool look like a heavy crowbar rather than a precision screwdriver.
- Forgetting to add the transition point where the shaft enters the handle, which often features a small collar or bolster.
- Using overly dark outlines that make the drawing look like a cartoon rather than a technical sketch.
- Ignoring the perspective of the tip, which should look like a flattened wedge when viewed from the side.
How to refine your screwdriver drawing
After you have established the basic structure and shading, it is time to add the final details. Use a sharp pencil to define the edges of the handle and the shaft, making them crisp and clean. You can also add texture to the handle, such as small grooves or rubberized grips, to make the tool look more authentic. These small details are what separate a basic sketch from a professional-looking illustration.
Finally, clean up your drawing by erasing any remaining construction lines or smudges. If you want to add more realism, consider drawing a screw head at the bottom of the tool to show how the screwdriver interacts with its environment. By practicing these steps consistently, you will develop the muscle memory needed to draw various types of hand tools with confidence and precision. Take your time with the final pass, as small adjustments to the line weight can greatly enhance the overall visual impact of your artwork.
Key facts
- A standard screwdriver consists of three primary parts: the handle, the shank, and the tip.
- The handle is typically a cylinder or a slightly tapered oval shape that provides grip.
- The shank is a straight, thin rod that connects the handle to the working end.
- Use a ruler or a straight edge to ensure the shank is perfectly parallel and centered.
- Add a slight shadow along one side of the shank to create the illusion of a three-dimensional cylinder.
- The tip should be drawn as a flat, wedge-shaped blade for a standard flathead screwdriver.
The bottom line
Drawing a screwdriver is an excellent exercise in mastering basic geometric shapes and shading techniques. By breaking the object down into a simple cylinder for the handle and a thin rod for the shank, you can easily build a realistic representation. Focus on maintaining symmetry through center guidelines and adding highlights to the metal surfaces to achieve a professional, three-dimensional look that captures the tool's industrial design.
People also ask
What is the best pencil grade for sketching tools?
An HB pencil is ideal for initial outlines because it is easy to erase. You can switch to a 2B or 4B pencil later to add darker shadows and depth.
Should I use a vanishing point when drawing a screwdriver?
If you are drawing the tool in perspective, a vanishing point helps maintain accurate proportions. For a simple front-facing view, a flat 2D approach is sufficient.
How do I make the metal shank look shiny?
Leave a thin, white strip of unshaded paper along the length of the shank to represent a highlight. This creates a reflective metallic appearance.
What is the most common mistake beginners make?
Beginners often draw the handle and the shank misaligned. Always draw a light center guideline first to ensure all parts are perfectly symmetrical.
Should I draw the screwdriver handle as a perfect circle?
No, the handle should be drawn as an elongated oval or a rounded rectangle. A perfect circle will make the tool look short and stubby.
How do I draw the grooves on a screwdriver handle?
Use light, curved lines that follow the contour of the handle's shape. These lines suggest texture and help the viewer understand the handle's volume.
This answer was created with the help of AI research tools and reference sources. Spotted an error? Let us know — we correct mistakes quickly. See our editorial policy.