How do you draw a king?
Short answer
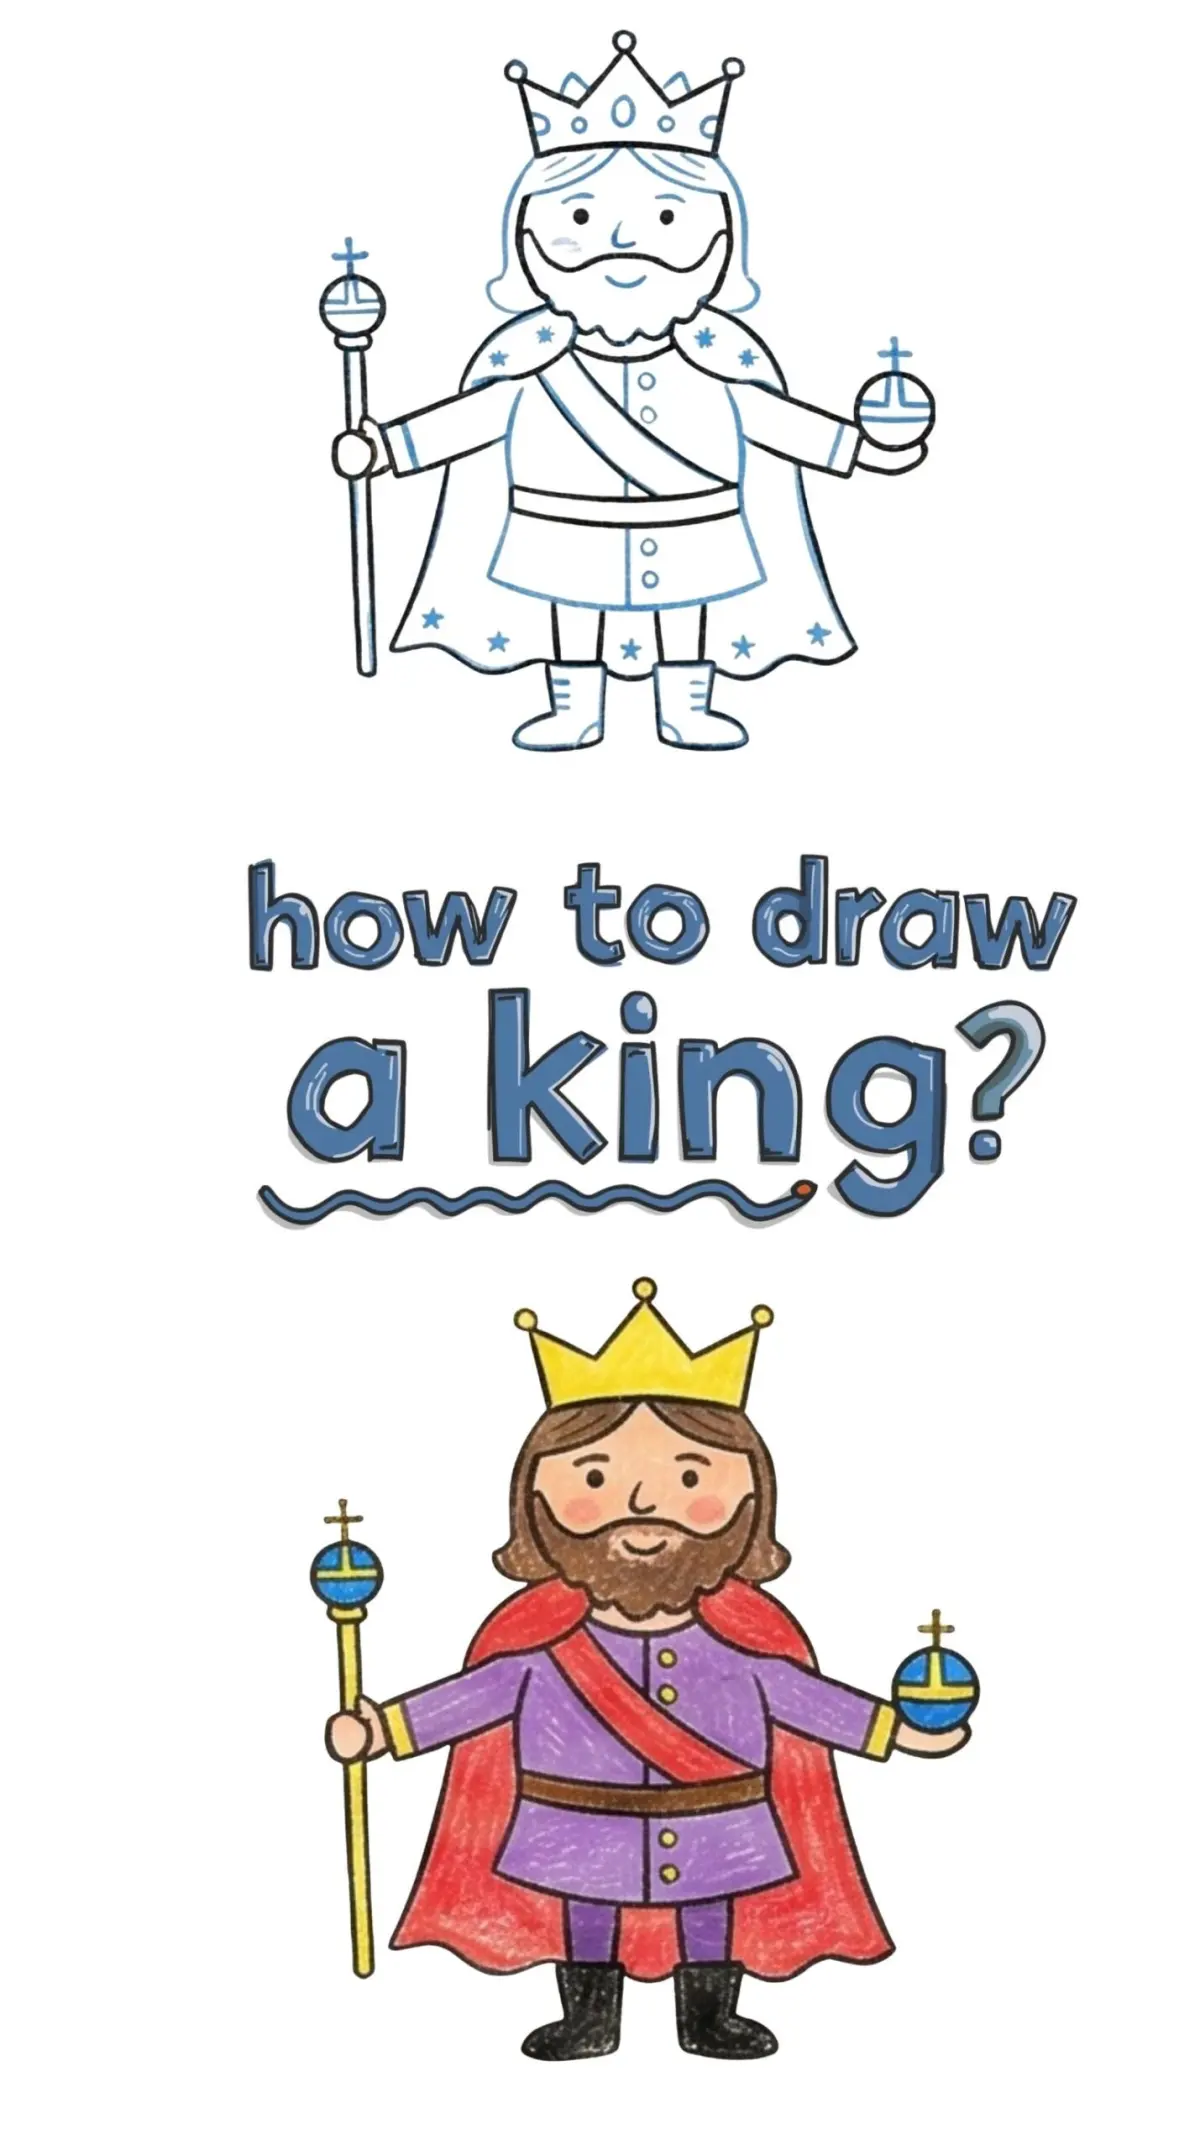
Drawing a king involves combining regal symbols with human anatomy. Focus on the crown, a flowing robe, and a commanding posture to convey authority. By sketching a basic skeletal frame, layering on ornate clothing, and adding iconic accessories like a scepter or orb, you can create a recognizable, majestic royal figure.
On this page
How to draw a king step by step
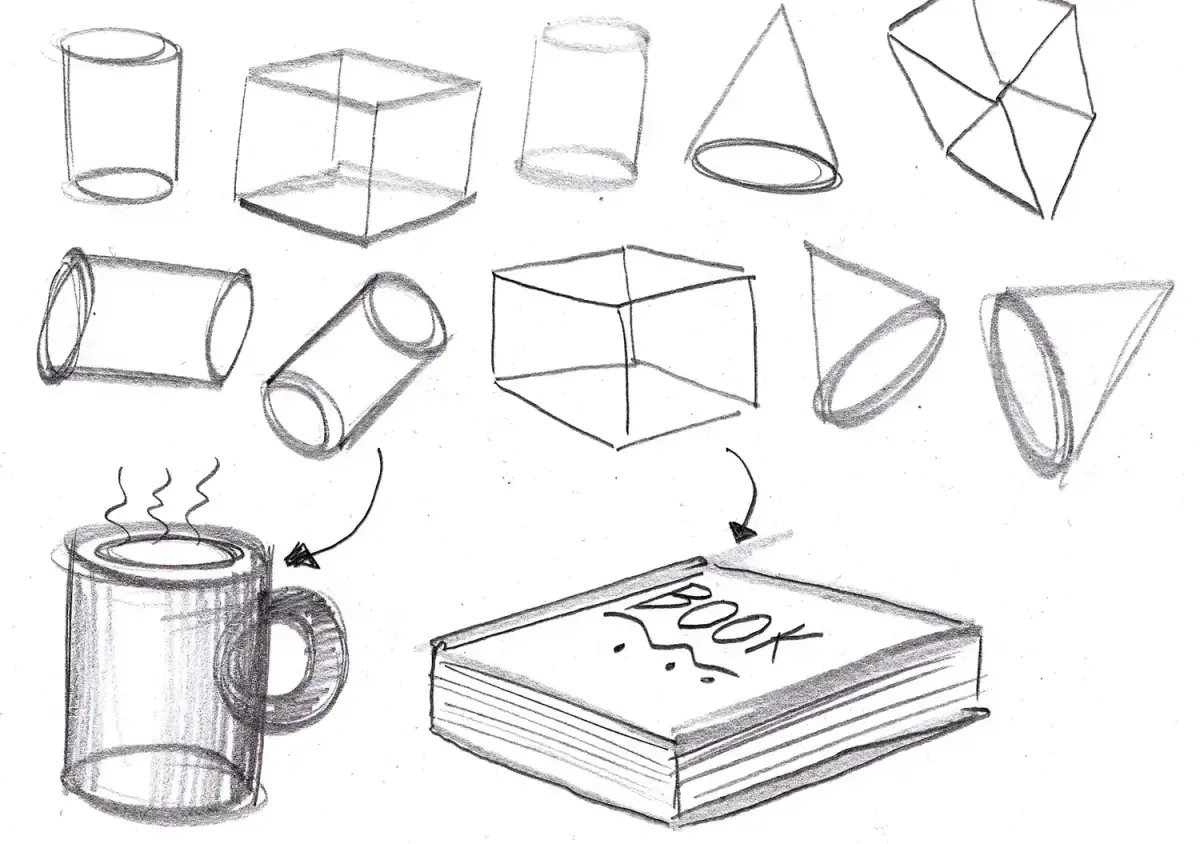
To begin your drawing, establish the foundation of the figure using basic geometric shapes. Start with an oval for the head and a larger rectangle for the torso, ensuring the proportions reflect a tall, imposing stature. Once the skeleton is set, add the limbs, keeping the pose upright and confident to signify royal authority.
Follow these steps to build the figure:
- Sketch a vertical line for the spine to ensure the king stands straight.
- Add a wide, horizontal line for the shoulders to emphasize a broad, powerful build.
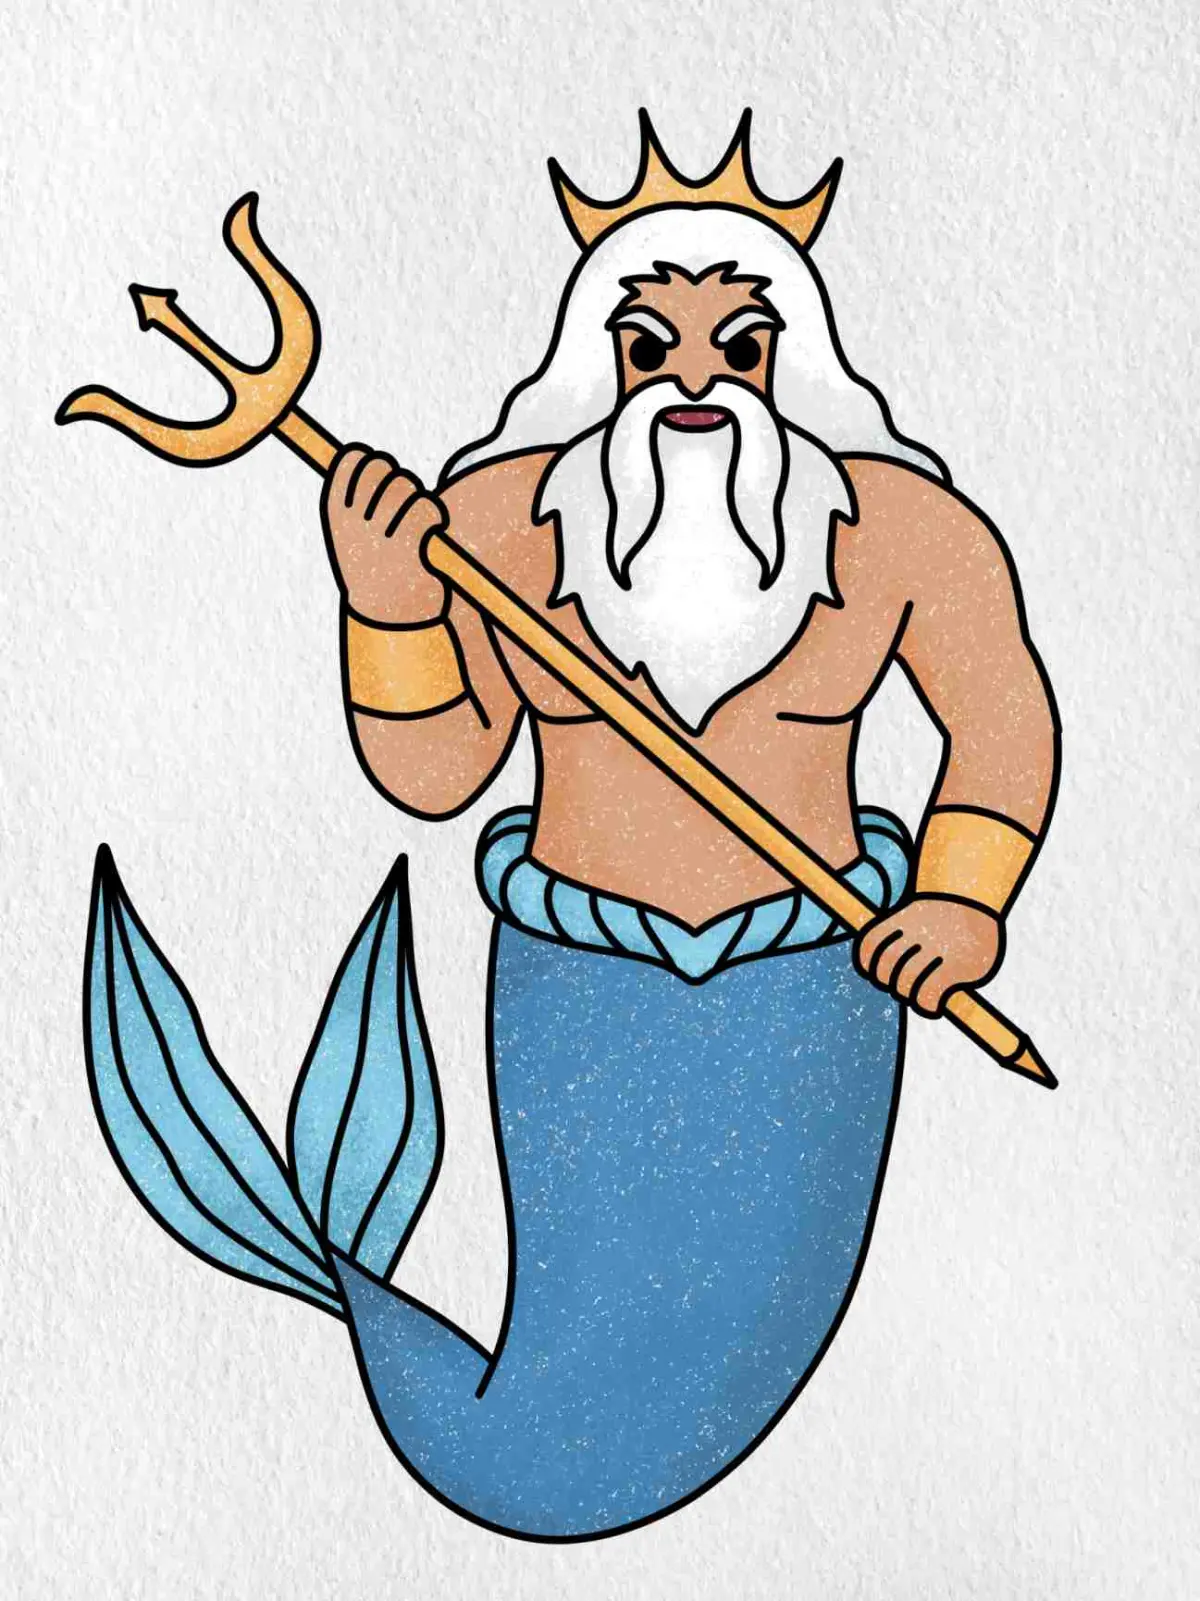
- Draw the crown as a simple band around the top of the head before adding spikes or jewels.
- Outline the heavy, fur-lined cape draped over the shoulders to add volume and texture.
- Use simple cylinders for the arms and legs, positioning them in a relaxed but firm stance.
Best drawing techniques for beginners
When approaching a character as complex as a king, focus on the silhouette before worrying about fine details. A king is defined by his heavy garments and accessories, so use thick, bold lines to outline the outer edges of the robe. This creates a clear shape that remains recognizable even from a distance.
Practice these fundamental techniques to improve your character design:
- Use "gesture drawing" to capture the king’s movement, such as a slight tilt of the head or a hand resting on a sword hilt.
- Apply cross-hatching to the shaded areas of the robe to suggest the weight and thickness of velvet or heavy wool.
- Keep your initial sketch lines light so they can be easily erased or adjusted as you refine the facial features.
- Focus on the eyes and brow to create an expression of wisdom or sternness, which are traditional traits associated with monarchical portraits.

Why royal proportions matter in art
The visual language of royalty relies on specific proportions that differentiate a king from a commoner. Historically, artists depicted monarchs with elongated limbs and broad chests to suggest physical superiority and divine right. By slightly exaggerating the height of the figure, you can make the character appear more imposing and significant within the frame.
When drawing the face, place the features slightly lower than usual to allow room for the crown, which should sit firmly on the brow. A strong, square jawline is frequently used in traditional portraiture to convey strength and resolve. Ensure the neck is drawn thicker than a standard portrait to support the weight of the crown and heavy royal regalia, reinforcing the idea of a powerful, grounded leader.
Common mistakes when drawing kings
A frequent error is neglecting the physics of heavy clothing, which should hang naturally toward the ground rather than floating. Beginners often draw capes that look like stiff boards; instead, add folds and ripples that follow the gravity of the figure. Another common issue is making the crown look like a flat sticker on the head.
Avoid these pitfalls to ensure your drawing looks professional:
- Do not draw the crown as a flat line; remember that it is a three-dimensional object wrapping around a spherical head.
- Avoid overly thin limbs, as they undermine the sense of power and stability required for a royal figure.
- Ensure the scepter or orb is held firmly, not floating in the hand, by drawing the fingers wrapping around the object.
- Don't forget that shadows should be consistent, originating from a single light source to give the heavy robes depth.
How to add royal accessories and detail
The final stage of your drawing involves adding the finishing touches that identify the figure as a king. A scepter, a signet ring, or an ornate orb are classic symbols of power that provide context to your character. These items should be drawn with clean, sharp lines to contrast against the soft, flowing fabric of the king’s garments.
Focus on the texture of the crown by adding small circles for pearls or diamonds, which catch the light and add sparkle to the drawing. You might also add a beard or a mustache to imply age and experience, as kings are traditionally depicted as mature figures. By refining these small details, you transform a generic human figure into a specific, recognizable archetype of royalty that feels authentic and historically grounded.
Key facts
- Start with a basic oval for the head and a trapezoid for the torso to establish proper proportions.
- A crown should be drawn as a band sitting slightly above the brow line, featuring three to five visible points.
- Use a "V" shape or a simple line to represent the neckline of a heavy royal robe or tunic.
- Add a flowing cape by drawing two curved lines starting from the shoulders and tapering toward the bottom of the page.
- Focus on facial hair, such as a thick mustache or a pointed beard, to instantly convey a sense of maturity and authority.
- Avoid drawing the crown as a flat line across the forehead; give it a slight curve to match the perspective of the head.
The bottom line
Drawing a king is an exercise in balancing simple geometric shapes with symbolic details. By establishing a solid foundation of human proportions first, you can layer on iconic elements like crowns, capes, and scepters to define the character. Focus on clean lines and consistent shading to give the figure a sense of weight and authority, ensuring your royal subject looks both regal and believable on paper.
People also ask
How do I make the king look majestic?
Incorporate symbols of power like a scepter held in one hand or an orb in the other. Adding intricate patterns to the clothing, such as fur trim on the cape or jewels on the crown, enhances the regal appearance.
Should the king be drawn in profile or front-facing?
A front-facing view is easier for beginners to manage, while a profile view often looks more heroic. Experiment with a three-quarter view to add depth and a more dynamic sense of character.
What is the best way to draw royal hair?
Keep the hair neatly groomed or slightly wavy to suggest sophistication. Adding a small gap between the hair and the crown helps define the two separate elements clearly.
How can I draw a king’s cape realistically?
Draw the cape with folds that follow the movement of the body. Use darker shading in the creases to create volume and make the fabric look heavy and rich.
What common mistakes should I avoid?
Avoid making the head too small compared to the body, which can make the king look disproportionate. Also, ensure the crown does not appear to be floating by connecting it visually to the hair.
How do I draw facial expressions for a king?
Use strong, straight eyebrows to convey seriousness and authority. A firm, closed mouth or a slight, confident smirk helps establish a kingly personality rather than a neutral one.
This answer was created with the help of AI research tools and reference sources. Spotted an error? Let us know — we correct mistakes quickly. See our editorial policy.