How do you draw a candle?
Short answer
Drawing a candle requires constructing a simple vertical cylinder and adding a teardrop-shaped flame at the top. Focus on establishing a clear light source to determine where shadows fall on the wax body. By layering values from dark to light, you create the realistic illusion of depth, warmth, and glowing illumination.
On this page
How to draw a basic candle shape
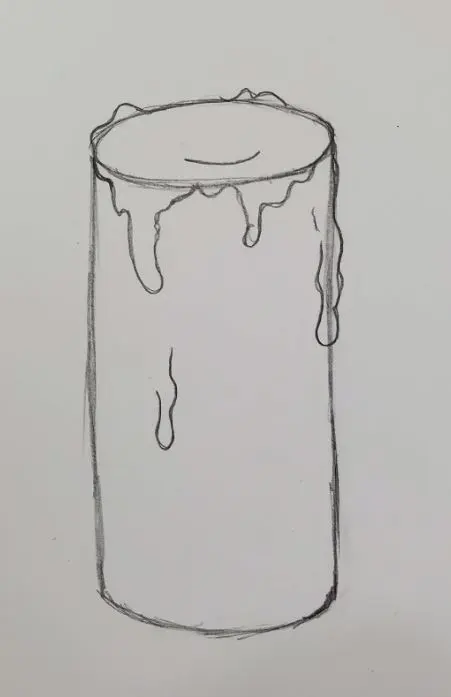
The foundation of a realistic candle is a perfect cylinder. Start by drawing two parallel vertical lines of equal length, then connect them with an oval at the top and a slightly curved line at the bottom. This perspective ensures the candle looks three-dimensional rather than flat on the page. Use a light graphite pencil for these initial construction lines so they can be easily erased or blended later.
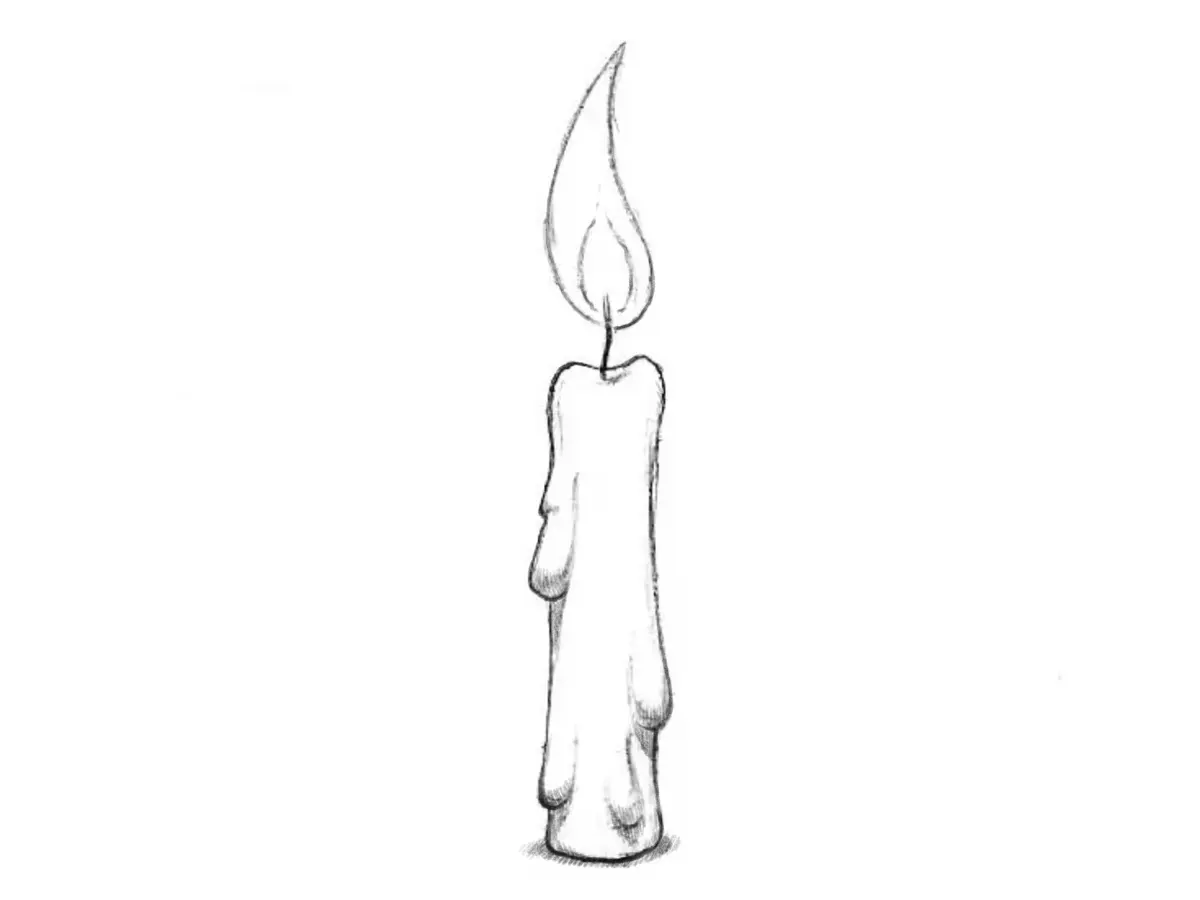
Once the cylinder is established, define the wick and the flame. The wick should be a thin, slightly curved line emerging from the center of the top oval. The flame itself is essentially a teardrop shape, but it should be slightly asymmetrical to look natural. Remember that the flame is the light source, so the area immediately surrounding it should remain the lightest part of your drawing.
- Sketch a tall, narrow rectangle to define the main body.
- Draw an ellipse at the top to represent the flat surface of the wax.
- Add a small, curved line protruding from the center for the wick.
- Place a teardrop shape above the wick, ensuring it points slightly to one side.
Best tools for drawing candles
For beginners, a standard HB pencil is ideal for initial sketching, while a 4B or 6B pencil is necessary for creating deep, rich shadows. Using a range of graphite hardness allows you to achieve the contrast required to make the flame appear bright against the darker wax. A kneaded eraser is also essential because it can be molded into precise shapes to lift highlights from the wax surface.
Paper choice significantly impacts the final result. A smooth-surfaced drawing paper or bristol board works best for capturing fine details and smooth gradients. If you are using charcoal or soft graphite, consider using a blending stump or a piece of chamois to soften transitions between light and shadow. These tools help create the smooth, waxy texture characteristic of a burning candle.
- HB pencil for light construction lines.
- 4B or 6B pencil for dark, dramatic shadows.
- Kneaded eraser for creating highlights and cleaning edges.
- Blending stump for smooth transitions.
- Smooth-finish paper to allow for precise shading.
Why candles look realistic with shading
The secret to a realistic candle is understanding how light interacts with the wax. Because the flame emits light, the top of the candle should be the brightest point, with shadows growing darker as they move further down the cylinder. Pay close attention to the cast shadow, which is the dark shape the candle projects onto the surface beneath it. This shadow anchors the object to the ground and provides a sense of weight.
Reflected light is another critical element often overlooked by beginners. Even in the darkest parts of the candle, there is usually a subtle glow caused by light bouncing off nearby surfaces. By keeping your darkest shadows from becoming solid black, you allow room for these subtle reflections. This technique adds a level of sophistication and realism that makes the flame appear to truly illuminate the surrounding space.
Common mistakes when drawing candles
One frequent error is drawing the flame as a static, symmetrical shape. Flames are fluid and constantly shifting, so a perfectly balanced teardrop often looks artificial. Another common mistake is neglecting the wax pool that forms at the top of a burning candle. Over time, the wax melts and creates a concave depression around the wick, which should be reflected in your drawing by adding subtle shading within the top ellipse.
Avoid using harsh, outlines for the flame. In reality, light does not have a hard edge; it diffuses into the air. Instead of drawing a solid line around the flame, use your eraser to soften the edges or use a very light touch with your pencil. If you outline the flame too heavily, it will look like a cutout piece of paper rather than a source of radiant, glowing energy.
How to add texture and detail
To make your candle look authentic, focus on the texture of the wax and the wick. A used candle often has drips of wax running down the sides, which can be rendered by drawing irregular, overlapping shapes along the cylinder. Use your eraser to add small, bright highlights to the tops of these drips to show that the wax is smooth and reflective. These small details break up the monotony of the cylinder.
For the wick, add a small, charred tip at the end. This adds a sense of history to the candle, suggesting it has been burning for some time. Finally, consider adding a slight glow effect around the flame by lightly smudging graphite outward to simulate the way light scatters in the air. This final touch of atmosphere brings the entire drawing together, transforming a simple geometric shape into a convincing, warm, and evocative representation of a lit candle.
Key facts
- A candle is essentially a cylinder, which serves as the geometric foundation for your drawing.
- Use a vertical line as a center guide to ensure the cylinder remains symmetrical.
- The flame should be drawn as a teardrop shape that is slightly off-center to suggest movement.
- Adding a small, dark oval at the top of the cylinder represents the hollow where the wick sits.
- Use cross-hatching or blending techniques to show how light hits the curved surface of the wax.
- Always draw the wick as a thin, slightly curved line extending from the center of the wax pool.
The bottom line
To draw a convincing candle, start by constructing a symmetrical cylinder and establishing a central vertical axis. Focus on the interplay of light and shadow, using smooth gradients to define the wax's curvature. By adding realistic details like a teardrop-shaped flame, a charred wick, and irregular wax drips, you can transform a simple geometric shape into a compelling, atmospheric illustration of a lit candle.
People also ask
How do I make the flame look realistic?
Use a gradient to color the flame, placing the brightest white or yellow at the base and transitioning to orange or blue at the tips. Adding a soft glow around the flame using a blending stump helps simulate the diffusion of light.
What is the best way to draw melting wax?
Draw irregular, drooping shapes that hang over the edge of the cylinder to mimic dripping wax. Vary the lengths and widths of these drips to create a natural, asymmetrical appearance.
Should I use a ruler for the cylinder?
While a ruler helps establish straight vertical lines, freehand drawing often results in a more organic look. If you struggle with symmetry, use a light pencil sketch to outline the edges before finalizing your lines.
How do I show that the candle is lit?
Focus on contrast by making the area immediately surrounding the flame lighter than the rest of the drawing. You can also add a faint shadow cast by the candle to ground the object in its environment.
What pencils are best for shading a candle?
Use a range of pencils from 2H for light initial sketches to 4B or 6B for deep, dark shadows. A variety of grades allows you to create smooth transitions that define the roundness of the wax.
How do I draw the wick correctly?
Keep the wick thin and slightly jagged, as real wicks are made of braided fibers. Ensure it is positioned exactly in the center of the wax pool to maintain the perspective of the cylinder.
This answer was created with the help of AI research tools and reference sources. Spotted an error? Let us know — we correct mistakes quickly. See our editorial policy.