How can I draw teeth easily?
Short answer
Drawing teeth effectively requires focusing on the overall shape of the dental arch rather than individual units. By treating the teeth as a single, unified mass and using subtle shading to define depth, you can avoid the common mistake of drawing them as isolated, boxy shapes that look unnatural or cartoonish.
On this page
How to simplify tooth shapes for drawing
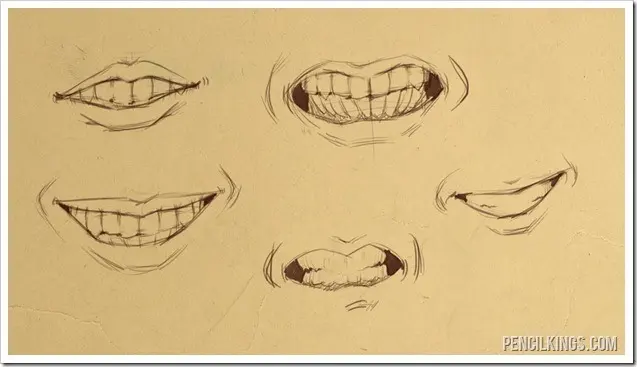
The most common error when drawing teeth is attempting to outline every single tooth individually. This approach often results in a "picket fence" look that lacks realism and depth. Instead, view the upper and lower sets of teeth as two distinct, curved planes. Imagine the teeth as a single block or a horseshoe shape that sits inside the mouth. By focusing on the collective volume of the dental arch, you create a more cohesive structure that feels integrated into the skull.
To achieve this, start by sketching a gentle curve that follows the line of the mouth. Divide this curve into smaller segments, but keep the lines light and suggestive rather than dark and rigid. Remember that teeth are not perfectly rectangular; they have rounded corners and vary in width. By simplifying the entire set into a unified mass, you allow the viewer’s eye to perceive the teeth as a natural part of the face rather than an add-on.
How to use shading to create depth
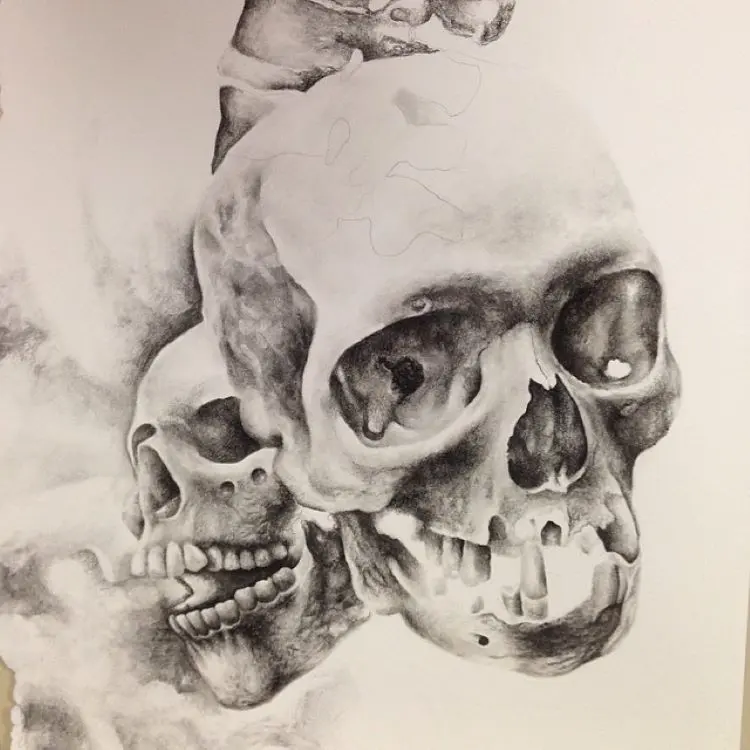
Shading is the primary tool for giving teeth a three-dimensional appearance. Because teeth are slightly translucent and curved, they do not have harsh outlines. Use a soft graphite pencil to apply subtle gradients across the surface of the teeth. Focus on the shadows between the teeth, known as the embrasures, rather than the teeth themselves. These small, dark triangular shapes are what actually define the separation between individual teeth.
When shading, keep these technical tips in mind:
- Keep the highlights on the center of each tooth to suggest a rounded, enamel surface.
- Use a kneaded eraser to lift graphite and create bright, clean highlights on the edges.
- Avoid using pure black for the gaps between teeth; a deep charcoal gray is usually sufficient.
- Ensure the shading follows the curvature of the dental arch to maintain the illusion of depth.
Common mistakes when drawing teeth
Many beginners make the mistake of drawing teeth too dark or with heavy outlines. Teeth are generally lighter than the surrounding skin tones, so using a heavy hand will make them look like dark stones or dentures. Another frequent error is making the teeth perfectly symmetrical. Human teeth are naturally irregular, with slight overlaps and variations in alignment that contribute to a realistic appearance. If you draw them with mathematical precision, the result will look artificial and lifeless.
Another issue is ignoring the perspective of the mouth. If the head is turned, the teeth on the far side of the mouth should be foreshortened and less detailed than those in the front. Forgetting to account for the thickness of the lips is also a common trap. The lips wrap around the teeth, meaning the teeth should never extend beyond the outer boundary of the mouth opening. Always sketch the lip line first to establish the boundaries for the teeth.
Best techniques for realistic dental anatomy
Understanding basic anatomy helps you draw more convincing teeth. The two central incisors are typically the largest and most prominent, while the lateral incisors are slightly smaller. The canines, located next to the lateral incisors, have a more pointed shape and are crucial for defining the corners of the mouth. By varying the width and height of these specific teeth, you add character and realism to your drawing.
Follow these steps to structure your dental sketch:
- Draw a light arc to represent the center line where the upper and lower teeth meet.
- Mark the positions of the two central incisors, ensuring they are the focal point.
- Gradually add the lateral incisors and canines, keeping the shapes slightly irregular.
- Lightly shade the gaps between the teeth to establish separation without using heavy outlines.
- Add a subtle shadow under the upper lip to show how the teeth sit behind the gum line.
How to refine the details of the mouth
Once the basic structure and shading are in place, focus on the subtle details that bring the drawing to life. The gums, for instance, should be rendered with very light pressure to ensure they do not overpower the teeth. A slight transition in tone between the teeth and the gums helps establish the depth of the mouth cavity. Do not forget to include the slight variations in tooth color, as teeth are rarely stark white; they often have a hint of yellow or blue depending on the lighting.
Finally, step back from your work to check the overall proportions. If the teeth look too large, they will appear to be pushing out of the mouth, which is a common problem in portraiture. Adjust the surrounding shadows of the lips and the interior of the mouth to pull the teeth back into the correct spatial plane. By refining these small details and ensuring the teeth sit comfortably within the oral cavity, you will achieve a balanced and professional result that enhances the overall quality of your portrait.
Key facts
- Teeth are not individual white rectangles but are shaped like slightly rounded trapezoids or wedges.
- The upper central incisors are typically the widest teeth in the mouth.
- Teeth follow the curve of the jaw, which is a parabolic arc rather than a flat line.
- Avoid drawing individual outlines for every tooth, as this makes them look like separate stones rather than a cohesive set.
- Use subtle shading on the sides of the teeth to suggest depth and volume instead of heavy black lines.
- The gum line is not a straight horizontal path but follows the scalloped, uneven contours of the roots.
The bottom line
Drawing teeth effectively requires focusing on the overall shape of the dental arch rather than outlining every individual tooth. By prioritizing the curve of the jaw and using light, suggestive shading, you can create a natural-looking smile. Avoid heavy, dark lines between teeth, which can make them appear detached. Practice observing the subtle variations in tooth size and alignment to achieve a realistic, human result.
People also ask
Why do my drawings of teeth look like a skull?
This usually happens because the teeth are drawn too large or with too much detail, which emphasizes the bone structure. To fix this, soften the lines and focus on the overall shape of the mouth rather than individual tooth edges.
How do I show the perspective of teeth in a smile?
As the jaw curves back into the mouth, the teeth appear narrower and more compressed due to foreshortening. Draw the front teeth wider and gradually decrease their width as they recede toward the corners of the mouth.
Should I draw every single tooth in a portrait?
You should rarely draw every tooth, as this creates a distracting, cluttered look. Focus on the two front teeth and suggest the others with light shading or implied lines to keep the focus on the expression.
How do I make teeth look natural instead of like piano keys?
Real teeth have slight variations in size, alignment, and translucency. Avoid perfectly straight lines and uniform spacing; adding minor irregularities makes the smile appear more human and believable.
What is the best way to shade teeth?
Use a very light touch with a hard pencil, like an H or 2H, to maintain a bright, clean look. Apply darker values only in the gaps between teeth and along the gum line to create necessary contrast.
How do I draw the gums correctly?
The gums should be drawn as a soft, scalloped transition between the teeth and the lips. Keep the gum line subtle and avoid using dark outlines, as heavy lines make the gums look hard and unnatural.
This answer was created with the help of AI research tools and reference sources. Spotted an error? Let us know — we correct mistakes quickly. See our editorial policy.