How can I draw a paintbrush easily?
Short answer
Drawing a paintbrush is best achieved by breaking the object into three simple geometric shapes: a long rectangle for the handle, a small trapezoid for the ferrule, and a soft, fanned-out teardrop for the bristles. By focusing on these distinct segments and adding subtle highlights, you can create a realistic representation quickly.
On this page
How to draw a paintbrush step by step
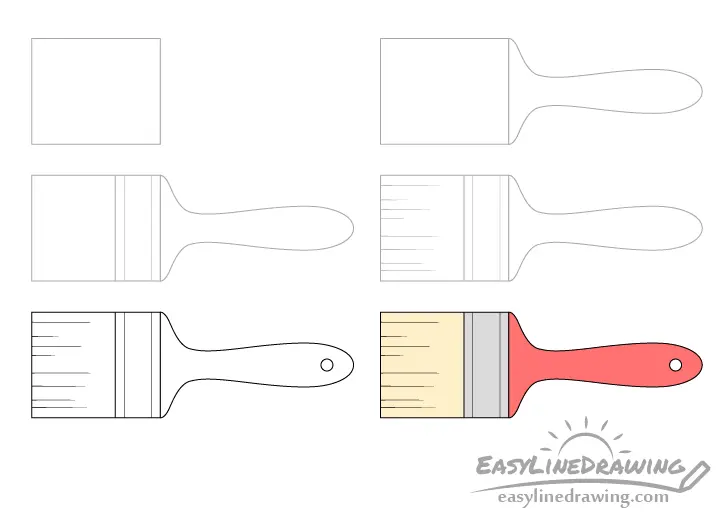
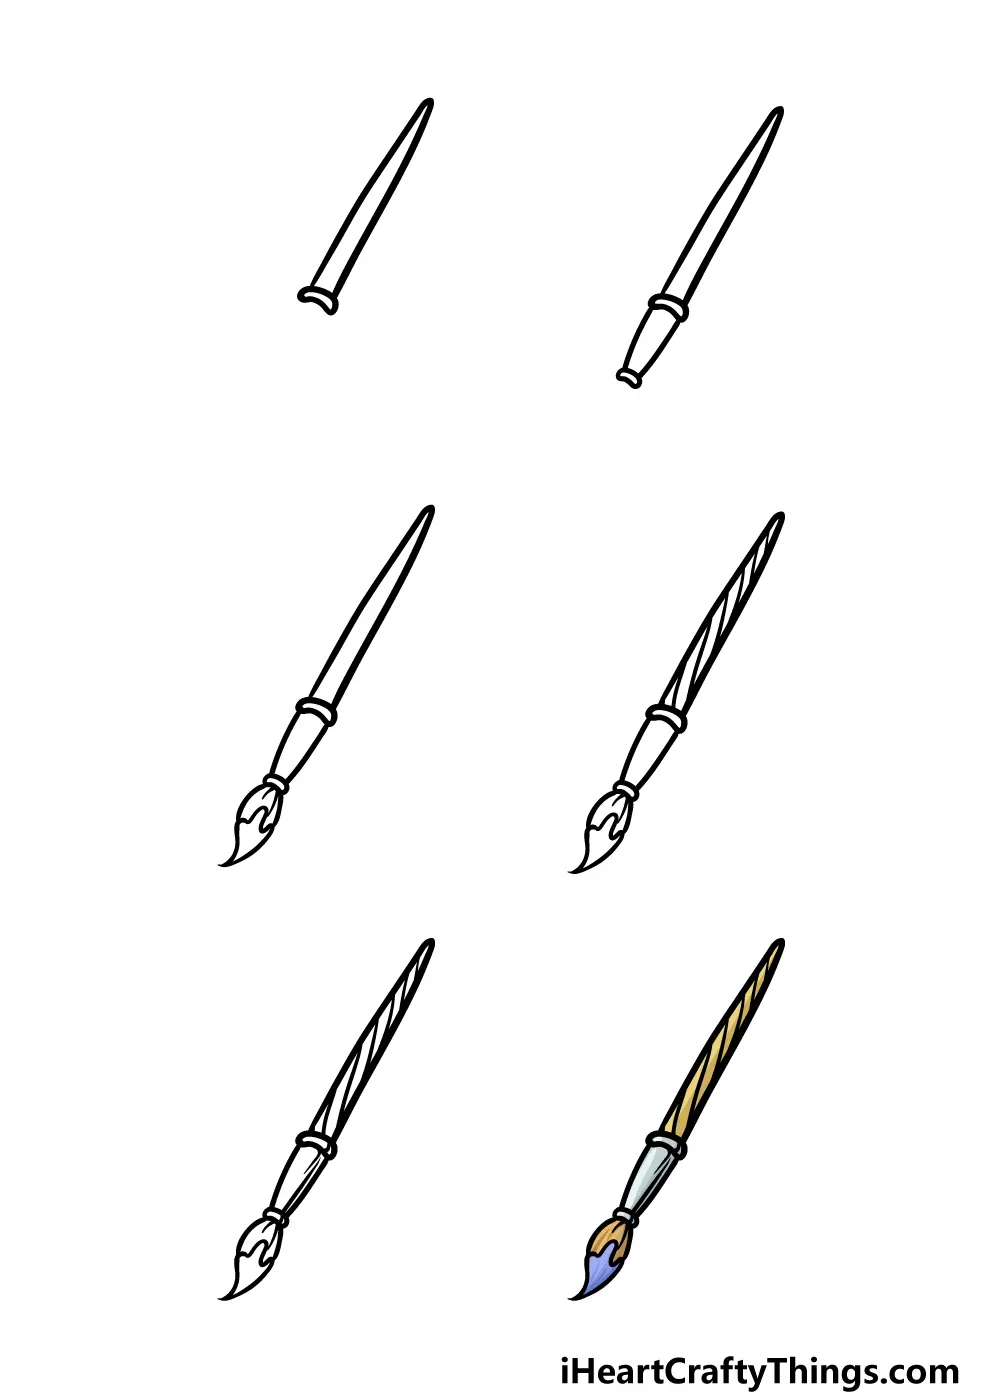
To draw a professional-looking paintbrush, start by sketching a long, thin rectangle to serve as the handle. Ensure the lines are parallel and straight, as this provides the structural foundation for the entire tool. Once the handle is established, draw a slightly wider trapezoid at the top end, which represents the metal ferrule that connects the wooden handle to the hair bristles. Finally, add the bristles by sketching a soft, rounded shape that fans out from the ferrule.
Follow these steps to refine your sketch into a finished drawing:
- Sketch the handle, ferrule, and bristles using light pencil strokes.
- Add a slight curve to the bottom of the handle to suggest a rounded edge.
- Draw horizontal lines across the ferrule to indicate the metal crimping that holds the bristles in place.
- Use long, flowing vertical strokes to define individual hairs within the bristle section.
- Apply shading along one side of the handle and the ferrule to create a sense of three-dimensional depth.
Best techniques for drawing realistic bristles
The bristles are the most expressive part of a paintbrush, and capturing their texture requires a light touch. Avoid drawing every single hair, as this often leads to a cluttered and unnatural appearance. Instead, focus on the overall silhouette and use varying line weights to suggest volume. Start by drawing the outer perimeter of the bristle shape, keeping the edges slightly irregular to mimic the way natural or synthetic fibers behave when they are dry.
Once the outline is set, add internal detail using short, flicking motions with your pencil. Start from the ferrule and pull your strokes outward toward the tip of the bristles. This technique mimics the way light catches the texture of the hair. Keep your lines close together near the base and allow them to spread out slightly toward the ends. Adding a few stray lines extending beyond the main shape will make the brush look used and authentic rather than perfectly uniform.
How to add depth with shading and highlights
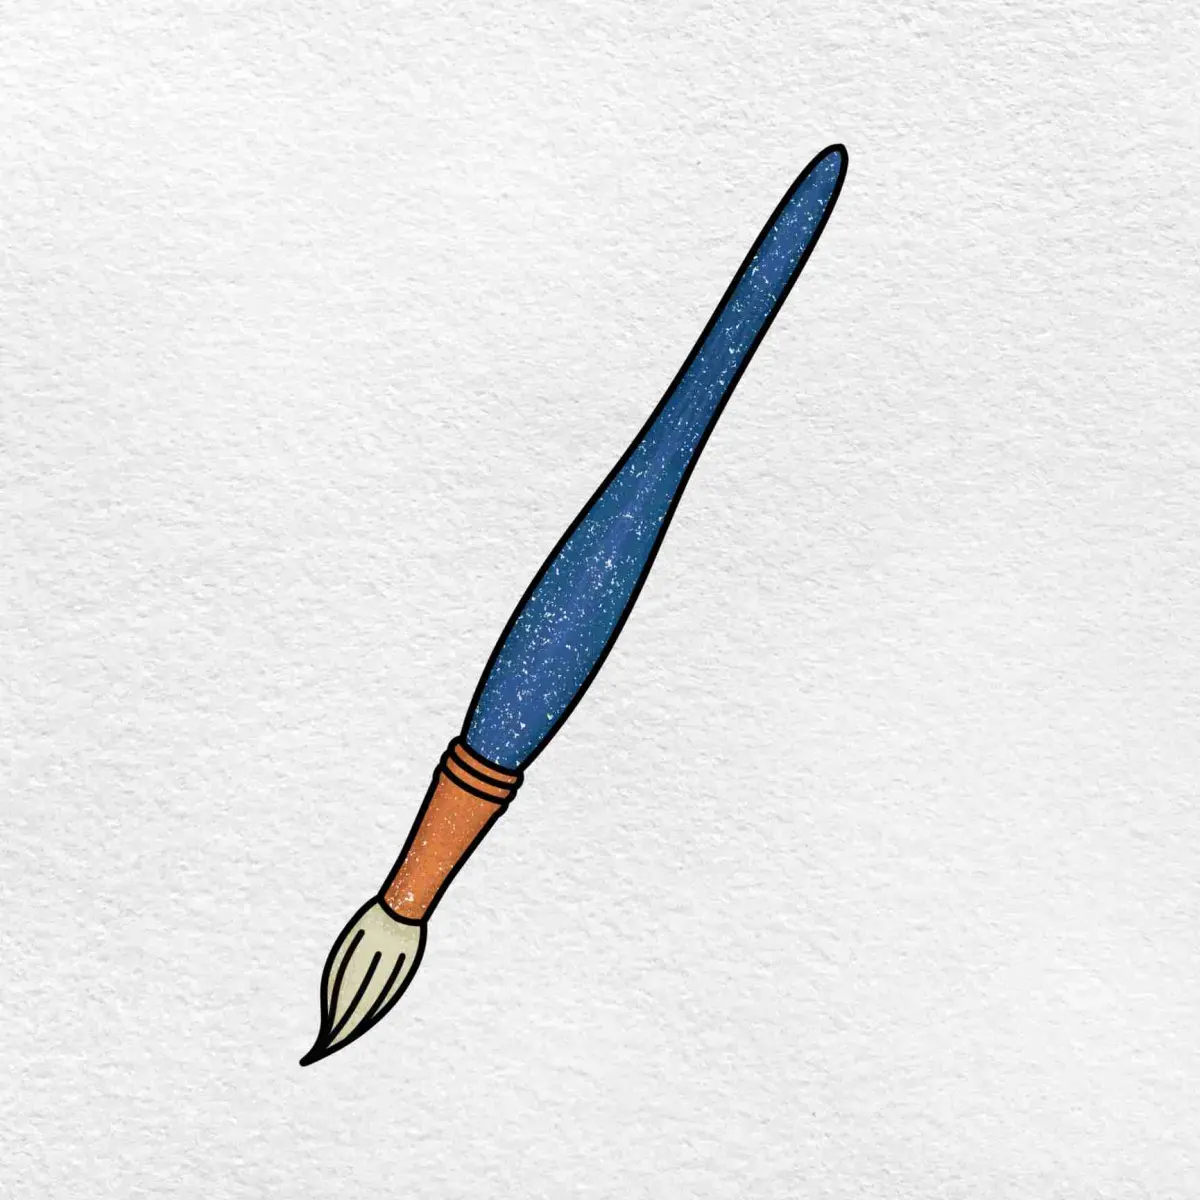
Shading is essential for transforming a flat drawing into a convincing object. Because a paintbrush is typically cylindrical, you should apply a gradient of shadow along the length of the handle. Choose a light source—for example, the upper left—and keep the right side of the handle slightly darker. This simple contrast immediately gives the object weight and prevents it from appearing like a two-dimensional sticker on the page.
Apply the same logic to the metal ferrule, which is often reflective. Use sharp, high-contrast highlights to suggest the polished surface of the metal. A thin, bright white streak running vertically down the center of the ferrule will make it appear metallic. For the bristles, use a darker shade near the point where they emerge from the ferrule, as this area is usually in shadow. Gradually lighten the tone as you move toward the tips, which helps create the illusion of depth and transparency.
Common mistakes when drawing brushes
One of the most frequent errors is drawing the ferrule too small or too large relative to the handle. If the ferrule is disproportionate, the brush will look like a toy rather than a functional artist tool. Always measure the width of your handle against the width of the ferrule before finalizing your lines. Another common mistake is making the bristles perfectly symmetrical. Real brushes rarely maintain a perfect shape, especially after they have been used for painting.
- Avoid drawing perfectly straight, rigid lines for the bristles, as this makes them look like plastic.
- Do not forget to include the slight taper where the handle meets the ferrule, as most handles are not perfectly uniform cylinders.
- Refrain from using heavy, dark outlines, which can make the drawing look like a cartoon.
- Ensure the perspective of the brush tip matches the angle of the handle to maintain structural integrity.
How to refine your drawing for a professional look
To elevate your sketch, focus on the details that define the material of the paintbrush. If you are drawing a wooden handle, add subtle, long, faint lines to suggest the grain of the wood. If the brush is meant to look like it has been used, add a few small, dark spots near the base of the bristles to represent dried paint. These small, intentional imperfections provide a narrative quality to the drawing, making it feel like a tool that has actually been put to work.
Finally, review your work by holding the drawing at arm's length or looking at it in a mirror. This perspective shift helps you spot errors in proportion or shading that are not obvious while you are working up close. If the handle looks wobbly, use a straightedge to correct the lines. If the bristles look too flat, deepen the shadows near the ferrule. With these final adjustments, your drawing will possess the clarity and professional finish required for a high-quality illustration.
Key facts
- Start by drawing a long, thin rectangle to represent the handle of the brush.
- Add a smaller, slightly wider rectangle at one end to serve as the metal ferrule.
- Sketch a teardrop or fan shape extending from the ferrule to form the bristles.
- Use parallel lines inside the bristle area to suggest individual hair strands.
- Keep the handle perfectly straight or slightly tapered to ensure a realistic look.
- Apply shading on one side of the ferrule to create a three-dimensional metallic effect.
The bottom line
Drawing a paintbrush is a straightforward exercise in geometric construction. By breaking the object down into a handle, a ferrule, and bristles, you can easily manage the proportions. Focus on keeping your lines crisp and the transition between the parts smooth. With practice, these basic shapes will allow you to render various types of brushes, from fine detail liners to broad, flat house-painting tools.
People also ask
What is the most important part of a paintbrush to draw first?
The handle is the best starting point because it establishes the length and angle of the brush. Once the handle is set, you can align the ferrule and bristles accurately to maintain proper proportions.
How do I make the bristles look realistic?
Use light, flicking motions with your pencil to draw individual hairs rather than a solid block. Varying the length and direction of these strokes adds texture and depth to the brush tip.
Should I use a ruler for the handle?
Using a ruler helps beginners achieve clean, straight lines for the handle. However, freehand drawing is better for developing your hand-eye coordination and artistic confidence over time.
How do I draw the metal part of the brush?
The ferrule should be drawn as a rectangular band connecting the handle to the bristles. Adding a slight curve to the top and bottom edges of this rectangle makes it look cylindrical.
What common mistakes should I avoid?
A frequent error is making the bristles too wide compared to the handle. Ensure the ferrule is only slightly thicker than the handle to keep the brush looking functional and balanced.
Can I add color to my drawing?
Yes, using watercolors or colored pencils can bring your drawing to life. Use metallic silver or gold for the ferrule and natural wood tones or bright colors for the handle.
This answer was created with the help of AI research tools and reference sources. Spotted an error? Let us know — we correct mistakes quickly. See our editorial policy.