How do you draw realistic hair?
Short answer
Drawing realistic hair requires focusing on volume and light rather than individual strands. By mapping out the hair’s overall shape as a solid mass, establishing shadow patterns, and using directional strokes to suggest texture, you create a convincing illusion. Patience in layering values and refining highlights is essential for professional results.
On this page
How to structure hair shapes
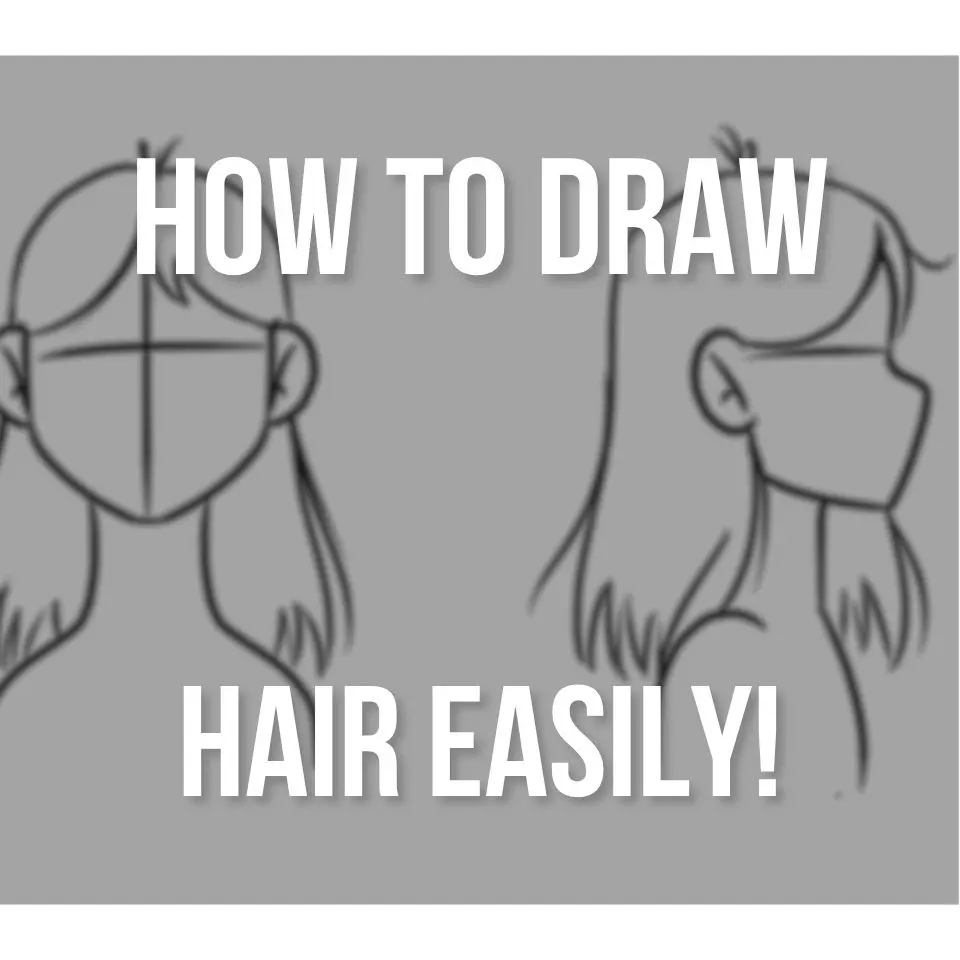
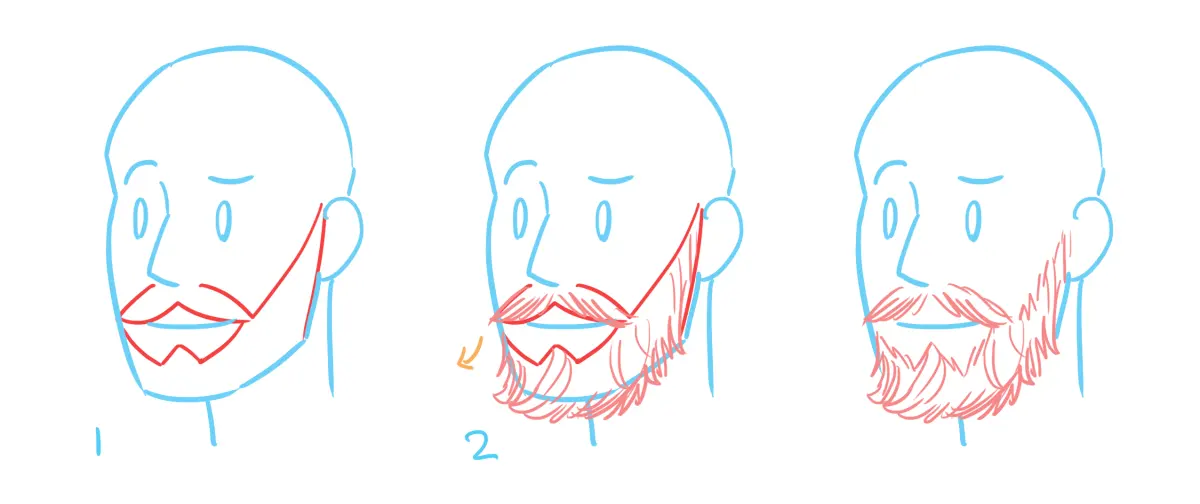
Begin by viewing hair as a series of interconnected masses or "clumps" rather than thousands of separate lines. Every head of hair has a distinct volume that sits atop the skull, so you must account for the thickness of the hair between the scalp and the outer silhouette. Lightly sketch the overall shape of the hair, ensuring it follows the curvature of the head.
Once the general outline is established, divide the hair into smaller, overlapping sections. Think of these as ribbons or solid forms that twist and turn. This approach prevents the common error of drawing hair that looks flat or painted onto the head. By defining these primary shapes early, you create a roadmap for where your highlights and shadows will eventually fall.
- Identify the crown of the head where the hair originates.
- Outline the primary clumps that drape over the forehead or shoulders.
- Check the silhouette against your reference to ensure the volume looks natural.
- Keep these initial lines light so they can be erased or blended later.
How to use value and shading
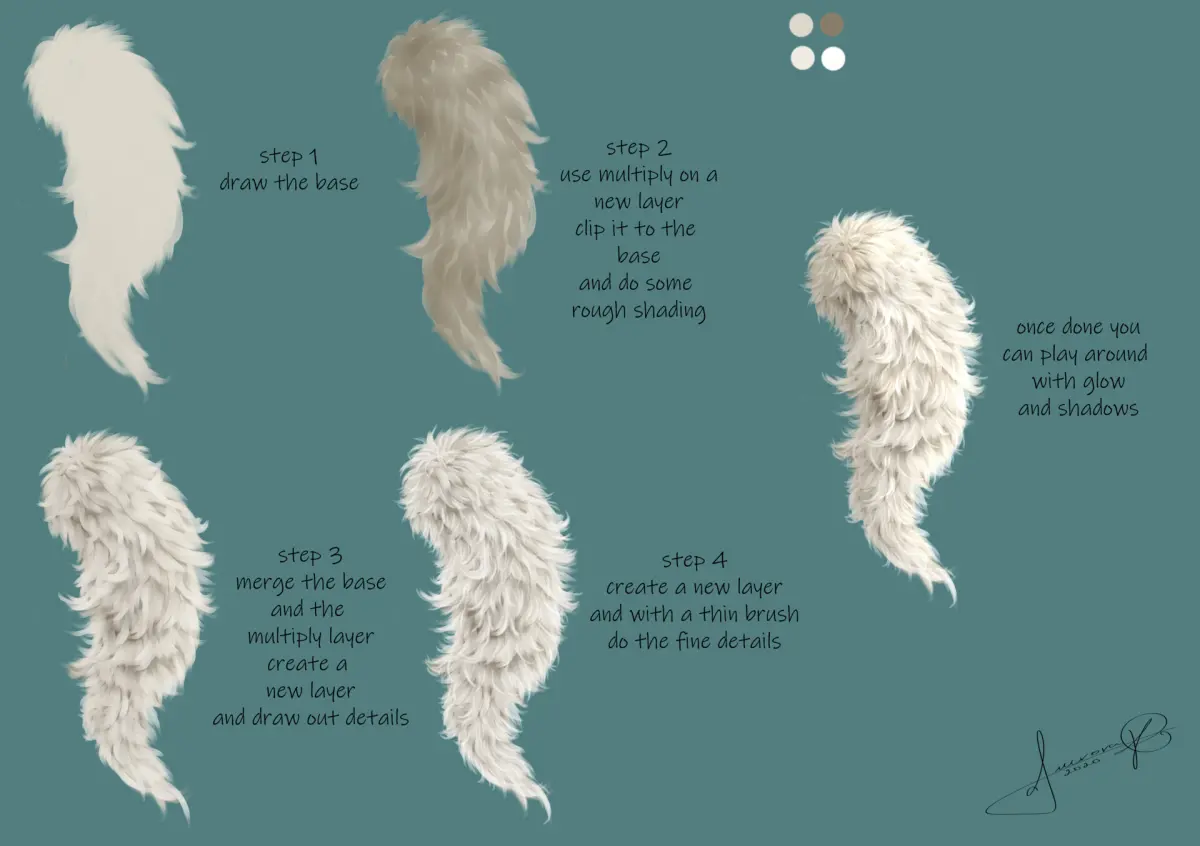
Realistic hair is defined by its relationship with light. Before adding any texture, shade the entire hair mass with a mid-tone to establish the base color. Then, identify the primary light source and darken the areas where the hair curves away from the light or overlaps other sections. Deep shadows are crucial for giving the hair weight and depth.
Use a range of pencils, such as 2B for base tones and 4B or 6B for deep shadows. Apply your shading in the direction of the hair’s growth, following the flow from root to tip. Avoid cross-hatching, as this creates a cross-wired look that contradicts the natural way hair fibers align. Consistent, smooth strokes are the key to achieving a silky, realistic appearance.
- Use a kneaded eraser to "lift" highlights from the base tone.
- Maintain sharp edges where hair overlaps other hair to create contrast.
- Soften transitions in the shadow areas to keep the form looking round.
- Reserve the darkest pencil grades for the deepest crevices between clumps.
How to draw hair texture
Texture should be suggested rather than explicitly drawn. If you attempt to draw every single strand, the final image will appear stiff and unnatural. Instead, focus on drawing the "flow" of the hair by using long, sweeping strokes that vary in pressure. Start the stroke with firm pressure at the base and lift the pencil at the end to create a tapered, natural-looking point.
Pay attention to stray hairs, often called flyaways, which add a sense of realism. These should be placed sparingly along the silhouette of the hair mass, catching the light against the background. By adding a few well-placed individual hairs that break the smooth outline, you break the monotony of the solid shapes and make the hair appear soft and touchable.
- Use a sharp pencil to add fine lines only in the areas of transition.
- Vary the length and curve of your strokes to mimic natural growth patterns.
- Keep the texture concentrated in the mid-tones rather than the deepest shadows.
- Ensure the direction of the strokes follows the underlying form of the head.
Common mistakes when drawing hair
One of the most frequent errors is drawing hair that looks like stiff, parallel wires. This usually happens when the artist applies uniform pressure to every stroke, ignoring the way light creates highlights and shadows. To avoid this, always consider the light source and ensure your strokes are not all the same length or thickness. Hair is organic and moves in clusters, so it should never look perfectly uniform.
Another mistake is ignoring the scalp. When hair parts, you must show the skin beneath, which acts as a focal point. Failing to account for the scalp makes the hair look like a wig or a helmet. Additionally, beginners often forget to leave white space for highlights. Highlights are the most important part of creating a shiny, healthy look, so protect these areas early in the process.
- Do not outline every individual hair, as this creates a cartoonish effect.
- Avoid making the hair too dark overall, which obscures the texture.
- Remember that hair has thickness; do not draw it flush against the skull.
- Ensure the hair follows the anatomy of the neck and shoulders beneath it.
Best tools for hair drawing
The quality of your materials significantly impacts the final texture. A mechanical pencil is excellent for sharp, fine details and thin flyaways, while a soft graphite pencil, such as a 6B, is necessary for rich, dark shadows. A kneaded eraser is indispensable because it can be molded into a point to pull out highlights or thinned to create subtle light streaks within a dark mass.
Consider using a blending stump or a soft brush to smooth out the base layers before adding detail. This creates a soft under-layer that makes the subsequent pencil strokes appear more integrated. For white highlights on dark hair, a white gel pen or a high-quality white charcoal pencil can provide the necessary pop. Always work on a surface with a slight tooth, as this helps the graphite grip the paper and allows for better layering of values.
Key facts
- Hair is drawn as groups of strands, or "clumps," rather than individual lines.
- Always follow the direction of the hair growth, starting from the roots and moving toward the tips.
- Use a sharp pencil to create thin, tapered lines that are thicker at the base and lighter at the ends.
- Leave white space between strokes to represent highlights where light reflects off the hair surface.
- Vary the pressure of your pencil to create depth, using darker values for shadows and lighter pressure for highlights.
- Use an eraser to pull out thin, bright highlights after the initial shading is complete.
The bottom line
Drawing realistic hair is a process of observing light, shadow, and volume rather than focusing on every single strand. By grouping hair into clumps, respecting the natural direction of growth, and strategically placing highlights, you can create a lifelike appearance. Practice consistent pressure control and remember that negative space is just as important as the pencil marks themselves when defining the texture and sheen of hair.
People also ask
Should I use a specific type of pencil for drawing hair?
Using a range of graphite pencils is essential for realism. Start with an HB or 2B for initial mapping and use 4B or 6B pencils to achieve the deep, rich blacks necessary for shadows.
How do I make hair look shiny instead of flat?
Shiny hair is created by leaving stark white gaps in your shading to represent highlights. Ensure the highlight follows the curve of the head to maintain a three-dimensional appearance.
What is the biggest mistake beginners make when drawing hair?
Beginners often draw individual, parallel lines that look like wire. Instead, focus on drawing overlapping shapes and varying the thickness of the lines to mimic natural volume.
How do I draw curly hair differently than straight hair?
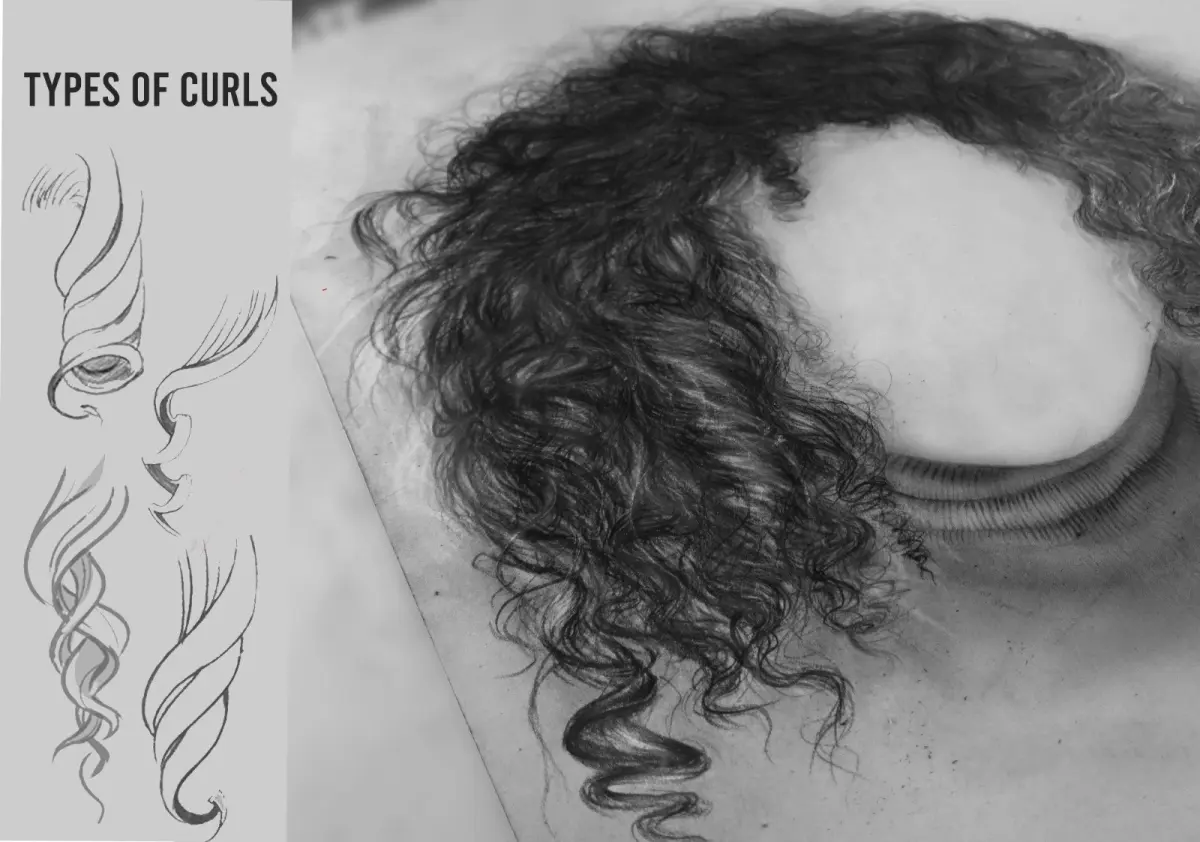
Curly hair requires drawing "S" or "C" shaped curves that overlap. Focus on the shadows created within the curls rather than the individual strands themselves.
Do I need to blend my pencil strokes?
Use a blending stump sparingly to soften shadows, but avoid over-blending. Over-blending creates a muddy, flat look that destroys the texture of individual strands.
How do I draw hair that looks soft?
Softness is achieved by keeping your edge work light and feathered. Use a light touch at the very beginning and end of each stroke to create a natural taper.
This answer was created with the help of AI research tools and reference sources. Spotted an error? Let us know — we correct mistakes quickly. See our editorial policy.