How do you draw different hair types?
Short answer
Drawing hair requires focusing on volume and flow rather than individual strands. By grouping hair into simplified shapes or "clumps," you can establish structure before adding texture. Mastering different hair types involves adjusting the density, curl pattern, and tension of these shapes to reflect the unique characteristics of straight, wavy, or coiled hair.
On this page
How to draw straight hair
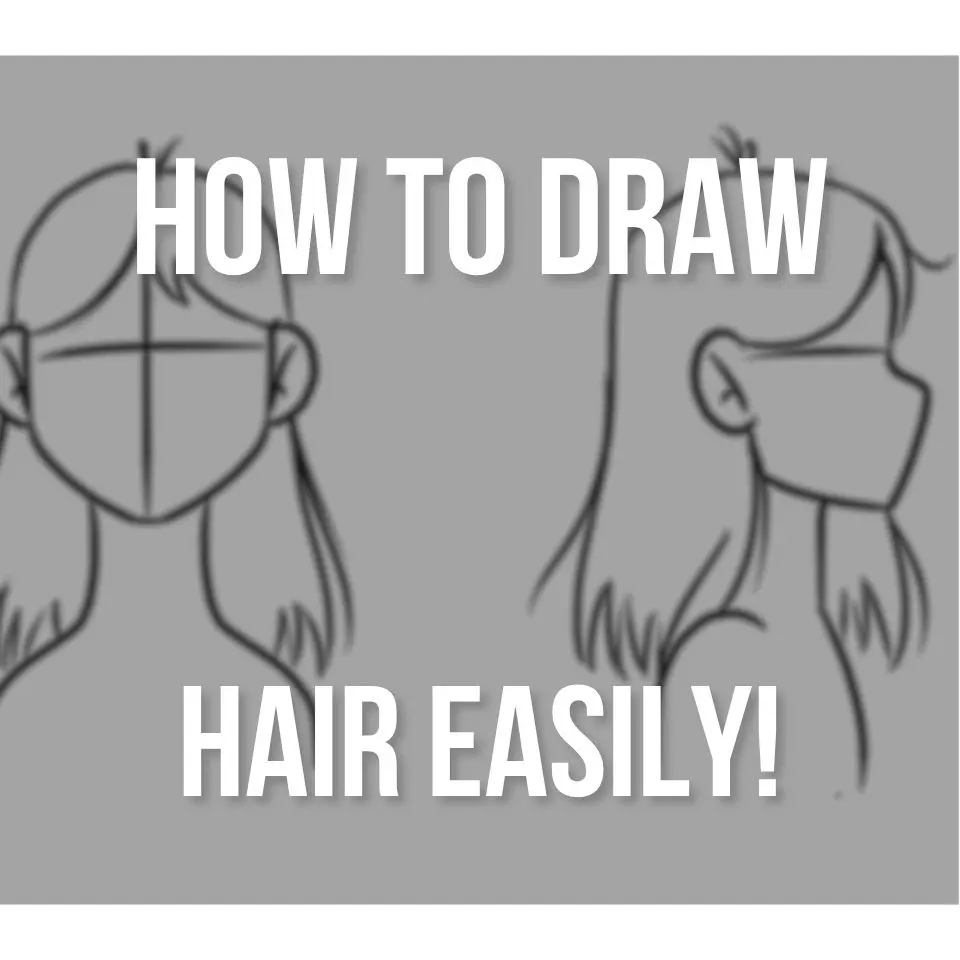
Straight hair is defined by its vertical movement and tendency to lay flat against the scalp. When drawing this type, think of the hair as a solid mass or a series of overlapping ribbons rather than thousands of thin lines. Start by sketching the general silhouette of the hairstyle, ensuring the hair follows the curvature of the skull. Once the shape is established, use long, confident strokes that flow from the roots toward the ends to define the direction of the hair.
To add realism, focus on the highlights and shadows that indicate the hair's thickness. Avoid drawing every single strand, as this often makes the hair look stiff or artificial. Instead, use thin, tapered lines only at the edges where individual hairs break away from the main mass. By keeping the interior of the hair shapes relatively smooth and focusing detail on the tips, you create a natural, flowing appearance that accurately mimics the weight and movement of straight hair.
How to draw wavy hair
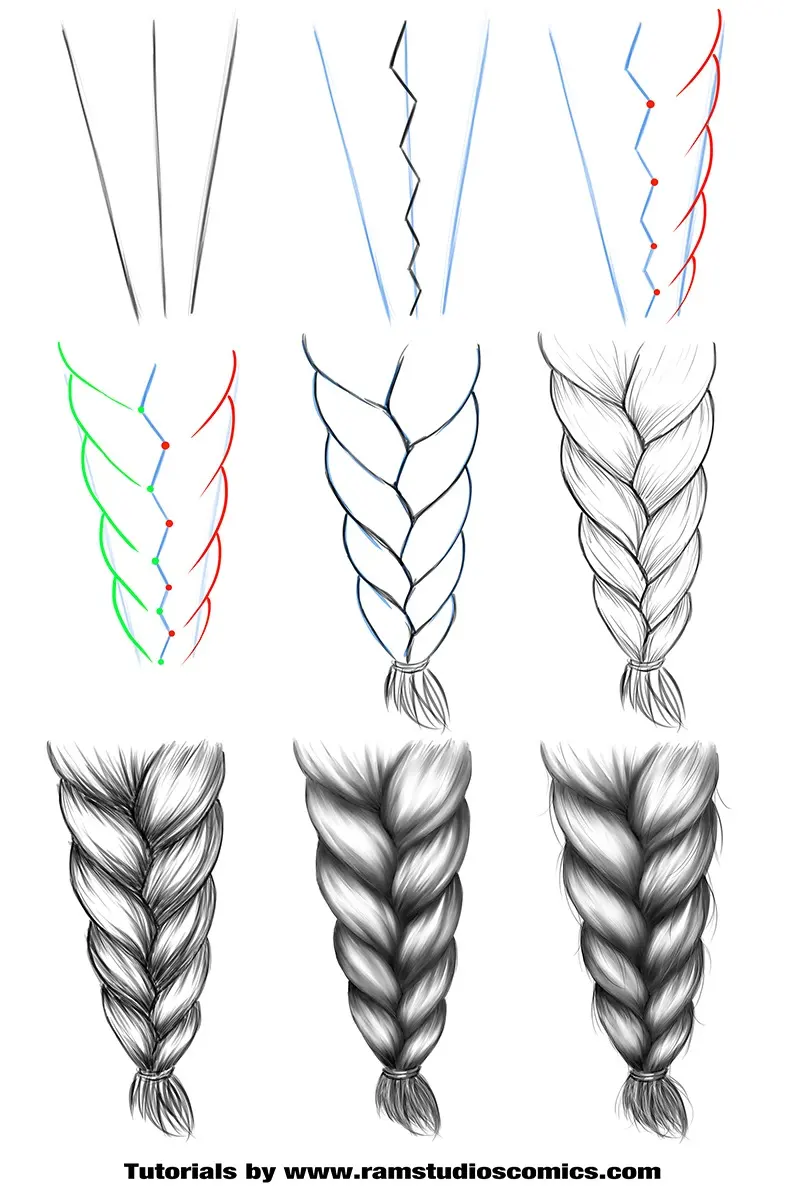
Wavy hair introduces a rhythmic, S-shaped pattern that requires a different approach to volume and layering. Unlike straight hair, which hangs vertically, wavy hair tends to lift away from the head, creating more space and air between the locks. Begin your sketch by drawing a series of interconnected, gentle curves that mimic the "S" shape. These curves should overlap to create depth, as wavy hair is rarely a single, uniform layer.
When rendering the texture, follow these steps to ensure the waves look consistent:
- Map out the primary "S" curves to establish the overall flow of the hair mass.
- Add secondary curves that overlap the primary ones to suggest thickness and volume.
- Place your darkest shadows in the deep recesses of the waves, where the hair folds inward.
- Apply highlights on the outermost curves to emphasize the three-dimensional form of each lock.
How to draw curly and coiled hair
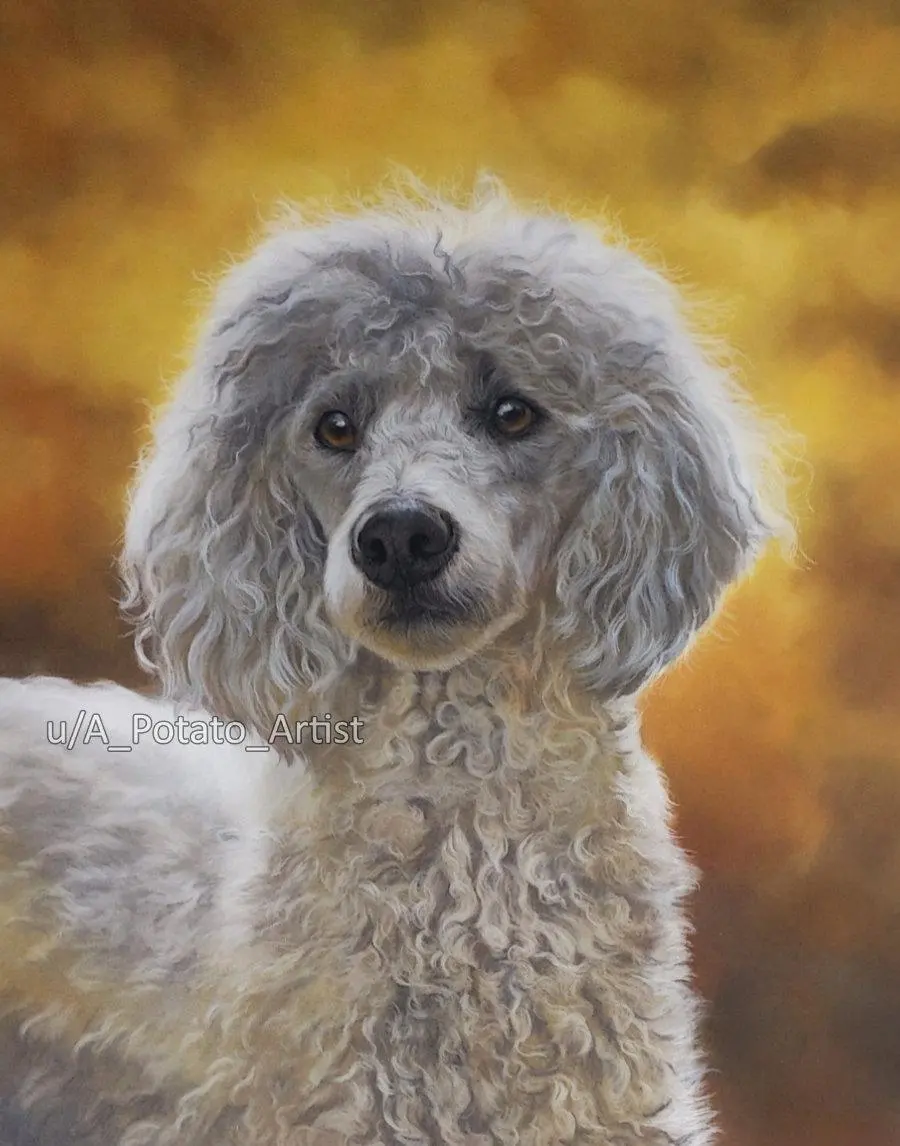
Curly and coiled hair types are characterized by tight, repetitive patterns that create significant volume. Because these hair types defy gravity, the silhouette is often much wider and more rounded than that of straight or wavy hair. Do not attempt to draw every individual curl, as this leads to a cluttered and messy final result. Instead, treat the hair as a collection of interconnected loops or springs.
Focus on the overall shape of the hair mass first, treating it like a cloud or a series of spheres. Once the volume is established, use small, repeating circular or zigzag motions to suggest the texture of the curls. Remember that tighter coils require more shadow, as the density of the hair prevents light from penetrating deep into the mass. By varying the size of these loops, you can create a sense of perspective and natural variation that makes the hair appear realistic and full.
Common mistakes when drawing hair
One of the most frequent errors artists make is drawing individual strands too early in the process. When you focus on details before establishing the underlying structure, the hair often lacks volume and looks "pasted" onto the head. Another common mistake is failing to consider the scalp's shape. Hair should always emerge from the hairline and follow the contours of the skull, rather than sitting on top like a hat.
Additionally, many beginners use a uniform line weight throughout the drawing. This makes the hair look flat and lifeless. To avoid this, use a variety of line thicknesses: thicker, darker lines in the shaded areas where hair bunches together, and lighter, thinner lines where the hair catches the light. Finally, avoid making the hair look too symmetrical. Natural hair is rarely perfectly balanced, so adding small imperfections and stray hairs will make your drawing look significantly more organic and believable.
Best tools for drawing hair textures
The choice of tools significantly influences the texture and softness of your hair drawings. For graphite artists, a range of pencils from 2H to 6B is essential. Use the harder 2H pencils for light, thin outlines and initial structural mapping, while the softer 6B pencils are perfect for creating deep, rich shadows in the crevices of curls or waves. A kneaded eraser is also a vital tool, as it allows you to "lift" highlights out of dark areas, creating the illusion of shiny, healthy hair.
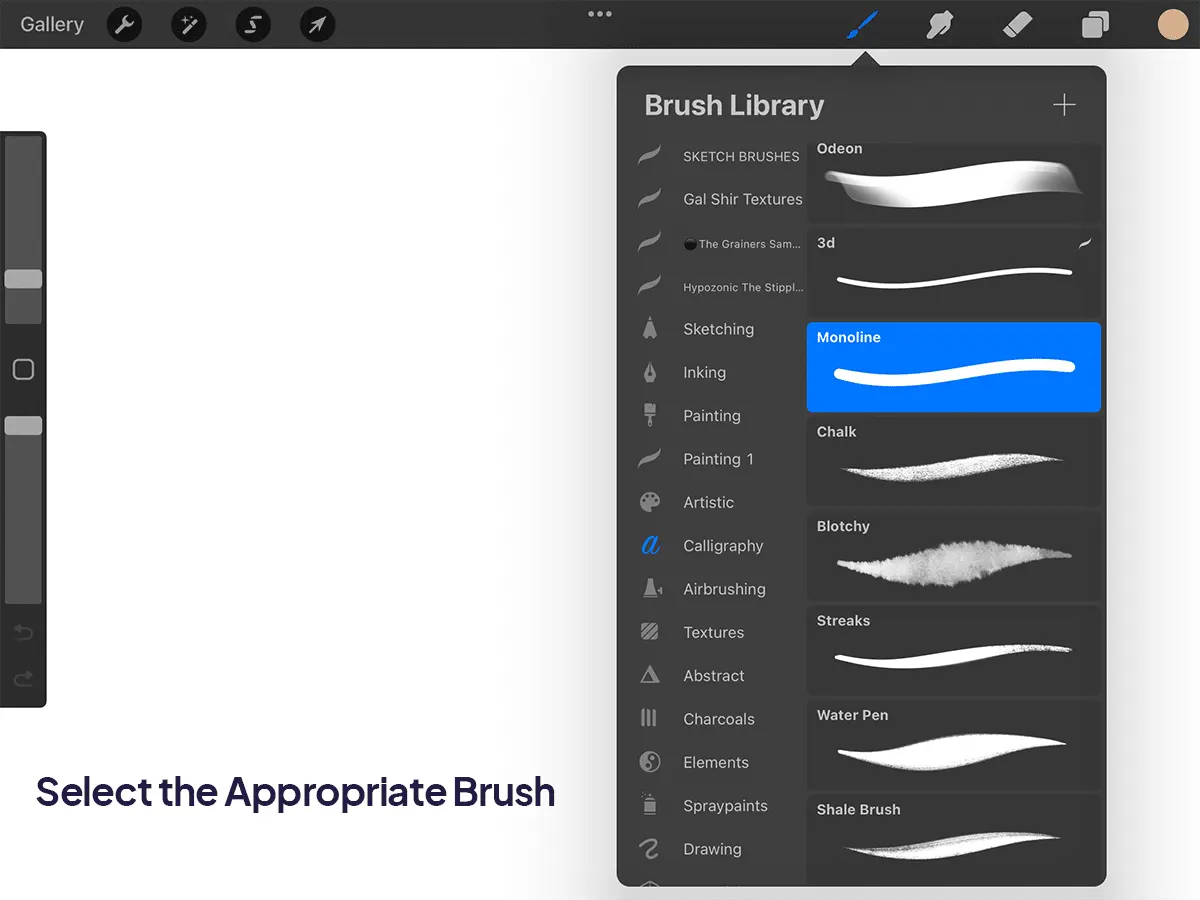
If you are working with digital media, focus on using brushes with varying opacity and pressure sensitivity. This allows you to build up layers of hair gradually, mimicking the way light filters through real locks. Regardless of your medium, the most important tool is your observation. Study reference photos of different hair textures to understand how light interacts with the surface. By observing the way light hits the top of a curl versus the bottom of a straight lock, you can refine your technique and produce professional, high-quality illustrations.
Key facts
- Hair is drawn as mass and volume rather than individual strands, using large shapes to define the silhouette.
- Straight hair is characterized by long, vertical lines and minimal internal texture, often ending in blunt or soft points.
- Wavy hair follows an "S" pattern, where the curves are elongated and overlap to create depth.
- Curly hair is defined by tight, repeating "C" or "O" shapes that stack on top of one another.
- Coily or kinky hair is best represented by tight, jagged zig-zags or dense, cloud-like volumes that sit away from the scalp.
- Always establish the hairline and the crown of the head first to ensure the hair sits naturally on the skull.
The bottom line
Mastering the art of drawing hair requires moving away from individual strands and focusing on the overall shape, volume, and flow. By identifying the specific pattern—straight, wavy, curly, or coily—you can use consistent stroke directions to define the texture. Remember to prioritize the silhouette and light placement, as these elements provide the realism needed to make your subjects appear lifelike and naturally integrated with their heads.
People also ask
How do I make hair look shiny?
To create the illusion of shine, leave a thin, white strip or "highlight" across the curve of the hair mass. Keep this area free of lines and use darker shading immediately surrounding it to create high contrast.
Should I draw every single strand of hair?
No, drawing every strand makes the hair look stiff and unnatural. Instead, group hair into "clumps" or ribbons and only add a few stray hairs at the edges to suggest texture.
How do I show the weight of the hair?
Hair weight is shown by how it interacts with gravity and the shoulders. Long, heavy hair should drape over the shoulders, while shorter hair should have more lift and volume at the roots.
What is the best pencil technique for drawing hair?
Use long, sweeping strokes that follow the direction of the hair growth. Avoid short, scratchy marks, as these make the hair appear frizzy or damaged rather than flowing.
How do I draw hair that is parted?
Start the parting line at the crown and draw the hair flowing away from that central point. Ensure the hair has a slight lift at the root before it falls downward to avoid a flat appearance.
Why does my hair drawing look like a helmet?
This happens when the hair is drawn too close to the skull or lacks distinct volume. Always draw the head shape first, then add the hair as a separate layer on top to ensure there is enough space for thickness.
This answer was created with the help of AI research tools and reference sources. Spotted an error? Let us know — we correct mistakes quickly. See our editorial policy.