How do you draw realistic fur?
Short answer
Drawing realistic fur requires focusing on the direction of hair growth, layering values from dark to light, and using varied stroke pressure. Rather than drawing individual strands, prioritize capturing the texture of clumps and shadows. Consistent observation of light sources and the underlying muscle structure ensures a lifelike, three-dimensional appearance.
On this page
How to layer fur textures for realism
Achieving depth in fur begins by establishing a dark base layer. Use a soft graphite pencil or charcoal to map out the shadows where the fur is densest, such as under the chin or near the ears. By working from dark to light, you create the illusion of volume and prevent the drawing from looking flat.
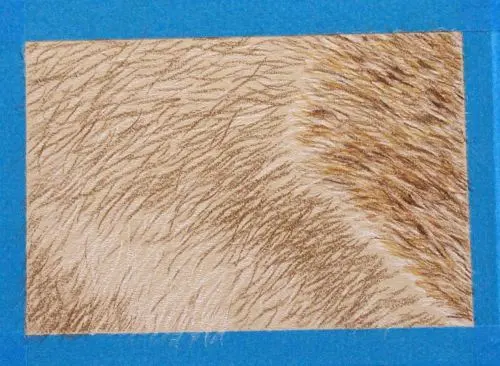
Once the shadows are set, build up the mid-tones using directional strokes that follow the animal's anatomy. Think of fur as a series of overlapping plates rather than isolated lines. Focus on these core principles to maintain structure:
- Always follow the natural growth pattern of the animal's coat.
- Use a sharp pencil to flick the tip, lifting it off the paper at the end of each stroke to create a tapered hair effect.
- Leave small gaps between strokes to allow the underlying paper or base layer to show through, which adds natural highlights.
What tools are best for drawing fur
The quality of your materials significantly impacts the final texture. For fine, realistic fur, use a range of pencils from 2H for light under-layers to 6B for the deepest shadows. A mechanical pencil is often superior for drawing individual guard hairs because it maintains a consistent point without needing frequent sharpening.
In addition to standard pencils, consider these essential tools for refining your work:
- Kneaded erasers: These are vital for lifting out highlights and correcting mistakes without damaging the paper surface.
- Blending stumps: Use these sparingly to soften transitions in dense areas, but avoid over-blending, which can make fur look like solid plastic.
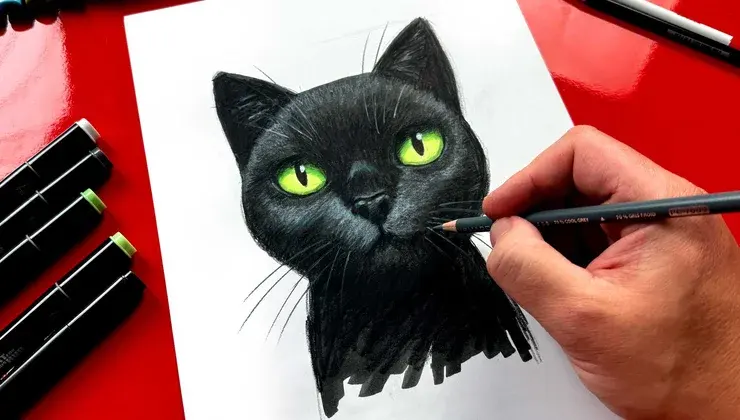
- Electric erasers: These provide the precision needed to create thin, bright white hairs against a dark background, which is essential for whiskers and highlights.
- Smooth-finish paper: A hot-press or Bristol board surface allows for finer detail than rough-tooth paper, which tends to break up your lines.
How to avoid common mistakes when drawing fur
A frequent error beginners make is drawing every single hair with uniform pressure and length. This creates a stiff, artificial look often referred to as "wire-brush fur." Instead, focus on the overall shape of fur clumps, which move and fold according to the animal’s movement and skin tension.
Another common pitfall is neglecting the transition zones between different fur types. Animals often have shorter, denser fur on their faces and longer, coarser fur on their bodies. To avoid a disjointed appearance, study how these textures blend together at the seams. If you find your drawing looks messy, check your light source; inconsistent shadows are the quickest way to ruin the illusion of a three-dimensional form. Remember that fur is a surface covering, not a flat pattern, so it must wrap around the underlying muscle and bone structure of the subject.
How to capture fur highlights and shadows
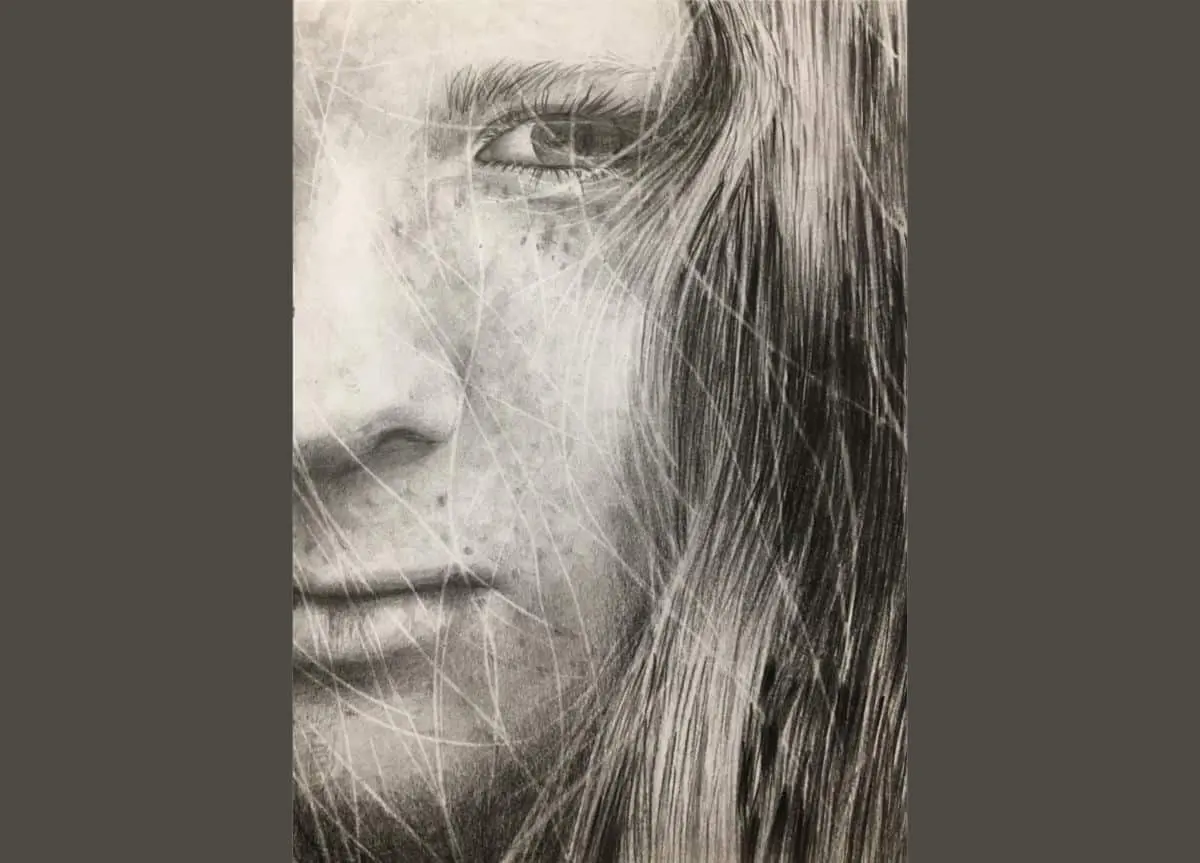
Light interaction is what separates a professional drawing from a basic sketch. Fur is reflective, meaning the highlights are often concentrated on the top of the coat where light hits the surface directly. Use your sharpest pencil or a white gel pen to place these highlights only after the mid-tones and shadows are fully established.
To make the fur appear soft and touchable, pay attention to the edges of your subject. The silhouette should not be a solid, hard line. Instead, let some hairs break the outline, creating a soft, fuzzy periphery. This technique, known as "edge control," helps the animal integrate with the background. By varying the intensity of your strokes and the density of the hair clumps, you can create a sense of weight and softness that makes the fur feel authentic and alive.
Why fur looks flat in drawings
Flatness usually occurs when there is a lack of contrast or when the artist fails to account for the curvature of the animal's body. If the fur is drawn with the same value throughout, the viewer loses the sense of where the light is coming from. Always identify your primary light source before starting and ensure that the shadows on the side opposite the light are significantly darker.
To add volume, follow these three steps:
- Map the major muscle groups of the animal to understand how the skin curves beneath the fur.
- Apply darker values to the areas where the fur enters a fold or sits in a shadow.
- Use lighter, thinner strokes on the "peaks" of the body where the light hits most directly.
By consistently applying these techniques, you will move away from simple line work and begin creating complex, realistic textures that define the animal's unique physical presence.
Key facts
- Fur grows in directional clumps called "hair tracts" rather than as individual, uniform strands.
- Use a sharp, hard-lead pencil (2H) for initial light guidelines and a softer lead (4B or 6B) for dark shadows.
- Always flick your pencil in the direction of the fur growth, lifting the pressure at the end of each stroke.
- Layering is essential; start with a light base tone before adding darker, finer hairs on top.
- Leave small, unshaded gaps between strokes to represent highlights and the natural separation of fur.
- Use a kneaded eraser to "lift" out thin, bright hairs from a darker shaded area.
The bottom line
Drawing realistic fur requires observing the direction of hair growth and mastering the tapered stroke. By layering light base tones with darker, directional lines and utilizing an eraser for highlights, you create the illusion of volume and texture. Avoid the common mistake of drawing every hair; instead, focus on the shape of fur clumps and the play of light to achieve a professional, lifelike appearance.
People also ask
What is the best pencil grade for drawing fur?
Use a 2H or HB pencil for light, structural under-layers. Switch to a 4B or 6B pencil for deep shadows and high-contrast details to give the fur depth.
Should I draw every single hair on an animal?
No, drawing every hair creates a cluttered, unrealistic look. Focus on the overall shape and texture of the fur clumps, using individual lines only to suggest detail at the edges.
How do I make fur look soft instead of stiff?
Softness is achieved by varying the pressure of your stroke. Apply light pressure at the start and end of each hair line to create a tapered, natural look.
How do I handle color transitions in fur?
Use light, overlapping strokes to blend colors gradually. Avoid harsh lines between different fur colors by letting the strands interweave at the boundaries.
Why does my fur drawing look flat?
Flatness usually results from uniform shading. You must account for the animal’s anatomy by darkening areas where fur curves away from light, such as under the chin or legs.
Can I use a blending stump for fur?
Use blending stumps sparingly, as they often smudge fine details into a muddy gray. It is better to rely on precise pencil strokes to maintain the texture of individual hairs.
This answer was created with the help of AI research tools and reference sources. Spotted an error? Let us know — we correct mistakes quickly. See our editorial policy.