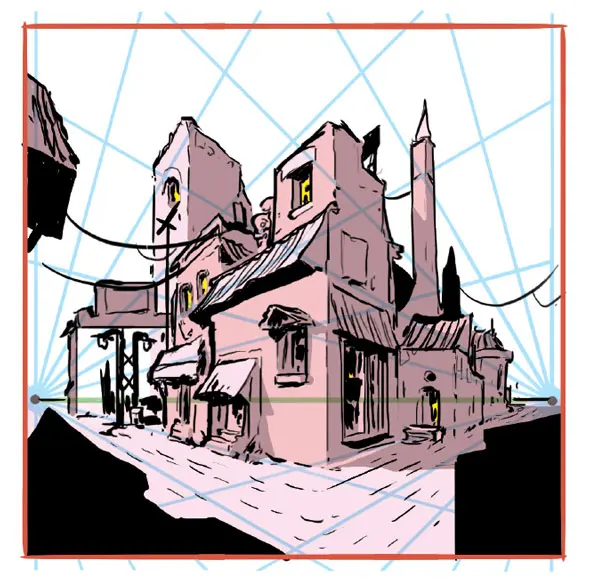
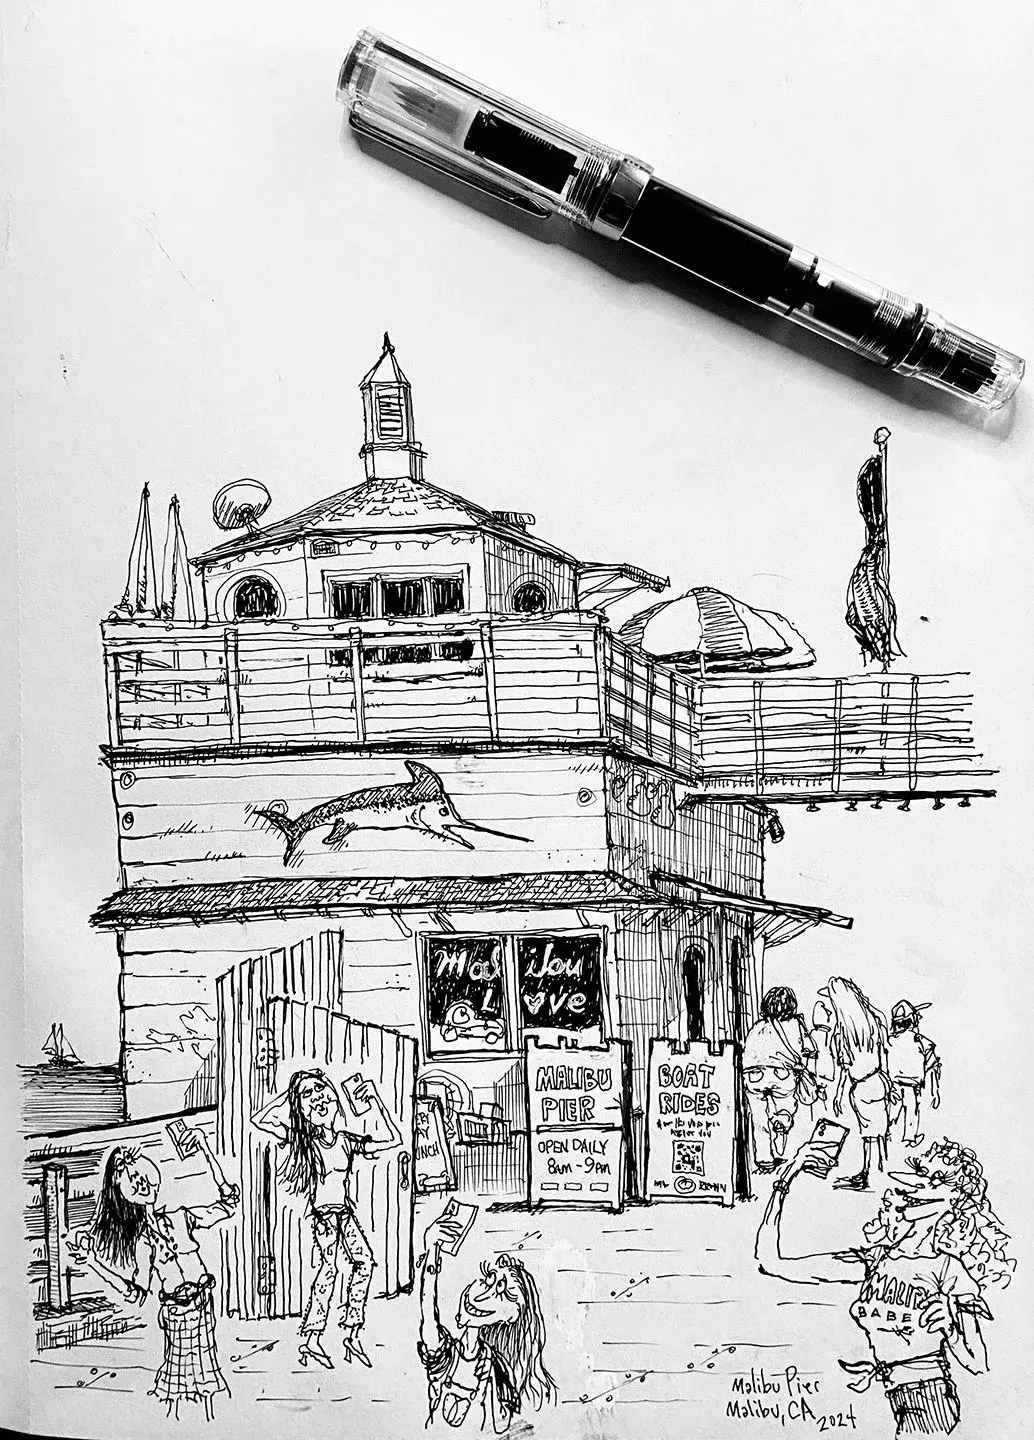
How can I draw a road in perspective easily?
Short answer
Drawing a road in perspective requires establishing a horizon line and a single vanishing point. By drawing converging lines that meet at this point, you create the illusion of depth. Adding evenly spaced horizontal lines between these edges, which become closer together as they approach the horizon, completes the realistic effect.
On this page
How to set up one-point perspective for roads
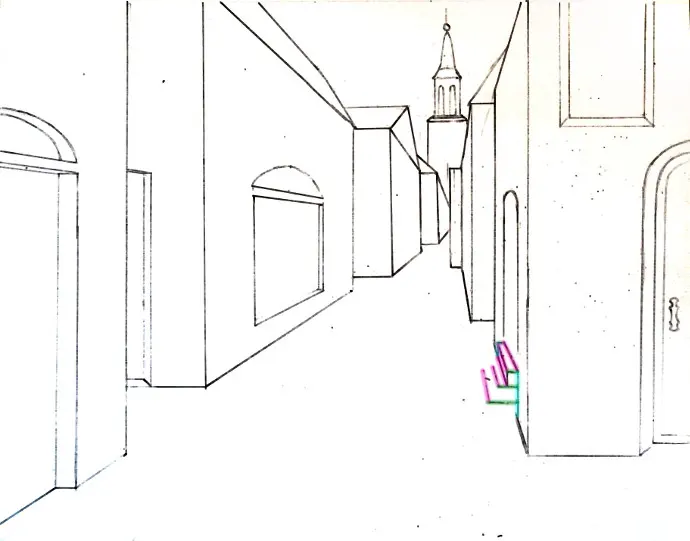
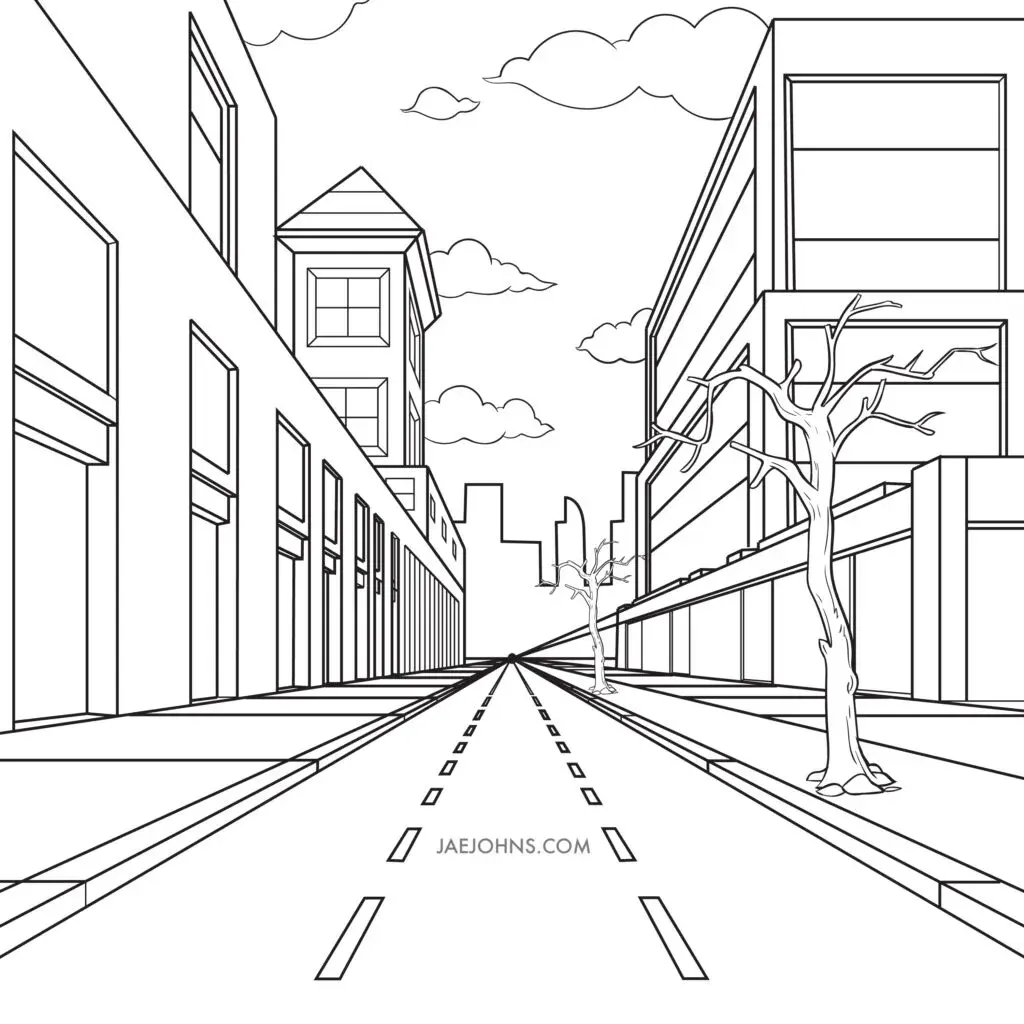
To begin, draw a horizontal line across your paper to represent the horizon, which sits at the viewer’s eye level. Place a single dot anywhere on this line; this is your vanishing point where all parallel lines will eventually converge. A road is essentially a series of parallel lines that appear to meet in the distance, so this point acts as the anchor for your entire composition.
For a standard straight road, draw two diagonal lines starting from the bottom corners of your page and extending upward until they meet at your vanishing point. These lines define the outer edges of the asphalt. Ensure your ruler is aligned perfectly with the vanishing point to maintain geometric accuracy. If you want the road to appear wider, start your lines further apart at the bottom edge of the paper.
How to draw road markings correctly
Road markings are essential for conveying speed and distance. As the road recedes toward the horizon, the physical length of the white dashed lines and the gaps between them must shrink proportionally. If you draw the dashes the same size from bottom to top, the road will look flat rather than three-dimensional.
Follow these steps to ensure your markings look accurate:
- Draw horizontal lines across the road at the bottom of the page to establish the width of the first dash.
- Place a small mark on the center line of the road at decreasing intervals as you move toward the vanishing point.
- Connect the edges of these marks to the vanishing point to create trapezoidal shapes that taper off.
- Fill in the center segments with a solid color, ensuring the gaps between them decrease in height significantly.

Best tools for drawing perspective lines
While you can draw a road freehand, using a mechanical pencil and a long metal ruler provides the precision required for architectural perspective. A 2H pencil is ideal for initial construction lines because it creates light, thin marks that are easy to erase later. Once the structure is finalized, you can go over the road edges with a softer 2B pencil or an ink pen to add weight and contrast.
Consider using these professional-grade tools to improve your accuracy:
- A transparent plastic T-square to keep your horizon line perfectly level.
- A drafting compass if you need to calculate curves or circular intersections.
- A kneaded eraser, which allows you to lift graphite off the paper without damaging the surface texture.
- A set of fine-liner pens with varying tip sizes to create the illusion of atmospheric perspective by making distant lines thinner.
Why roads look distorted in drawings
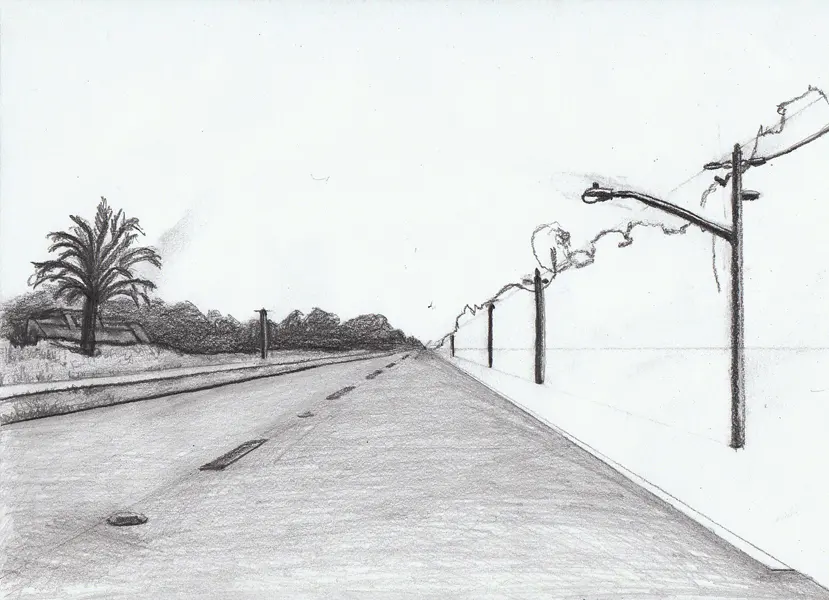
Distortion often occurs when the vanishing point is placed too close to the center of the road or when the angle of the converging lines is too steep. If the lines converge too rapidly, the road will appear to climb vertically like a cliff rather than lying flat on the ground. To fix this, move your vanishing point higher on the horizon or widen the base of your road lines.
Another common issue is the "fisheye" effect, which happens when you attempt to draw a road that curves too sharply without adjusting the perspective. When a road turns, it requires a secondary vanishing point on the horizon line. If you are a beginner, stick to straight roads until you master the relationship between the ground plane and the horizon. Always keep your horizon line consistent across the entire drawing to avoid conflicting perspectives.
Common mistakes when drawing perspective
The most frequent error is failing to account for the "foreshortening" of objects on the road. Beginners often draw cars or streetlights as if they are all the same size regardless of their distance from the viewer. In reality, an object near the bottom of the page should be much larger than an object near the horizon. Use your established road lines as a guide; if a car is driving on the road, its tires must touch the ground plane within the boundaries of your converging lines.
Avoid these common pitfalls to keep your drawing looking professional:
- Ignoring the horizon line, which causes the road to look like it is floating.
- Drawing the road edges as perfectly straight lines without considering the slight curvature of the earth.
- Over-detailing the distant parts of the road, which should be simplified as they approach the vanishing point.
- Placing the vanishing point off the paper without marking it, which leads to inconsistent angles.
By maintaining a clear focus on the vanishing point and scaling your elements appropriately, you will create a convincing sense of depth and space.
Key facts
- Use a single vanishing point on the horizon line to create a sense of depth.
- Draw two diagonal lines originating from the vanishing point to define the road's edges.
- Make the road wider at the bottom of the page and narrower as it approaches the horizon.
- Space out centerline dashes so they become smaller and closer together as they recede.
- Ensure the horizon line is placed at the viewer's eye level to maintain realistic proportions.
- Use a ruler to keep your lines straight, as even slight curves can ruin the perspective effect.
The bottom line
Drawing a road in perspective relies on the consistent use of a single vanishing point located on your horizon line. By ensuring that all lines representing the road's edges and markers converge at this point, you create a convincing illusion of depth. Remember that size and spacing must decrease as objects move toward the horizon, which is the fundamental rule for achieving professional-looking spatial accuracy in art.
People also ask
What is a vanishing point?
A vanishing point is the specific spot on the horizon line where parallel lines appear to converge. It serves as the anchor for all receding lines in a perspective drawing.
Read the full answer →Should I use one or two vanishing points for a road?
One vanishing point is sufficient for a road that leads straight into the distance. Use two vanishing points only if the road is turning or if you are depicting a corner.
How do I draw the road markers correctly?
Draw the markers as thin rectangles that grow shorter and thinner as they move toward the vanishing point. The gap between these markers must also shrink to simulate distance.
Why does my road look like it is tilting?
This usually happens when the vanishing point is not placed directly on the horizon line. Ensure your horizon is perfectly horizontal and your vanishing point sits directly upon it.
How do I add depth to the surrounding landscape?
Draw objects like trees or poles smaller and higher up on the page as they get closer to the vanishing point. This reinforces the scale established by the road.
Is it better to use a pencil or a pen for perspective?
Start with a light graphite pencil to sketch your guidelines and vanishing point. Once the perspective is correct, you can ink over the permanent road lines.
This answer was created with the help of AI research tools and reference sources. Spotted an error? Let us know — we correct mistakes quickly. See our editorial policy.