How do you draw a cartoon nose?
Short answer
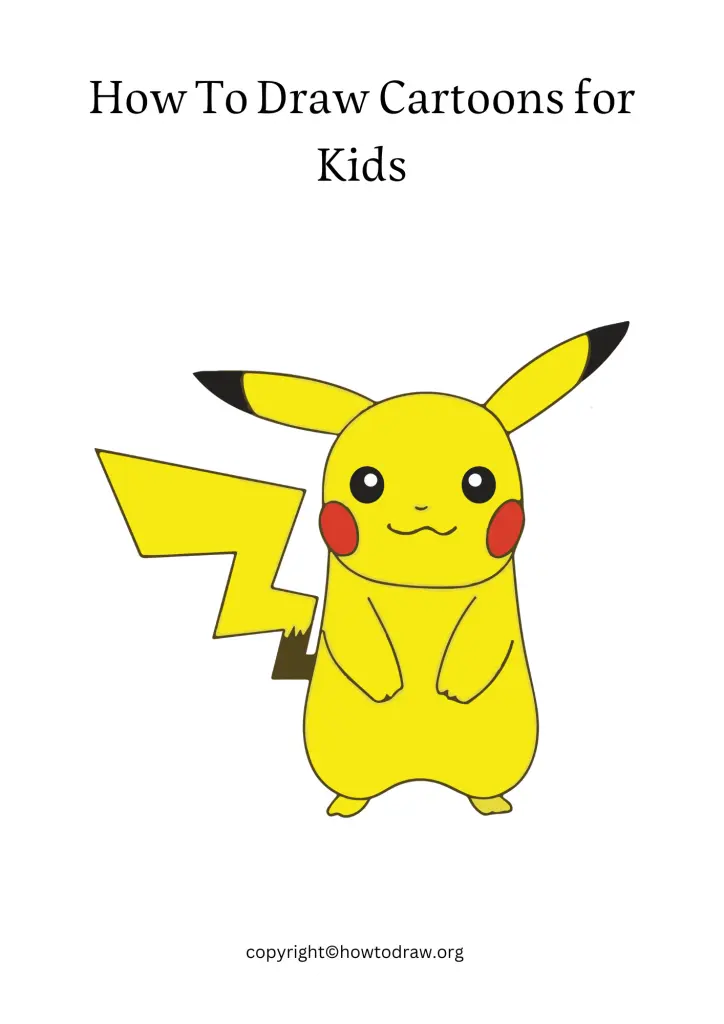
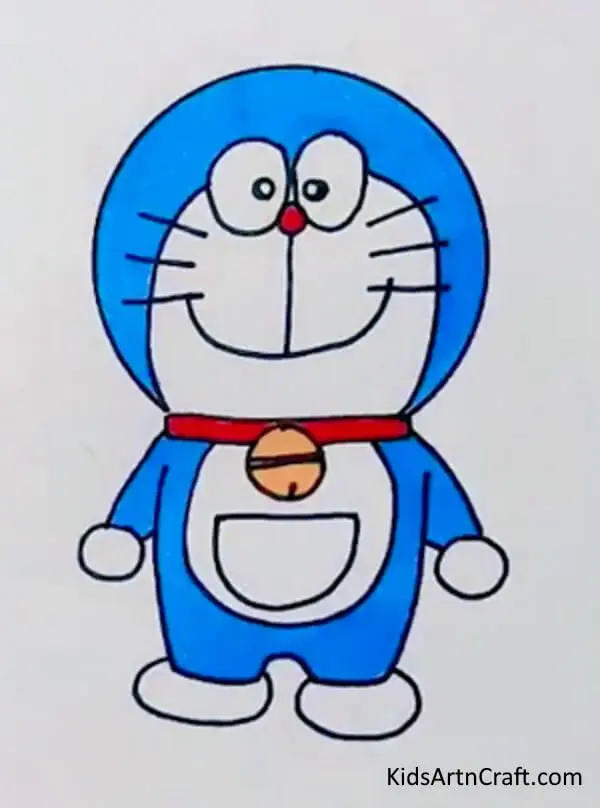
Drawing a cartoon nose involves simplifying complex anatomy into basic geometric shapes like triangles, circles, or simple lines. By focusing on the silhouette rather than realistic shading, you can convey character personality and expression. Start with a light sketch of the bridge and tip, then refine the shape to match your style.
On this page
How to simplify nose shapes for beginners
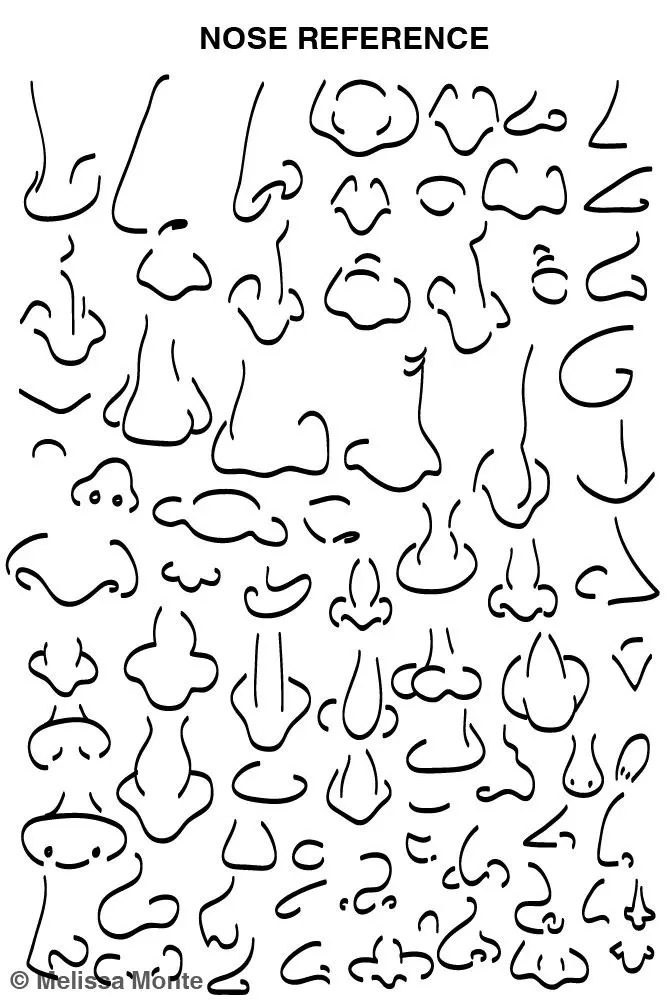
Cartooning relies on the principle of abstraction, where you reduce the intricate structure of a human nose into its most essential components. Instead of worrying about cartilage, nostrils, and septum structure, focus on the overall profile. A simple "L" shape or a small triangle can effectively suggest a nose without cluttering the drawing.
When starting, observe how different shapes communicate character traits. A sharp, pointed triangle often suggests a cunning or villainous personality, while a rounded, bulbous shape can make a character appear friendly or approachable. Practice these basic forms by drawing them from different angles to understand how they occupy space on the face.
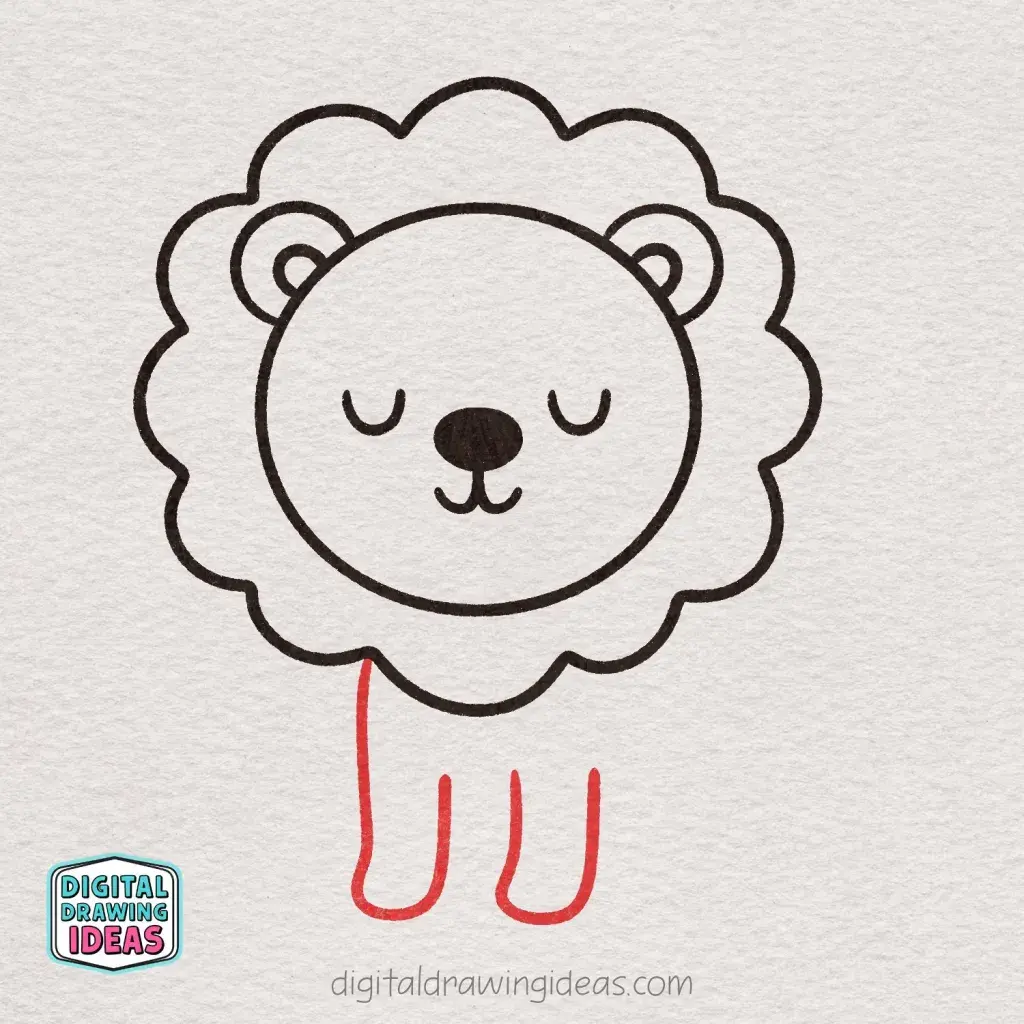
- Draw a small circle to represent the tip of the nose.
- Add a slight curve above the circle to indicate the bridge.
- Connect these shapes with light lines to form a cohesive silhouette.
- Erase the interior lines to finalize the cartoon shape.
How to draw noses from different angles
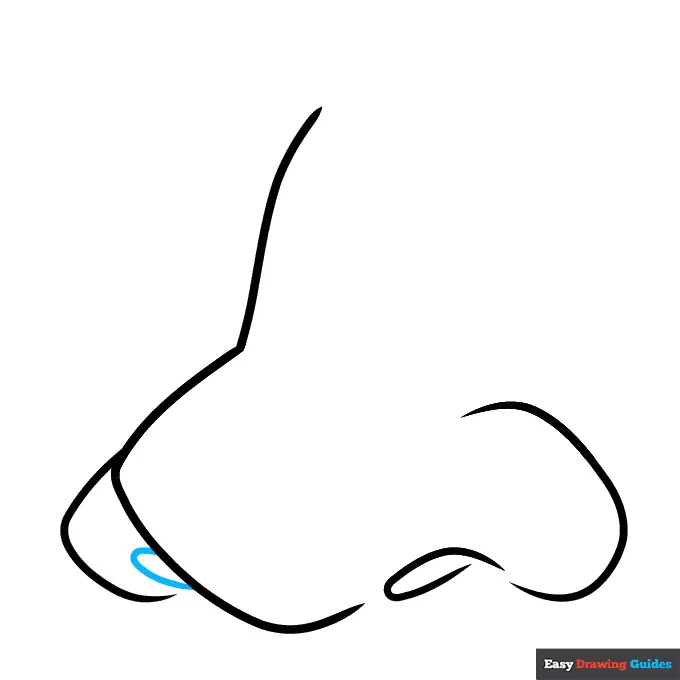
The perspective of your character significantly changes how you approach the nose. When drawing a profile view, the nose is the most prominent feature and should be drawn with a distinct, continuous line that defines the bridge and tip. In a front-facing view, the nose becomes a subtle suggestion, often indicated by a small shadow or a minimal line.
Mastering the three-quarter view is essential for dynamic character design. In this position, one side of the nose will appear slightly longer or more prominent than the other due to foreshortening. To maintain consistency, keep the nose aligned with the center axis of the face, ensuring it sits comfortably between the eyes and the mouth.
- Use a soft curve for a side profile to emphasize the bridge.
- Keep front-facing lines minimal to avoid making the nose look too heavy.
- Adjust the length of the nose based on the age of the character.
- Use shading only on one side to imply depth without adding unnecessary detail.
Why nose placement affects character expression
The vertical placement of the nose on the face is a primary factor in determining the perceived age and attitude of a character. Placing the nose higher up toward the eyes often gives a character a more youthful, innocent, or "cute" appearance. Conversely, a longer nose placed lower toward the mouth can make a character look more mature, serious, or even grumpy.
Furthermore, the relationship between the nose and the mouth is critical for conveying emotion. If you draw the nose very close to the upper lip, the character may appear to be sniffing or expressing disdain. By varying the gap between these features, you can manipulate the character's facial expressions, making them appear surprised, relaxed, or tense depending on the spatial arrangement you choose.
Common mistakes when drawing cartoon noses
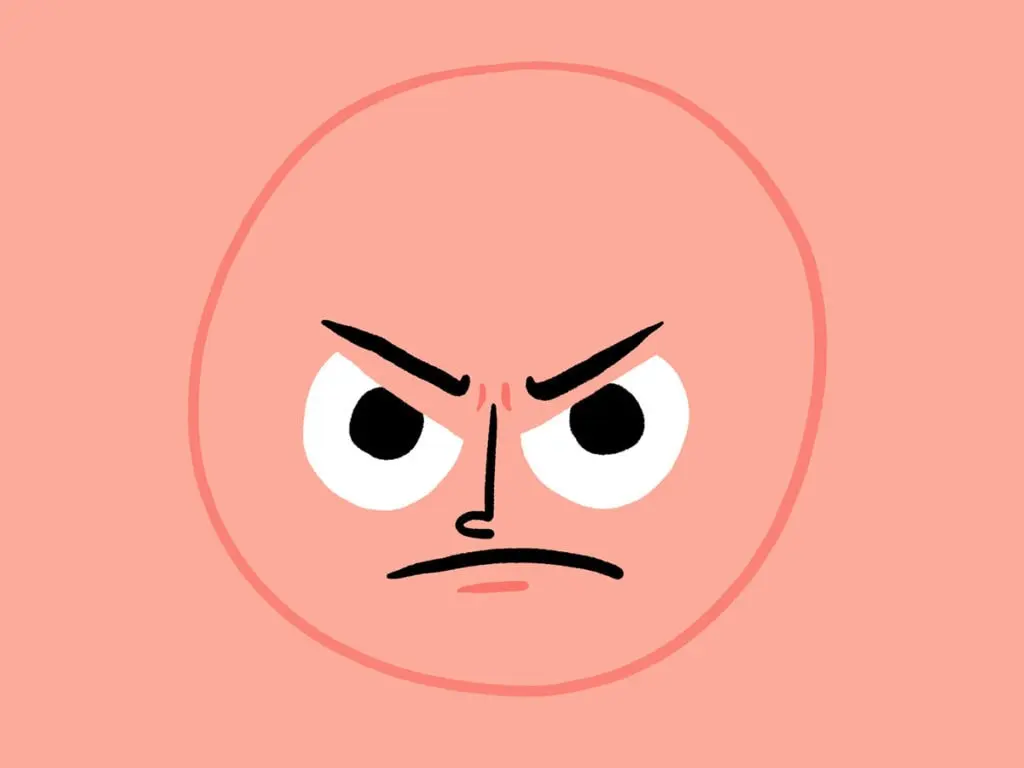
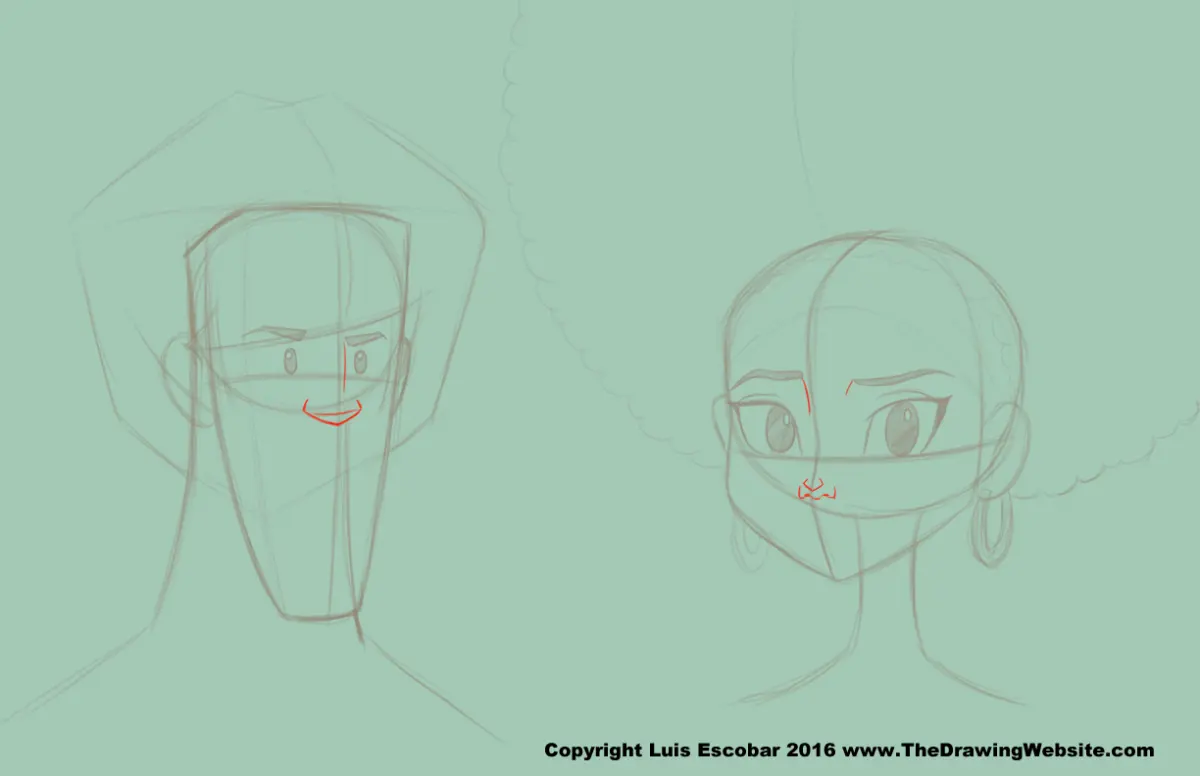
One of the most frequent errors is over-detailing the nostrils, which can make a cartoon character look strangely realistic or grotesque. Unless you are aiming for a specific caricature style, avoid drawing full circles or complex loops for nostrils. A simple dash or a tiny, shaded crescent is usually sufficient to imply the presence of nostrils without distracting from the overall design.
Another common mistake is failing to integrate the nose with the rest of the facial features. Beginners often draw the nose as an isolated shape that does not seem to belong to the face. Ensure the bridge of the nose flows naturally into the brow line or the forehead. This connection creates a sense of anatomical logic, even within a highly stylized or exaggerated cartoon world, and prevents the nose from appearing as if it were simply pasted onto the face.
Best techniques for consistent character design
Consistency is the hallmark of a professional character designer. Once you have settled on a specific nose style for a character, you must replicate it accurately across every frame or drawing. To achieve this, create a simple character sheet that shows the nose from the front, side, and three-quarter views. This serves as a reference guide to ensure the proportions remain identical regardless of the character's pose.
Experiment with line weight to give your cartoon noses more character. A thicker line can make the nose appear sturdier or more prominent, while a thinner, lighter line keeps the face looking soft and airy. By combining these techniques with your chosen geometric shapes, you can develop a signature style that makes your characters instantly recognizable and expressive. Remember that the goal is not anatomical accuracy, but rather the effective communication of character through simple, intentional lines.
Key facts
- Simplify the nose into basic geometric shapes like triangles, circles, or trapezoids to maintain consistency.
- Use a single curved line to suggest the bridge of the nose without drawing every detail.
- Keep the nose small to make a character appear younger or larger to emphasize age or a grumpy personality.
- Position the nose roughly halfway between the eyes and the chin for standard human proportions.
- Vary the shape of the nostrils, using small ovals for a soft look or sharp, angular lines for a more aggressive character.
- Avoid drawing a full outline of the nose, as "less is more" in cartooning; often, just the shadow or the tip is sufficient.
The bottom line
Drawing a cartoon nose is an exercise in simplification and character expression. By reducing complex anatomy into basic geometric shapes, you can convey personality while maintaining a clean aesthetic. Focus on the placement and the silhouette rather than anatomical accuracy. Experimenting with different sizes and line weights will help you develop a unique style that complements your character's overall design, ensuring the face remains expressive and readable.
People also ask
How do I make a nose look like it is pointing upward?
Draw the nostrils as visible circles or ovals at the base of the nose shape. This perspective shift creates the illusion of a "snub" or upturned nose.
Should I draw the bridge of the nose for every character?
Not necessarily, as many cartoon styles omit the bridge entirely to keep the face clean. Only include the bridge if you want to convey a more realistic or serious character design.
How do I draw a nose seen from the side profile?
Use a single continuous line that extends from the forehead to the tip of the nose. Add a small indentation or curve to define the nostril area clearly.
What is the best way to draw a "button" nose?
Start with a small, simple circle in the center of the face. Add two tiny dots or curved lines underneath to represent the nostrils, keeping the overall shape soft and rounded.
How can I make a nose look large or prominent?
Increase the size of the geometric shape and add extra shading or a distinct bridge line. A larger nose often serves as a focal point for comedic characters or older figures.
Is it better to shade the nose or use only lines?
Using only lines is standard for most animation and comic strips to ensure clarity. If you are creating a more detailed illustration, use a light, soft shadow on one side to provide depth.
This answer was created with the help of AI research tools and reference sources. Spotted an error? Let us know — we correct mistakes quickly. See our editorial policy.