How do you shade a cylinder?
Short answer
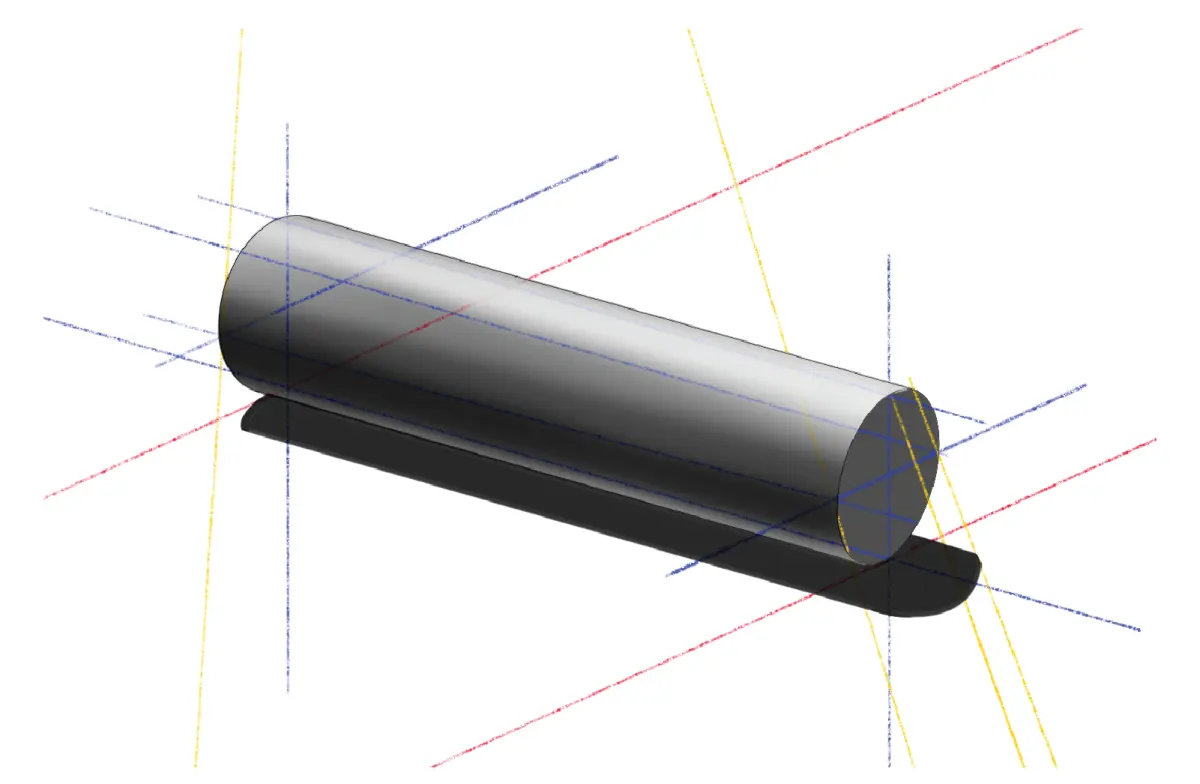
Shading a cylinder requires mapping light and shadow across a curved surface. You must apply a gradient that transitions from a highlight to a core shadow, followed by reflected light and a cast shadow. By following the cylindrical volume’s curvature, you create a three-dimensional illusion on a two-dimensional drawing surface.
On this page
How to shade a cylinder step by step
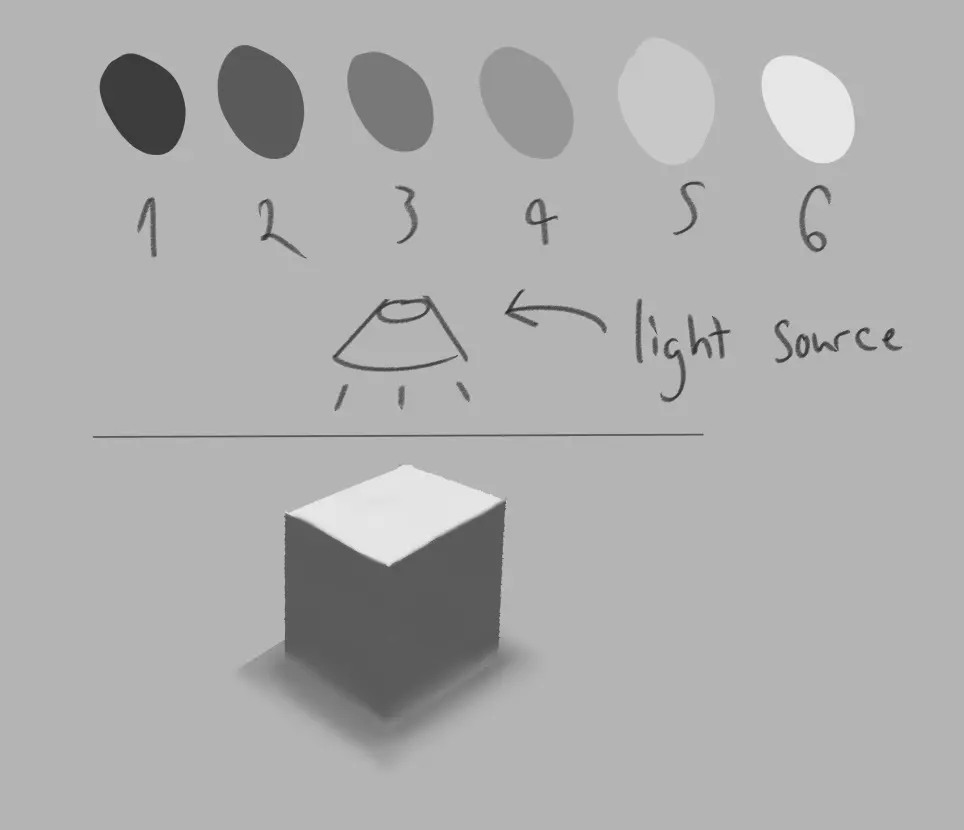
To shade a cylinder effectively, you must first establish the light source. Identify where the light hits the object directly and where it falls into shadow. Begin by lightly sketching the cylinder’s outline, ensuring the top and bottom ellipses are symmetrical to maintain proper perspective. Once the structure is set, define the light side, the shadow side, and the cast shadow area.
Follow these steps to build the volume:
- Apply a light base tone across the entire shadow side of the cylinder.
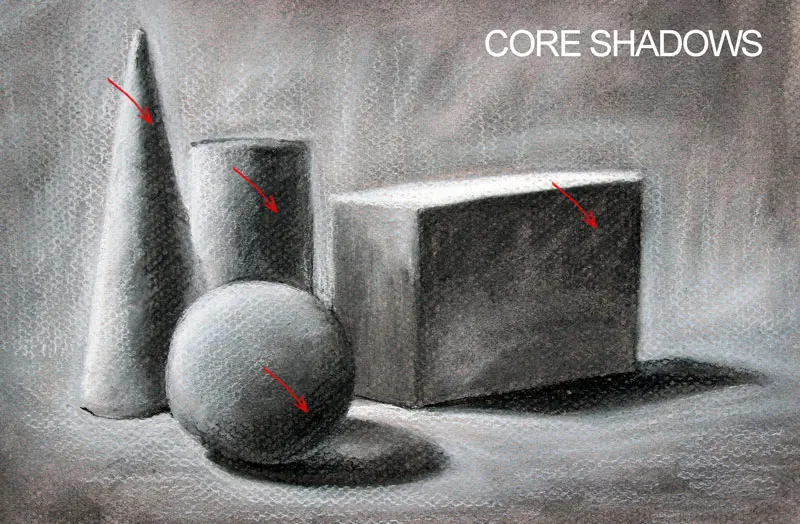
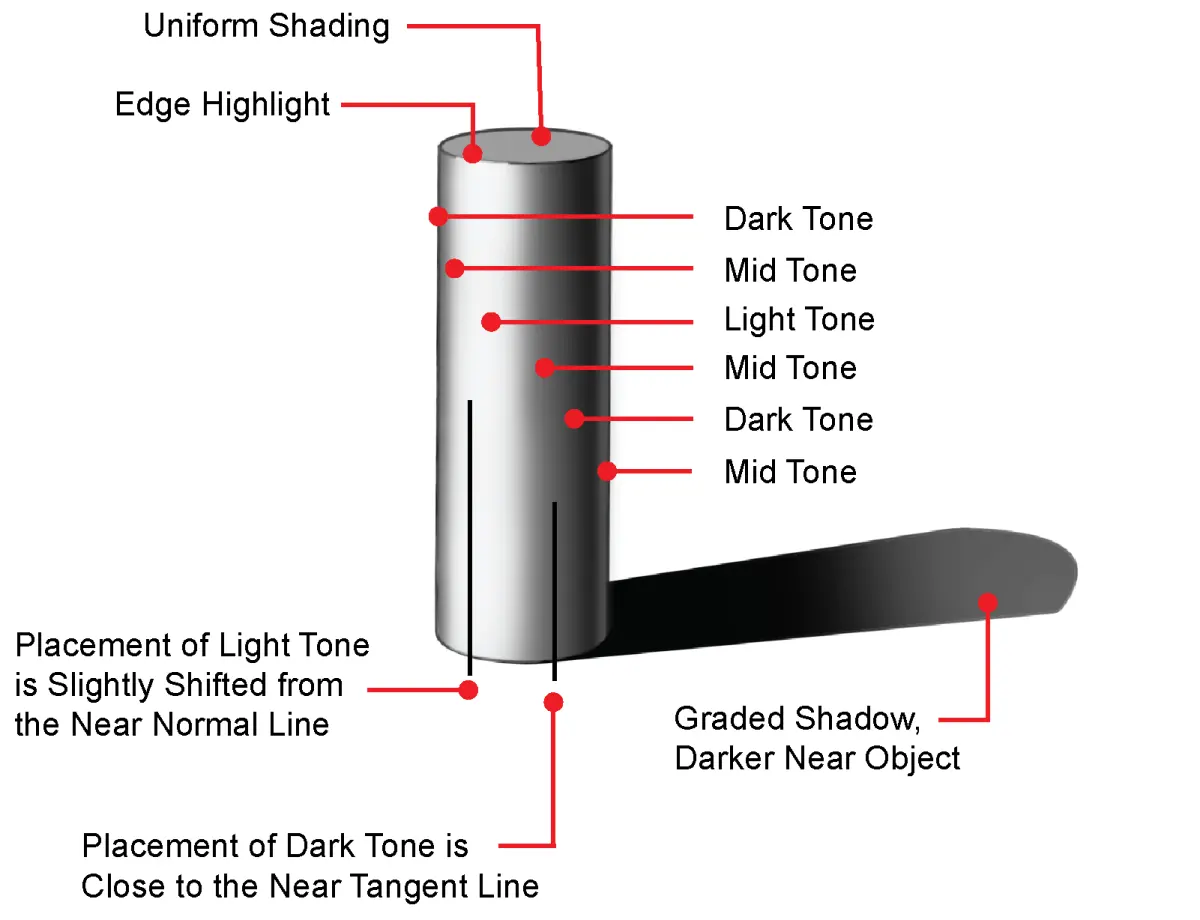
- Darken the core shadow, which is the area of deepest tone located just past the highlight on the curved surface.
- Leave a thin strip of reflected light near the edge of the cylinder to separate it from the background.
- Add the cast shadow on the surface beneath the cylinder, ensuring it follows the perspective of the light source.
- Smooth the transitions using a blending stump or cross-hatching techniques to create a seamless, rounded appearance.
Why the core shadow is essential
The core shadow is the darkest part of the object, situated where the light can no longer reach the surface. It is the primary indicator of volume in a cylindrical form. Without a distinct core shadow, the cylinder will appear flat and lack the necessary contrast to suggest a rounded shape. The width and density of this shadow determine how "round" the object feels to the viewer.
When light hits a curved surface, it does not stop abruptly. Instead, it transitions through a series of values known as the terminator line. The core shadow sits just inside this terminator. By placing this dark band accurately, you anchor the cylinder in space. If the core shadow is too narrow, the object looks like a thin wire; if it is too wide, the object loses its cylindrical definition.
Best tools for shading smooth gradients
Achieving a smooth gradient on a cylinder requires the right tools to manipulate graphite or charcoal. Beginners often struggle with harsh lines, but using specific implements can mitigate this issue. A range of pencils, from 2H for light initial marks to 4B or 6B for deep shadows, provides the necessary value range to create a convincing three-dimensional effect.
Consider these essential tools for your kit:
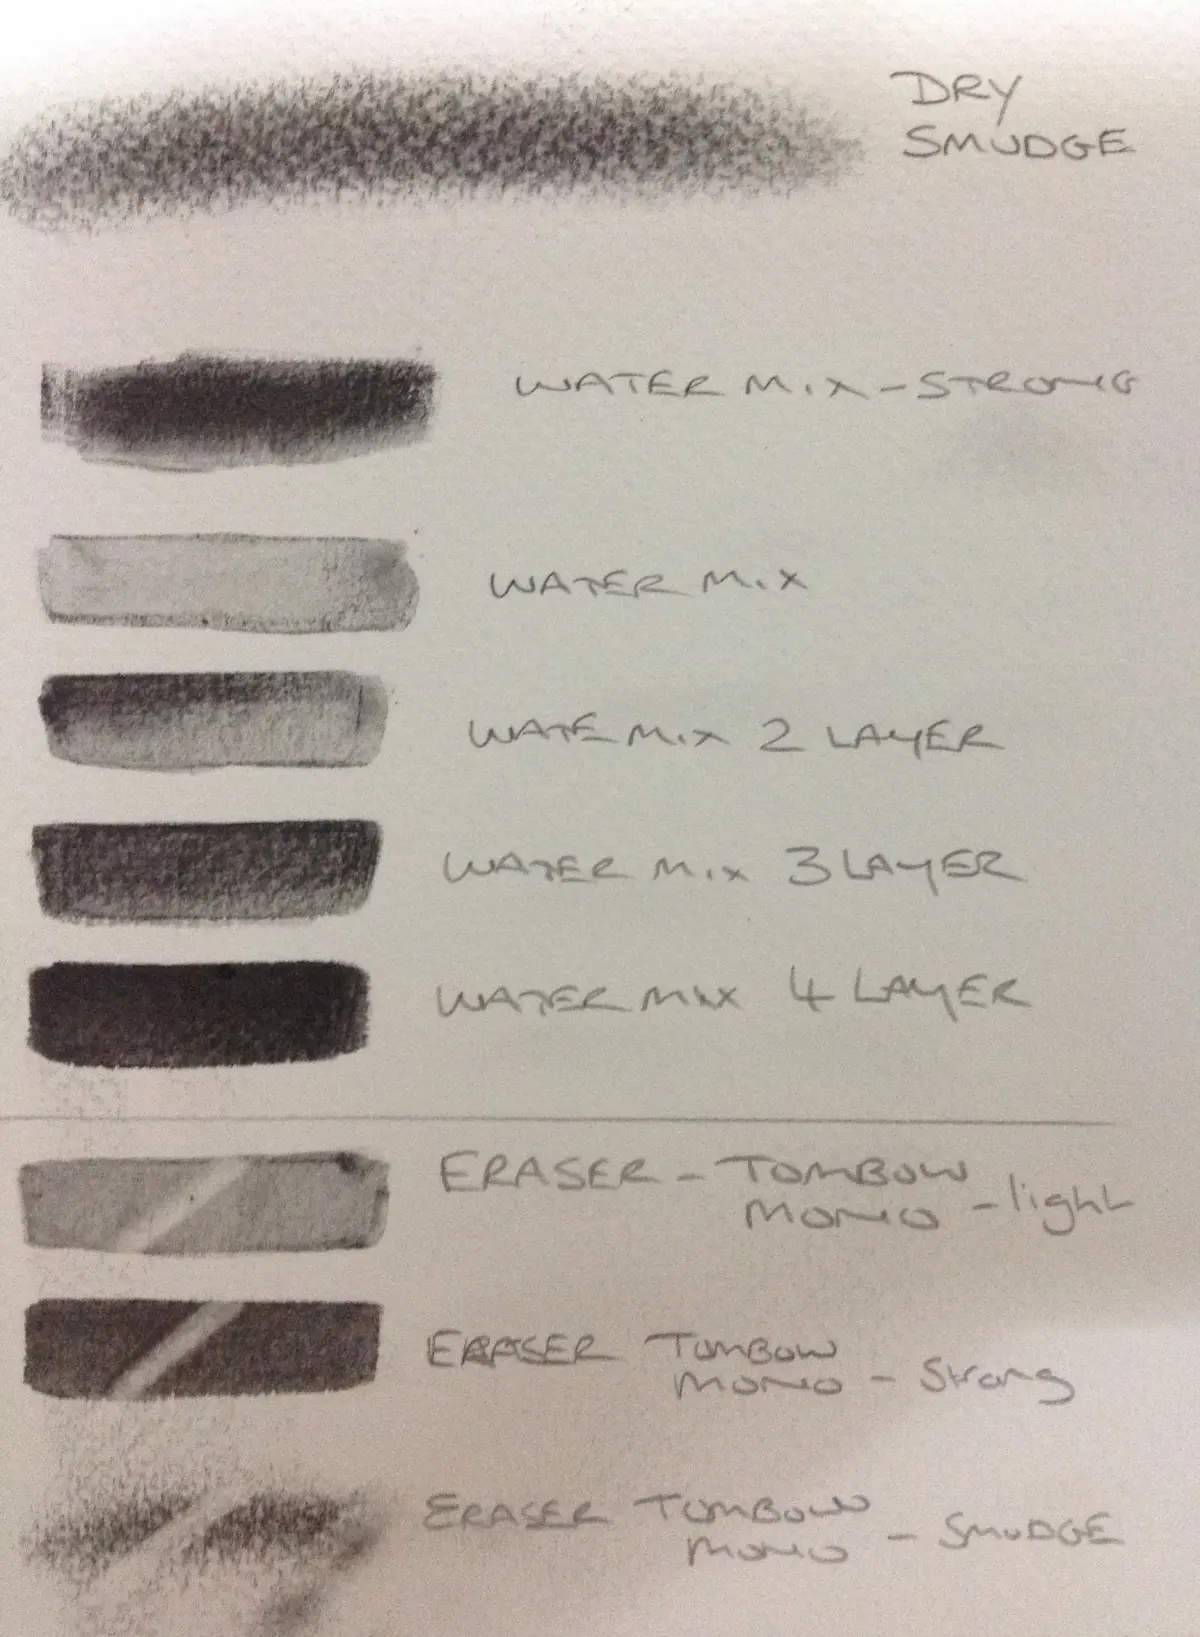
- Blending stumps or tortillons: These paper tools allow you to smudge graphite into the paper grain for a soft, diffused look.
- Kneaded erasers: Use these to lift graphite gently, creating subtle highlights or cleaning up edges without damaging the paper.
- Chamois cloth: A soft leather cloth is excellent for blending large areas of tone smoothly across the surface of the cylinder.
- Bristol board or smooth-finish paper: A smoother surface prevents unwanted texture from interfering with your gradients.
Common mistakes when shading cylinders
One of the most frequent errors is treating the shadow as a flat, uniform block of gray. Because a cylinder is curved, the light wraps around it, meaning the shadow must also be curved or graduated. Beginners often forget to include reflected light, which occurs when light bounces off the table or surrounding environment back onto the shaded side of the cylinder.
Another common mistake is failing to account for the cast shadow’s shape. The cast shadow should be proportional to the light source's angle and the cylinder's height. If the light source is high, the shadow will be short; if the light is low, the shadow will be elongated. Avoid making the cast shadow perfectly black, as it should usually be slightly lighter than the core shadow to maintain atmospheric perspective.
How to master light and shadow physics
Mastering the cylinder is the foundation for drawing more complex objects like limbs, bottles, or columns. Every cylindrical object follows the same physics of light. By practicing the transition from highlight to mid-tone, then to core shadow and reflected light, you develop an intuitive understanding of how light behaves on curved planes. This skill is vital for realistic rendering.
To continue improving, try drawing cylinders in different lighting conditions. Place a lamp at various angles to observe how the core shadow shifts and how the cast shadow changes length. Observe how the highlights change based on the texture of the object, such as matte versus glossy surfaces. Consistent practice in observing these real-world phenomena will eventually allow you to shade objects from your imagination without needing a physical reference model.
Key facts
- Light hitting a cylinder creates a gradient transition rather than a sharp line.
- The brightest area, the highlight, usually sits slightly off-center on the curved surface.
- A reflected light area appears on the dark side of the cylinder, bouncing off the surface it sits upon.
- Cast shadows are darkest near the base of the cylinder and become lighter as they extend away.
- Use a cross-contour hatching technique to emphasize the rounded shape of the object.
- Keep your pencil strokes parallel to the cylinder's vertical axis to maintain structural integrity.
The bottom line
To shade a cylinder effectively, focus on the gradual transition of values across its curved surface. By identifying the highlight, mid-tone, core shadow, and reflected light, you create a three-dimensional illusion. Always ground the object with a cast shadow that anchors it to the surface. Consistent, direction-aligned strokes will reinforce the cylindrical form, transforming a simple two-dimensional drawing into a convincing representation of volume and space.
People also ask
Where is the core shadow located on a cylinder?
The core shadow is the darkest part of the object, located just past the transition from light to dark. It marks the area where light can no longer reach the surface directly.
How do I handle the top of the cylinder?
The top surface, usually an ellipse, should be shaded differently than the sides. If the light source is above, the top is often the lightest plane, but it should still have a subtle gradient.
Should I use a blending stump for smooth shading?
Blending stumps can create smooth transitions, but they often muddy the drawing if overused. Relying on layered pencil strokes first helps maintain texture and control over the value range.
Why does my cylinder look flat?
A cylinder looks flat when the transition between light and shadow is too abrupt or lacks a reflected light area. Ensure you have a full range of values from white to near-black to create depth.
How does the cast shadow change shape?
The cast shadow follows the surface the cylinder rests on and stretches according to the light source's angle. It is typically widest at the base and tapers as it moves further away.
What is the biggest mistake beginners make when shading cylinders?
Beginners often use uniform pressure, resulting in a flat, gray appearance. You must vary your pressure to create distinct zones of light, mid-tones, and deep shadows.
This answer was created with the help of AI research tools and reference sources. Spotted an error? Let us know — we correct mistakes quickly. See our editorial policy.