How do you shade with charcoal?
Short answer
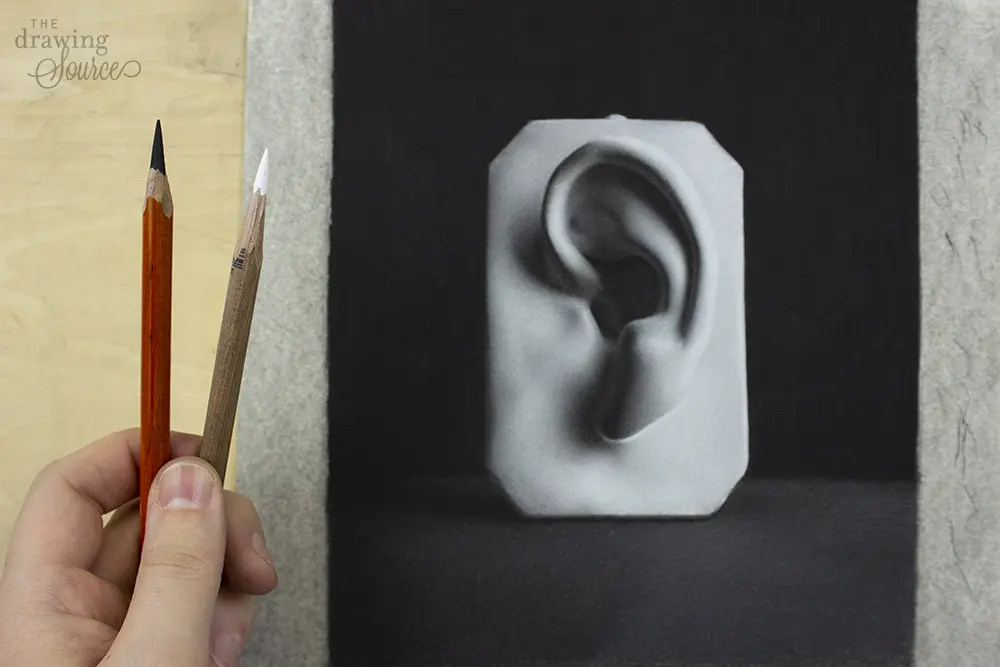
Shading with charcoal involves building layers of carbon pigment to create depth, volume, and texture. By varying pressure and using tools like blending stumps or chamois, you can transition smoothly between deep blacks and soft grays. This versatile medium relies on subtractive and additive techniques to define light and shadow.
On this page
What are the best charcoal tools for beginners?
To begin shading, you need a variety of charcoal types that offer different levels of hardness and texture. Compressed charcoal is dense and creates deep, permanent blacks, while willow or vine charcoal is soft, brittle, and easily wiped away. Beginners should also acquire a few essential accessories to manipulate the pigment on the paper surface.
- Compressed charcoal sticks: Best for dark, bold shadows.
- Willow or vine charcoal: Ideal for light sketching and initial shading.
- Charcoal pencils: Perfect for fine details and sharp edges.
- Blending stumps (tortillons): Used to smudge and smooth transitions.
- Kneaded eraser: Essential for lifting highlights and correcting mistakes.
- Chamois cloth: Great for covering large areas with a soft, even tone.
Start by experimenting with these tools on a scrap piece of paper to understand their unique properties. Compressed charcoal provides the most contrast, while vine charcoal allows for a more painterly, forgiving approach. Using a combination of these will provide the range needed to create professional-looking gradients and depth in your drawings.
How to create smooth gradients with charcoal
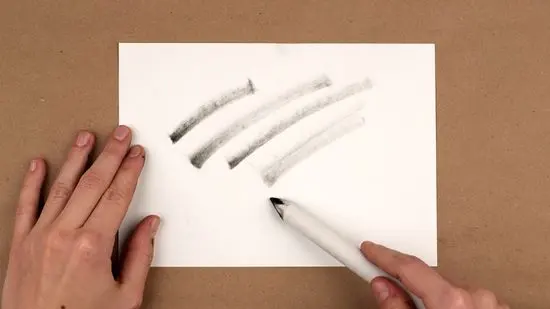
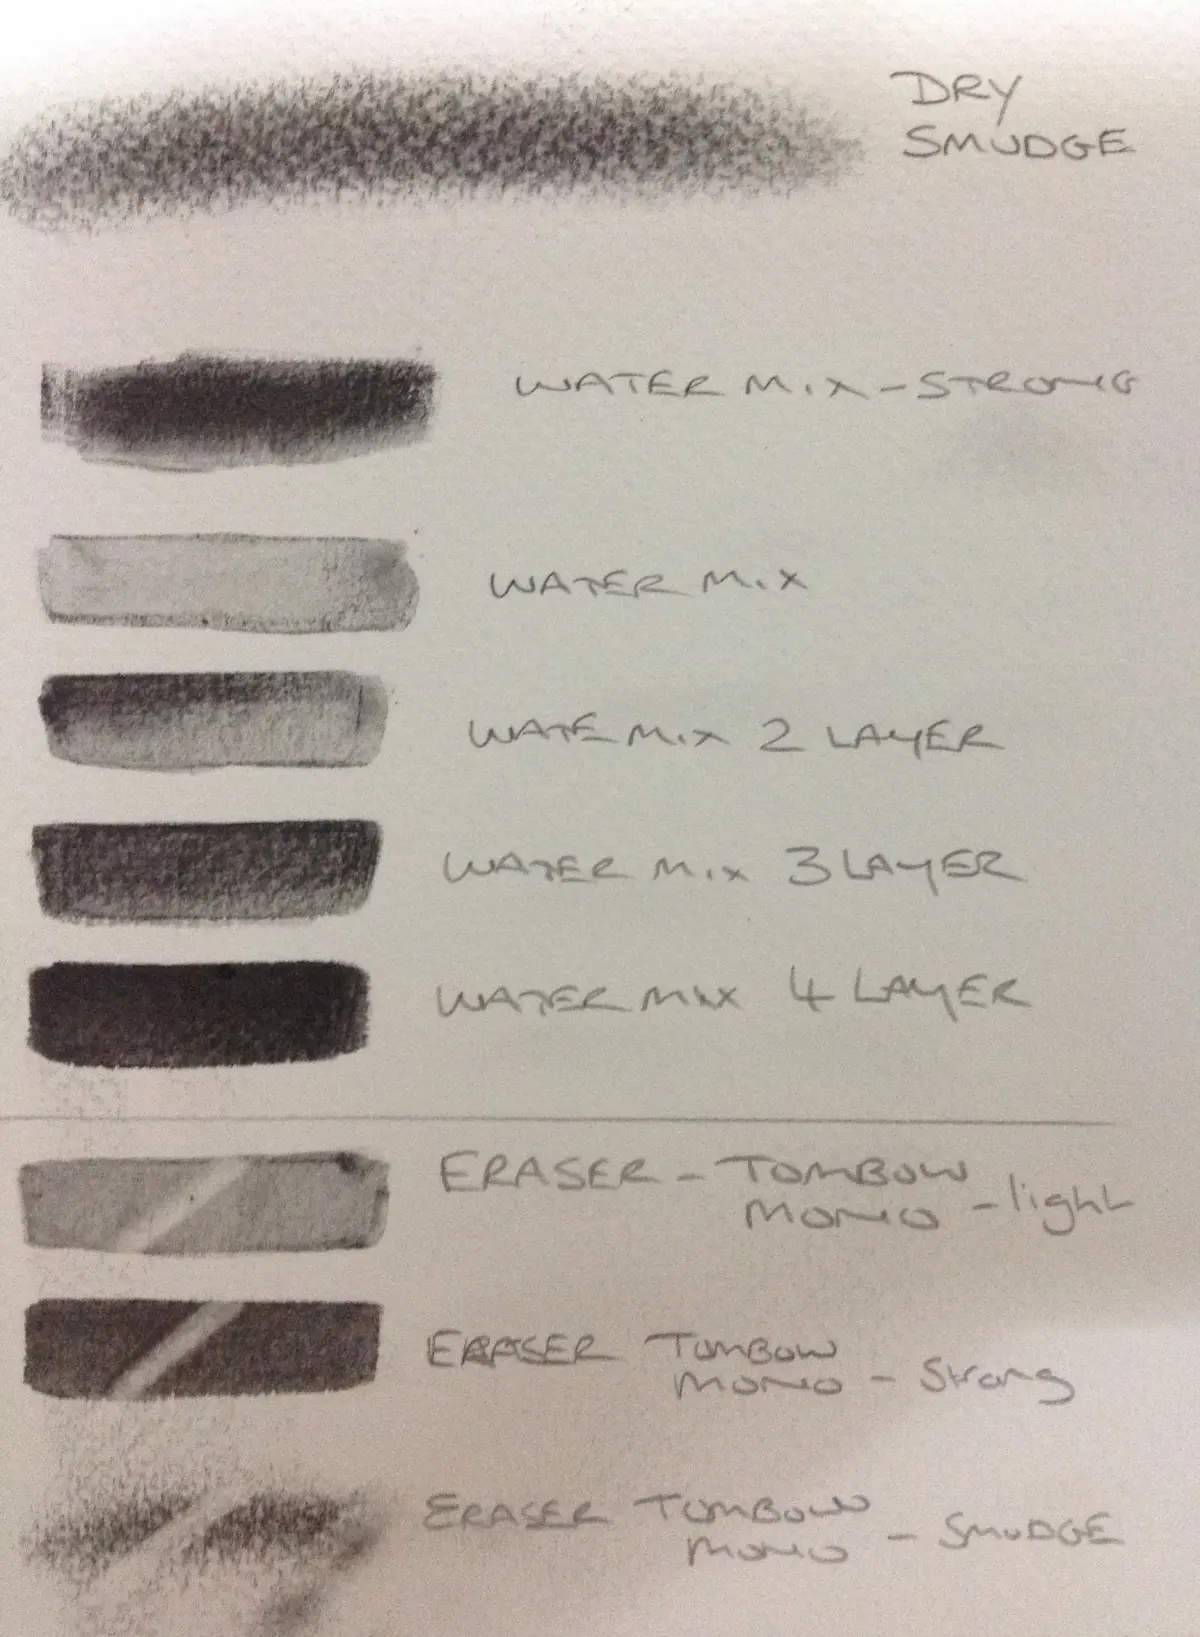
Creating a smooth transition from dark to light is the foundation of realistic charcoal shading. Start by applying a heavy layer of compressed charcoal in the darkest areas of your subject. Use a blending stump or your finger to push the pigment into the tooth of the paper, moving toward the lighter sections.
- Apply a solid layer of charcoal to the darkest shadow area.
- Use a clean blending stump to drag the pigment toward the light source.
- Gradually reduce the pressure as you approach the highlight.
- Use a chamois to soften the transition between mid-tones and highlights.
- Repeat the process to build up intensity if the transition looks patchy.
Avoid over-blending, as this can make the charcoal look muddy or lose its crispness. If the gradient feels flat, re-apply darker charcoal to the deepest shadows to restore contrast. Remember that the white of the paper serves as your brightest highlight, so preserve those areas by not shading over them during the initial stages.

Why charcoal shading looks muddy or flat
Muddy drawings often occur when artists over-blend or use too much pressure too early in the process. When you grind charcoal into the paper fibers excessively, the pigment loses its ability to reflect light, resulting in a dull, gray appearance. This is common when beginners try to achieve a dark value by smudging a light layer rather than layering more pigment.
Another reason for a flat appearance is a lack of contrast between the darkest shadows and the lightest highlights. If your drawing lacks a true black or a true white, the image will appear washed out. To fix this, sharpen your charcoal pencil to add crisp, deep lines in the darkest crevices. Then, use a kneaded eraser to pull out bright, clean highlights, which will make the surrounding shadows appear much deeper by comparison.

Common mistakes when shading with charcoal
One frequent error is failing to account for the "tooth" of the paper, which is the texture that grabs the charcoal dust. If the paper is too smooth, the charcoal will slide off; if it is too rough, the shading will look grainy. Always choose a medium-weight drawing paper specifically designed for charcoal or pastel to ensure the pigment adheres correctly.
- Smudging with fingers: Oils from your skin can create permanent, uneven blotches.
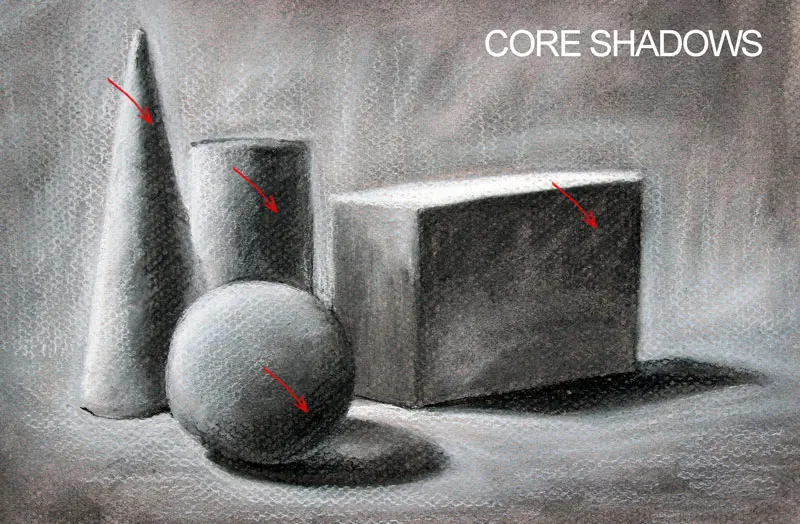
- Ignoring light sources: Failing to establish a consistent direction for light makes forms look flat.
- Using too much charcoal: Excess dust can cause smearing across the entire page.
- Neglecting edges: Soft edges make objects look rounded, while hard edges define distinct shapes.
- Not fixing the drawing: Charcoal is fragile and will smudge without a spray fixative.
Always work from dark to light, as it is much easier to add more charcoal than it is to remove it perfectly. Keep your hands off the paper as much as possible, or use a piece of scrap paper under your wrist to prevent accidental smudges while you work on your composition.
How to maintain clean highlights while shading
Maintaining bright highlights is essential for creating the illusion of three-dimensional form. As you shade, you will inevitably get charcoal dust in areas that should remain light. Use a kneaded eraser to "lift" the charcoal rather than scrubbing it away. By tapping or dabbing the eraser onto the paper, you can pick up excess pigment without damaging the surface texture.
For precise highlights, such as the glint in an eye or a sharp edge on a metallic object, use a plastic eraser or a battery-operated eraser. These tools provide the precision necessary to carve out bright spots from a dark background. Once you are satisfied with your shading, apply a light coat of workable fixative to protect the drawing from smearing. This final step ensures that your hard work remains sharp and clear, preserving the delicate balance of light and shadow you have carefully constructed throughout the entire creative process.
Key facts
- Charcoal is composed of carbonized organic material, providing a deep, matte black finish that graphite cannot achieve.
- Use a "chisel" edge on a charcoal stick to create sharp, precise lines rather than relying solely on the tip.
- Apply pressure lightly for soft gradients and increase force gradually to build up dark, saturated values.
- Blending tools like chamois cloths, tortillons, or soft brushes are essential for smoothing transitions between tones.
- Kneaded erasers function as drawing tools, allowing you to "lift" charcoal off the page to create highlights or textures.
- Always spray finished charcoal drawings with a fixative to prevent the loose pigment from smudging or rubbing off the surface.
The bottom line
Mastering charcoal shading requires a balance of pressure control and the strategic use of blending tools. By layering pigment from light to dark and utilizing a kneaded eraser to carve out highlights, you can create dramatic, high-contrast images. Always prioritize paper with sufficient tooth to hold the medium, and ensure your work is protected with a fixative to preserve the delicate, powdery finish of your drawing.
People also ask
What is the difference between vine and compressed charcoal?
Vine charcoal is soft and easily erased, making it ideal for initial sketches and light shading. Compressed charcoal is denser and harder to remove, perfect for achieving deep blacks and high-contrast details.
How do I prevent my charcoal drawing from becoming muddy?
Avoid over-blending, which can push pigment into the paper fibers and dull the vibrancy of your darks. Work in layers, ensuring you maintain clean highlights by lifting charcoal with an eraser rather than relying on white space alone.
Should I use my fingers to blend charcoal?
While convenient, using fingers introduces natural oils to the paper, which can create permanent streaks and prevent further charcoal application. It is better to use a paper tortillon or a soft synthetic brush for more controlled blending.
What kind of paper works best for charcoal shading?
Charcoal requires a "tooth," or a rough surface texture, to grip the carbon particles effectively. Heavyweight drawing paper or specialized charcoal paper with a visible grain provides the necessary friction for smooth, consistent shading.
How do I create a smooth gradient from dark to light?
Start by applying the darkest tone at the edge of your form and use a dry brush or blending stump to pull the pigment toward the lighter areas. Gradually lighten your pressure as you move across the paper to create a seamless transition.
Can I use charcoal with other drawing materials?
Charcoal pairs well with graphite for specific detailing, but it is often best used alone to maintain a consistent matte finish. If mixing, always apply the charcoal over the graphite, as graphite can create a slick surface that resists charcoal adhesion.
This answer was created with the help of AI research tools and reference sources. Spotted an error? Let us know — we correct mistakes quickly. See our editorial policy.