What is the easiest way to draw a microscope?
Short answer
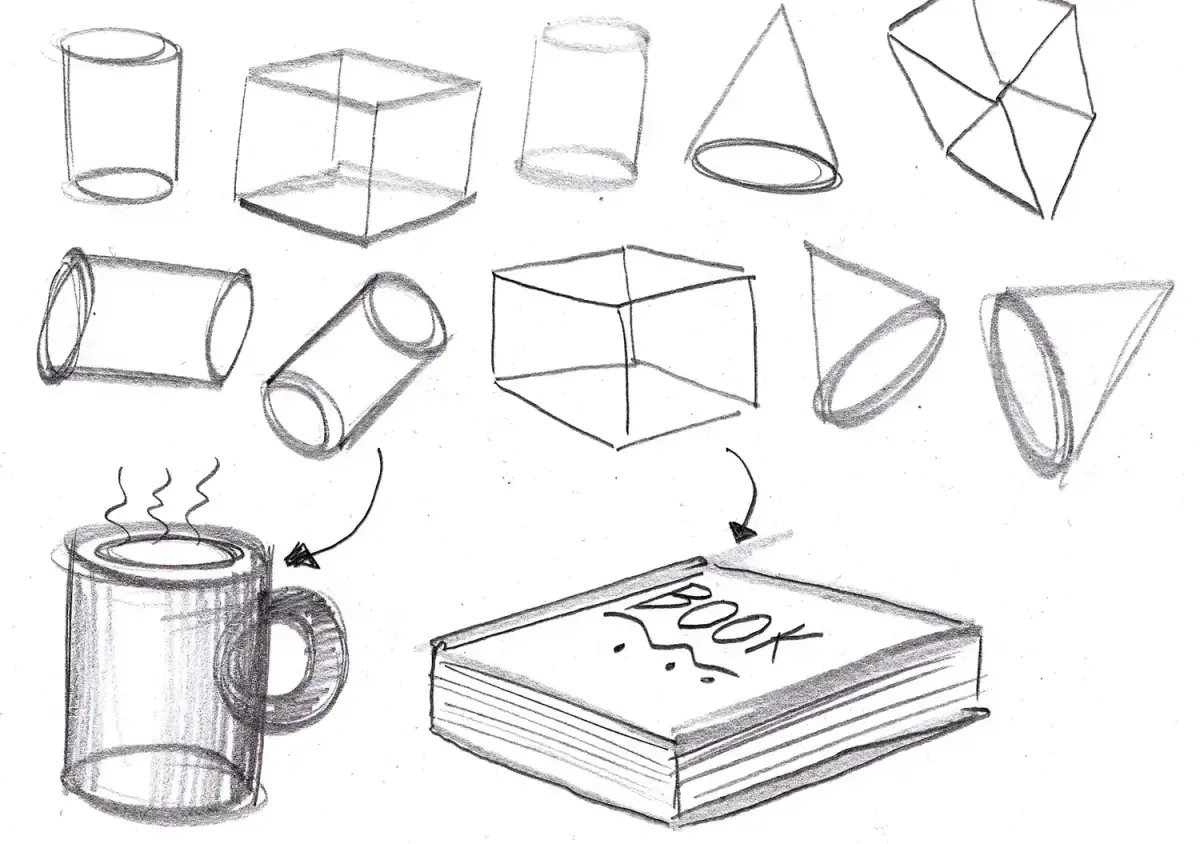
The easiest way to draw a microscope is to break its complex structure into simple geometric shapes. Start by sketching a rectangular base, a curved arm, and a cylindrical tube. By focusing on these three primary components first, you can gradually add details like lenses and adjustment knobs to create a recognizable, accurate illustration.
On this page
How to draw a microscope step by step
To draw a microscope effectively, begin by establishing the framework using basic geometry. You should approach the instrument as a collection of stacked shapes rather than a single intricate object. This method prevents you from becoming overwhelmed by the mechanical details of the device.
- Draw a wide, flat rectangle at the bottom to serve as the base.
- Sketch a tall, slightly curved vertical line rising from the back of the base to represent the arm.
- Add a horizontal cylinder at the top of the arm for the eyepiece and a vertical cylinder for the body tube.
- Place a small circle or square on the arm to represent the coarse and fine adjustment knobs.
- Draw the stage as a flat platform protruding from the middle of the arm, positioned directly beneath the objective lenses.
Once these foundational shapes are in place, you can refine the lines to match the specific model of microscope you are observing.
Best drawing techniques for beginners
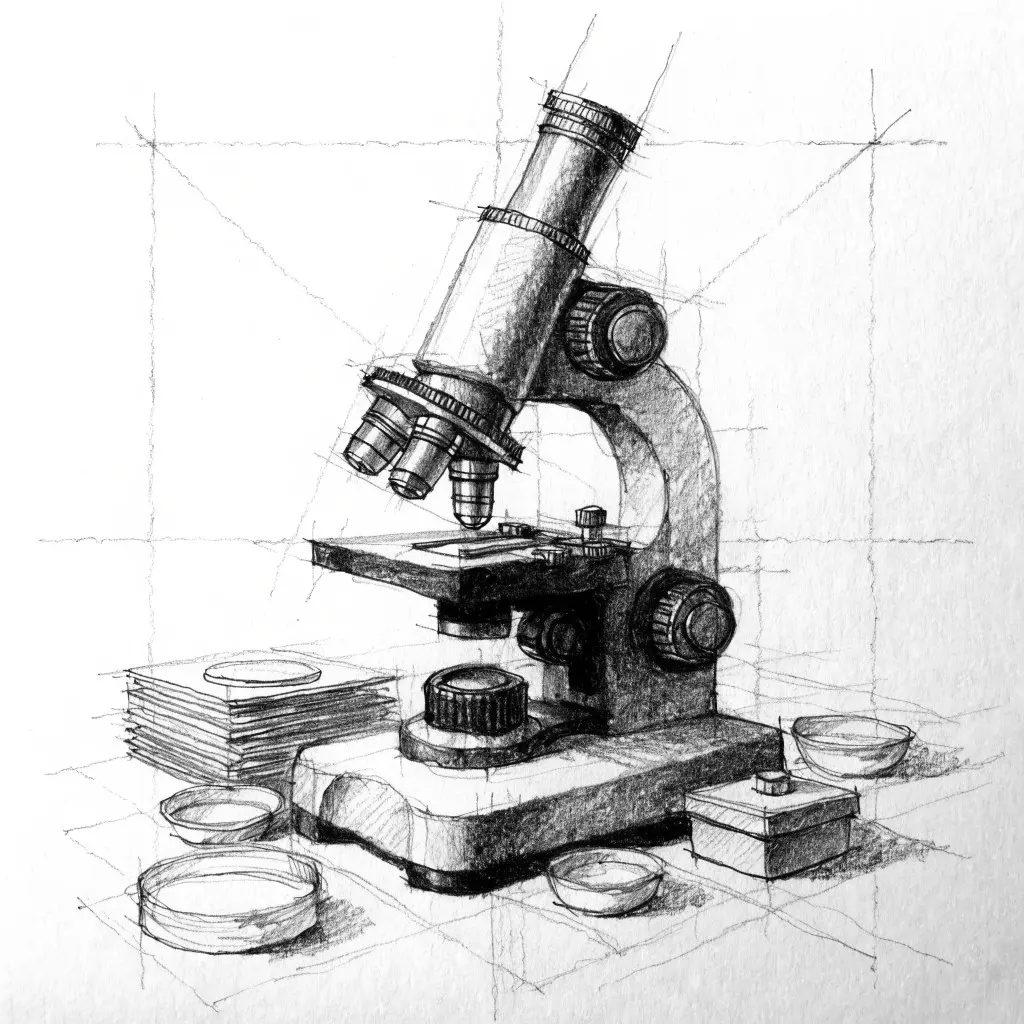
Beginners often struggle with proportions, so using light, sketchy lines is the most effective approach. By keeping your initial marks faint, you allow yourself the flexibility to erase and adjust the height of the arm or the width of the base without damaging the paper. Once the outline looks correct, you can go over the lines with a darker pencil or pen to define the final form.
Focusing on negative space can also improve your accuracy significantly. Instead of looking solely at the metal frame, observe the gaps between the arm and the body tube. Drawing these empty spaces often helps the brain process the actual shape of the object more objectively. You should also maintain a consistent light source, which helps you decide where to place shadows later, adding a sense of depth to your drawing.
Why microscope proportions are difficult
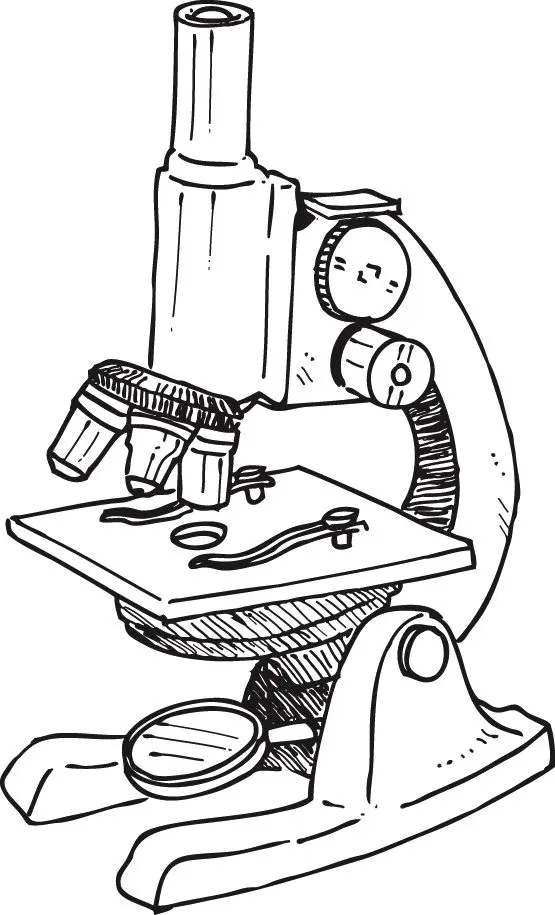
The primary challenge in drawing a microscope is the varying scale of its components. The base must be heavy and wide to provide visual stability, while the eyepiece and objective lenses require precise, narrow cylinders. If the eyepiece is drawn too wide, the entire instrument will look distorted and unbalanced. Maintaining the correct relationship between the stage and the objective lenses is also critical for anatomical accuracy.
Most microscopes follow a standard design where the stage sits roughly one-third of the way up the arm. If you place the stage too high or too low, the drawing will lack the functional appearance of a real laboratory tool. To ensure your proportions remain consistent, use the width of the base as a unit of measurement. Compare the height of the arm to the width of the base to see if your drawing matches the scale of the actual microscope.
Common mistakes when drawing microscopes
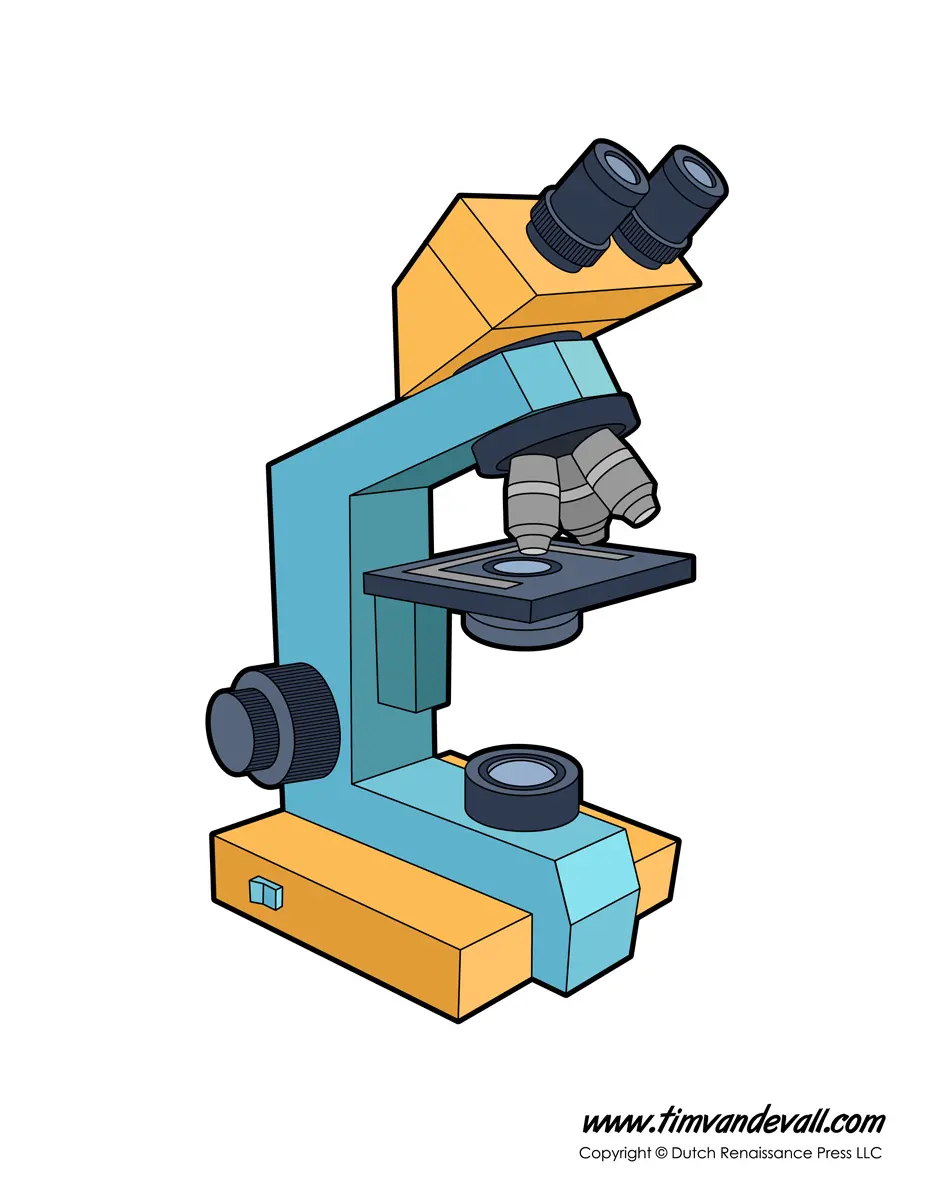
Many artists make the mistake of drawing the microscope as a flat, two-dimensional icon rather than a three-dimensional object. This often happens when the base is drawn as a simple line rather than a solid, grounded shape. To avoid this, always draw the base with a slight perspective, showing a top surface and a side edge to give it volume and weight on the page.
Another frequent error involves the placement of the adjustment knobs. If these are drawn floating in mid-air or disconnected from the arm, the microscope loses its mechanical logic. Always ensure that the knobs are anchored directly to the side of the arm. Additionally, try to avoid drawing the lenses as perfect, flat circles. Instead, use slight ovals or arcs to suggest the curvature of the glass, which makes the lenses appear as functional, hollow components rather than simple, solid stickers on the tube.
How to add detail and shading
After the structural outline is complete, adding shading is the final step to bring your drawing to life. Light reflecting off the metal body of a microscope creates distinct highlights and deep shadows. Use a soft graphite pencil to create smooth gradients across the cylindrical parts of the device. By leaving a thin white strip along the edge of the tube, you can simulate the metallic sheen of the steel or aluminum frame.
- Use a blending stump or a soft tissue to smooth out graphite transitions.
- Apply darker pressure on the underside of the stage to create a sense of depth.
- Add small, crisp lines to represent the serrated edges of the adjustment knobs.
- Use a kneaded eraser to lift graphite and create bright highlights on the lenses.
Focusing on these small textural details transforms a simple outline into a professional-looking technical illustration. By carefully observing where shadows fall, you provide the viewer with a clear understanding of the microscope’s physical presence and complex, layered structure.
Key facts
- A standard compound microscope consists of three main sections: the base, the arm, and the head.
- Start by drawing a large letter "L" shape to represent the base and the vertical arm.
- Use a circle for the eyepiece at the top and three smaller circles for the objective lenses on a rotating nosepiece.
- The stage is a flat horizontal platform extending from the arm, positioned directly below the objective lenses.
- Use simple geometric shapes like rectangles and cylinders to build the structure before adding fine details.
- Always draw the arm with a slight curve to mimic the ergonomic design of real laboratory equipment.
The bottom line
Drawing a microscope is best approached by breaking the complex instrument into basic geometric forms. By starting with a sturdy base and a curved arm, you establish the correct proportions before adding the lenses and stage. Focusing on the vertical alignment of the optical components ensures your drawing remains realistic. With these simple steps, anyone can capture the essential anatomy of this scientific tool effectively.
People also ask
How do I make the microscope look three-dimensional?
Add subtle shading to one side of the cylinders and rectangles to create depth. Use a darker pencil stroke on the side opposite your light source to give the object a realistic, rounded appearance.
Should I use a ruler for my drawing?
Using a ruler for the stage and base helps maintain clean, professional lines. However, freehand sketching is better for curved parts like the arm and the eyepiece to keep them looking natural.
What is the most common mistake when drawing a microscope?
The most frequent error is misaligning the eyepiece with the objective lenses. Ensure that the lens assembly forms a straight vertical line so the instrument appears functional rather than broken.
How do I draw the adjustment knobs?
Place two small circles on the side of the arm, near the base. Drawing a larger circle for the coarse adjustment and a smaller one for the fine adjustment provides accurate detail.
Is it necessary to draw the light source?
Yes, adding a small circle or oval at the very base represents the mirror or illuminator. This detail is essential for a complete and accurate representation of a microscope.
How can I make the lenses look like glass?
Leave a small, unshaded white crescent inside each lens circle to represent a light reflection. This simple technique immediately signals to the viewer that the surface is made of glass.
This answer was created with the help of AI research tools and reference sources. Spotted an error? Let us know — we correct mistakes quickly. See our editorial policy.